We’re moving sometime in the next month. I hate the vague sound of that sentence, but it’s the truth. Our whole moving timeline is vague due to the fact that the Curbly House continues to be full of charming surprises that are pushing our move-in date back.
The realization that we’ll be having a new baby and moving into a new house only a few weeks apart is enough to induce even the calmest lady. Unfortunately for me, I am a Virgo to the core; way too Type A. This, and the fact that I’ve found myself in full-on nesting mode, has created a moving recipe like no other. One that involves a lot of hyperventilating, and “Oh my goodness, if everything isn’t clean and organized and neat, we’re all gonna die.”
To prevent the end of the world, I’ve found myself reading up on how to make a move go as smoothly as possible. Here are the tips I’ve found most helpful:
- Go slowly. A room-by-room schedule has been immensely helpful in helping me tackle the whole house and without feeling completely overwhelmed. Knowing I have a few days set aside each week to pack up a room has prevented total moving madness, because I only have so much time to devote to the process.
- Purge. There’s no sense in moving a lot of useless items into your new place, so use this as an opportunity to sell and donate items.
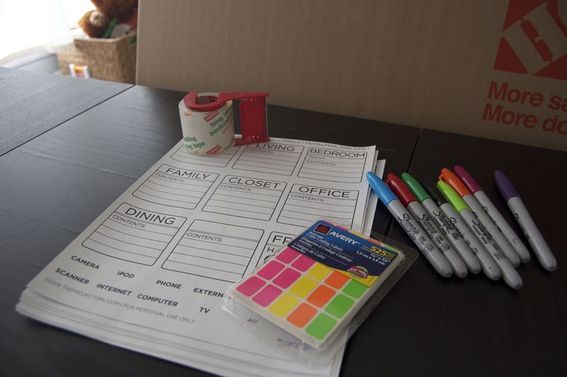
- Label, label, label. I have encountered some fantastic printables that are designed to help you organize the contents of every box you pack.
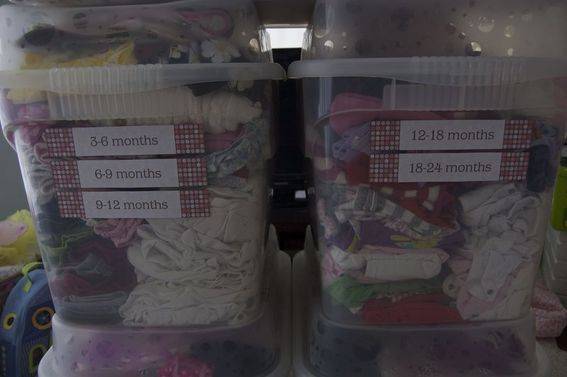
Last week, my official moving schedule commenced, beginning with all of the upstairs closets. I packed up Ayla’s closet in a matter of hours, using these Metro Baby Blog labels to organize all of her old baby clothes. If we have another girl, we’ll reap the benefits of these beautiful organized bins, and if we have a boy – someone else will!
Once Ayla’s closet was complete, I removed all of her books from her bookshelves and placed them in open bins to allow her access to them. We plan to keep a small collection of library books on her night stand for the next few weeks, but have found it extremely useful to give her access to the bins containing her favorites.
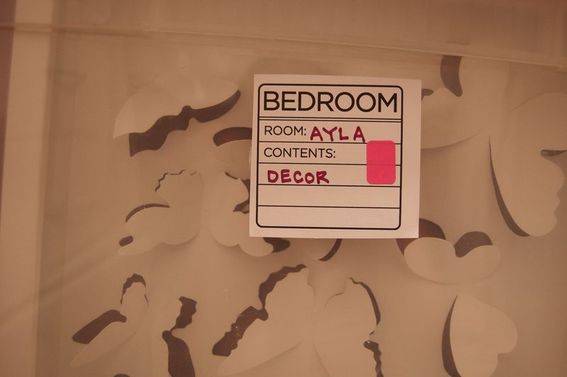
The final step to packing up Ayla’s room was boxing up all of her room decor, new and old, in a labeled bin stored in her closet.
Next, I moved on to my closet, which was an embarrassingly large project. I hold onto everything, regardless of size or fashion trend, because you never know when peasant skirts will come back into style, and it’s sure nice to have them in a variety of sizes. I actually surprised myself by purging like a pro during this project. I bagged up several bags of clothing and shoes and drove them right to the Epilepsy Foundation, which happens to have a donation hub just a few miles away from our house.
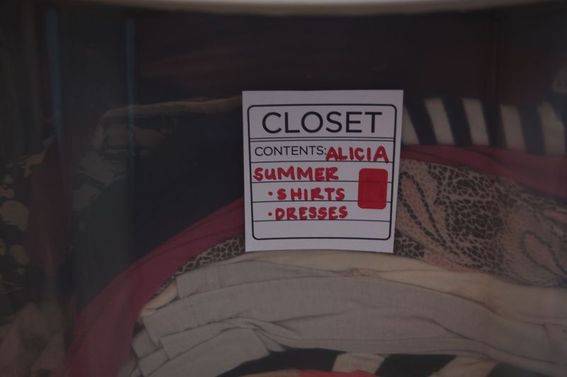
Once I settled on the clothing I wanted to keep, I organized that stuff into bins by season (e.g. summer shirts and dresses) or type (jeans and skirts). I selected a smallish rotation of clothing to keep my dresser, and plan to wear these staples repeatedly over the next month.
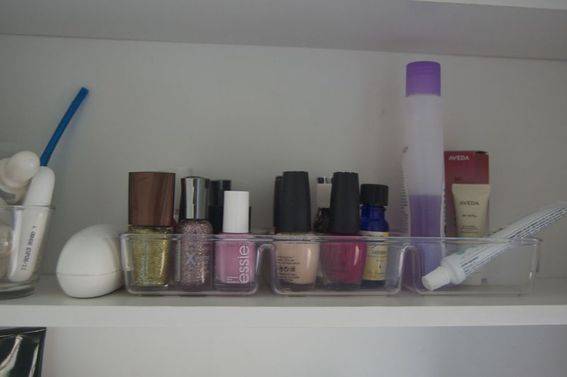
After dealing with the upstairs closets, I moved into the bathroom. This was a relatively easy room to tackle, because most of the toiletries we use are already stored in bins. I did, however, take time to go through all of the over-the-counter medication we had stored in the medicine cabinet and check supply levels and expiration dates. I was able to toss a fair amount of infant Tylenol and expired bug spray, which created more space to store the things we are actually using. I picked up these cheap, clear bins from Target to store nail polish and medication in an organized way. When we move, we should simply be able to place the bathroom bins into a box and move them without much thought.
This week, I moved downstairs and began with the living room. I removed all of the artwork from the walls, and took everything off of the shelves. I placed these items in cardboard boxes (this was the first time I used cardboard to store our goodies). Using these simple labels from The Project Girl (I printed them out of full-sheet labels that I picked up from our local office supply store), I packed everything neatly into boxes and employed a nice little color-coding system (e.g. orange=living room, red=master bedroom, etc.) using small colored labels.
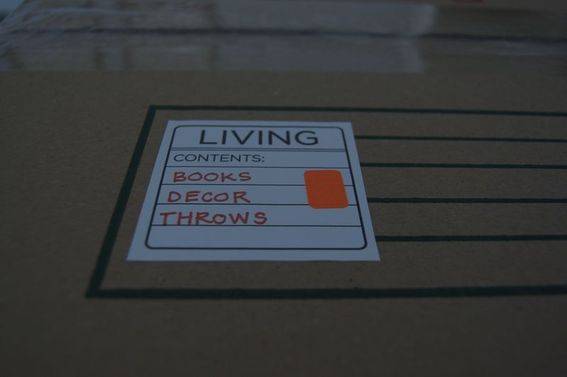
I love the simplicity of The Project Girl’s labels, and plan to use them, along with the color-coding system to pack up the rest of the house. I have a lot of work ahead, but the process feels surprisingly manageable so far. Now, all I need is the stars to align, the baby to incubate for a few more weeks, and for the packing to continue to move along without too much ado.
Do you have any moving tips? If so, I’d love to hear them in the comments section.
This is a post in the Curbly House series! Follow along as we document every step of our complete home makeover, from gutting the walls to putting up the finishing touches. And don’t forget to let us know what you think in the comments!
