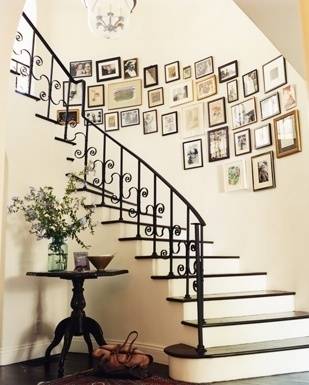
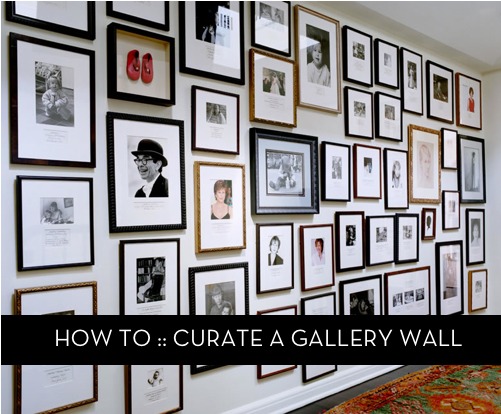
So you wanna hang a gallery wall. You’re not alone! They are an awesome way to fill up a big space with art and photos you love. Here’s what you need to keep in mind when planning yours.
First? Because gallery walls are busy by nature, it’s good to have a unifying element. For instance, black frames with white mats. Or assorted frames with black and white photos. This gallery featured in Southern Living is unified by the coral color scheme.
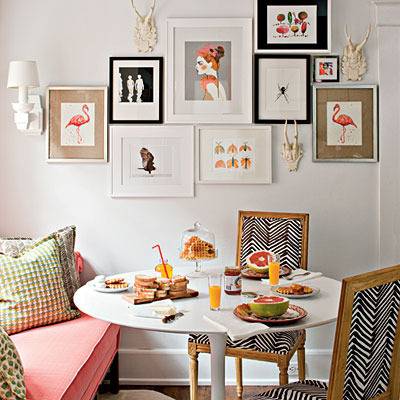
Next? Determine your arrangement. Do you prefer more a more whimsical, free-flowing shape? Or a neat and organized grid? Keep in mind the space you’re working with. Do you want it centered over a sofa? Use architecture to your advantage the way Kristen Buckingham did in her home, stretching the artwork over the doorway.
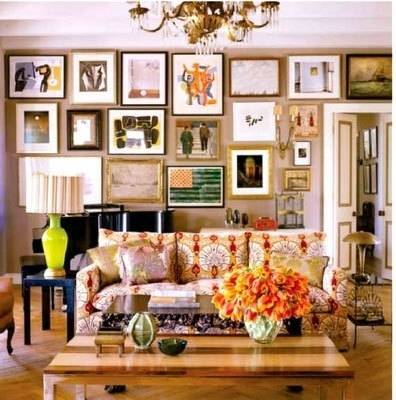
Consider a focal point. Do you want the collection of frames to seem like one big piece of art? In that case, the more uniform, the better. But if you want a centerpiece, try varying the shapes of your frames as in this living room from Domino Magazine.
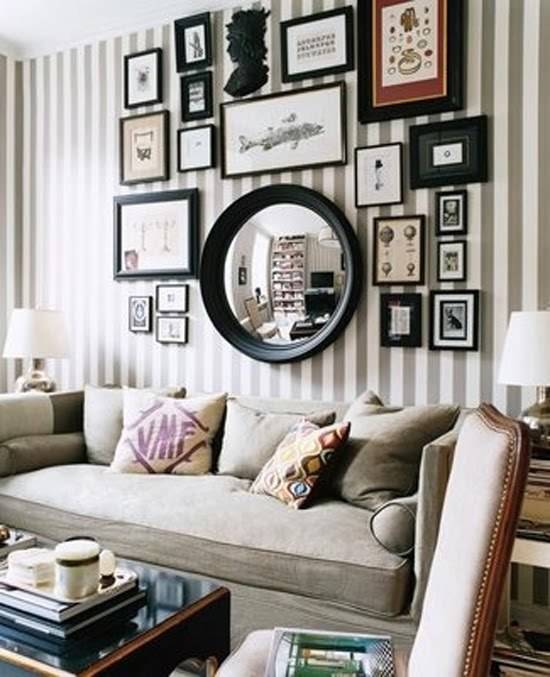
Now you’re ready to hang it up!
There are 2 methods I’ve found FAR superior to the standard method of measuring, nailing, re-nailing, swearing, crying, throwing things, giving up.
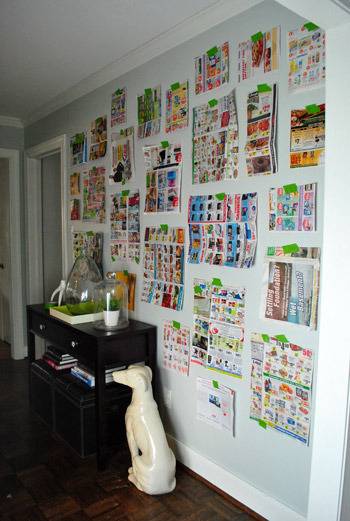
One is the Template Method where you cut out pieces of paper the same sizes as your frames and tape them up on the wall to determine your arrangement. Young House Love describes it well.
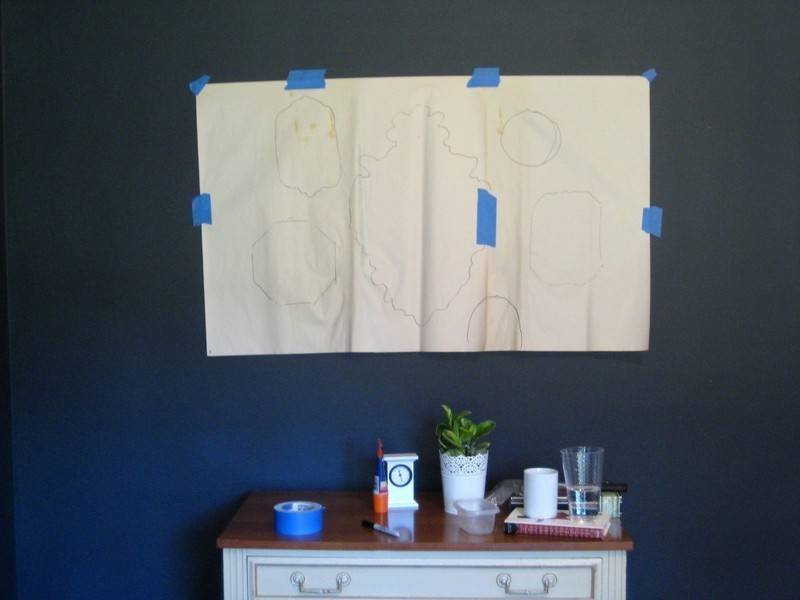
The second, and my preferred method, is the Butcher Paper method. This time, you roll out a large sheet of paper and arrange your frames on top of it. Once you’re happy, you trace the frames and mark where the nails should go.
Now go get your gallery on! And if you have any tips for arranging or hanging, I’d love to hear them in the comments.
