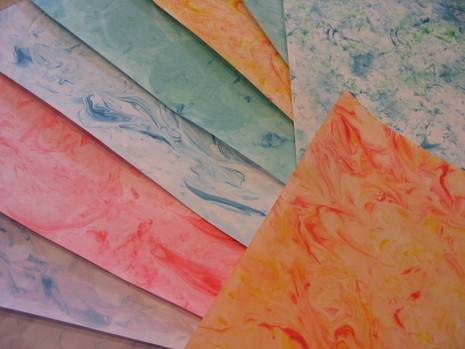
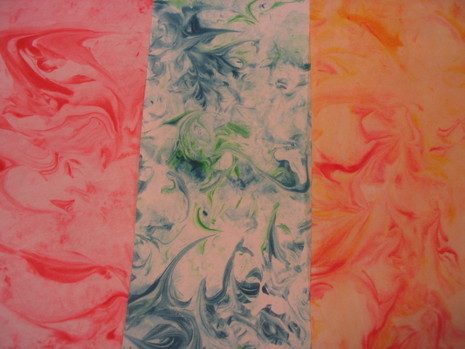
“Tie-dying” paper is a fun and easy project. And, chances are, you already have everything on hand you need to do it.
The Props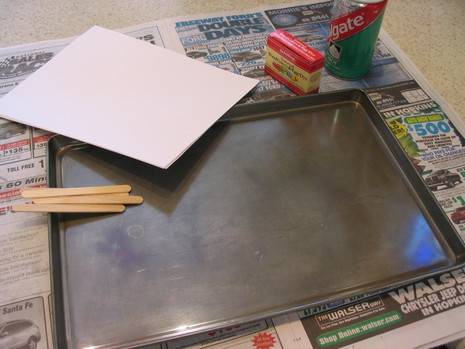
Food coloring
Foaming shaving cream
Cookie sheet, or any large shallow pan
Something to stir with
Paper (For this project, I used plain laser printer paper)
Paper towels
The Procedure
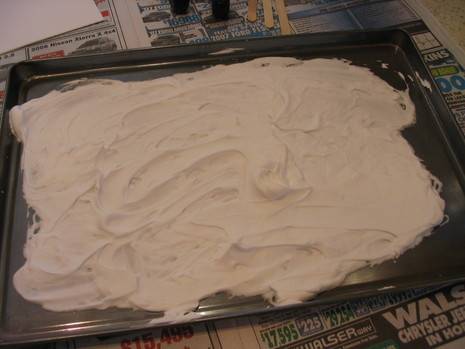
Squirt the bottom of the pan with shaving cream as shown.
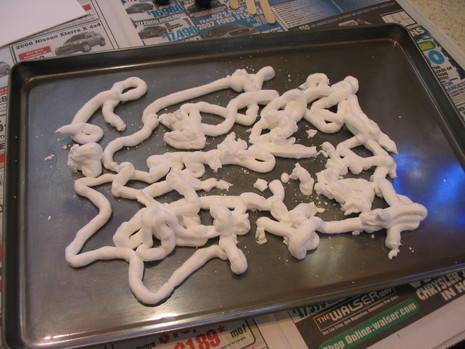
Spread the foam around evenly. I’d suggest using your hand for this step because it feels cool!
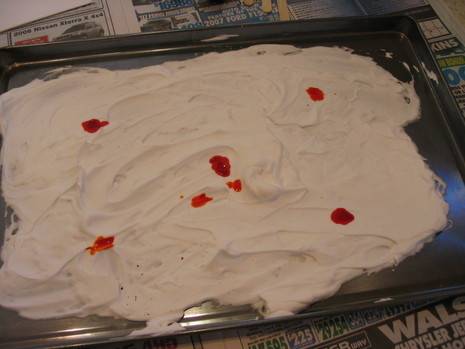
Drip several drops of food coloring into the foamy mess, like so. Don’t be afraid to experiment with color!
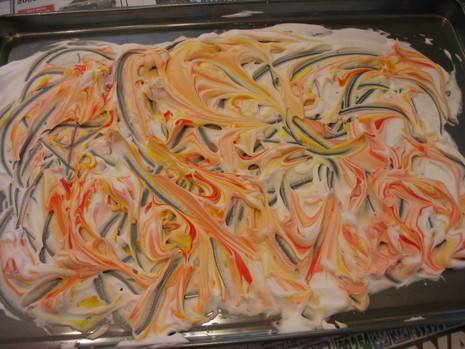
Stir food coloring through cream, making far out swirls. (If you over stir, you’ll get more of a marbled effect to your paper rather than tie-dye, but that looks groovy too.)
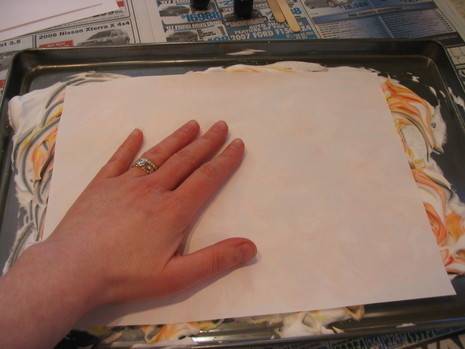
Place your piece of paper into your colored foam. Press slightly with the palms of your hands.
Lift out, or rather, peel off paper from foam.
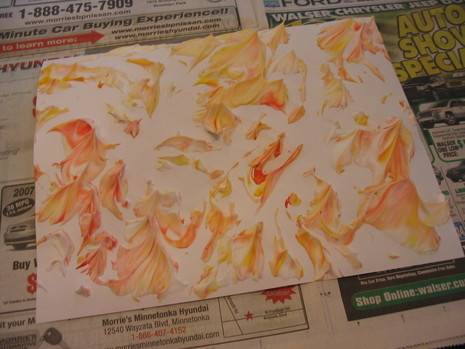
Now, using a paper towel, dab the paper. You can disperse color this way too, putting color where your paper didn’t pick up any foam. It’s sort of like sponge painting.
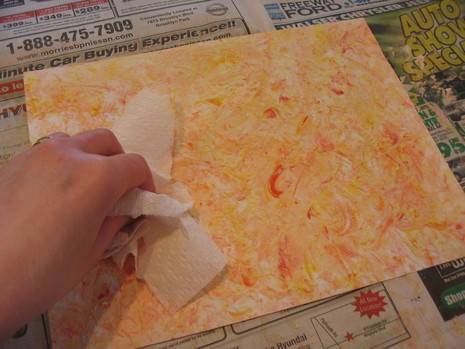
Finally, wipe off the remaining residue with a paper towel. Rinse towel, wring out well, and swipe paper again, if necessary. Note: your paper will smell like shaving cream, but the scent will fade after a few days. As I will be using my paper for origami, after it dried, I ironed it with a hot, dry iron.
