![]() This fall, FabricDirect.com is sponsoring a series of fabric-based DIY projects on Curbly!
This fall, FabricDirect.com is sponsoring a series of fabric-based DIY projects on Curbly!
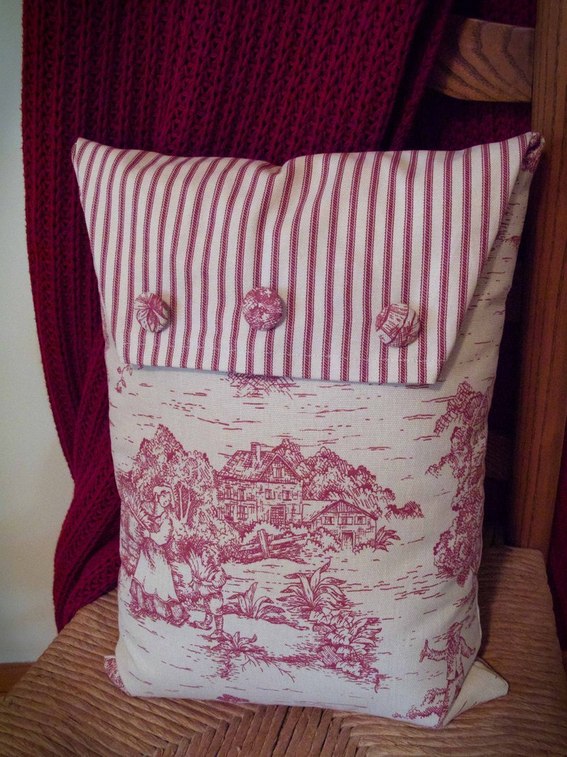
This summer, while my boo and I were exploring one of our state’s many charming and historic little towns, we happened to stop in at an antique and consignment shop. My ‘pass’ radar went up fairly quickly, but I did the cursory scan just to be polite. I was just about to turn tail and head out the door when my very observant boo said, “Look at this.” He pointed to something I hadn’t seen before and can only describe as a sack-like, vintage-y button pillow. I replied in a whisper–because that’s what you do when you discuss knocking something off you see in a store–“I can totally make that!” Thus, the seed for this project was planted. I didn’t have any specific fabrics in mind…until I scanned the selection at Fabric Direct. It was within their inventory that I found the perfect textiles for the job. So, how do we make one of these babies, and how can you get a 20% discount on the supplies? Read on!
DISCOUNT CODE FOR CURBLY READERS
Now through November 15, 2011, you can get a 20% discount on the fabrics I used in this post at FabricDirect.com:
First, the supplies (click here to see the fabrics I used at FabricDirect.com and get a discount!):
- 1/2 yard of two coordinating (or not!) prints. I used FD’s Crimson Toile and Stripe.
- 3 – 7/8″ half ball cover buttons
- one 12″ x 16″ pillow form
- sewing machine, coordinating thread, iron, etc.
And the process:
Cut one 13″ x 24″ panel from each print.
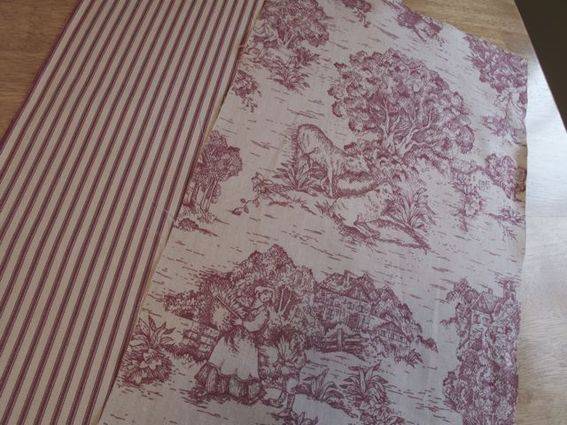
Pin and sew the 2 long sides together and ONE of the short sides together, right sides facing. IMPORTANT: If you’re using toile, make sure the print is right side up; so sew the short side that is at the bottom of the scene. Get me?
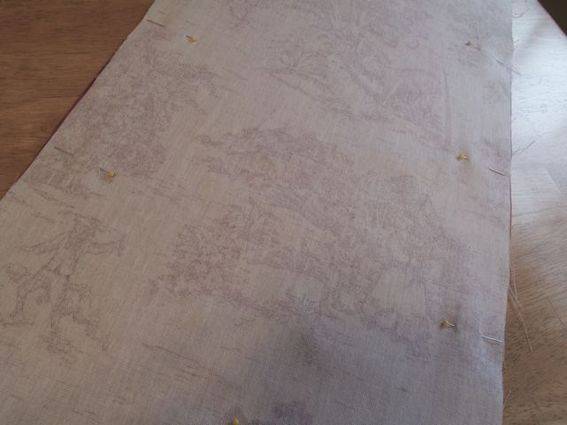
Pink the edges and trim the two bottom (sewn) corners.
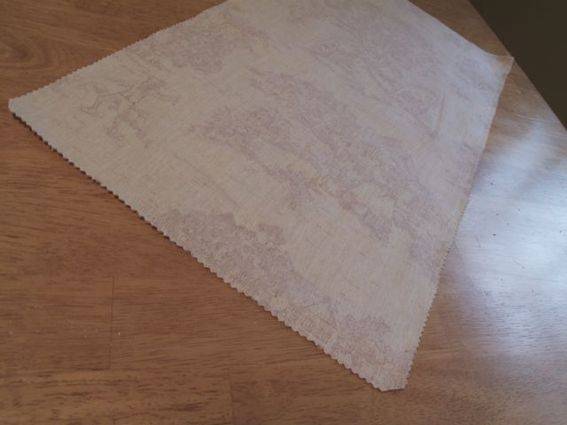
Now for the hemming! Press down the raw opening 1/2″. Turn down 1/2″ and press again.
This is what the sack will look like after the second turn-down:
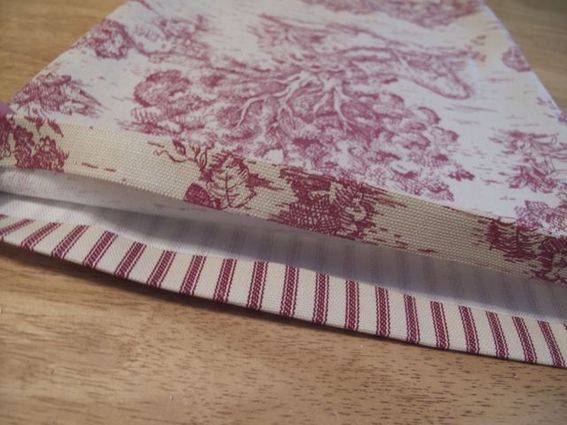
Top stitch the hem close to edge, and then insert the pillow form, making sure it’s completely inside.
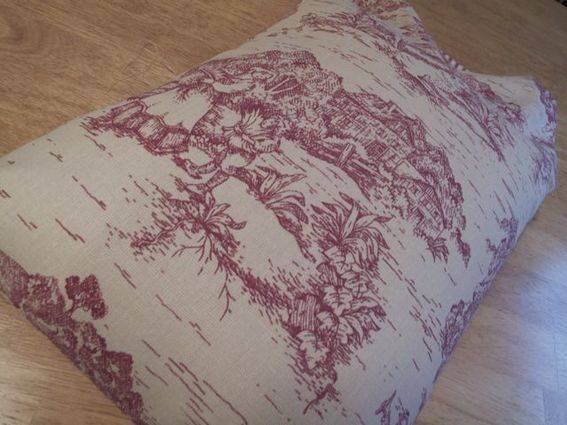
Now, the only tricky part of the project: Take the center of the pillow that will be facing front (in this case the toile) and pull it down toward the middle of the pillow until it is slightly taut.
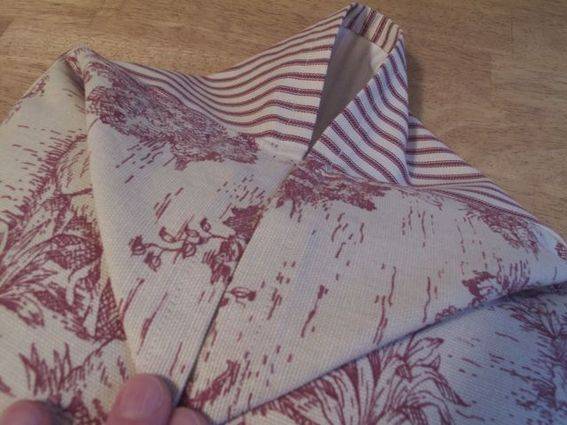
Now pull down the material that will be the back of the pillow, covering the fold we just made in the last step.
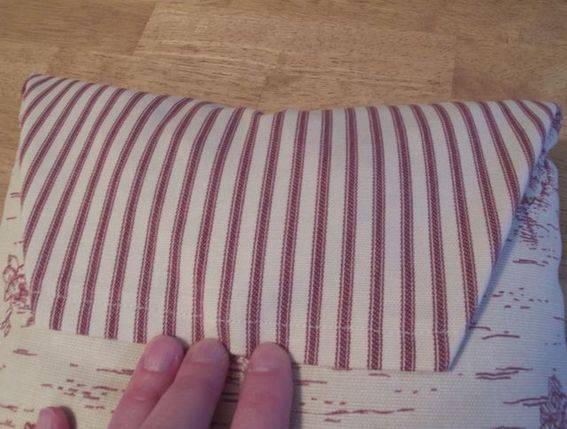
Pin the ‘flap’ you just made to the pillow, making sure ALL LAYERS ARE PINNED TOGETHER.
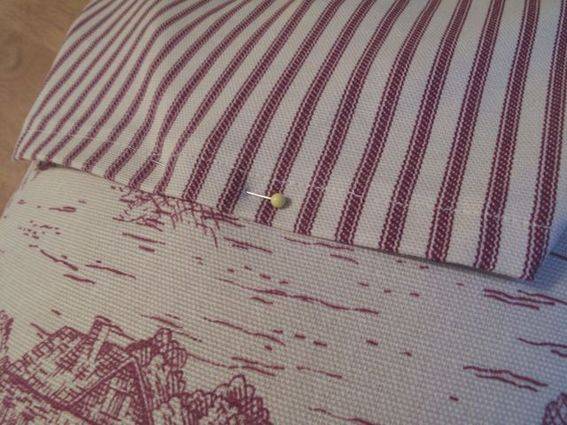
Take a minute to cover your buttons in the fabric that is facing the front–in this case the toile–following instructions on the package.
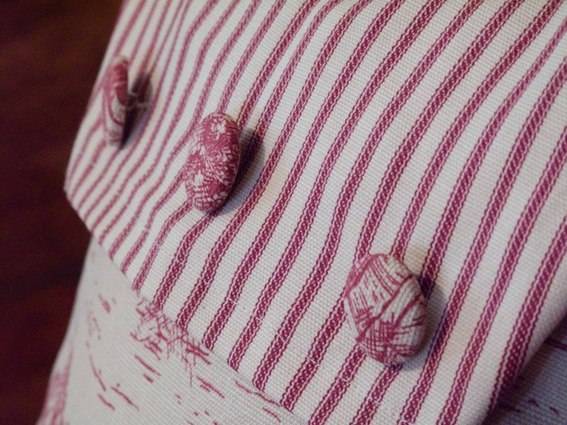
Now it’s just a matter of sewing on the buttons. Again, as we do this we MUST MAKE SURE WE ARE CATCHING ALL THE LAYERS OF FABRIC. It’s not hard, of course, just a little weird as we’re used to sewing buttons on through the back. (For positioning reasons, I found it easier to sew my center button on first and then the two that flank it.)

Here’s what the pillow looks like under the button flap part. They are now all stitched together, thanks to the three buttons we just sewed on.
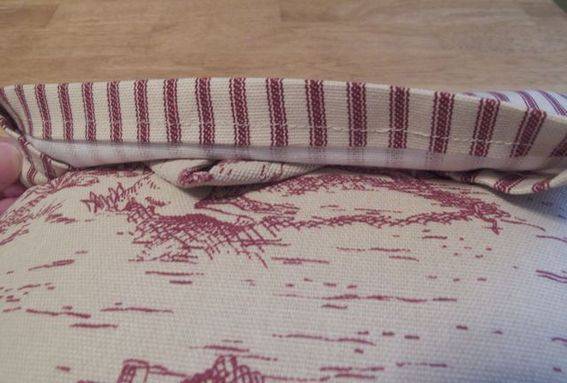
And that’s it! A sack-like, vintage-y button pillow.
DISCOUNT CODE FOR CURBLY READERS
Now through November 15, 2011, you can get a 20% discount on the fabrics I used in this post at FabricDirect.com:
