I’ve got a fun way to bring some Halloween spirit to your home: a spider web pillow! Having grown up in the home of a soft furnishings professional, I’m something of a pillow snob, so I want to share how to make a high-end pillow the way the pros do. Once you learn a few tricks, you’ll never go back!
Read on to find out how to make your own pillow, and get a special limited time discount on the fabrics I used here!
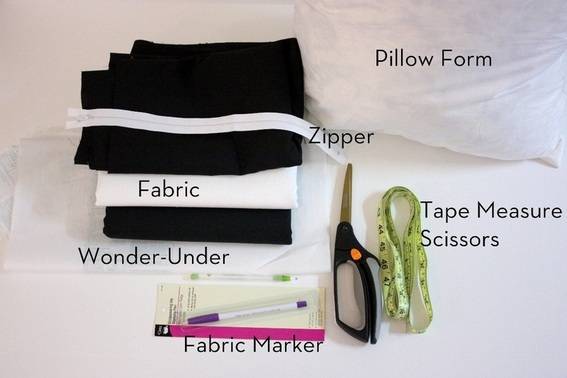
Tools and Materials:
- 20″ Feather/Down Pillow Form (I highly recommend a feather/down form for a more high-end look)
- 3/4 yards each black and white cotton duck fabric (using heavier and home-decor fabrics make a better pillow. Avoid regular cotton quilt-weight fabric when doing pillows!)
- Black broadcloth
- Fusible transfer web, like Wonder-Under or Heat-n-Bond brands
- Scissors
- Tape measure
- Fabric marker
- 14″ Zipper
- Zipper Foot for your sewing machine
- Thread, black and white
DISCOUNT CODE FOR CURBLY READERS
Now through November 15, 2011, you can get a 20% discount on all Cotton Duck Cloth and Broadcloth by the yard (the fabrics I used in this post) at FabricDirect.com:
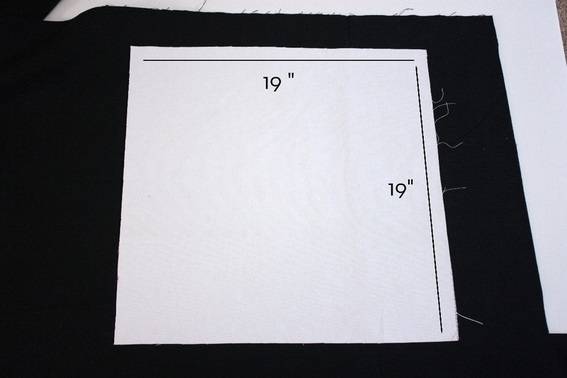
1. Cut your pillow facades at 19″ square.
Pro Secret #1: You want your pillow to be smaller than your feather pillow form, so it can be nice and plump!
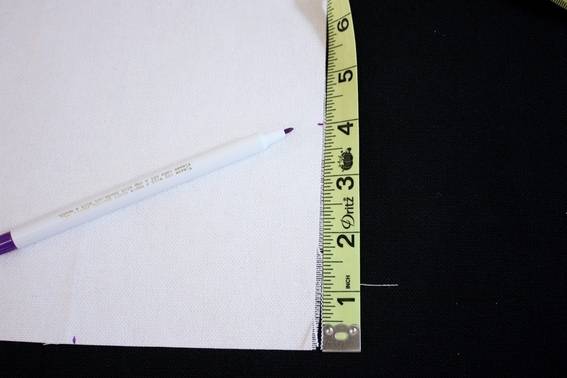
2. At each corner of your white fabric piece, mark 4″ from the edge.
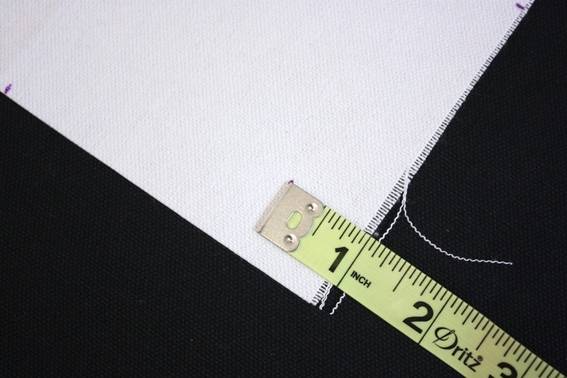
3. Next, make a mark 1″ in from the corner.
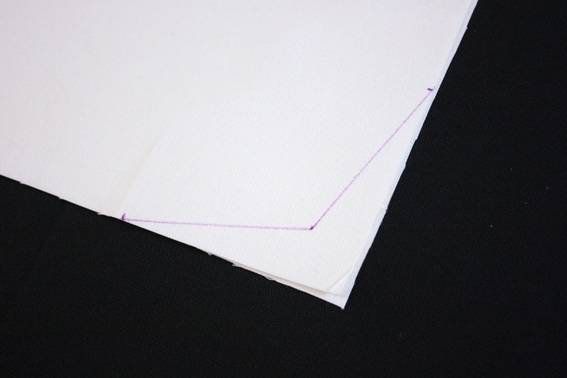
4. Connect these three points. This is your new corner. Why bother?
Pro Secret #2: By taking away some of the “point”, you avoid what people in the industry call “dog ears,” or floppy corners on the finished pillow that the pillow form can’t fill in.
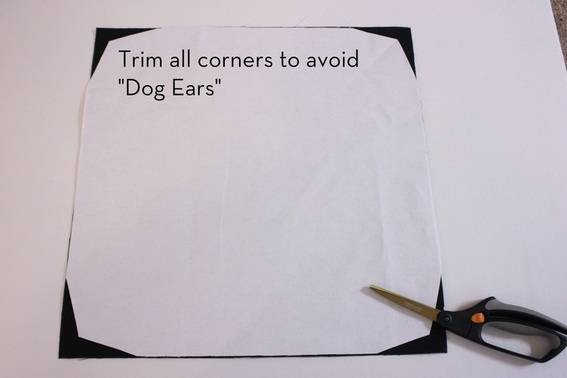
5. Use your white piece as a template and cut the same corners out of your black fabric.
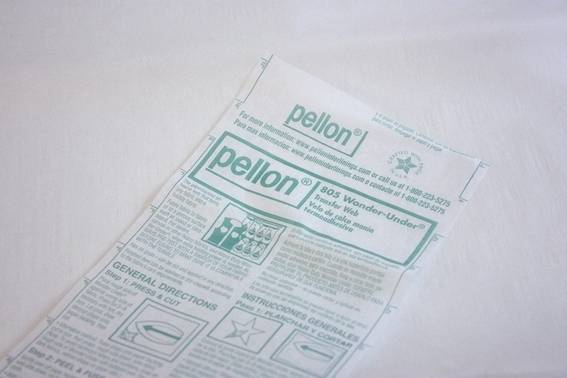
6. Time for transfer web! I am partial to Wonder-Under by Pellon. You can buy this by-the-yard at fabric stores. It is only 17″ wide, so I cut a piece 20″ x 17″ and another 20″ x 3″.
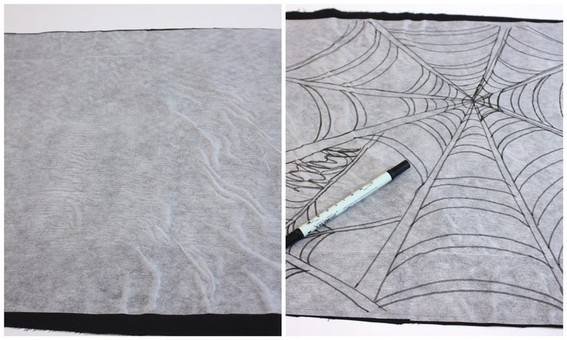
7. From your black Broadcloth, cut a 22″ square. Iron your Wonder-Under to this piece per the manufacturer’s directions. I just ironed my 3″ piece right alongside my 17″ piece, and no one was the wiser.
8. Using a pen or marker, free-hand a spider web image directly on the Wonder-Under. I first traced the size of my pillow piece to know exactly where to place my web. I am obviously not an artist by any stretch of the imagination, but no one will see the sketches in the end! Make sure everything is connected for an easy transfer later. If you’re really concerned about free handing, you could project your image, or use a grid transfer technique. But seriously, you can do this.
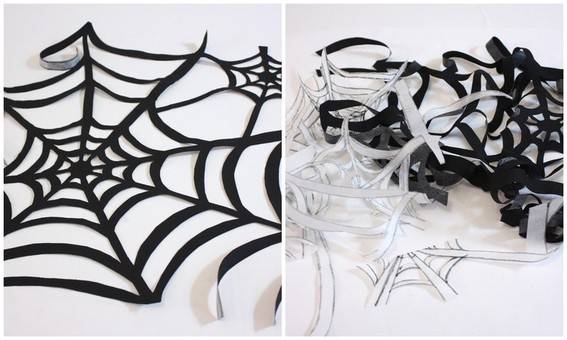
9. Pop in a good movie and carefully cut out your spider web pieces. This takes a little time and patience, but looks really cool in the end.
10. Carefully peel the Wonder-Under backing from your finished web. Or, be like me, and pull it off with a vengeance! The Wonder-Under will leave a residue on the back of the Broadcloth that will then adhere it to your pillow.
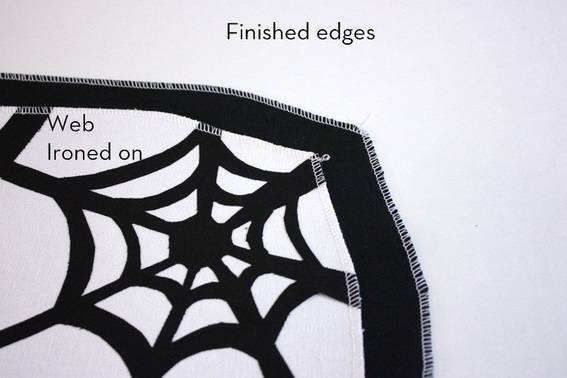
11. Line your web up with your pillow and iron it down, following the directions on your Wonder-Under. Let it cool, test it for spots that didn’t adhere properly, and press those again. Then, finish your edges- I used my serger, but you can also use Pinking Shears or a zig-zag stitch on your sewing machine.
Pro Secret #4: Leaving raw edges can lead to threads everywhere if you wash your pillow (which I wouldn’t recommend for this one), plus it just looks yucky on the inside of the pillow. Not that anyone looks there…
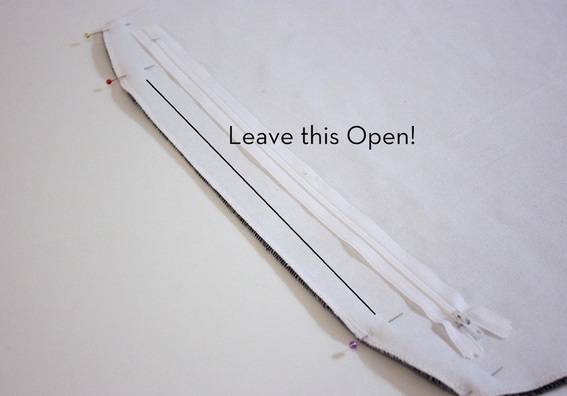
12. Place your pillow pieces right sides together, and pin on the bottom. Leave a nice 12″ wide opening so you can sew in your zipper easily. Sew from the edge of the pillow to where your pins are using a 1/2″ seam allowance (1/2″ from the fabric edge).
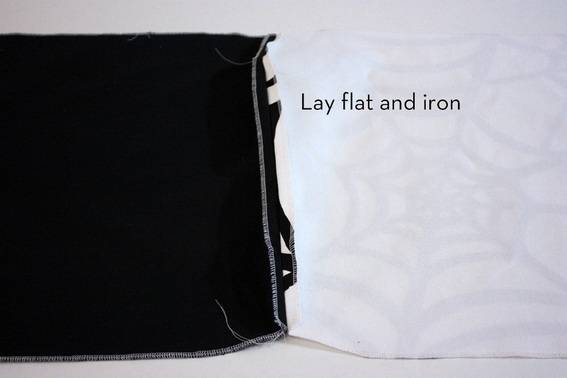
13. Iron the opening open 1/2″ to match your lovely sewing you just did. This fold you created will make putting in your zipper a breeze!
Pro Secret #5: Why put in a zipper? Well, feather pillow forms aren’t cheap, so I like to pull out the forms and re-use them all the time when I switch up decor. Especially on a seasonal pillow like this, you will want to be able to pull out the pillow form and fold up the pillow for next year when Halloween is over.
Want to know my favorite dirty little secret? I frequently hit up the pillow section at thrift stores or garage sales and purchase pillows that have feather/down inserts. I just toss the pillow and air out the form for a while before I use it!
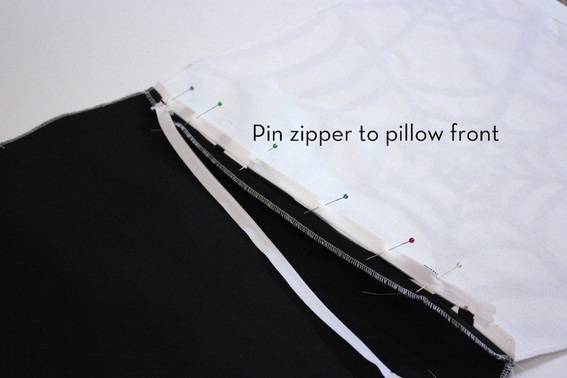
14. Lay your open zipper on the pillow face down. Pin your zipper to your pillow front (white piece) on the freshly ironed edge, lining up the edge of the pillow with the toothless part of your zipper. Use lots of pins if you want!
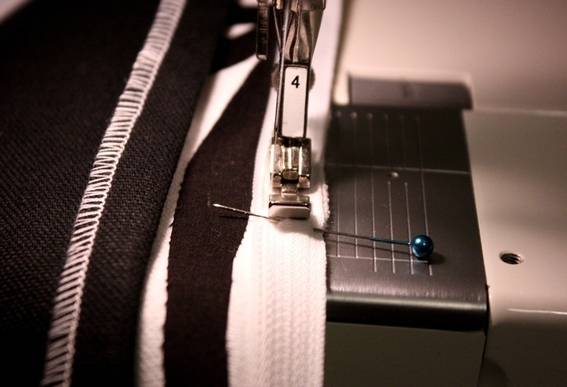
15. Use a zipper foot to sew your zipper on. If zippers make you nervous, don’t think of it as a zipper- it is just two pieces of fabric! The zipper foot will help you get close to your zipper teeth but not run over them. You can do it!
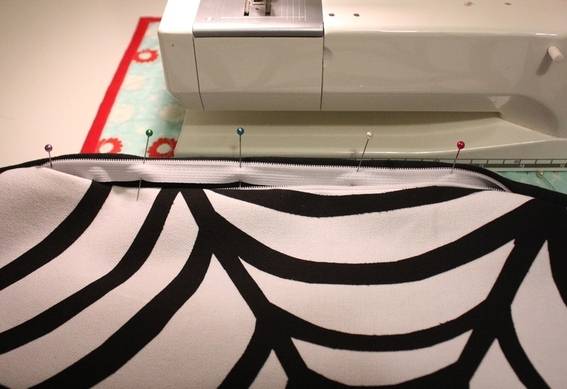
16. Switch your thread to black Pin the other side of your zipper to your black fabric, again lining up the edge of the pillow to the toothless side of your zipper. This time, though, keep your fabric folded under the zipper (so you have 3 layers your are pinning together), and leave about 1/4″ of the fold hanging over the zipper teeth. In the picture above, you can see a bit of the fold showing over the zipper. Sew the zipper down the same as before, just make sure you can pull the zipper tab out!
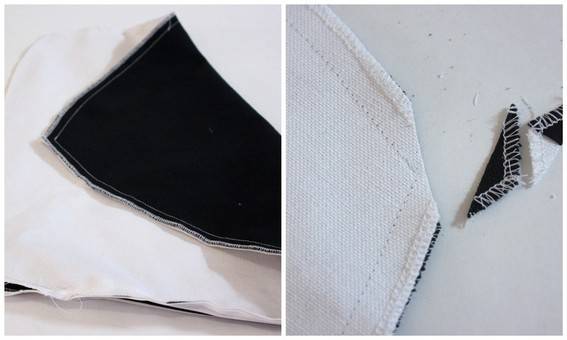
17. Leave your zipper open and sew the other three sides of your pillow together, using white thread again.
Pro Secret #6: Clip your corners off so the pillow will turn nicely! Now turn your pillow inside out, using a dull pencil or chop stick to get your points all the way turned.
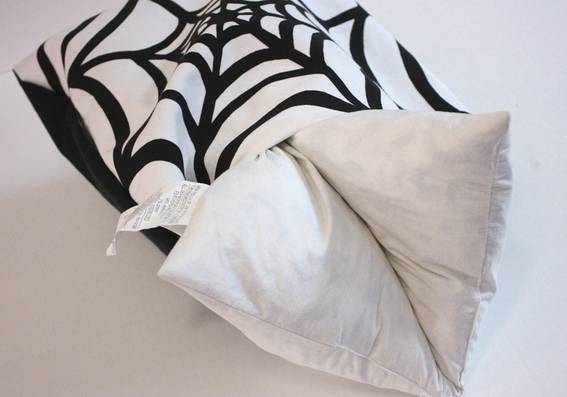
19. Fold your pillow form in half and stuff it into your pillow. Put the corners in place first, and then smoosh/fluff it up.
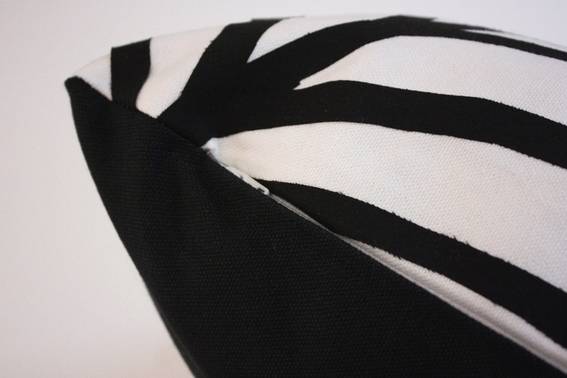
20. Close the zipper! Because you sewed the zipper in with the fold, the zipper will be mostly hidden and out of the way.
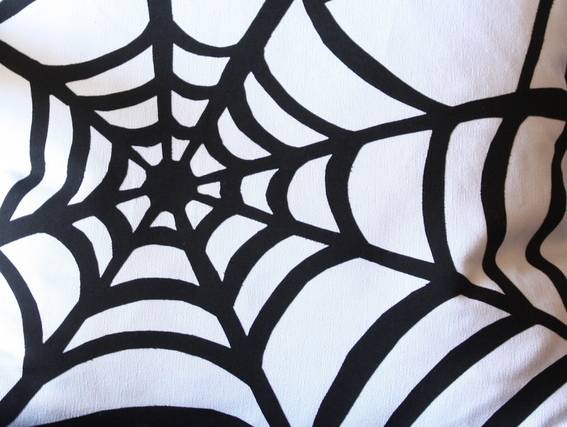
You are done!
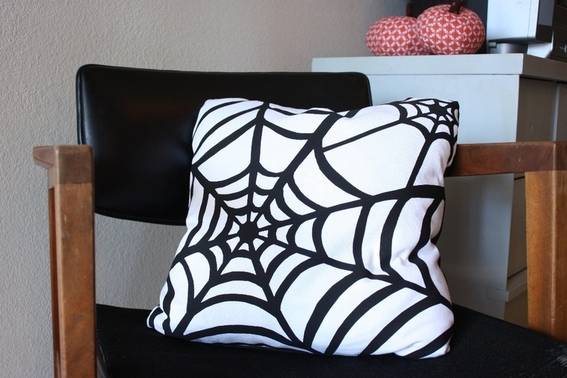
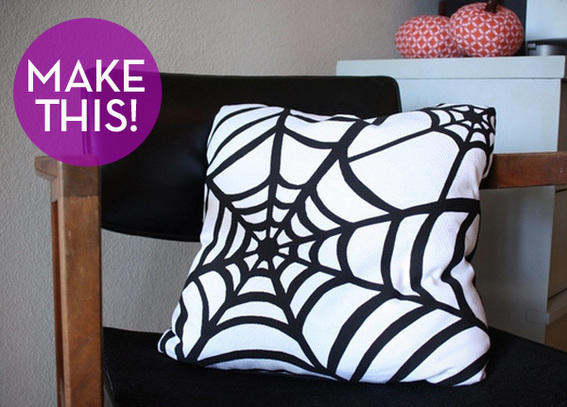
See? That wasn’t so bad at all. And it looks fabulous. As classy as something from Crate and Barrel, and bettwe made! Now your chair/couch/whatever can be in the Halloween spirit too!
DISCOUNT CODE FOR CURBLY READERS
Now through November 15, 2011, you can get a 20% discount on all Cotton Duck Cloth and Broadcloth by the yard (the fabrics I used in this post) at FabricDirect.com:
Hello, I noticed the instructions is for an 20×20 pillow, would I use the same formula for other sizes, such as 18×18, 16×16 and 14×14 pillows, when eliminating “dog ears?”