All this recent log talk made me fall back in love with a leftover from last summer’s tree maintenance. The trimmers charged about 500 bucks for all their work. Since I had all the supplies on hand to make it, my new log side was free, which sort of helps make up for that 500 bucks.
As for a list of said supplies, here goes:
- A log, mine is 8.5” in diameter and 18” tall.
- Planner–maybe
- Sander–for sure
- Sand paper, 80, 120 & 220 grit
- Poly–gloss, brush
- Pencil
- Tape measure
Getting Started:
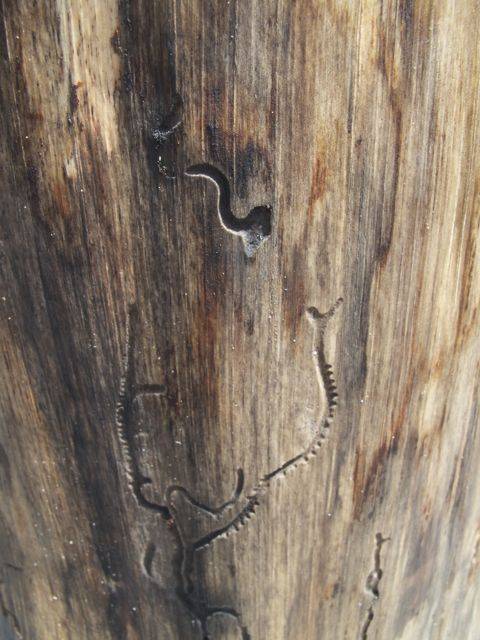
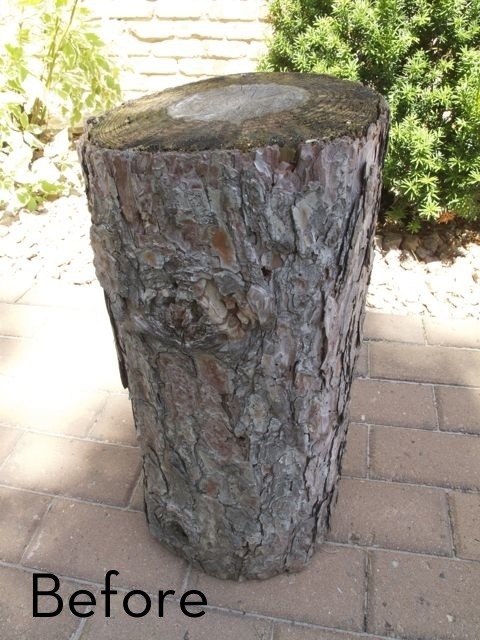
The bark on my log was beautiful, but it was peeling off. So the first thing I did was pull it free and expose the smooth wood underneath–and an entire unique ecosystem. There were wee beasties EVERYWHERE, as evidenced the picture shown below. Busy little buggers, weren’t they?
Then I washed the log with a brush and garden hose. This, of course, made the log wet, so I elevated it on a couple pieces of scrap wood and set it in the sun to dry out. This took about two weeks.
Getting Down to Business:
After the log was dry I wanted to make sure it was as level as possible, so I put it on a flat surface and measured up from the floor. Since my lowest point was 18”, I used a pencil to mark all around the top of the log at 18”.
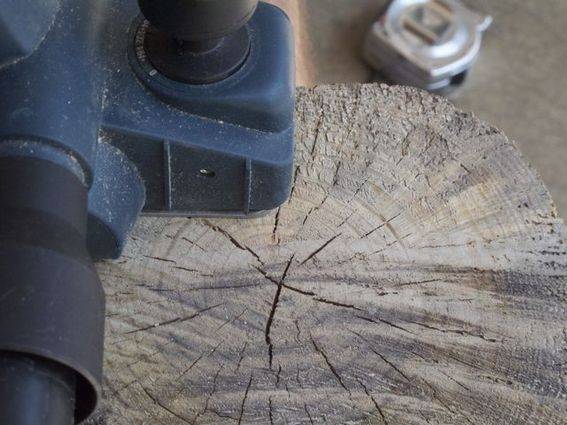
Because the highest point of my log was about 18 1/2” I needed to take off material until I got down to that 18″ pencil mark. At this point we decided to break out the hand planer (shown above) to speed up the leveling process. Alternately, some 80 grit and an orbital sander would do the trick too, it would just take longer.
(The top now level, but in need of sanding:)
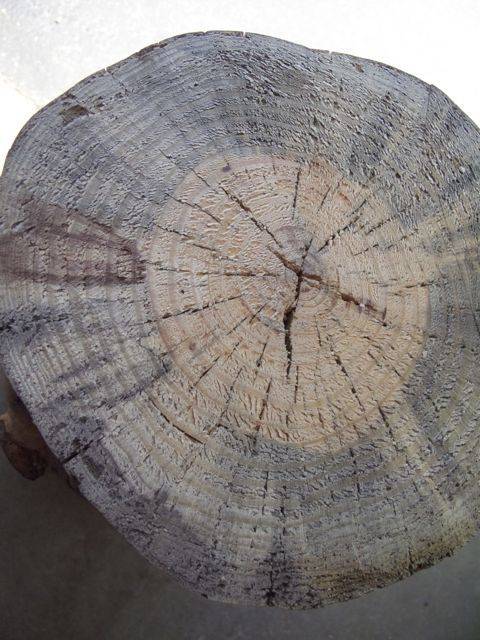
After the top was planed level, I used my orbital sander and some 80 followed up by 120 grit sandpaper to make the top silky smooth. I also used some 220 over the side of the log just because.
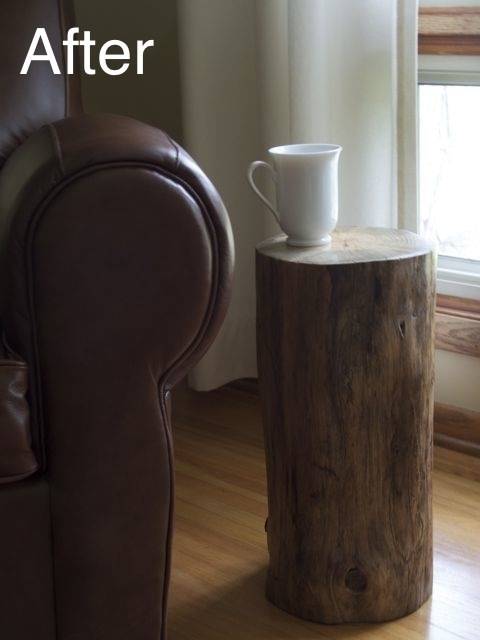
Then it was just a matter of putting 2 coats of poly on everything. I didn’t bother sanding between coats on the vertical, but I did use 220 between coats on the top. And that’s it. Here’s what my log looks like now:
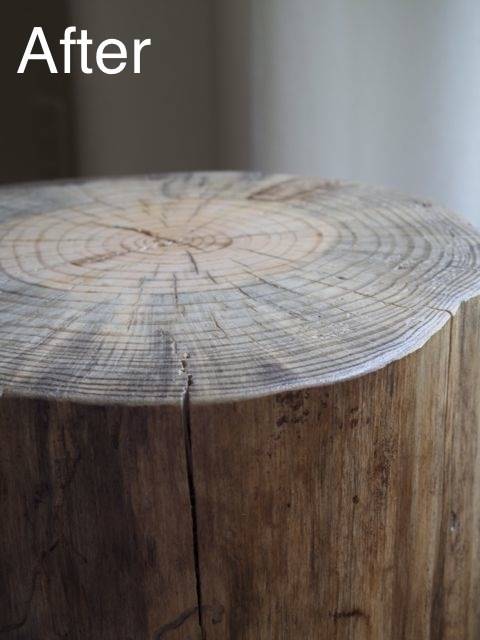
Honestly, I wasn’t sure how I was going to feel about having a stump in my living room, but I’m happy to say I love it.
If you’ve got some log lovin’ brewing, here’s some tips:
1. Get a log that’s already the approximate height you want. Also get one that’s already level, or at least somewhat. If that means passing over a log that you love for one that is just okay, get the level one, because GETTING one level can be a pain, especially if you don’t have the right tools on hand.
2. Make sure the log is COMPLETELY dry before you seal or paint it. This might take several weeks if the log has been out in the elements. If you have a moisture meter, USE IT.
3. Some trees can be sappier than others. I’d suggest sealing or painting every bit of your log so it doesn’t weep all over your carpet & etc. (My log came from a very old pine tree, so it was quite sappy.)
4. Some logs will have nubs where branches used to be. This look can be very interesting, but if you prefer a completely smooth vertical, watch out for them. (My log has nubs, but they’re only prominent on one side, so I can turn them toward or away from the wall, depending upon my mood, which is kinda cool.)
5. As for as sizes of logs, I’d suggest not smaller than 8” or so inches around and not taller than 18”, however, the bigger the diameter the taller you could go.
6. Logs are HEAVY. So if you see a 2′ diameter one remember it’s gonna be a back-buster to lift. Just keep this in mind.
Just a note on sealing the ends of a log with wax… we have a family woodworking business, and when we get a “green” log we apply wax to the cut ends of the log. This allows the wood to cure slowly without splitting or checking, and prevents over drying. This technique has been used by woodworkers for centuries.
Nice!!! What is the ideal moisture level?
Is the wax a furniture wax, a floor wax or a parafin?
@Nannette: I didn’t use any wax; just water-based polyurethane.