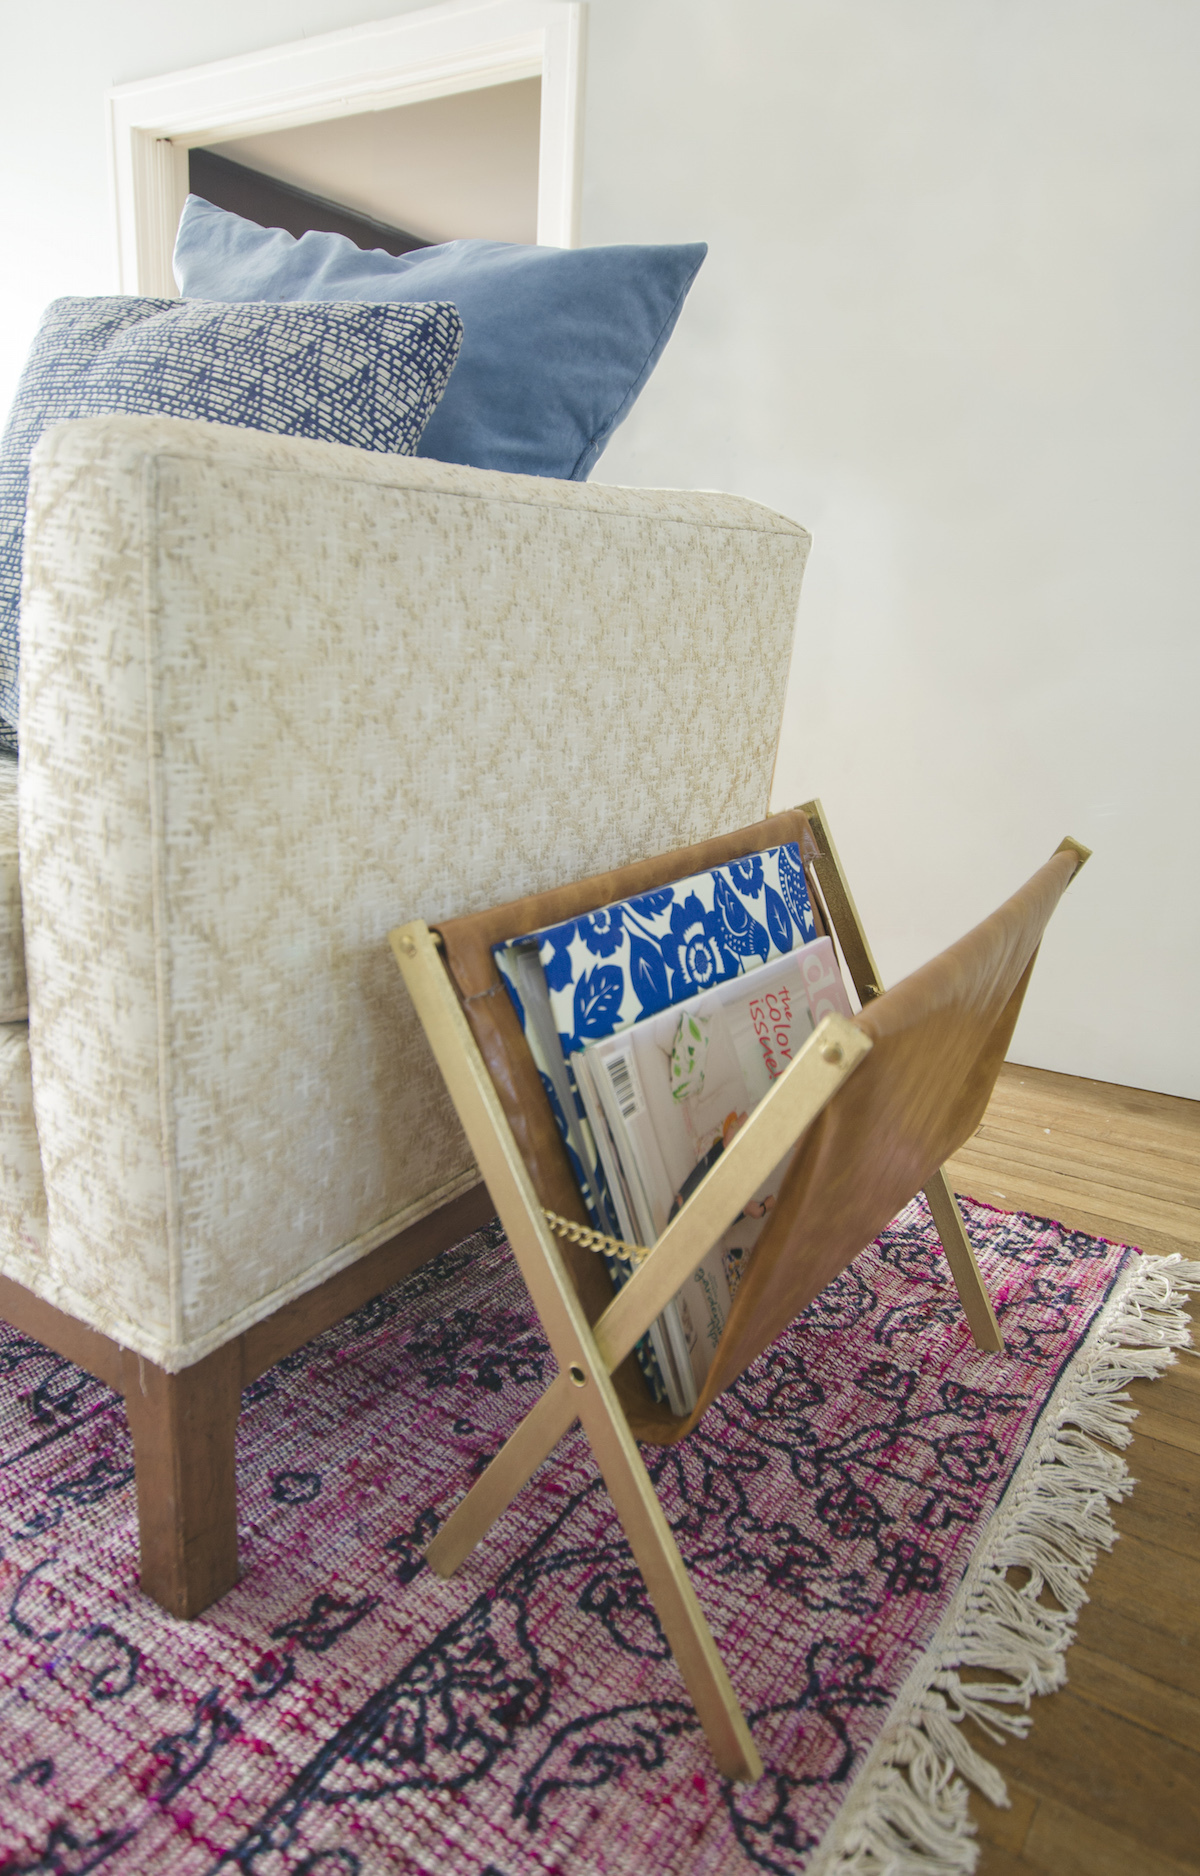
I love to read magazine and so does my family. Long live the paper subscription! So, I wanted magazine storage for our living room to keep them all in one place. So, let’s get to it: how to make a simple and stylish wood and leather magazine rack.
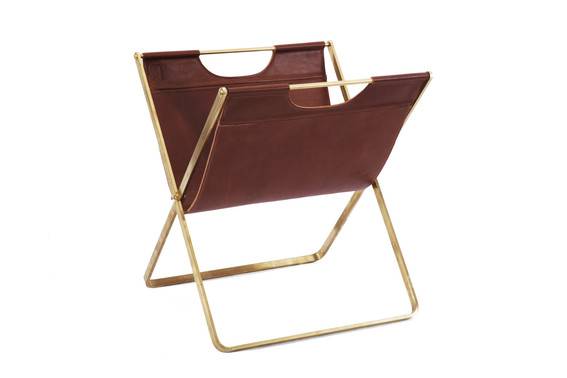
First the research: I am really drawn leather and brass/gold magazine racks like this one.
I was originally going to attempt this with a vintage folding tray table but realized quickly a folding tray table is too tall for magazine rack. My second thought was a luggage rack, but they also weren’t the right height or width.
But then! I pulled into a garage sale and found the below clothes drying rack and thought, hmm…. this thing actually might work.
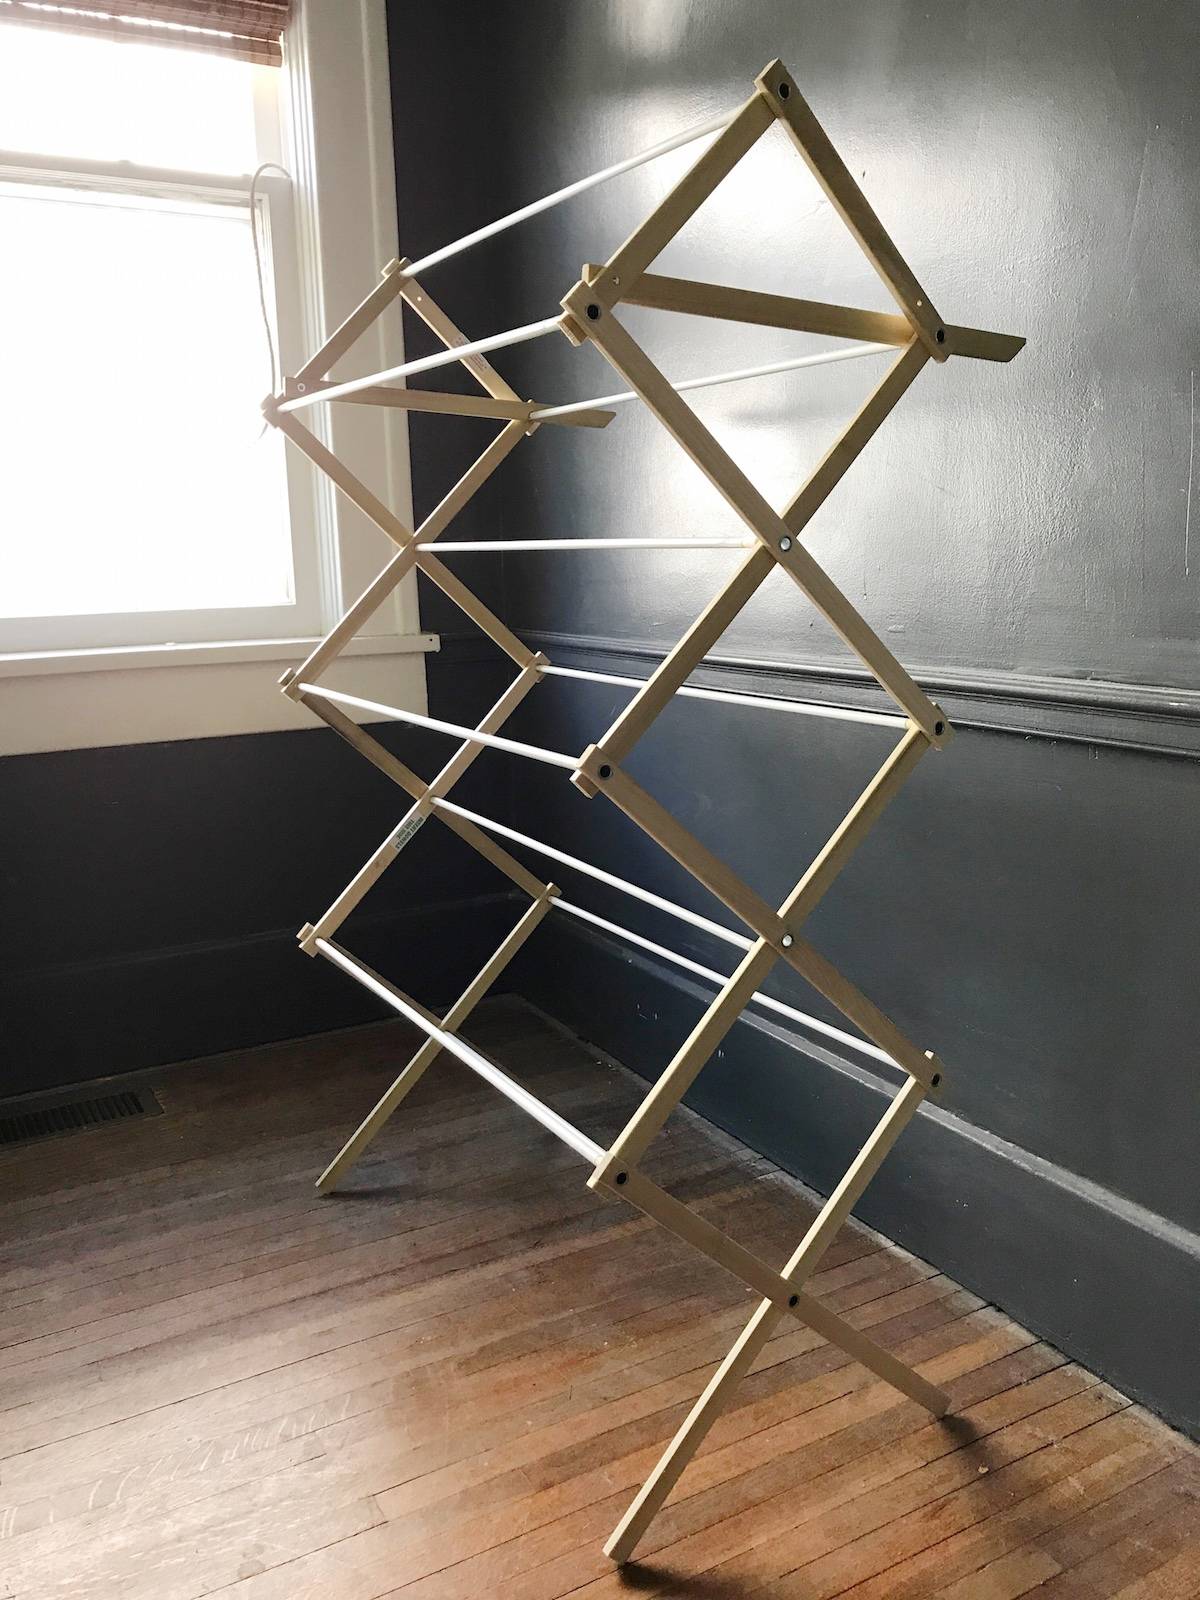
The funny thing is this drying rack (I think) is the cheapest one you can by at a discount store. I got lucky with a garage sale price but I will link to a new option in the materials list.
materials
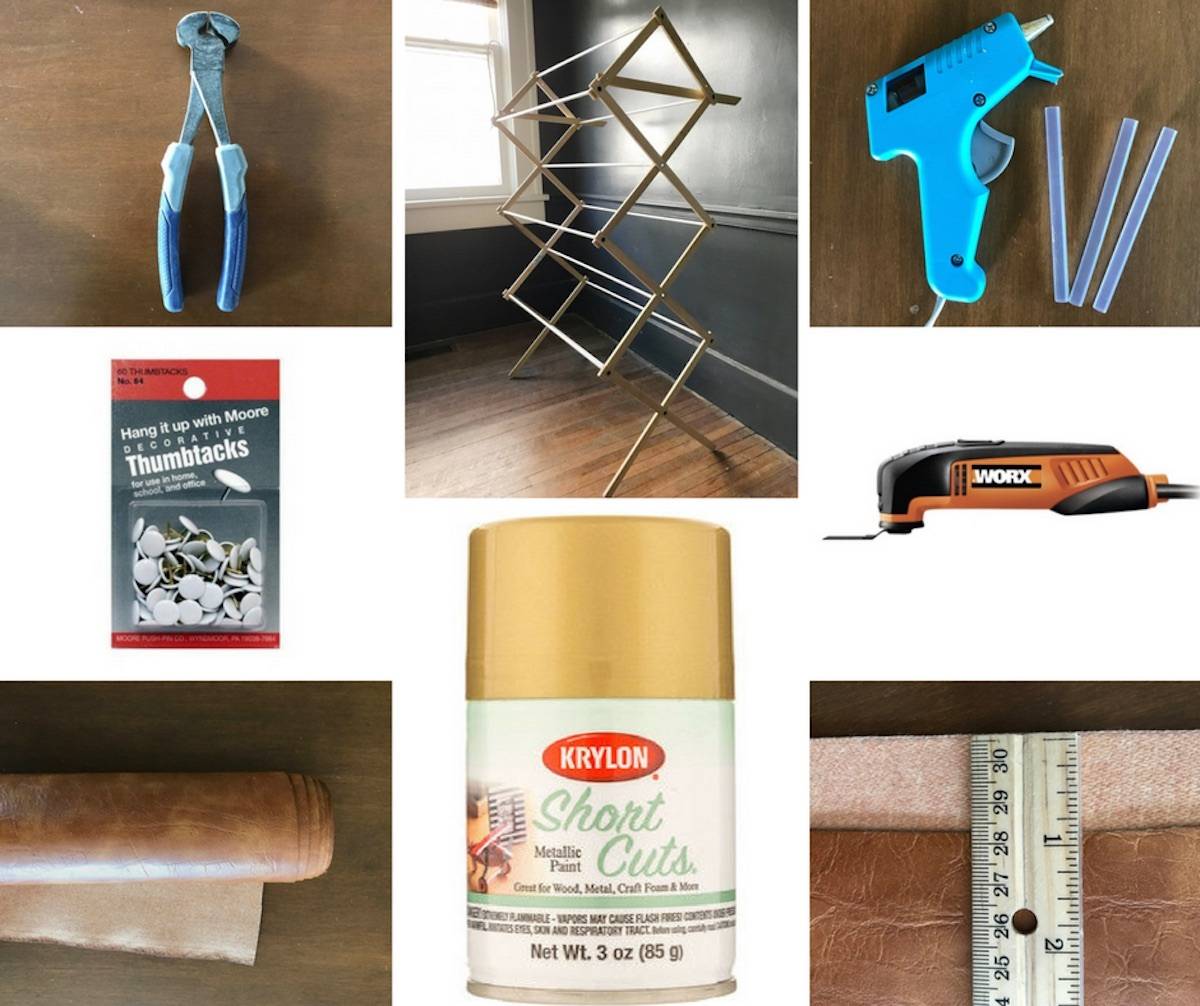
Here is what you need:
- Wooden clothes drying rack. Here is a great one from Amazon
- leather, vinyl, or upholstery fabric. I chose this faux leather from Joann’s
- hot glue gun or sewing machine
- gold spray paint
- hand saw or multi tool
- chain or string
- cutting pliers (optional)
- thumbtacks
- scissors (not pictured)
- ruler
Step
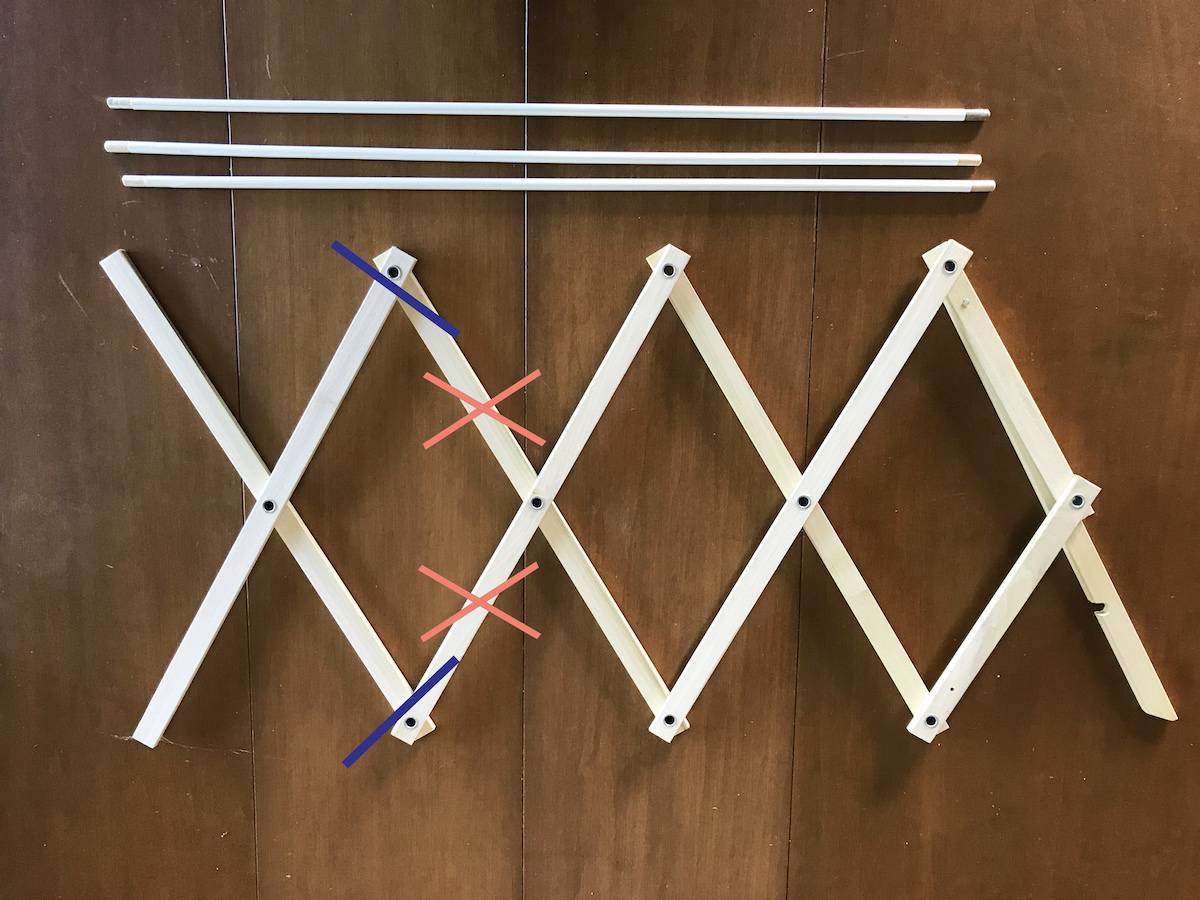
Take apart your drying rack and set the aside the dowels. Now, we need to cut it up. There are many ways to do this, but through trial and error (and a few mistakes) this is how I did it:
The bottom half of the rack would become the side pieces of the rack. It is hard to tell in pictures but we cut underneath the grommet at a 90 degree angle. To truly get a 90 degree angle we needed a little more freedom of movement from the accordion rack. To get this we FIRST cut the rack where you see the pink Xs.
Step
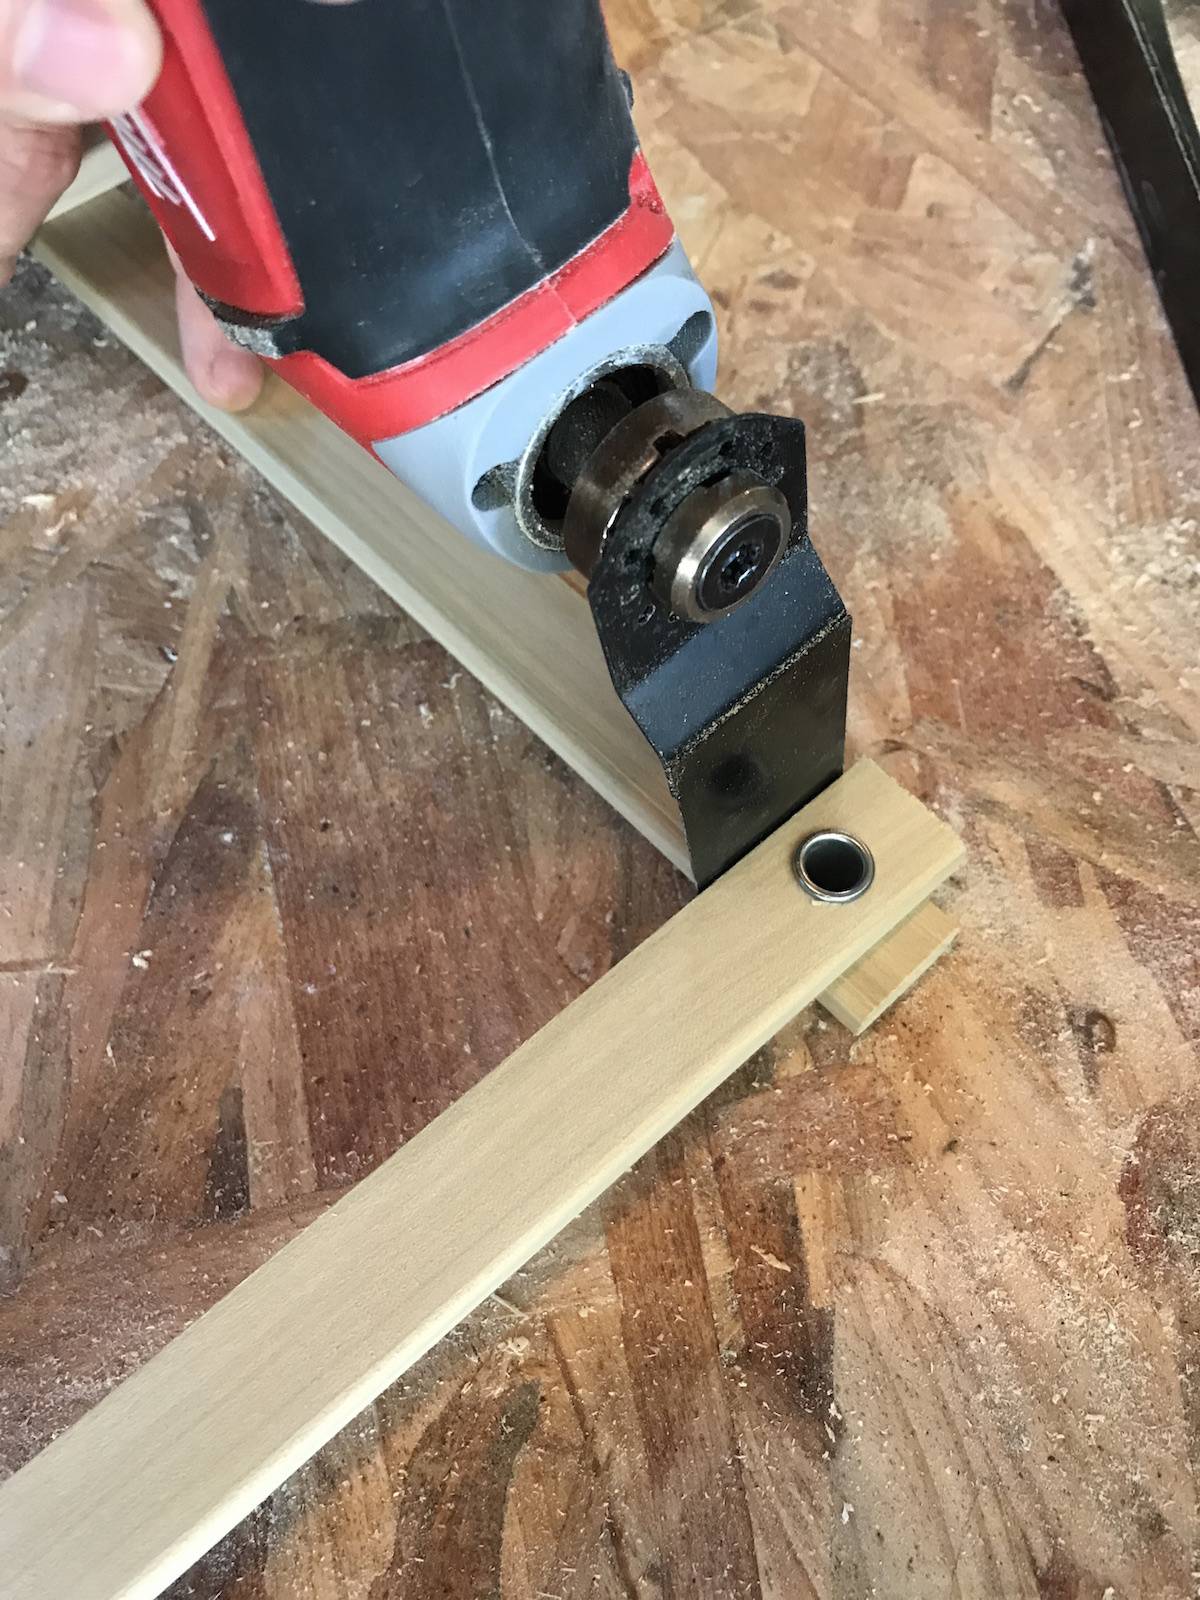
After you have made the cuts to give the rack freedom you can adjust the piece of wood you are cutting of to make a nice clean 90 degree cut under the grommet. Cut one side, then flip it over and cut the other side.
I originally tried to keep the grommets since the dowel rods where made to fit in them, but it was hard because the grommets went through both pieces of wood. The dowel rods are made to be smaller where they are to be inserted. I decided I could drill holes in faster time than to figure out how to remove/cut the grommet and sand down the freshly cut dowel rods to fit.
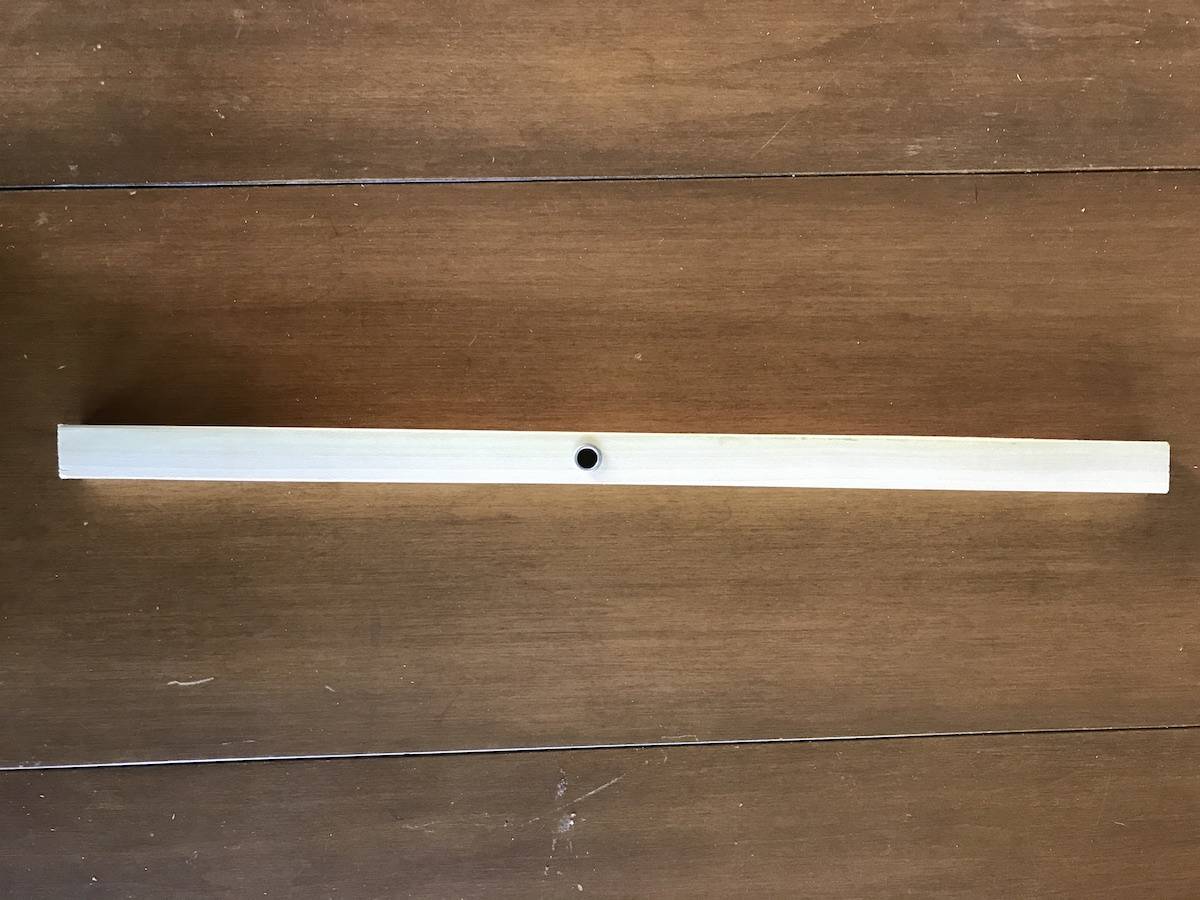
Here is what one side should look like when it is cut. You will need two of these. The middle grommet is your connecting point. Since we cut of the top grommets the distance from the grommet to the end of the wood is not the same on this side. This was actually better for the structure of the magazine rack. Use the longer side to be the base of the magazine rack and the shorter side to be the top. This will allow the leather/fabric of the magazine rack to hang down a little more.
Step
Repeat Steps 1-2 on the opposite side of the drying rack. Make sure both sides are the same length.
Step
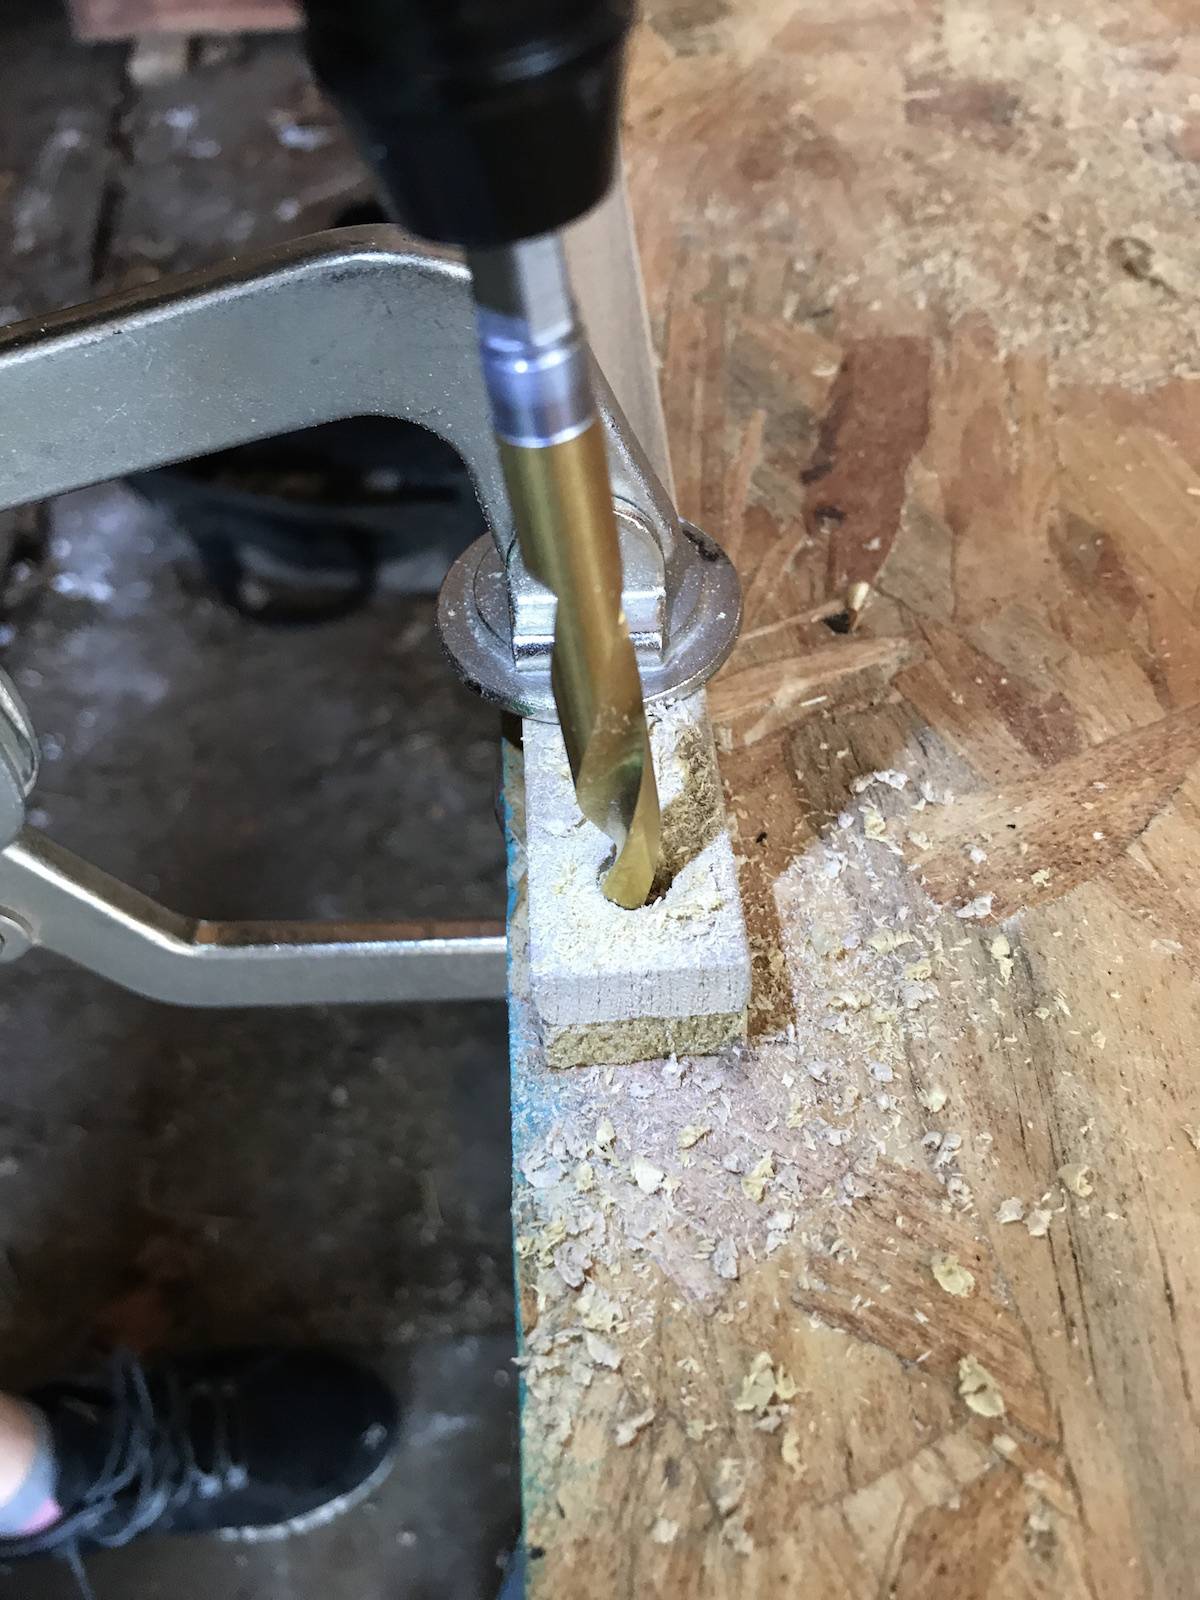
You now have two Xs which are the two sides of your magazine rack. Drill holes in each end of one side of the magazine rack. To make sure they match, stack them and drill both at the same time. Then lay the side with drilled holes on top of the side with no holes and mark where the holes should be drilled (not pictured). Drill the holes on the second side of the magazine rack. It is important to measure well so your dowel rods will be level when inserted.
Step
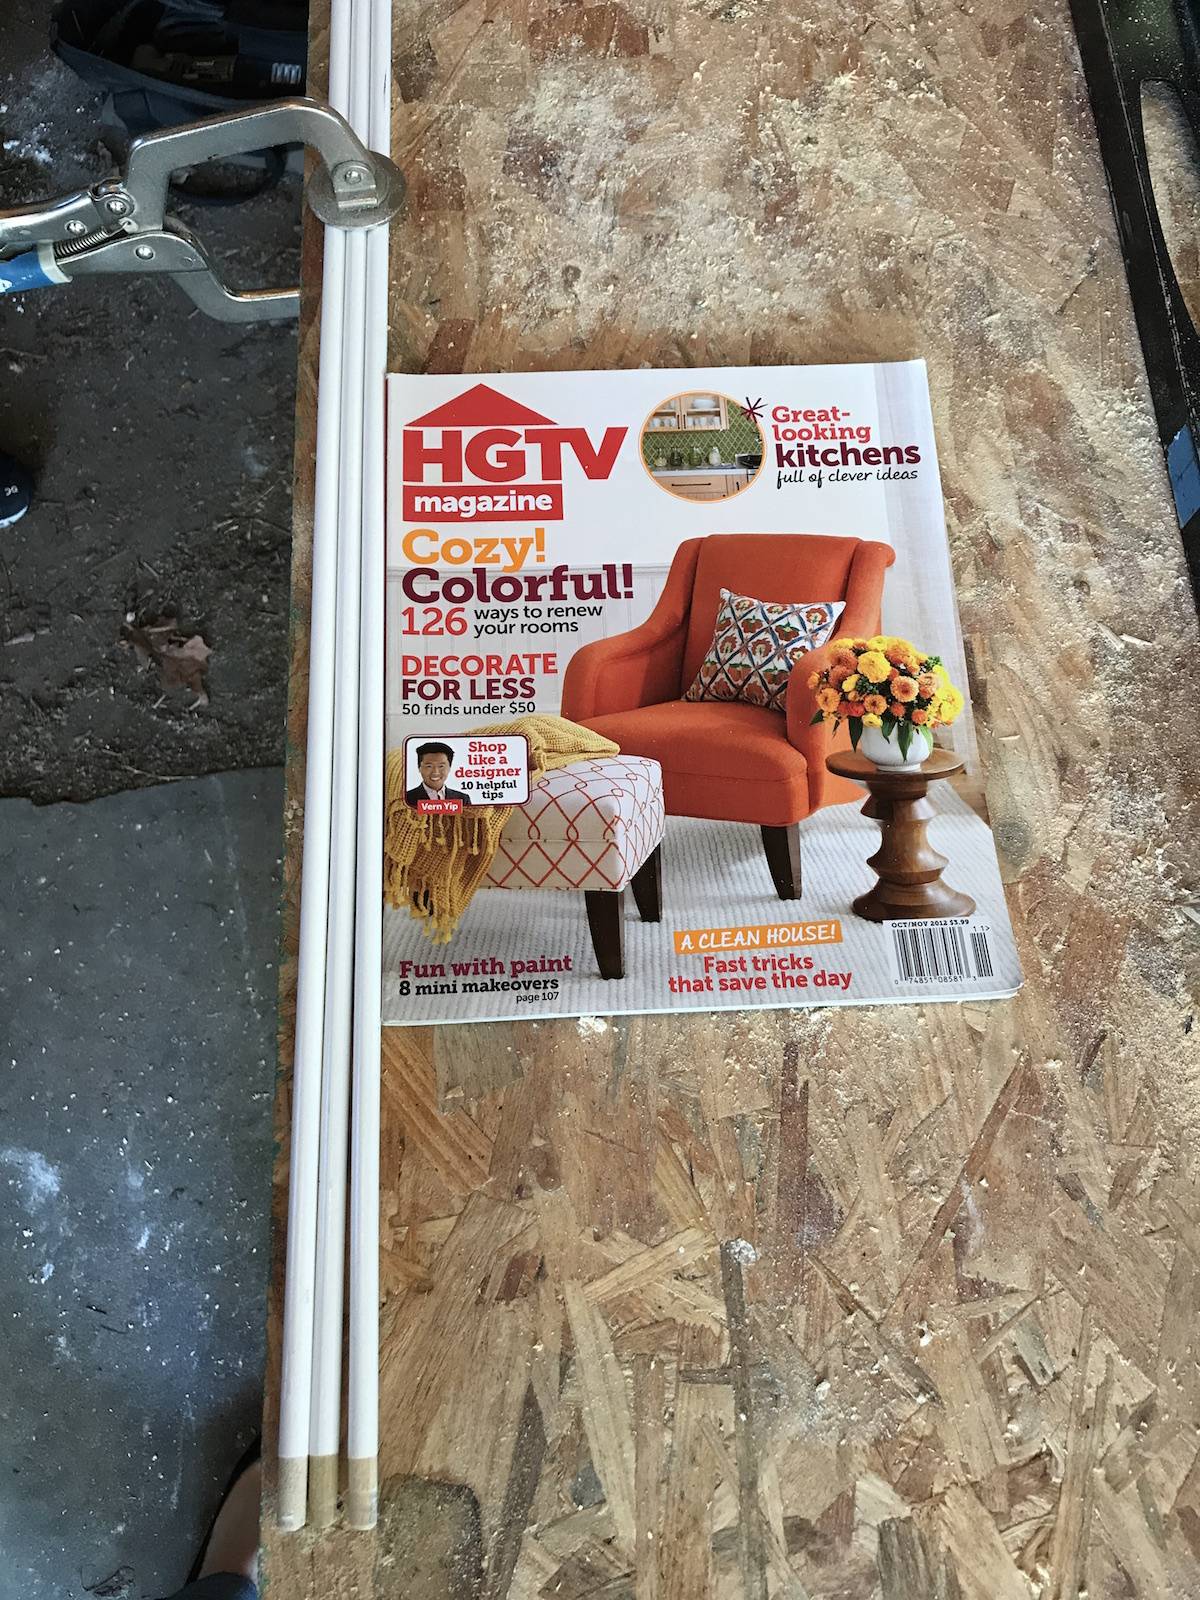
Now it is time to measure the dowel rods. I used a magazine to estimate my length. I wanted it to be a bit larger than the magazine just in case I wanted to store big coffee table books as well.
The length is up to you, but I wanted my magazine rack (the exposed part) to be 17 inches wide. In measuring, I had to take into consideration that I would cut off the sanded ends. I cut off the grommets in Step 2 so I needed both sides of the dowel to be the same thickness. Before measured, I cut these off. (not pictured)
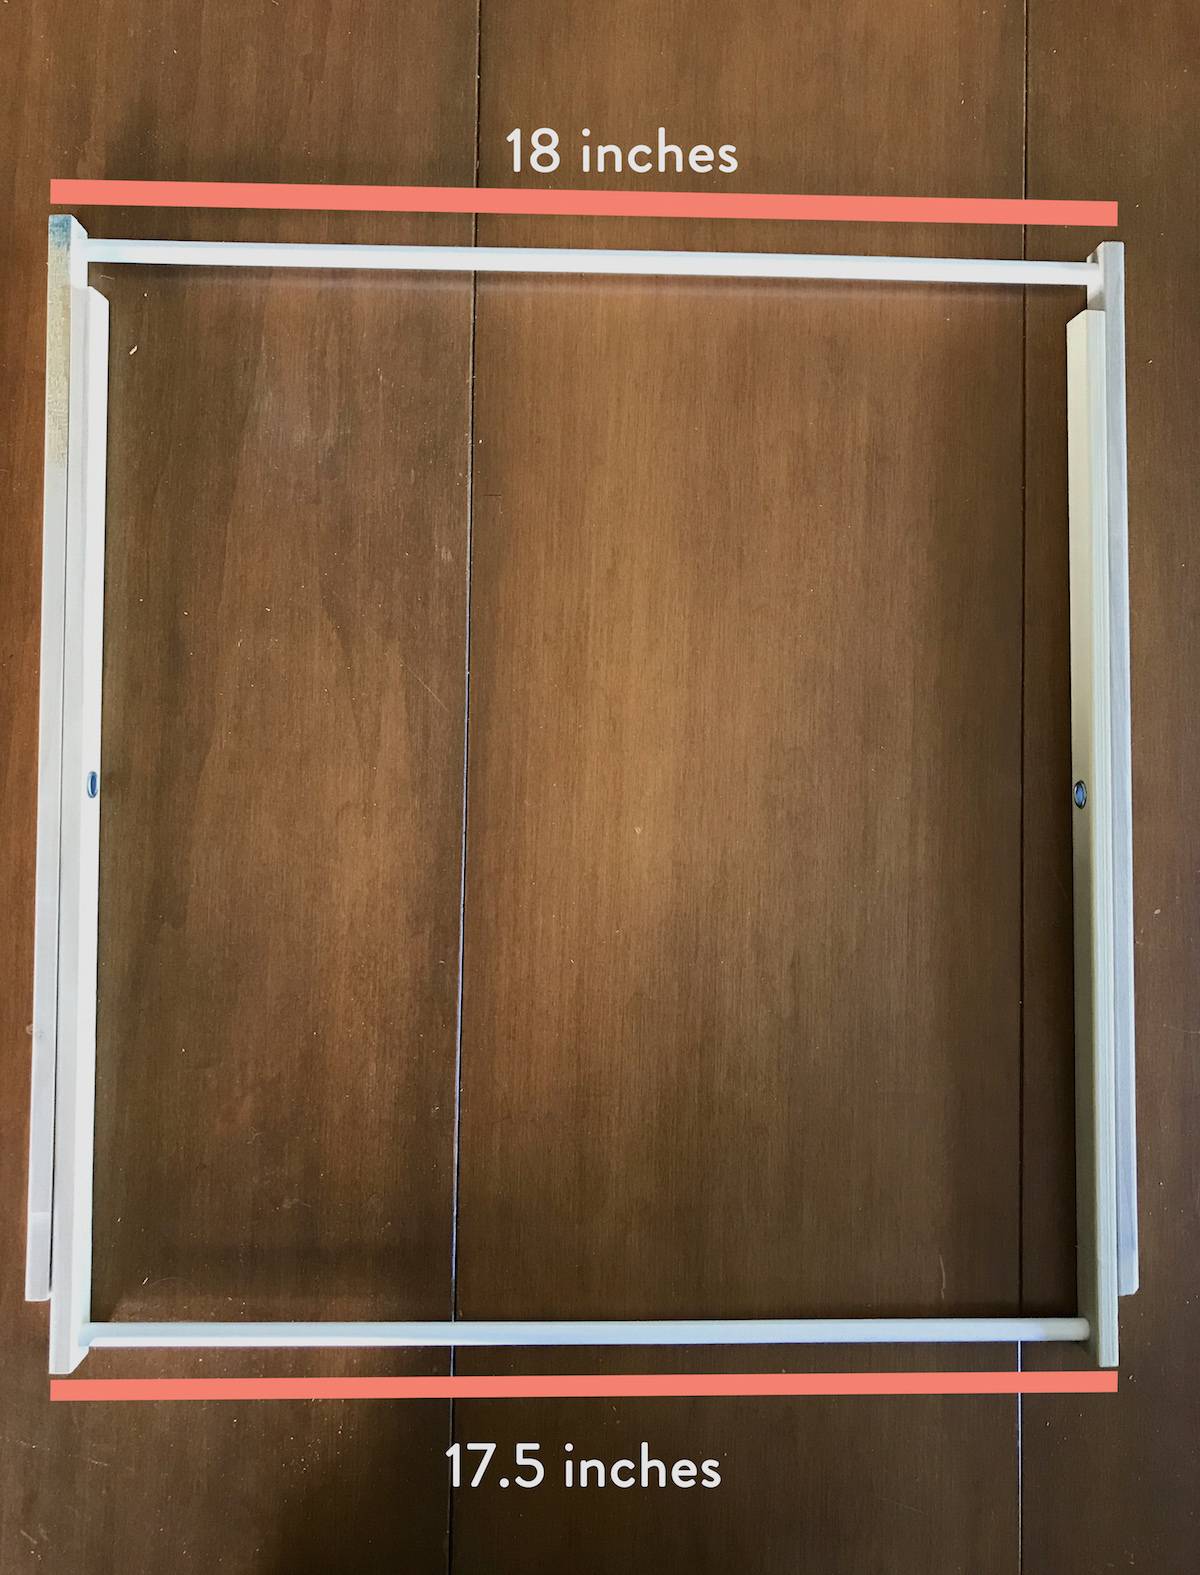
Your two dowel rods will be different lengths due to one being inserted into the inside of the rack and one being inserted into the outside of the rack. I wanted my dowel rods to be inserted all the way through the wood to be flush with the outside of the rack. The depth of my wood was 1/4 inch. The bottom dowel was easy. I needed to cut the dowel 17.5 inches.
The top dowel had to be 1 inch longer because it had to extend the length of two of the .25 inch deep pieces on each side totaling .5 inches more on each side. I cut it 18 inches. [17inches + .5 + .5 = 18 inches]
Summary: Whatever your measurement cut one dowel 1/2 inch longer than the other.
Step
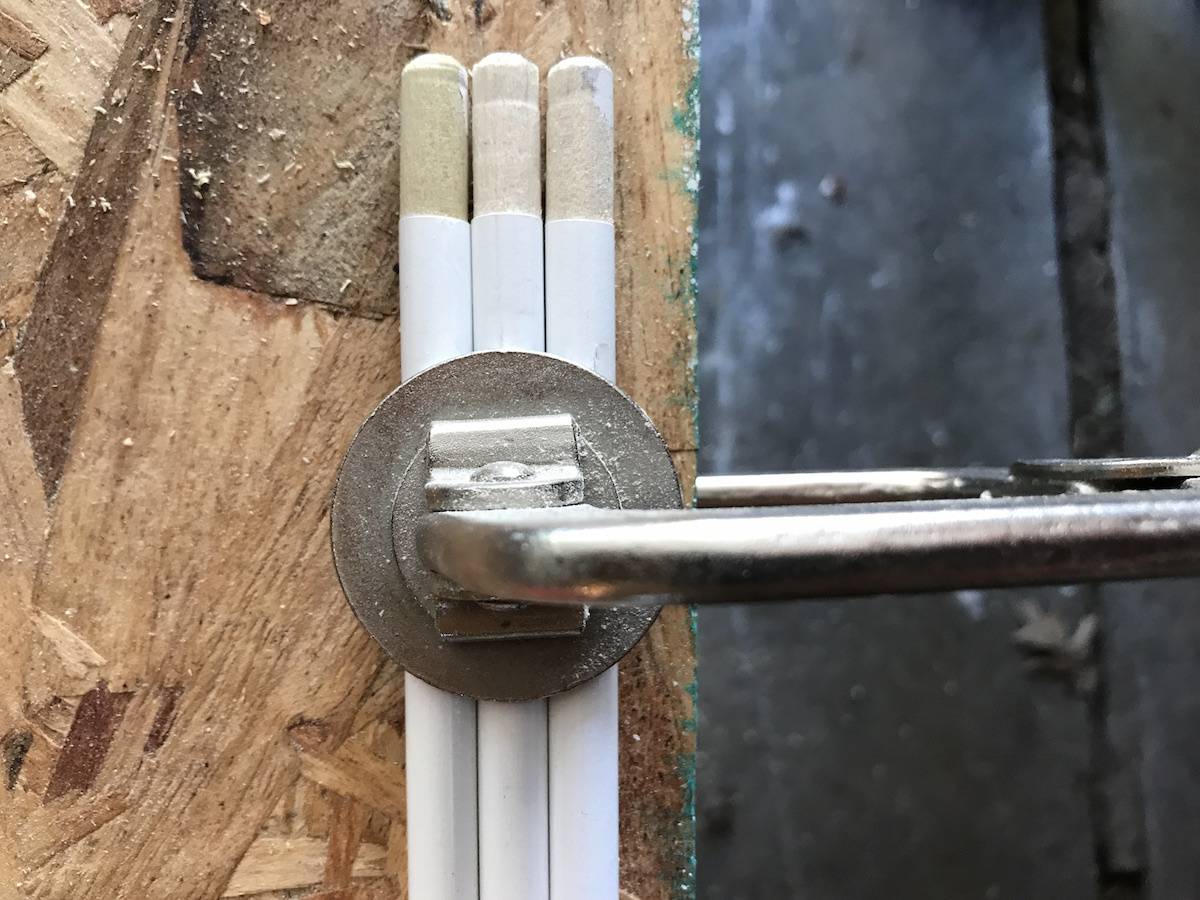
Cut your dowel rods. The picture shows me cutting three rods, but I learned later that you only need to cut two. Use a clamp to tighten them down. I used my multi-tool to cut them down. You could use a hacksaw or chop saw.
Step
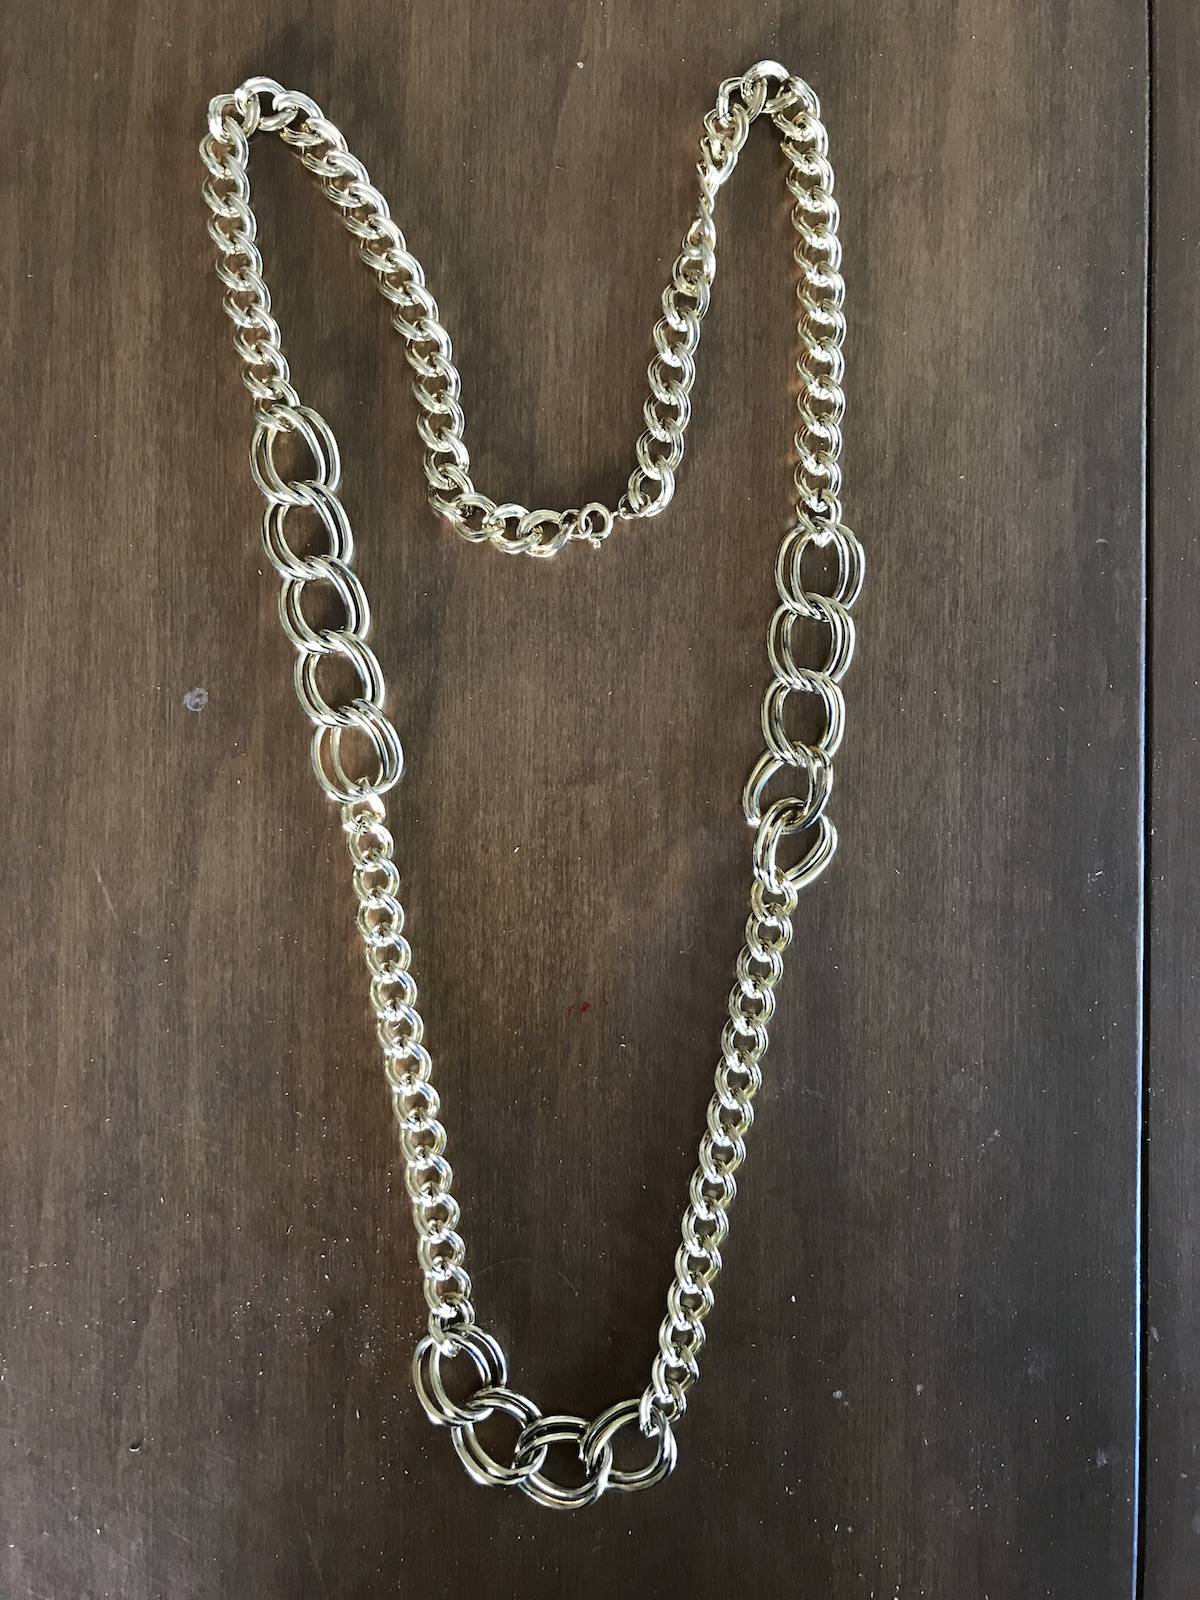
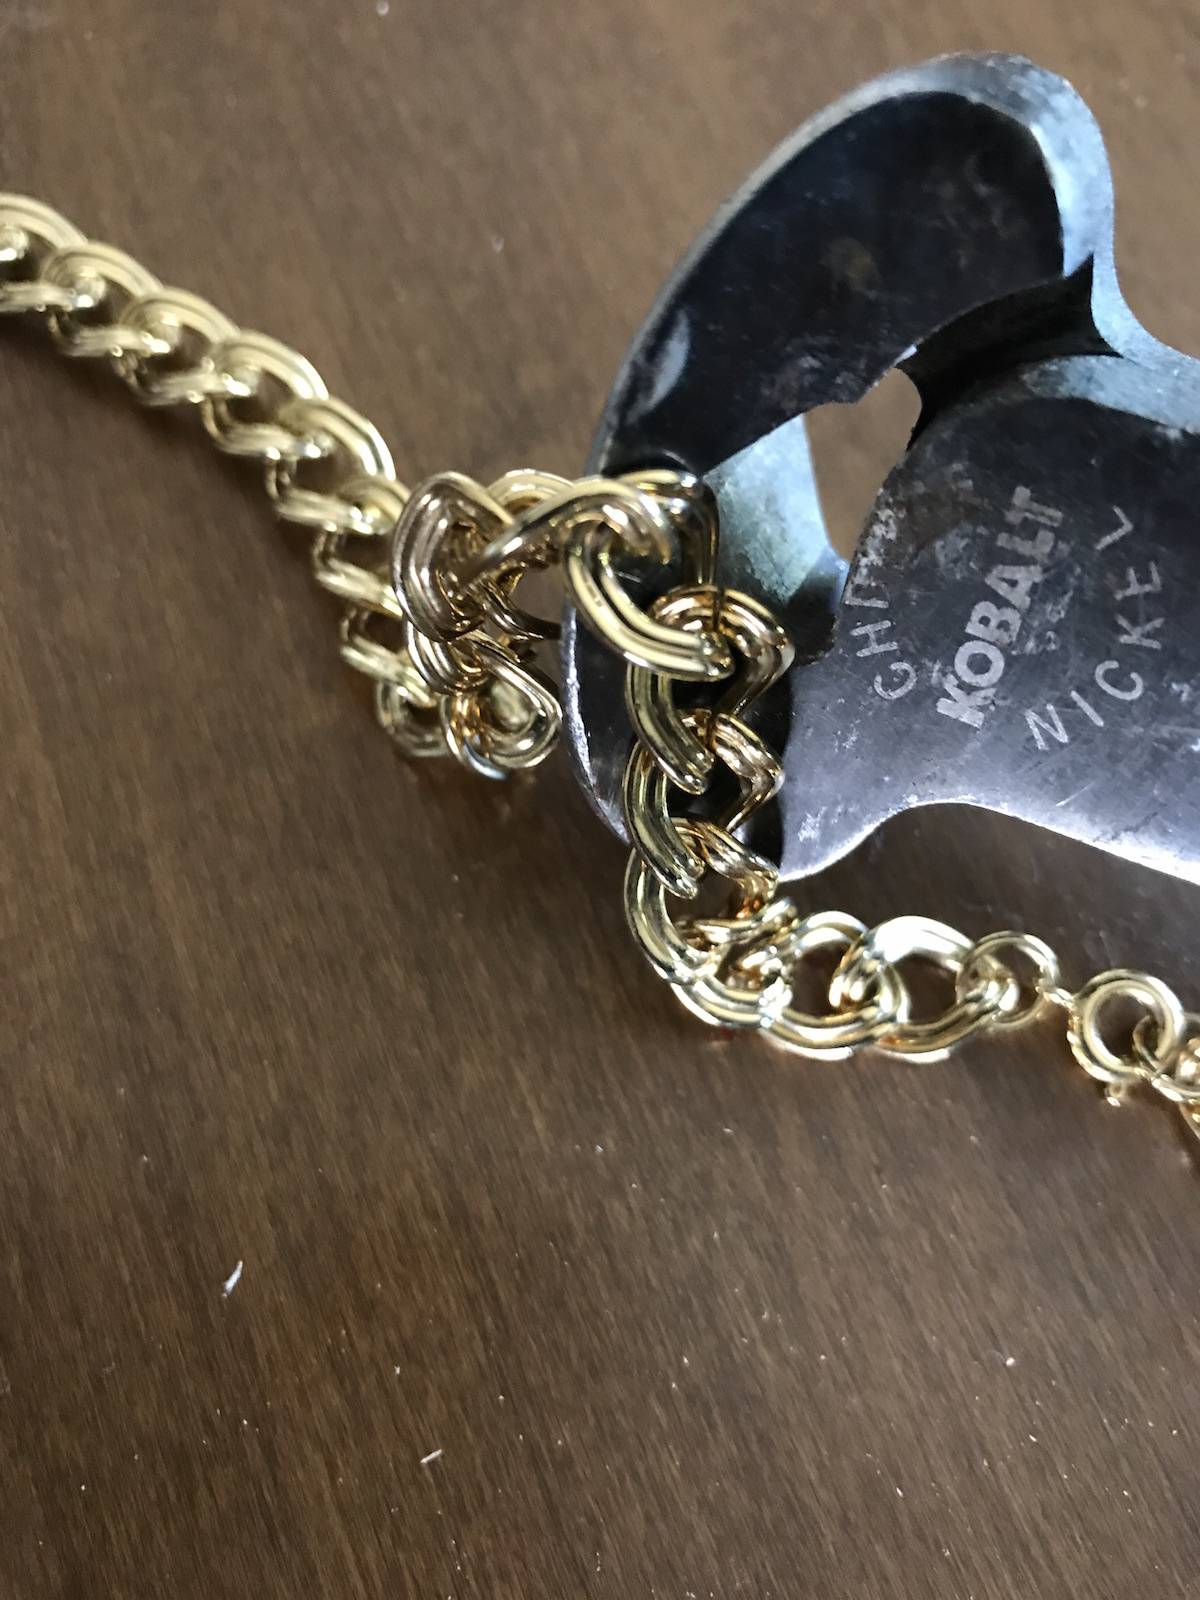
To keep the magazine rack from closing you need to secure the sides. I used my snippers to cut an old necklace I had.
Step
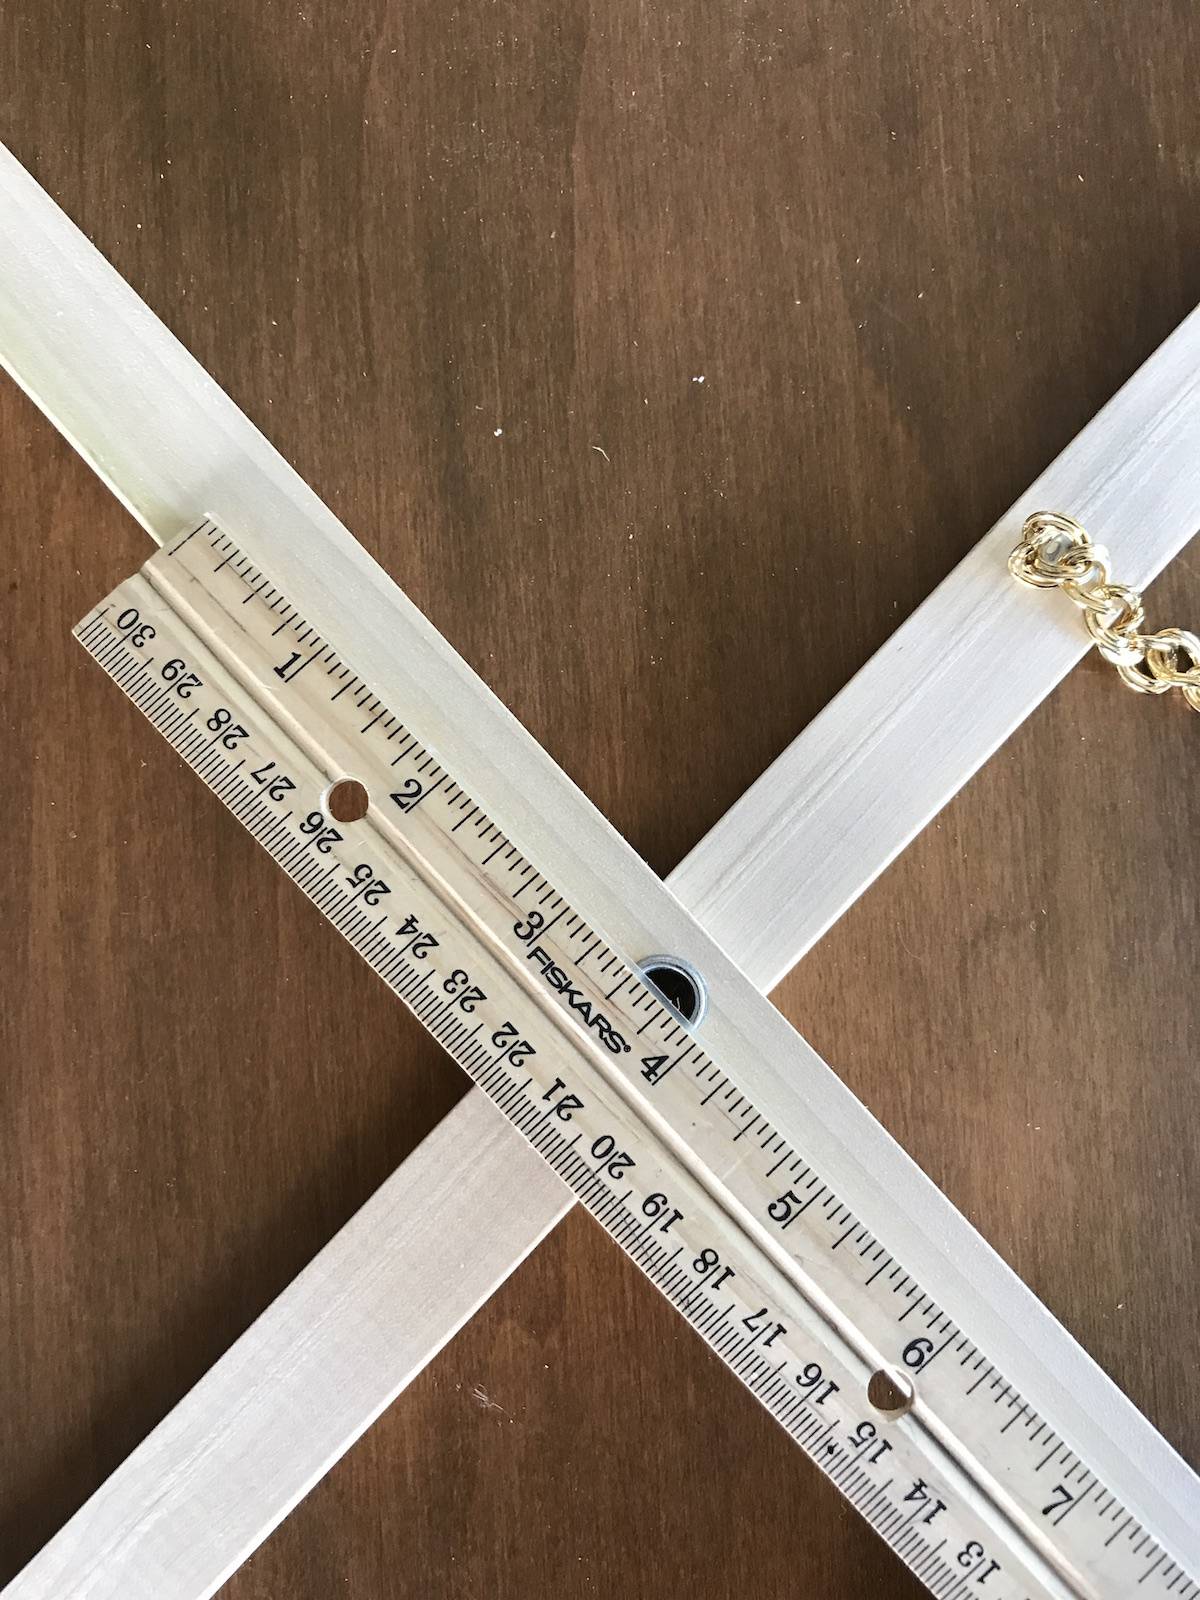
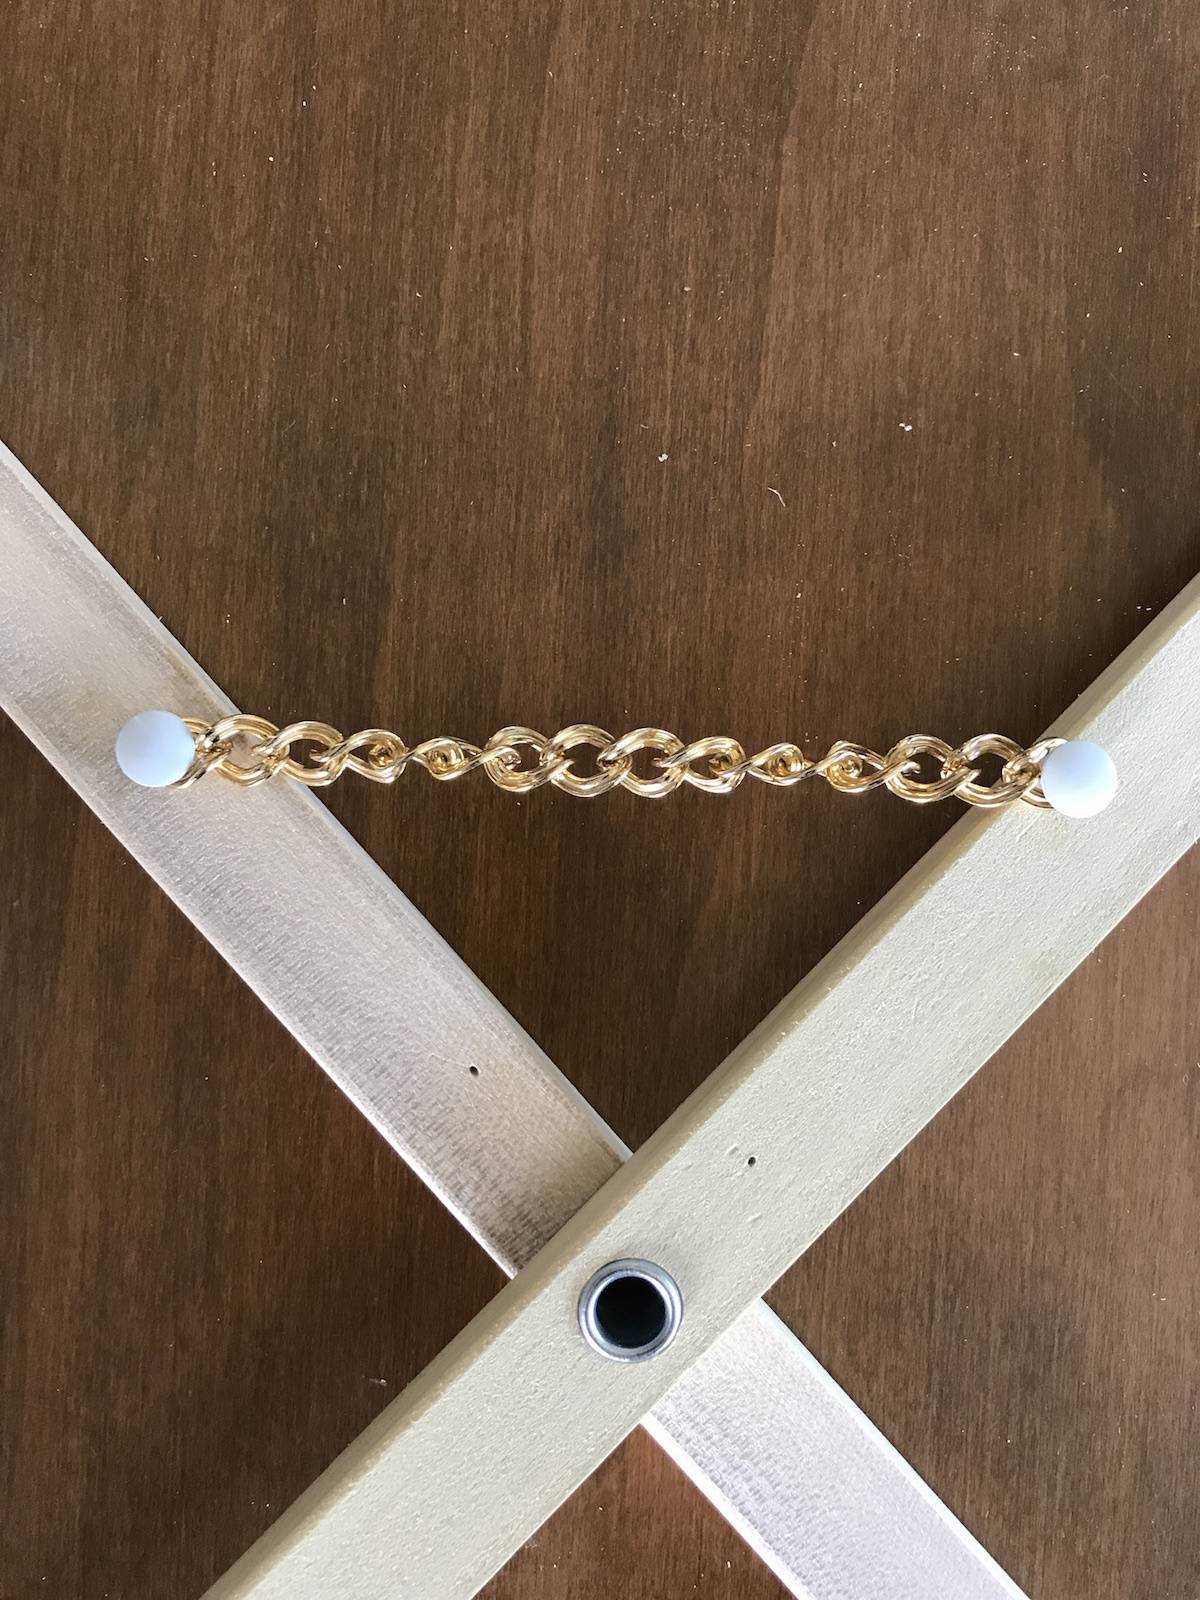
I used thumb tacks to secure the chain. Any chain would work or you could also use a small strip of your leather/fabric or string.
To make sure each side opens the same measure where you place the thumb tacks from the grommet.
Step
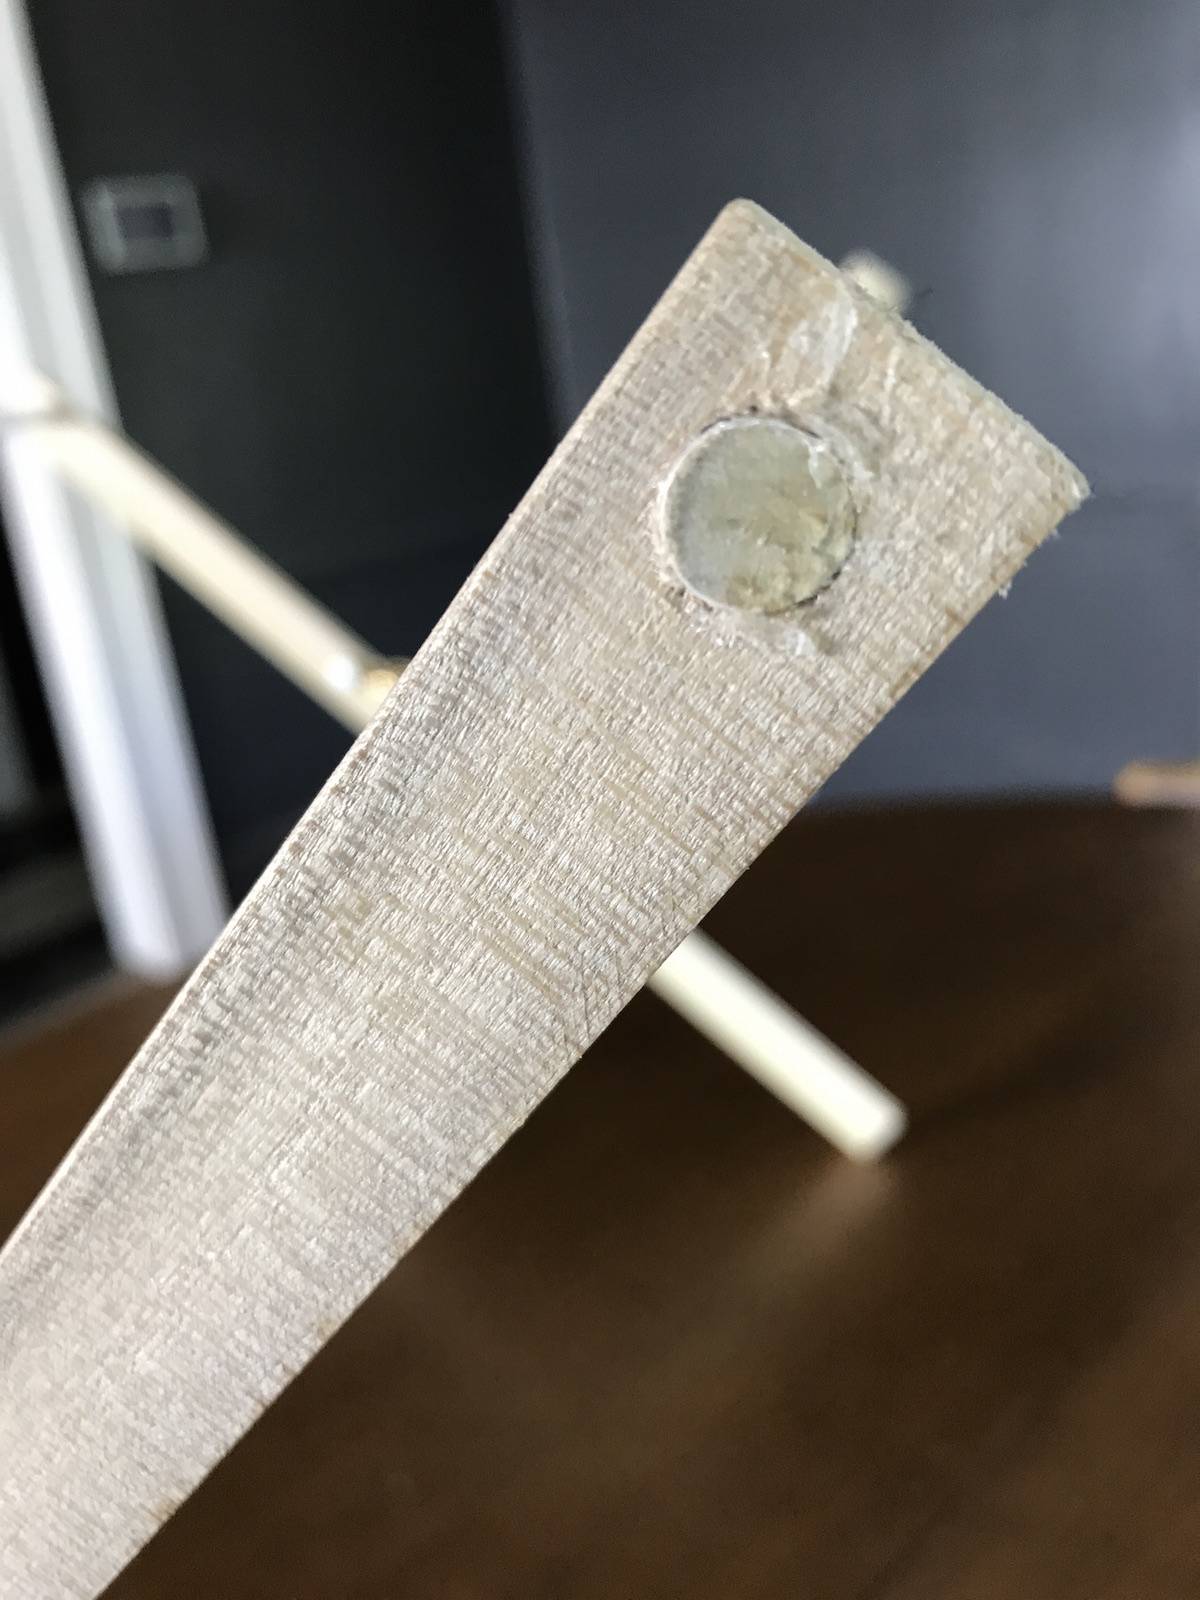
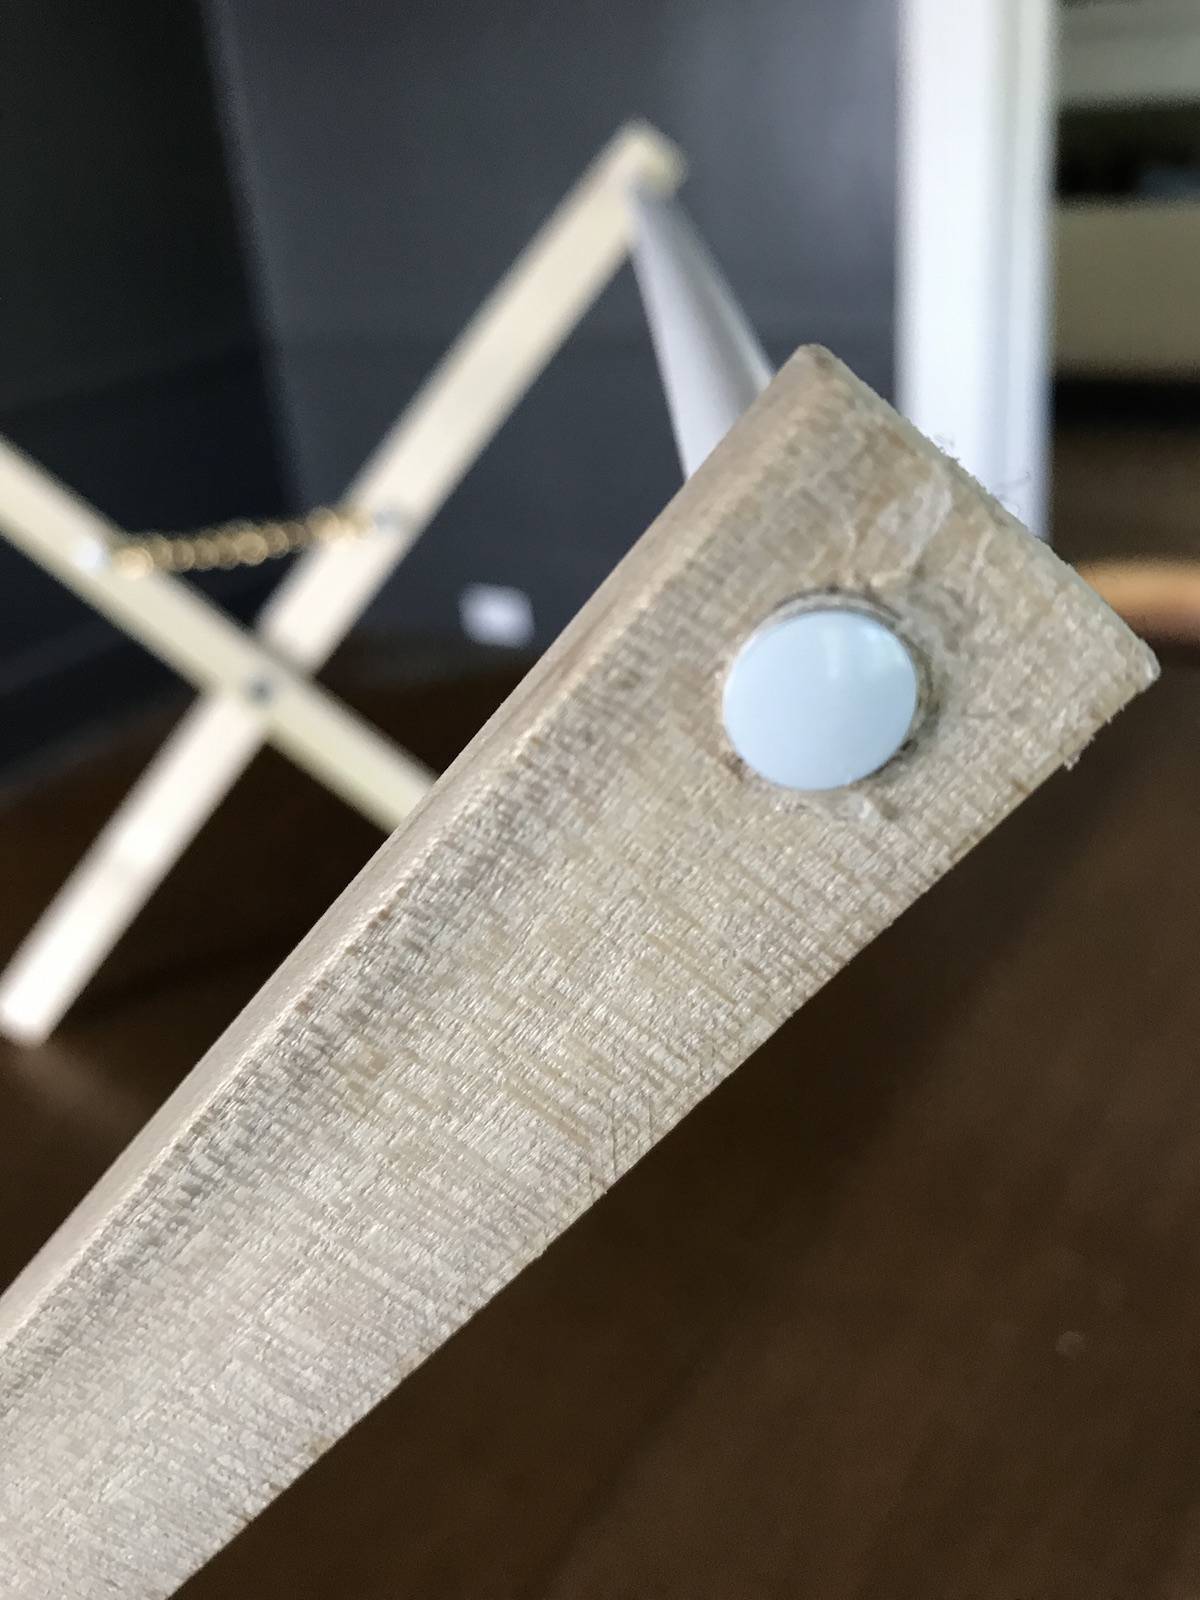
Insert your dowel rods and secure them with glue. I squeezed a little hot glue in the hole before I inserted the dowel rod.
I added thumbtacks to the outside of my rack where the dowel was showing to get it a more finished look.
Step
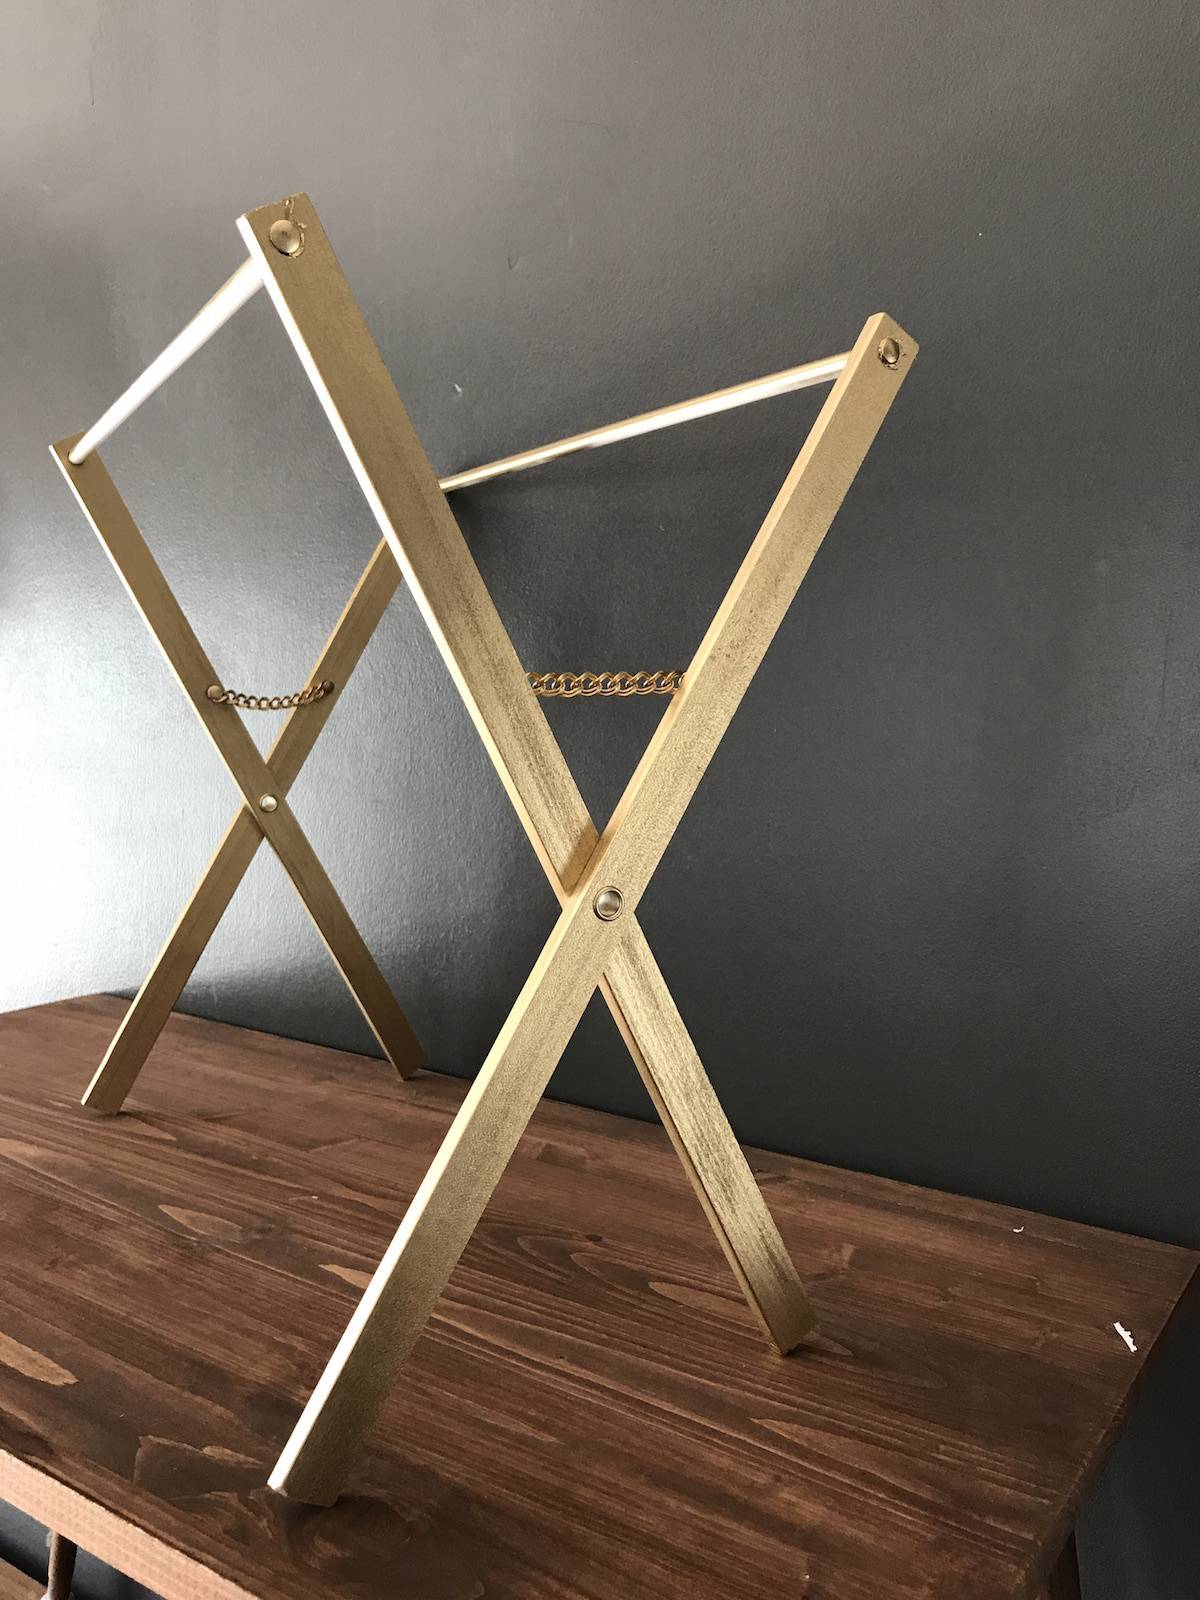
Spray paint your magazine rack.
Note: You can spray paint your parts separately and install the finished rack after the leather/fabric part is sewn.
Step
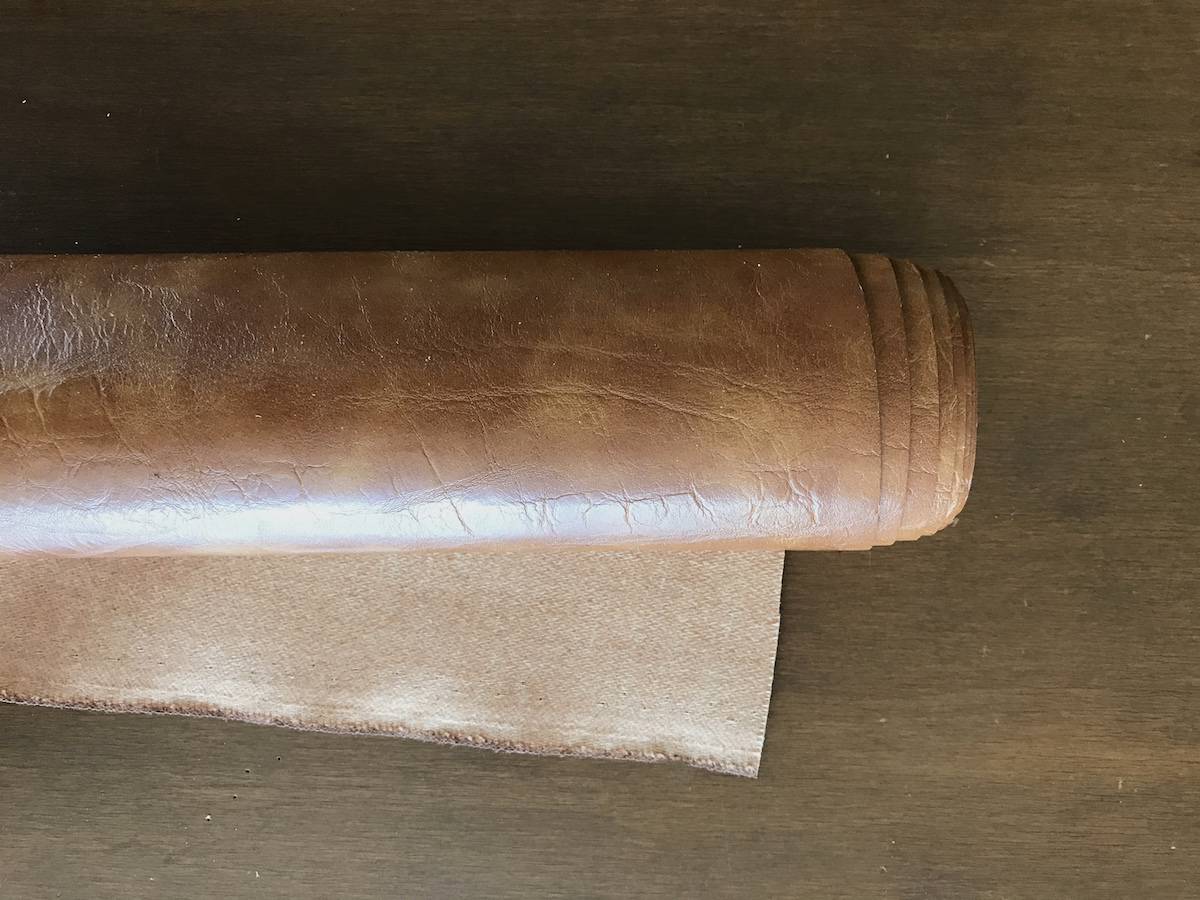
Now, it is time to cut your leather. I couldn’t find a large enough piece of cognac leather in the remnant pile at our local leather store so I chose to use vinyl faux leather in a caramel color. I am always amazed at how far vinyl has come in looking like leather. I found mine at Joann Fabric.
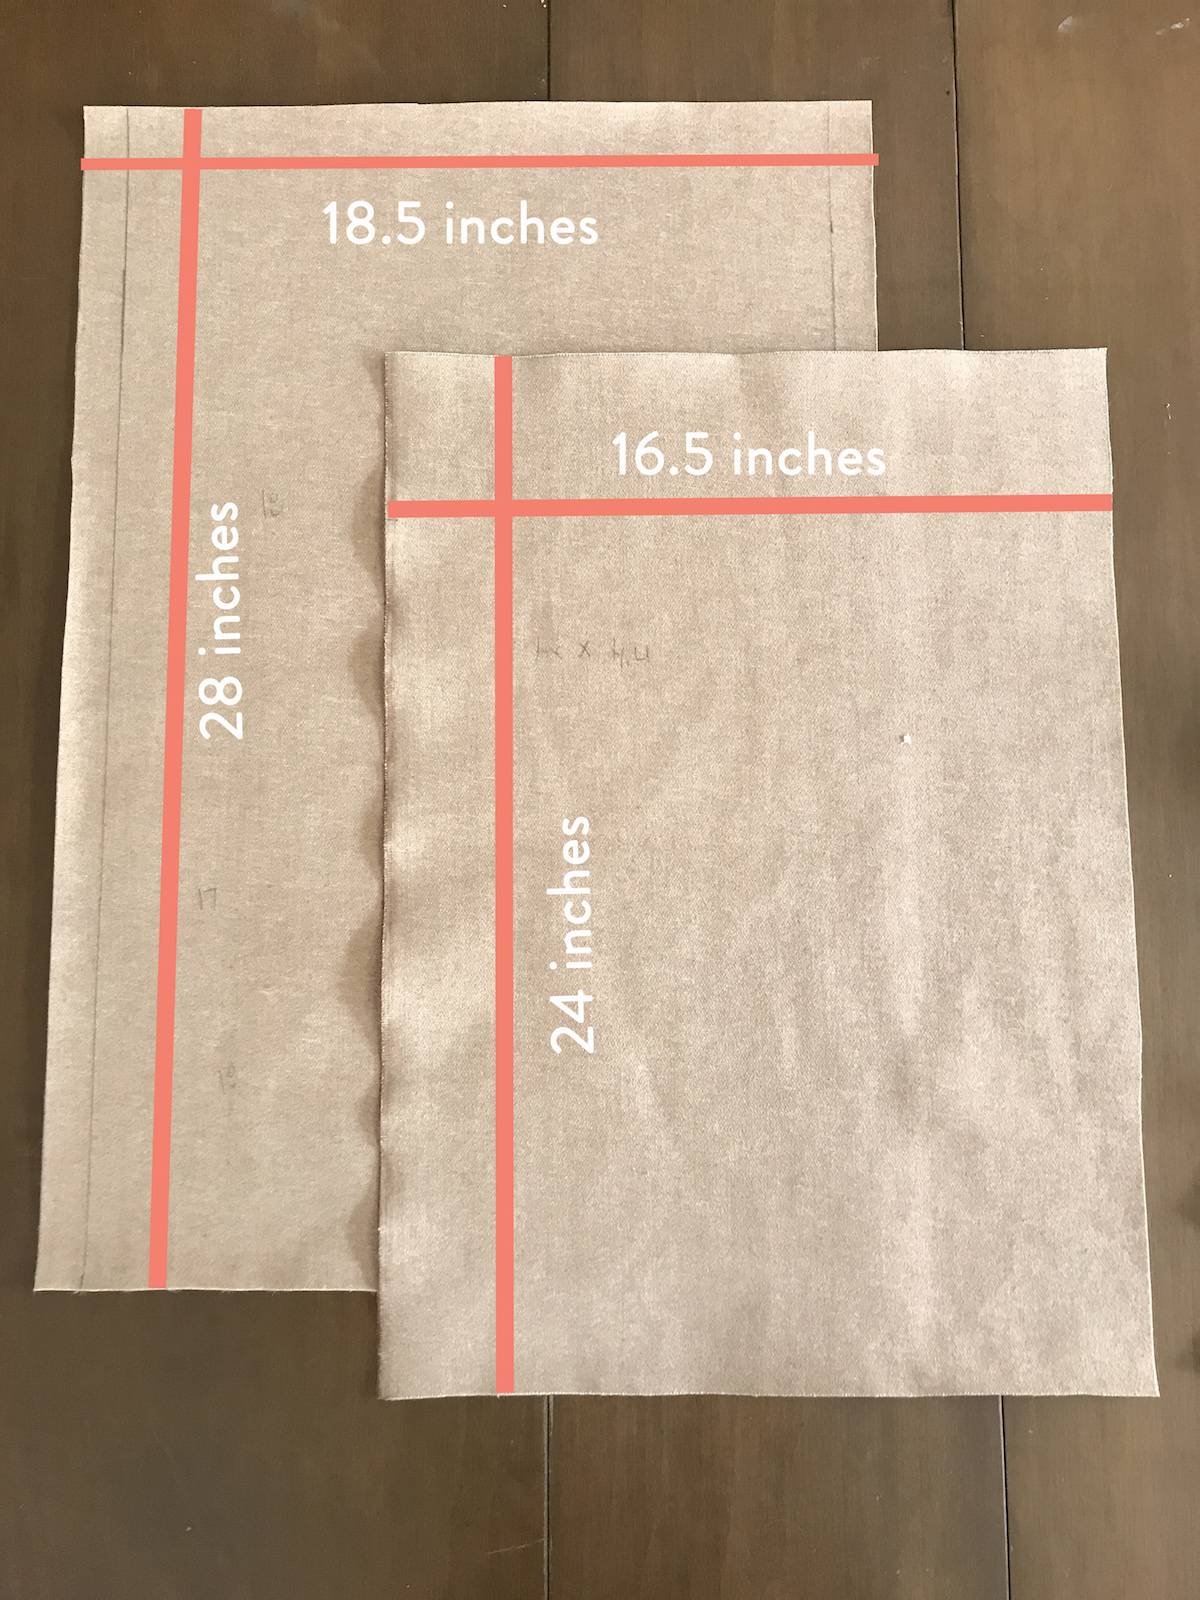
Cut the fabric into two pieces. I noticed my inspiration piece had the finished side of the leather on both sides of the magazine rack. If you are using real leather this step is optional. You might like the look of your magazine rack to have the softer side of the leather on the inside. If you want the finished side seen on the outside and inside then cut two pieces. I had to use two pieces because the unfinished side of faux leather is not pretty. Your measurements will depend on the size of your magazine rack. Here are the sizes of the two pieces I cut.
The exposed part of my inserted dowel is 17 inches. I wanted the dowel to have 1/4 inch on each side of exposed dowel. The smaller piece will be cut the exact width of the finished product. You will fold the sizes of the larger piece over this smaller piece.
Step
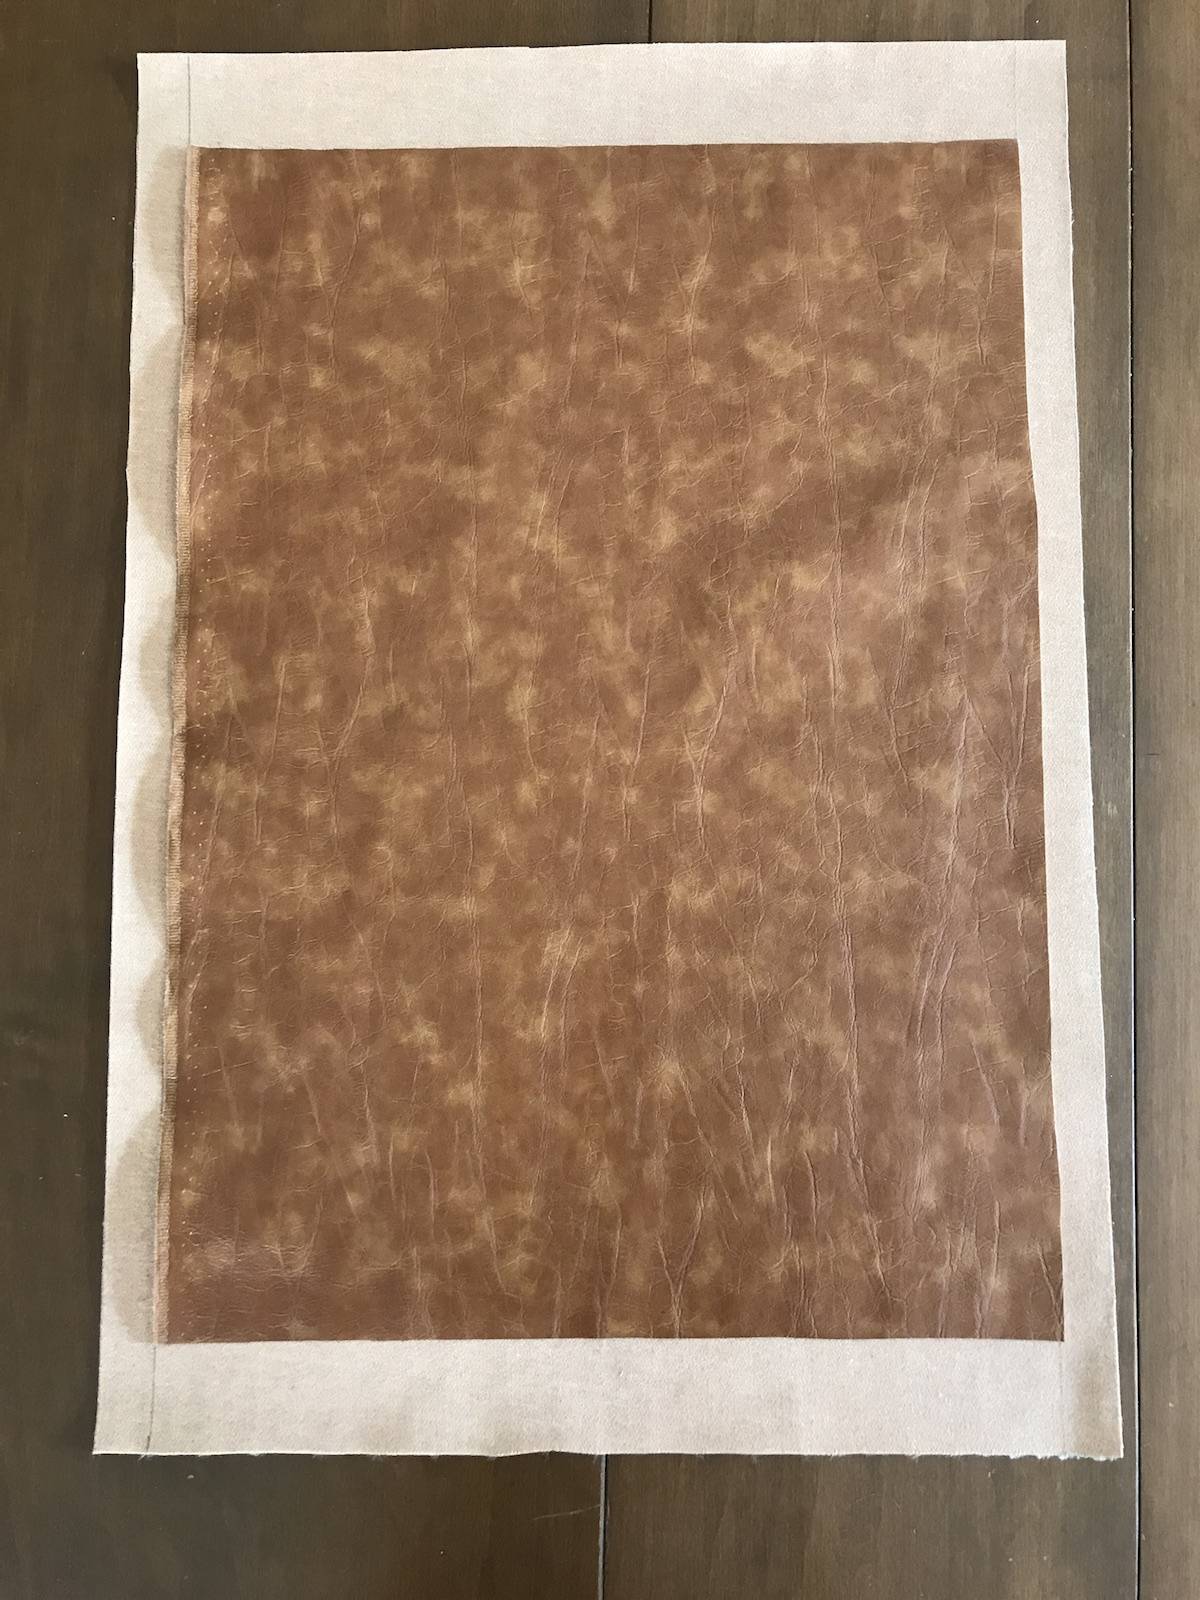
Place the the two “wrong sides” of the fabric/leather together. Place the smaller piece in the middle. There should be two inches of leather to fold on the top and the bottom. There should be one inch to fold on each side.
Step
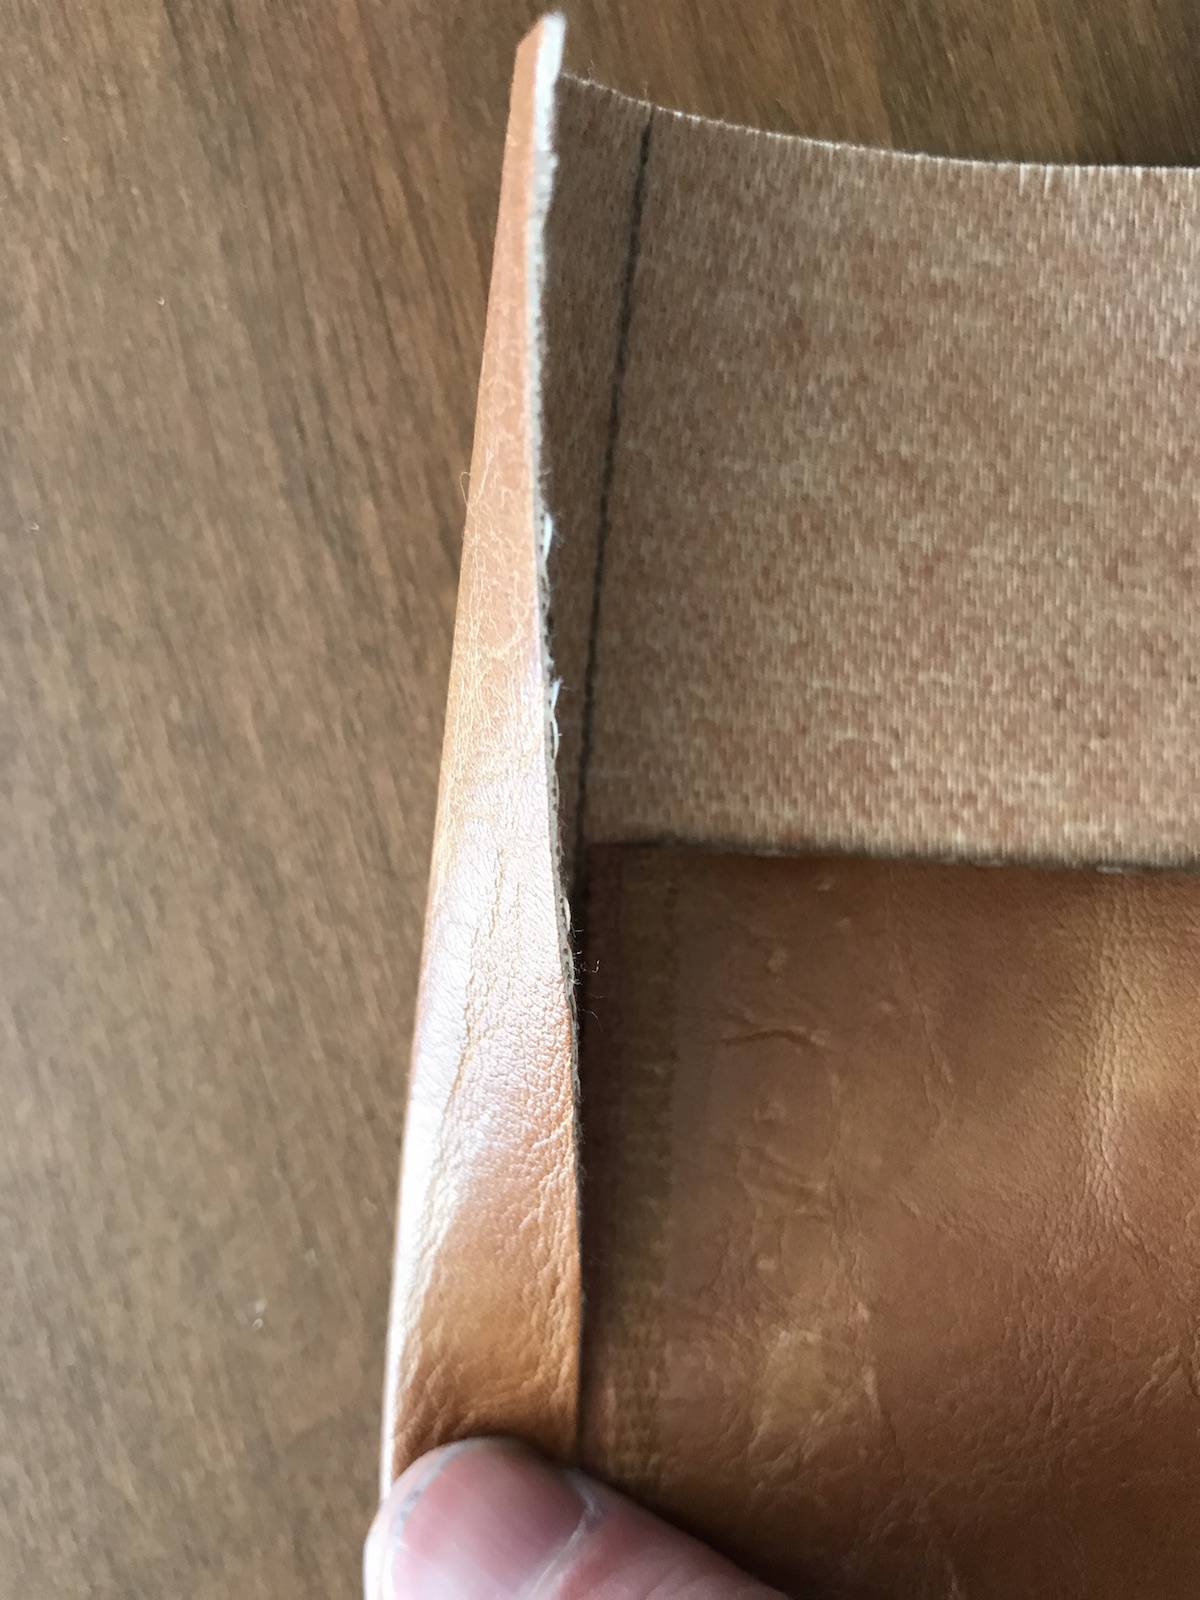
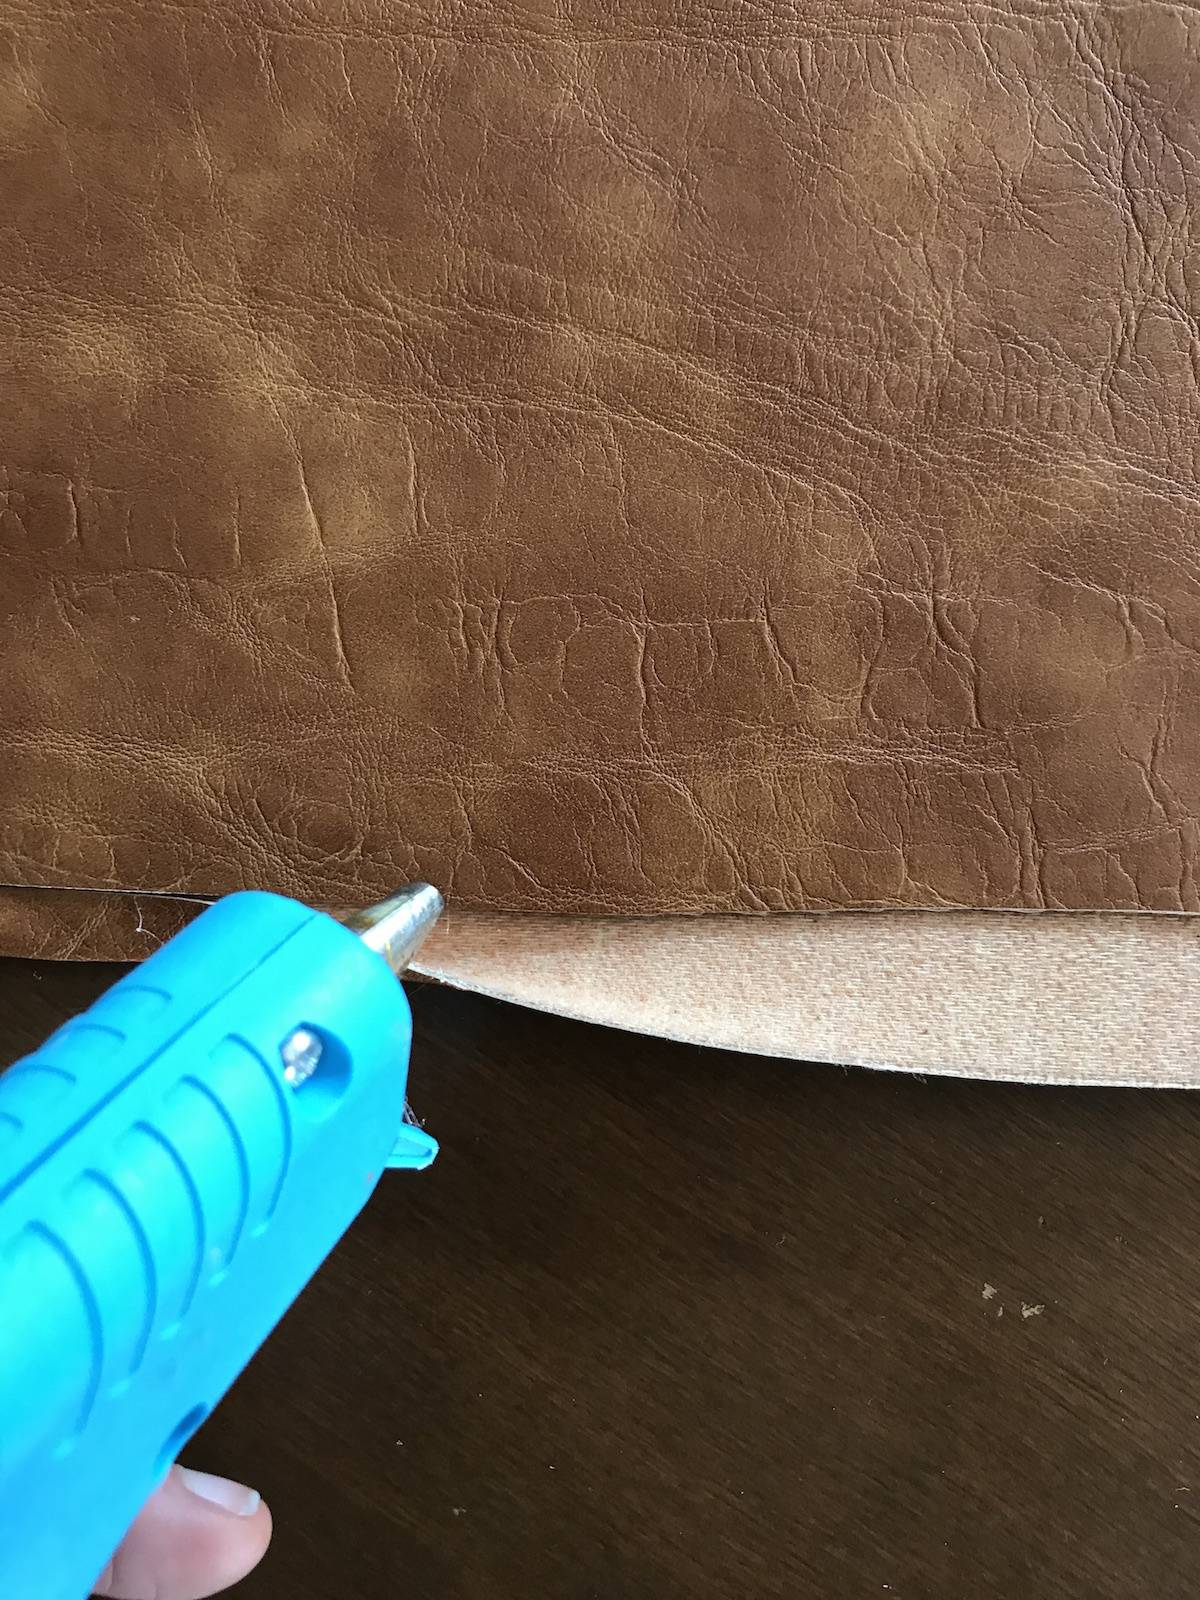
Fold the sides in 1/2 inch and sew or glue.
For these next steps you can sew or you can use glue. If you are going to put heavy books in the rack I would suggest sewing. Mine will only hold 3-5 magazines and hot glue/super glue is sturdy enough for this.
Step

Fold the folded side another 1/2 inch to finish off the sides.
Step
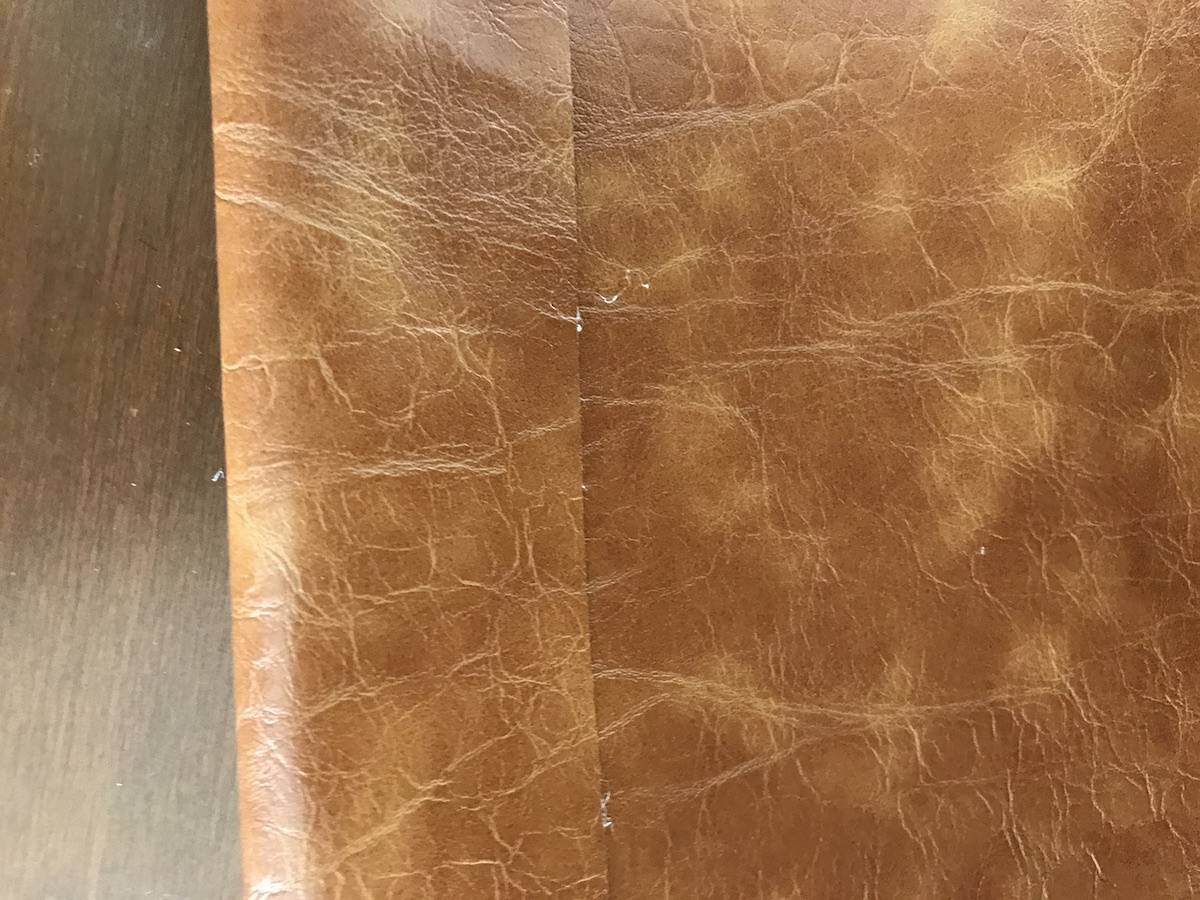
Take the top and fold the top side over the dowel rod and glue. I made sure I cut straight lines on my vinyl so I didn’t have to fold over twice on the top.
Note: If you have not assembled your magazine rack then this would be where you would place the fabric on the dowel rods and assemble your stand.
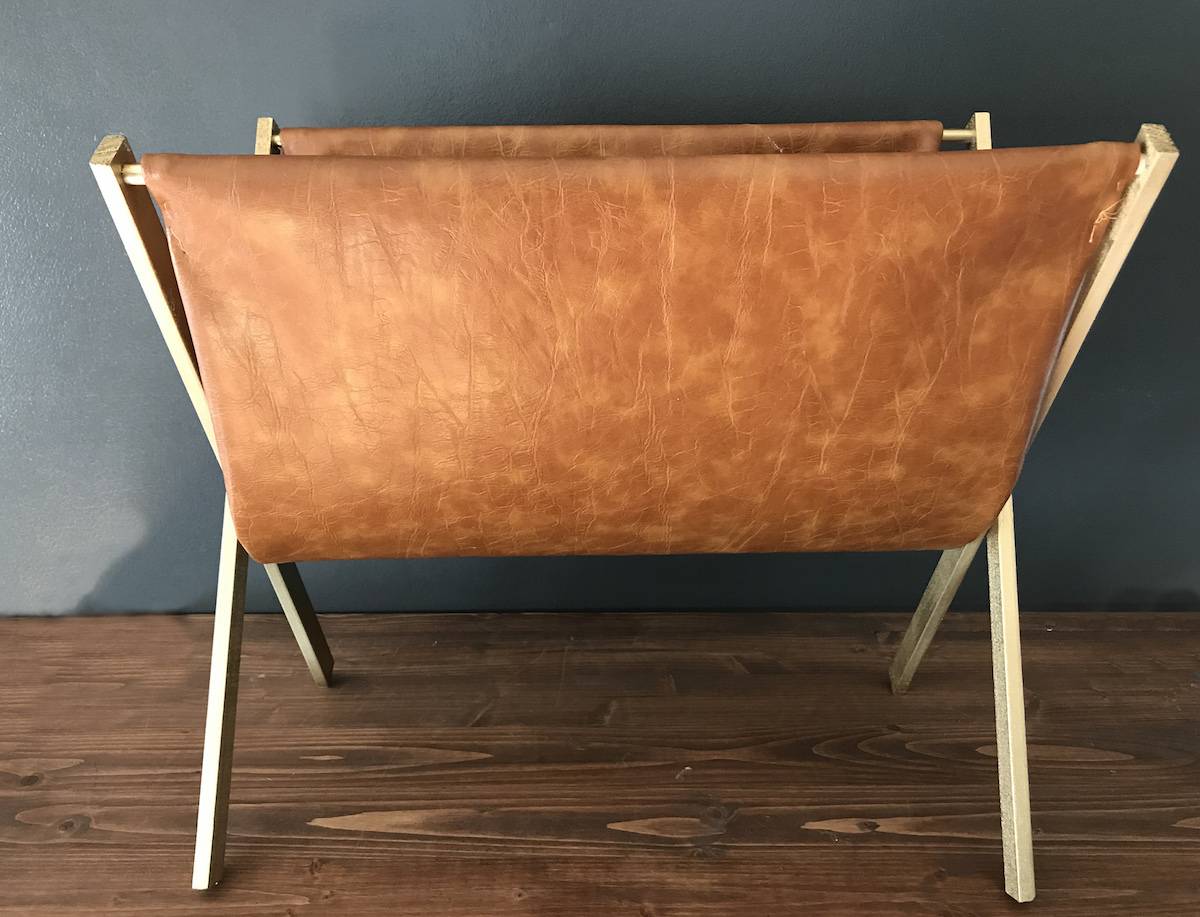
You are done! All you need are some magazines.
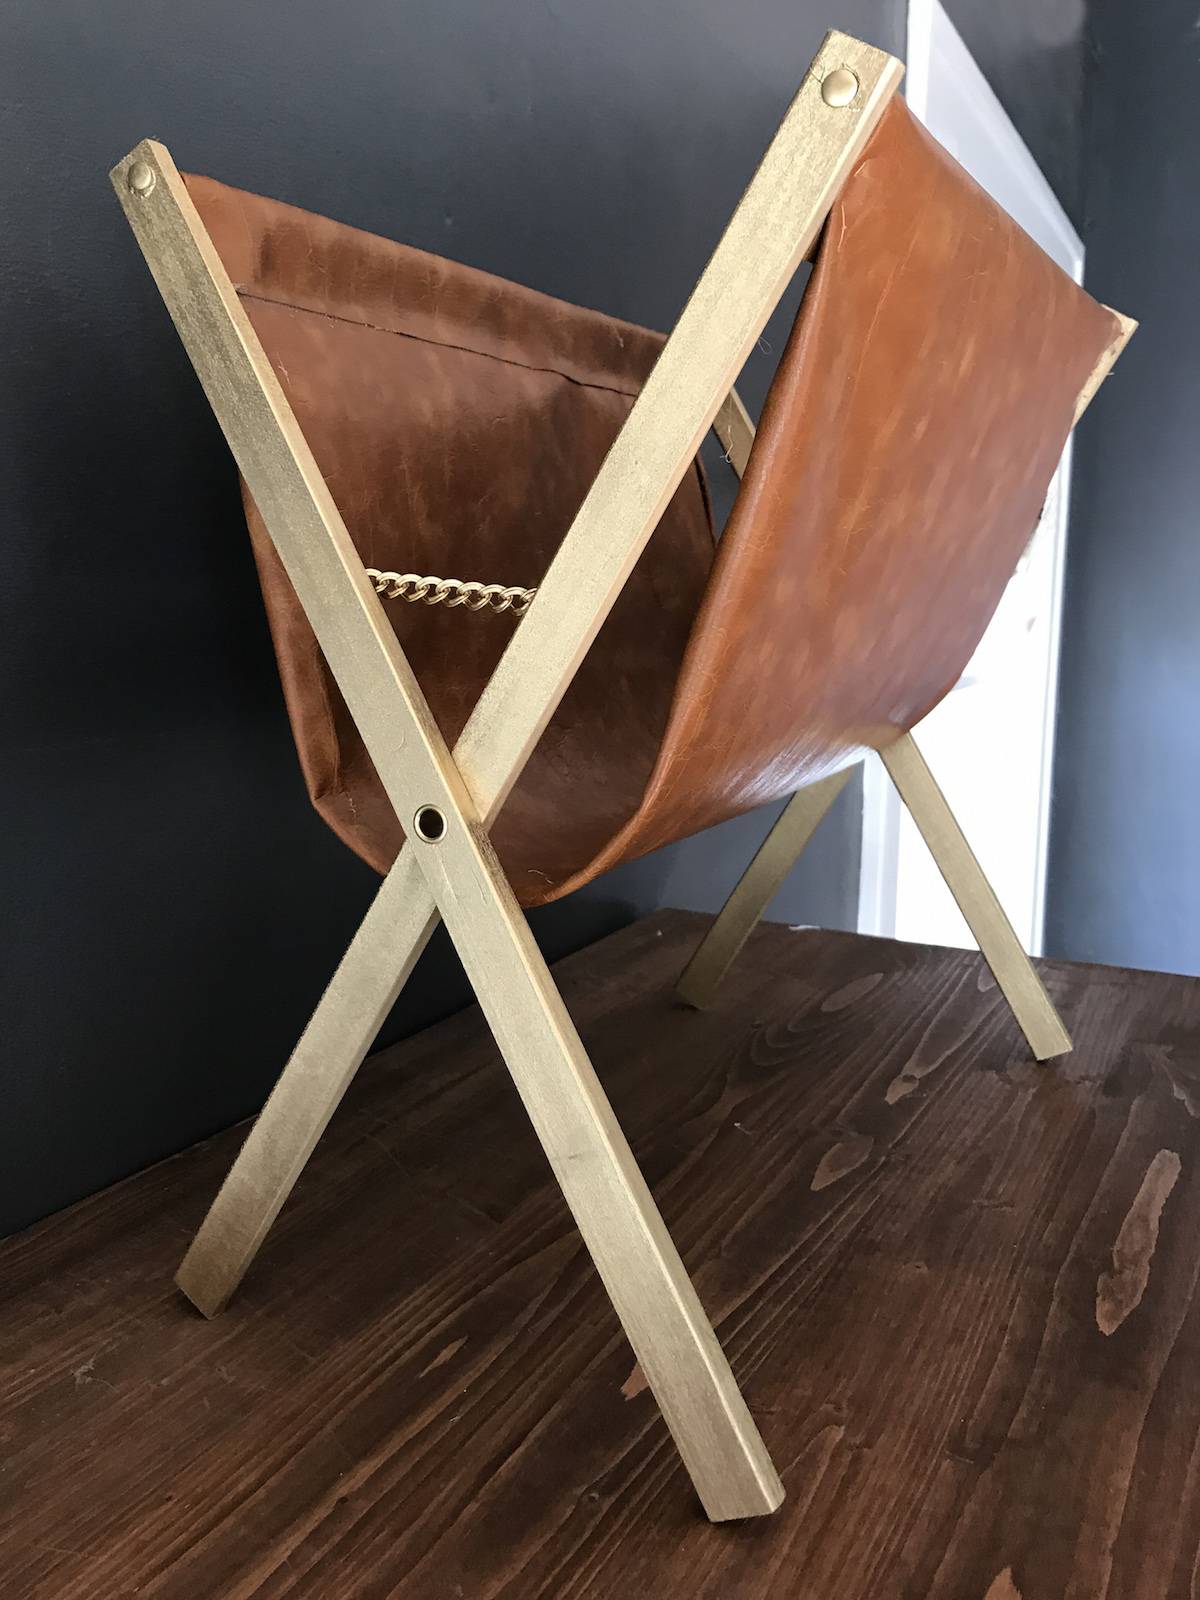
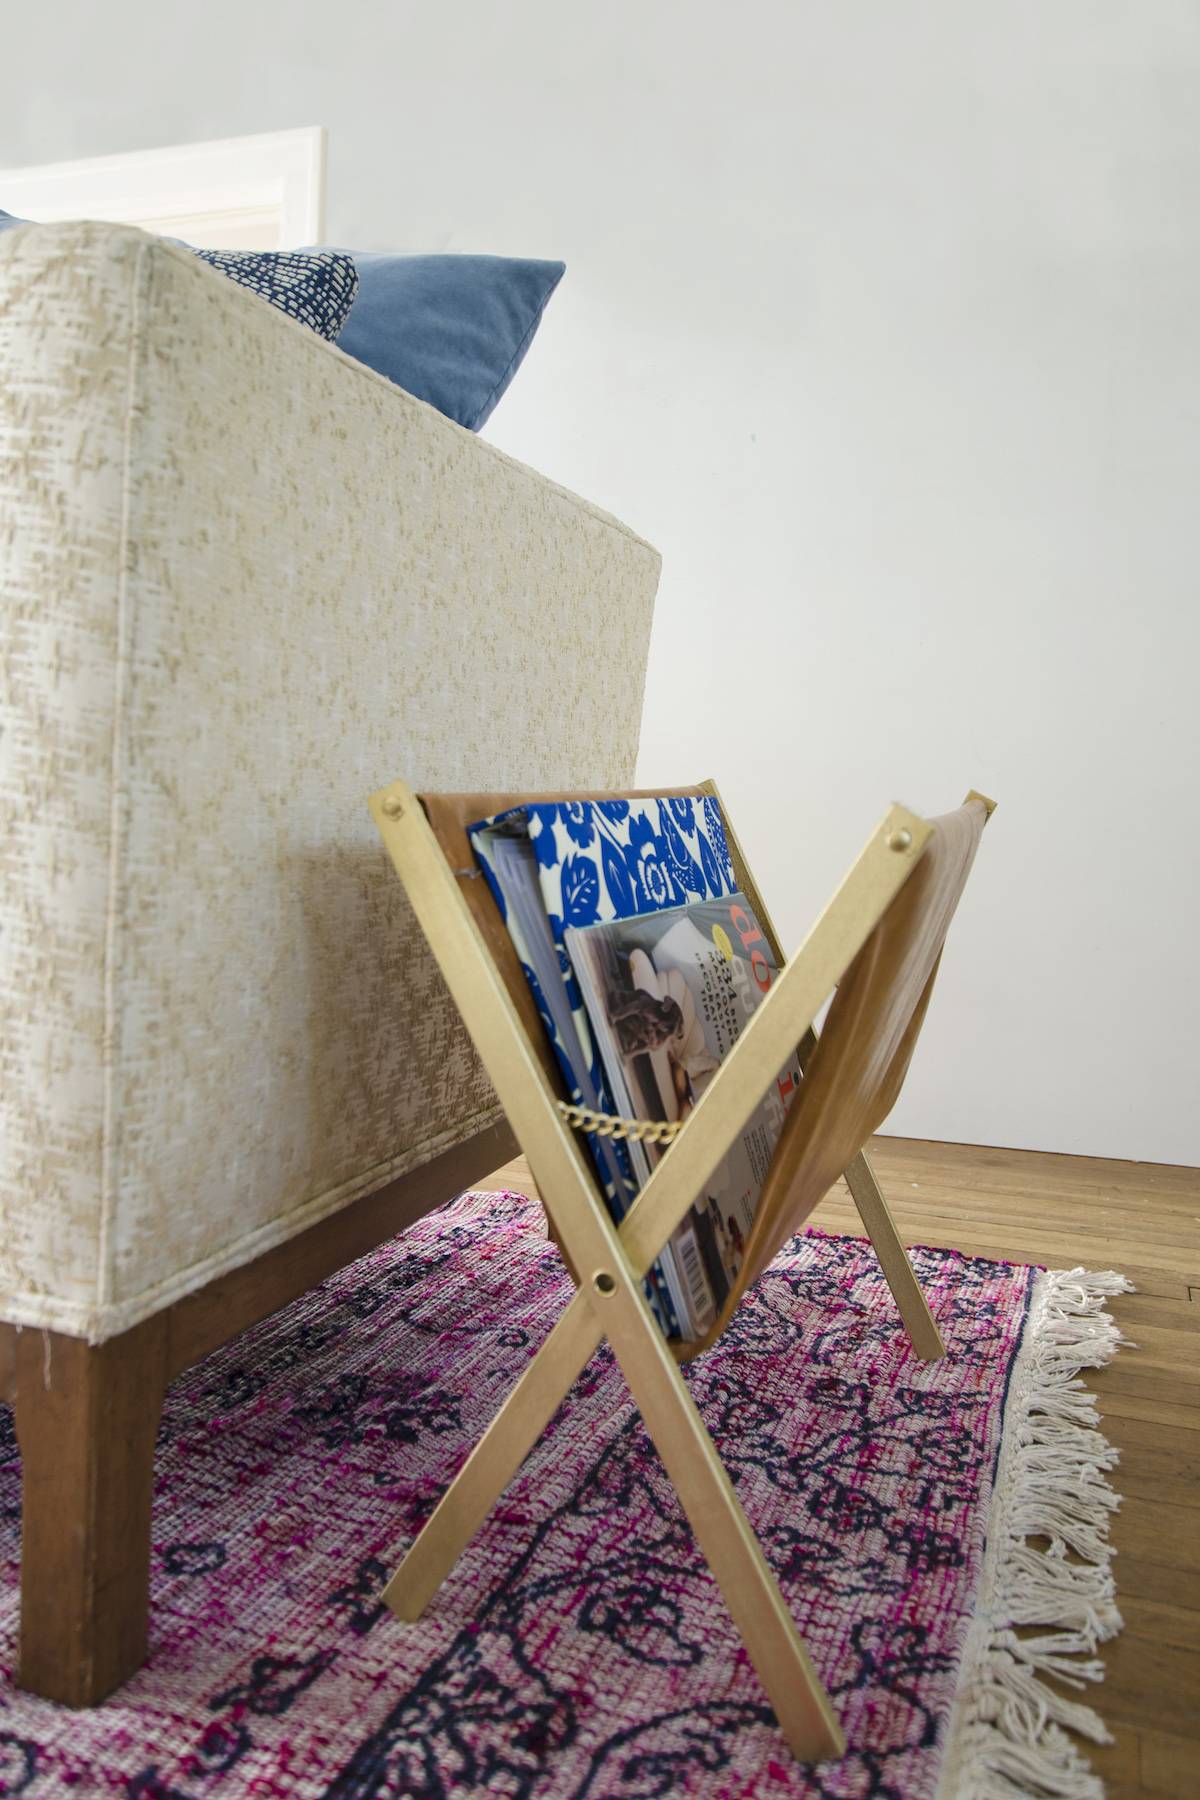
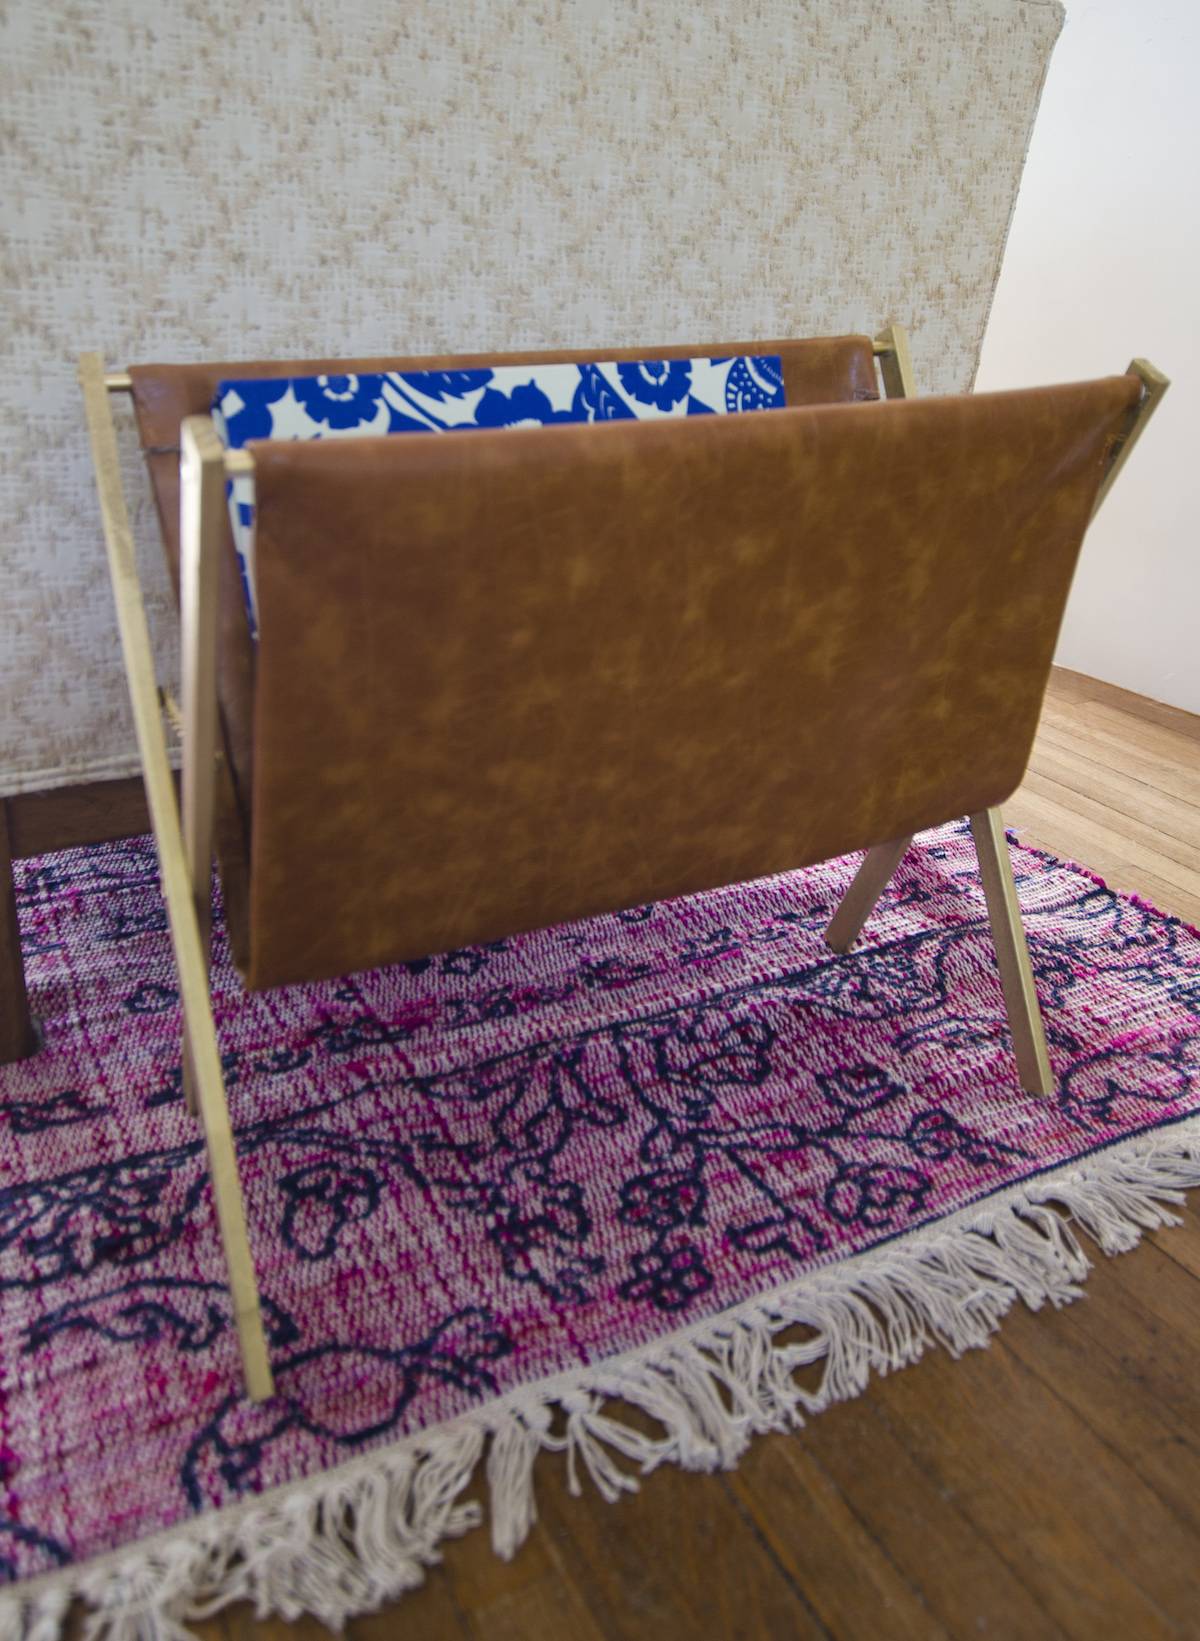
The magazine rack is quite sturdy and can hold more magazines than shown.
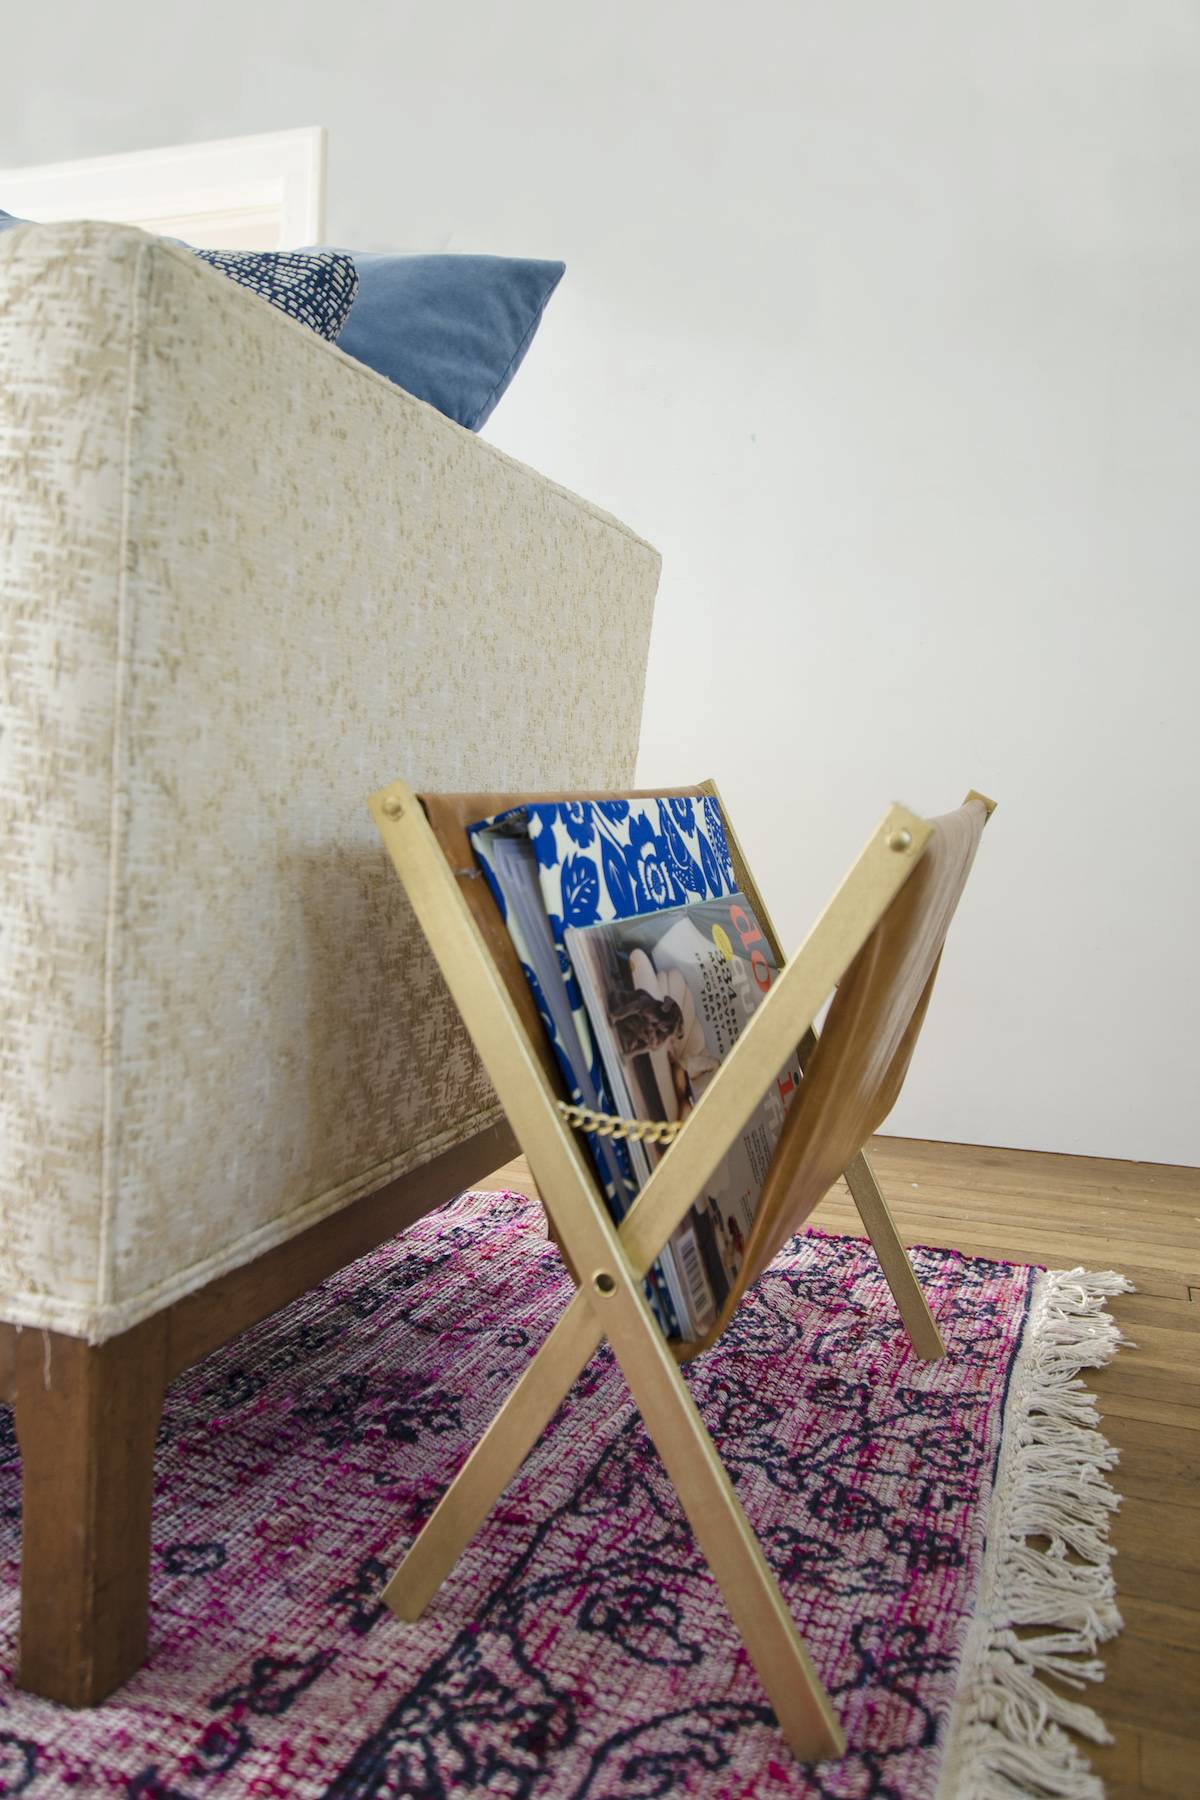
I love how this little project turned out. Who knew it came from an old drying rack!
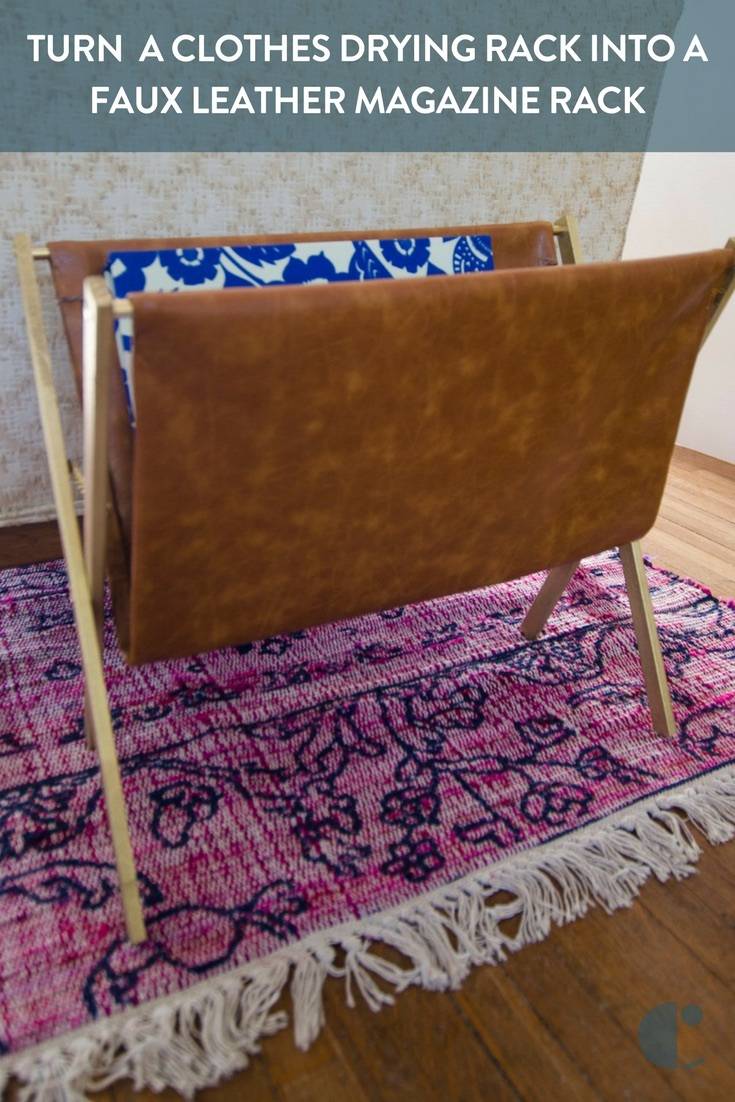
I love a good repurpose. The drying rack has enough parts to make a couple of these, so I think I’ll do a few more!
