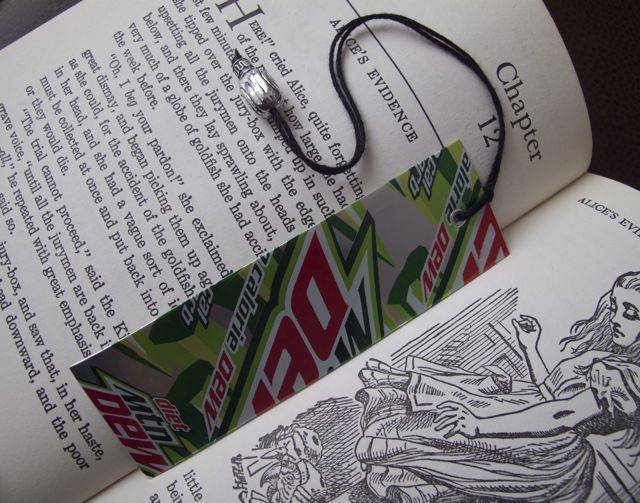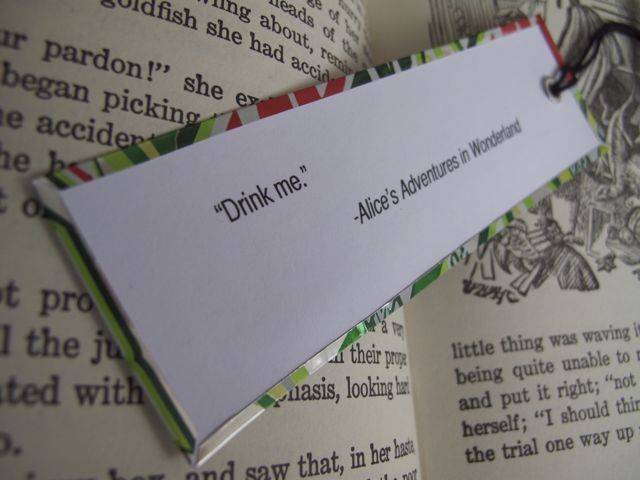
What does Wonderland’s Alice have to do with Christmas? Absolutely nothing. Except that the same procedure with which I made her ‘Drink me’ bookmark I employed to make a more Christmas-y version. (PDFs of each design included.)
First, the ingredients:
- An empty aluminum can (one per bookmark)
- White card stock
- Matt fixative
- Craft knife
- Bone folder
- 1/8” spring punch/eyelet setter and eyelet/s (I have this one)
- Straight edge
- Cutting mat
- Black perle cotton or crochet cotton
- Small silver bell or jingle bell for the Christmas option and one large and one small silver bead for the non-Christmas one
- PDF of the Christmas version or the ‘Drink me’ version available on my Scribd page
- Sticky-back tape
- 220 grit sandpaper
Step 1:
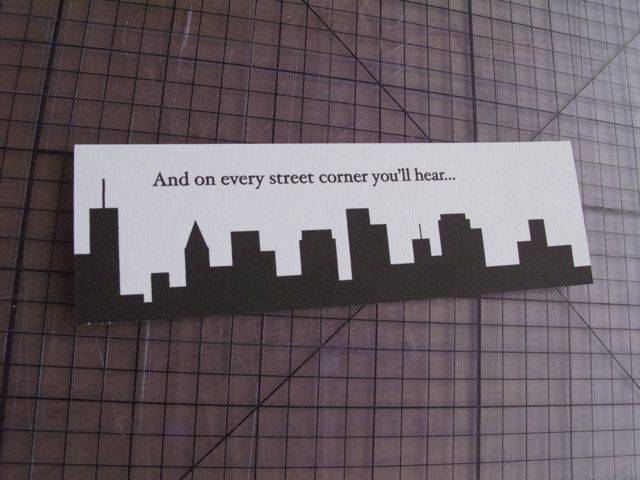
Print the PDF image onto white card stock. Shoot it with a coat or two of matt fixative. When it’s dry, use a craft blade, straight edge and mat to cut it to exactly 4 3/4” x 1 1/2”. (Use the buildings as a guide to cut the bottom and sides of the image. Measure up from the bottom cut up past the text so it measures 1 1/2. For the ‘Drink me’ version, just center the print accordingly.)
Step 2:
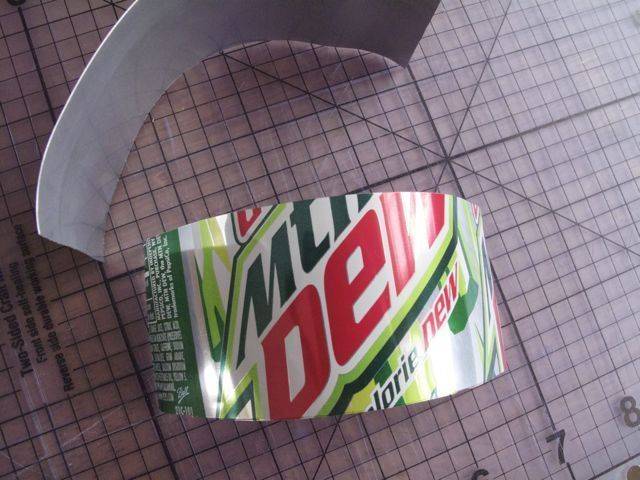
Cut the middle section of the aluminum can into one large sheet. Using a craft blade, cutting matt and straight edge, cut a piece of the aluminum to 5″ x 1 3/4″. (A flat-bed rotary cutter works too.)
Step 3:
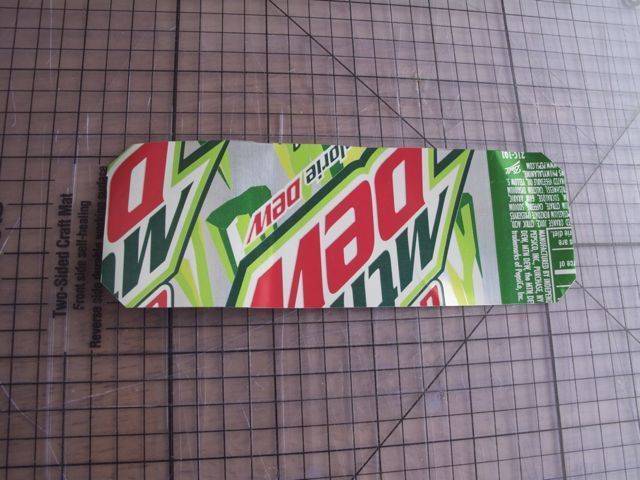
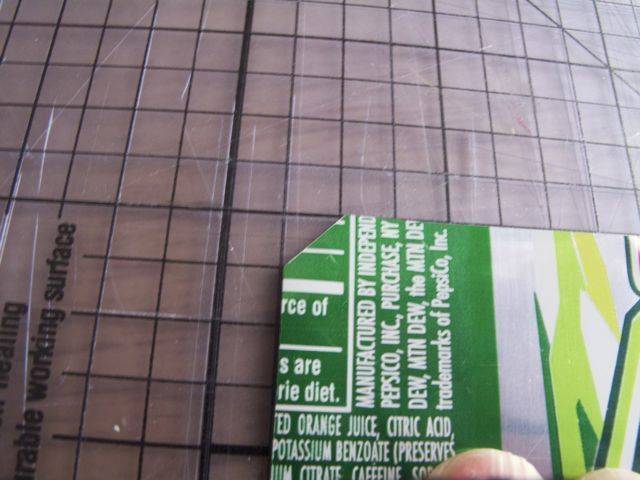
Using your straight blade and craft knife, miter each of the corners of your aluminum. The best way to do this is to use the grid on your cutting mat as a guide.
Step 4:
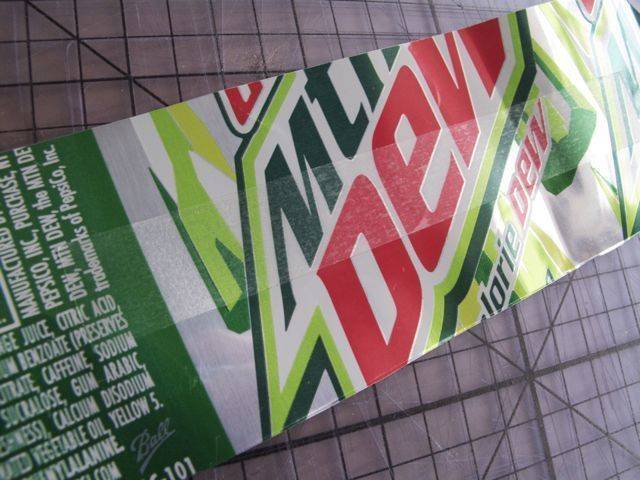
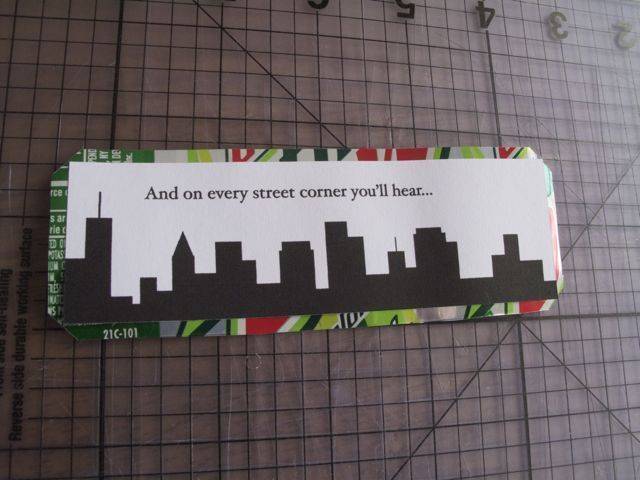
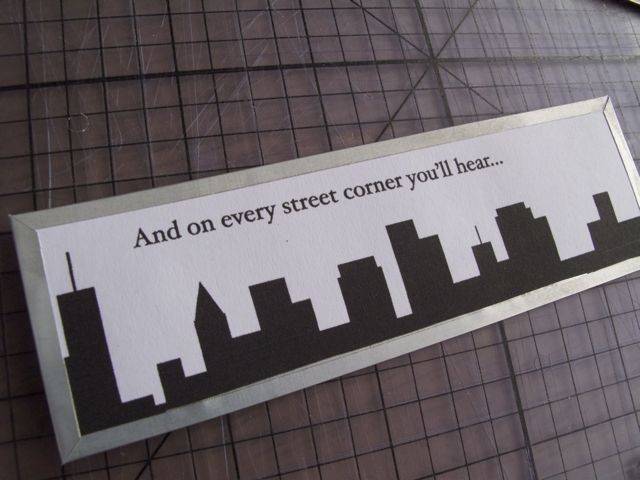
For the Christmas version, place a piece of sticky-back tape onto the printed side of the aluminum; for the ‘Drink me’ version, place the tape on the plain side. Plop the image we cut in step 1 in the EXACT CENTER of the aluminum and press down to adhere.
Step 5:
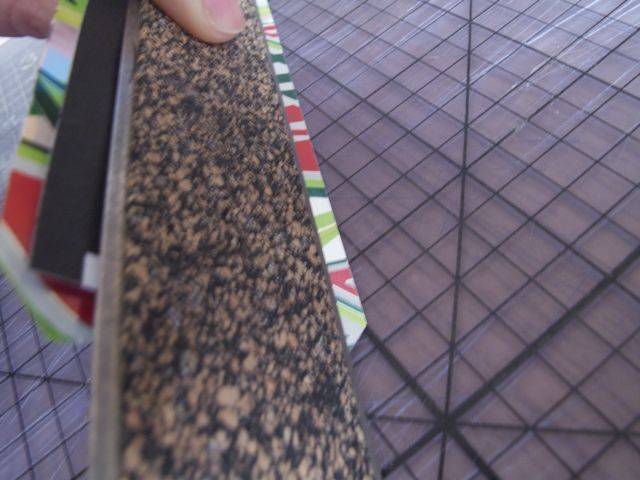
Place your straight edge along the long side of the image/print. Hold it tightly as you bend the aluminum up. When you’ve bent the aluminum slightly, use your fingers to bend it a bit more. (To about 90 degrees or so.)
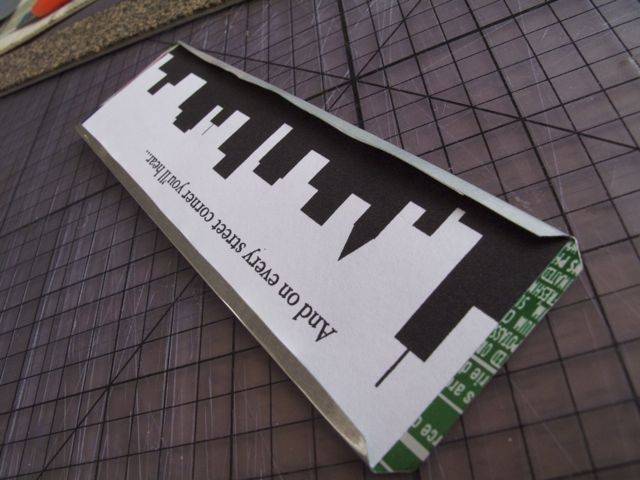
Then, follow up with your bone folder, making the bend flat and crisp.
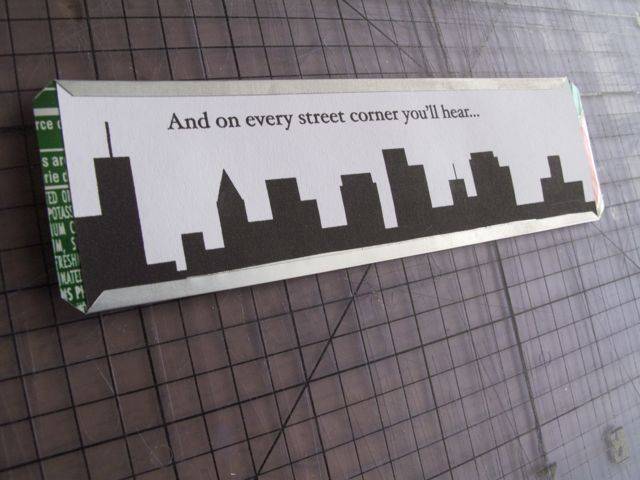
Repeat with the other long side.
Step 6:
Repeat step 5, but this time apply it to the two short ends of the aluminum.
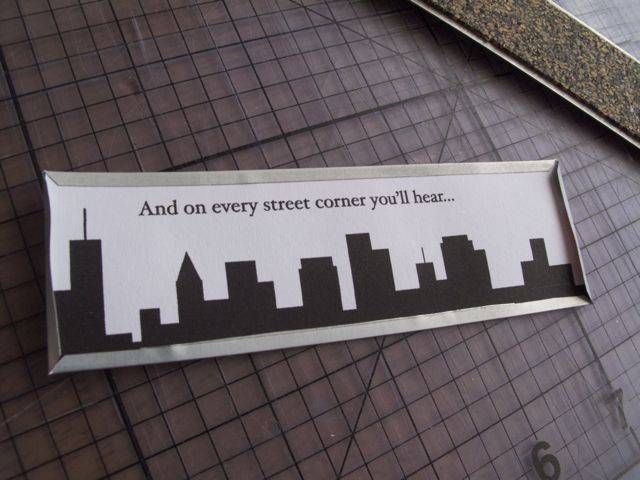
Step 7:
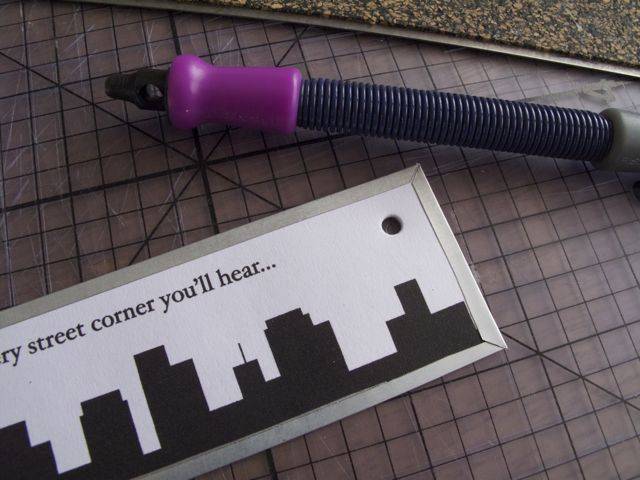
Using the spring punch, punch a hole at the end of the bookmark and install an eyelet. With the spring punch I have, you punch with one end of the tool and set the eyelet with the other. Very handy. Also, heres a tip: If the front of your eyelet gets smooshed when you whack the back of it with your setter, flip the piece over and whack the front again a few times and it SHOULD re-shape it. (The eyelet in the pic below has been re-shaped.)
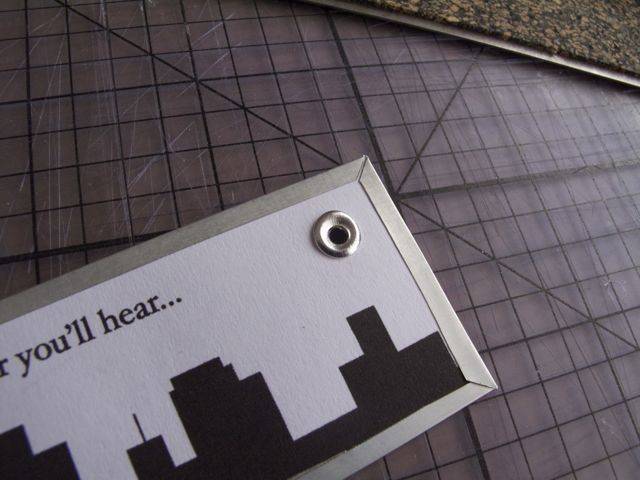
Use 220 grit sand paper to slightly round the corners so they don’t poke the reader. Or an innocent book.

Step 8:
Thread a doubled-up strand of cotton through the eyelet and secure with a half hitch.
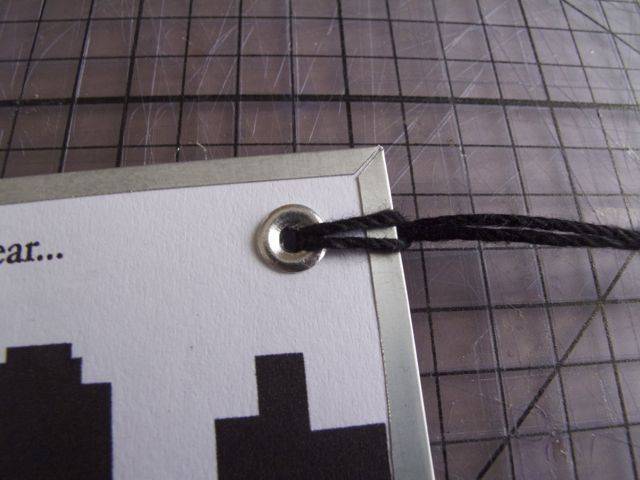
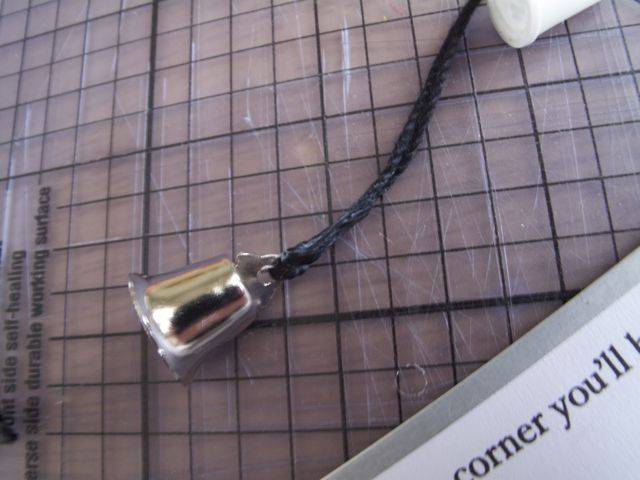
Thread the silver bell (for the Christmas version) or silver beads (for the ‘Drink me’ version) to the end of the cotton and knot. Saturate the knot with a drop of tacky glue to secure.
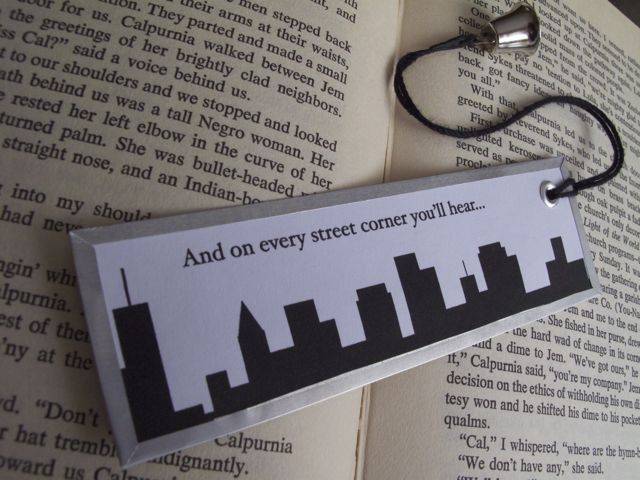
Here’s what the Christmas version looks like completed:
And here’s the back of the ‘Drink me’ version:
