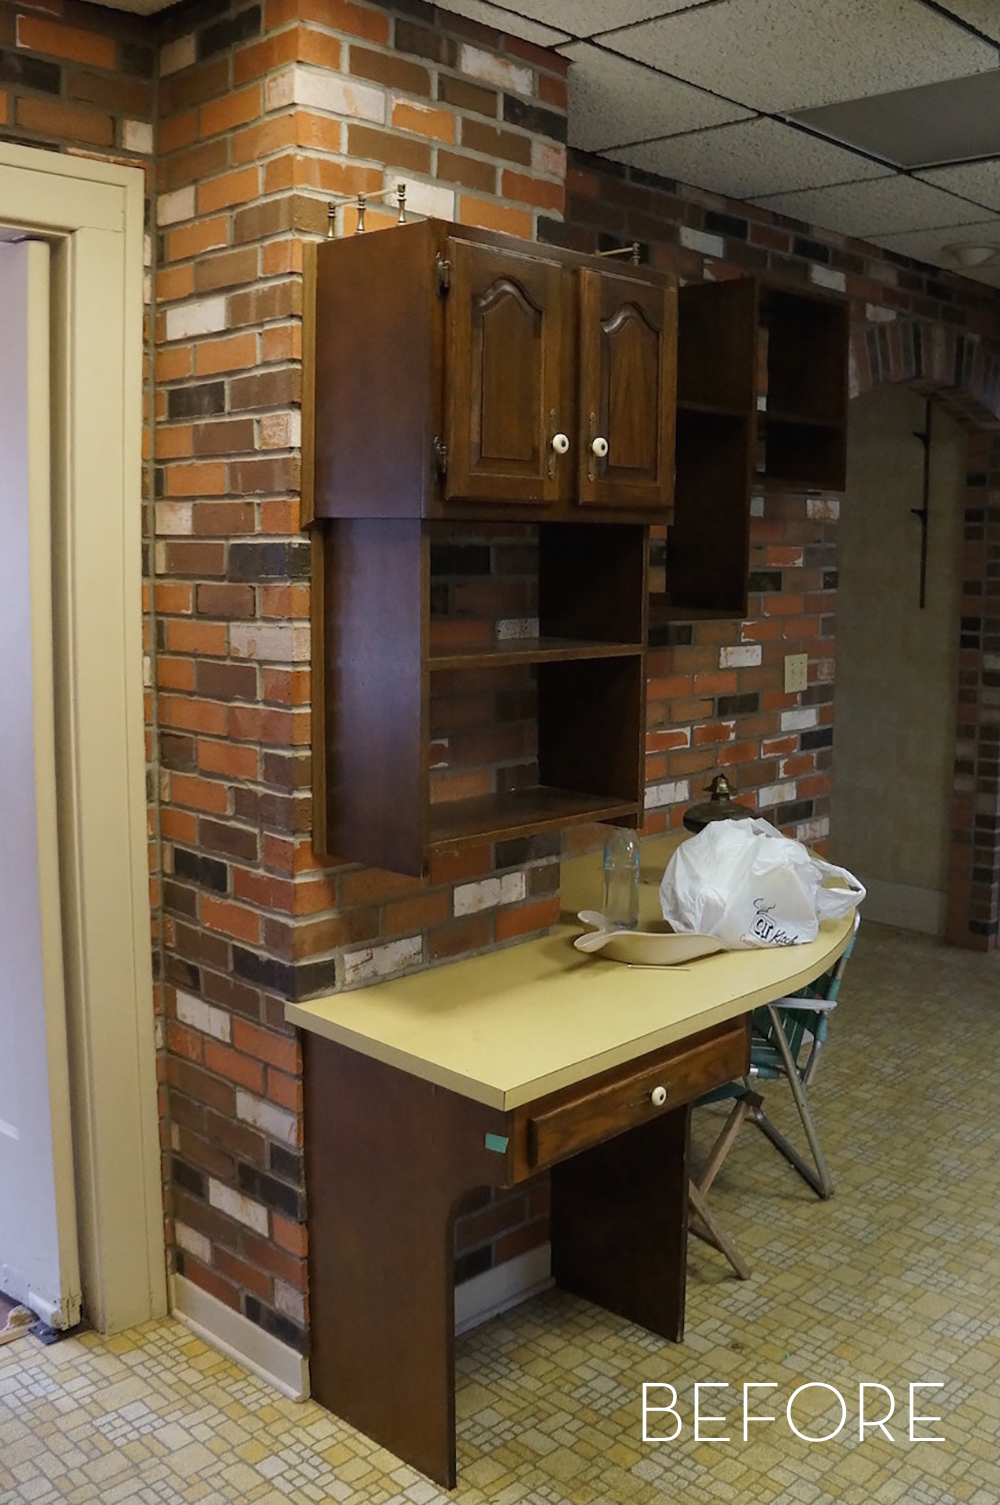
I have a tiny galley kitchen that will one day be fully renovated. I know you are wondering why I want to renovate it? There is much to love here with the yellow rounded countetop, the little desk area, the hard to clean textured vinyl floor, and multi-colored brick. Here is the deal…we are planning to renovate the kitchen from top to bottom in about three years. I had no shame in living with a 70’s kitchen until then, but I only have three upper cabinets and three lower cabinets (not including the sink cabinet). I needed storage. And the cheapest place to gain some storage was right here on this wall.
We had two goals: cheap and storage. I didn’t want to cut into my future patterned tile budget so this was going to be a “use what I have” operation. I wanted to spend under $100. I had previously painted over the yellow and brown swirled wallpaper on the other walls white. I was planning on removing the countertop, cabinets, painting the brick veneer the same white and finding a cheap bookcase or two to use as kitchen storage. Then, this happened…
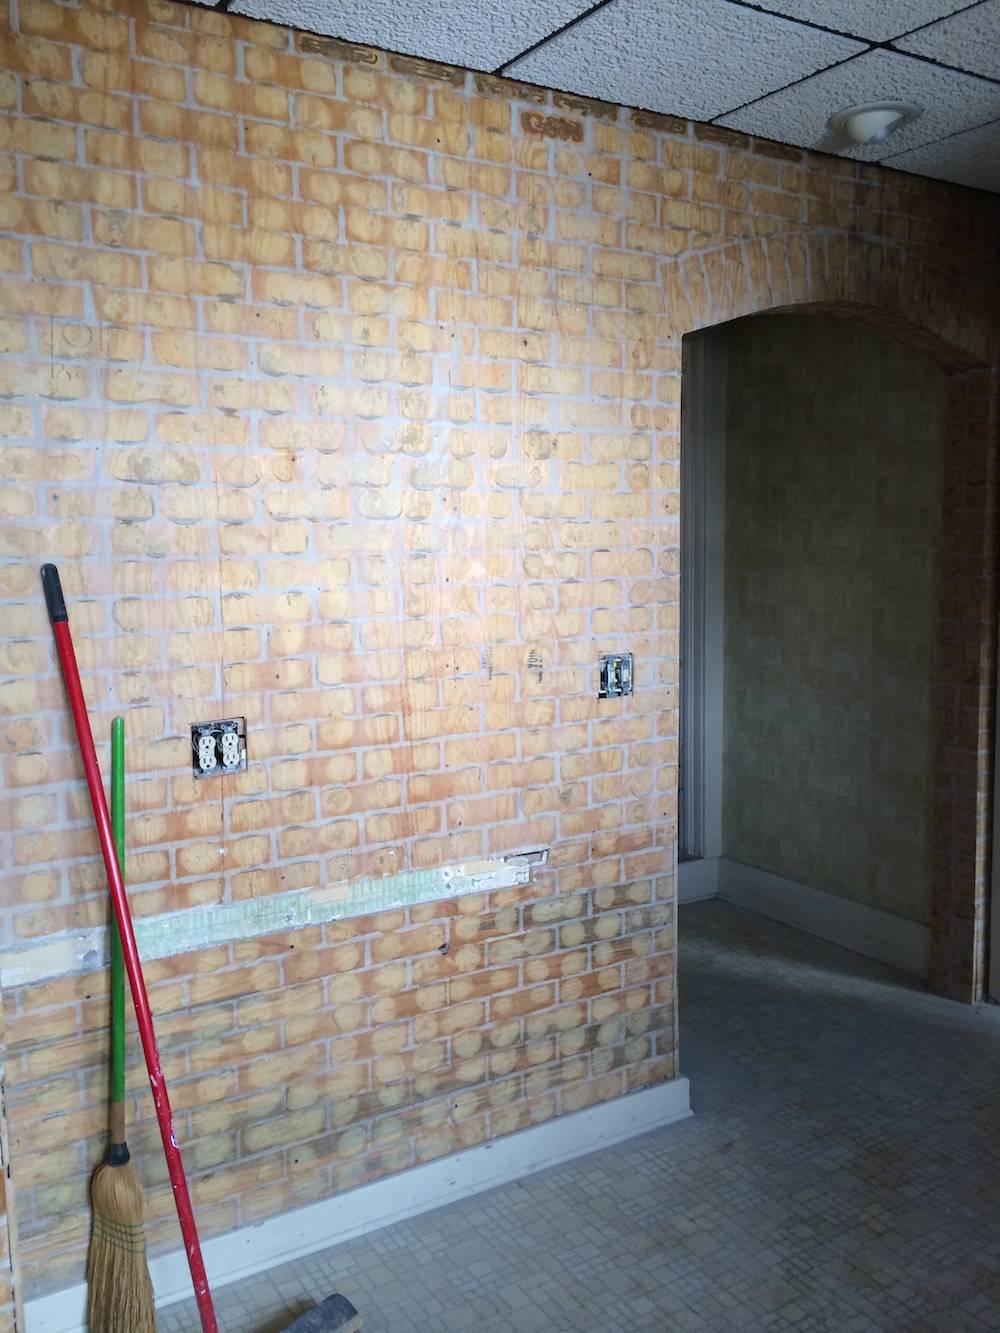
When we took the countertop off the brick veneer came tumbling down and there was no saving it. I thought about paneling the wall with fake brick paneling or peg board and then painting it but it was not gonna make my $100 budget. Plus, I had just talked my husband into letting me tile over the vinyl sheet with cheap peel-n-stick I found on sale. I cared more about paying $50-$60 to temporarily fix the nasty floor more than the ugly wall. So, a good friend came over and said..just paint it and call it a day. Done. Thank you for friends who make life simple…and who save my patterned tile budget.
I first painted the plywood white, but the mortar marks stood out and looked really bad. I had painted my dining room a dark grey, Knights Armour from Olympic, and I had just enough left for an accent wall.
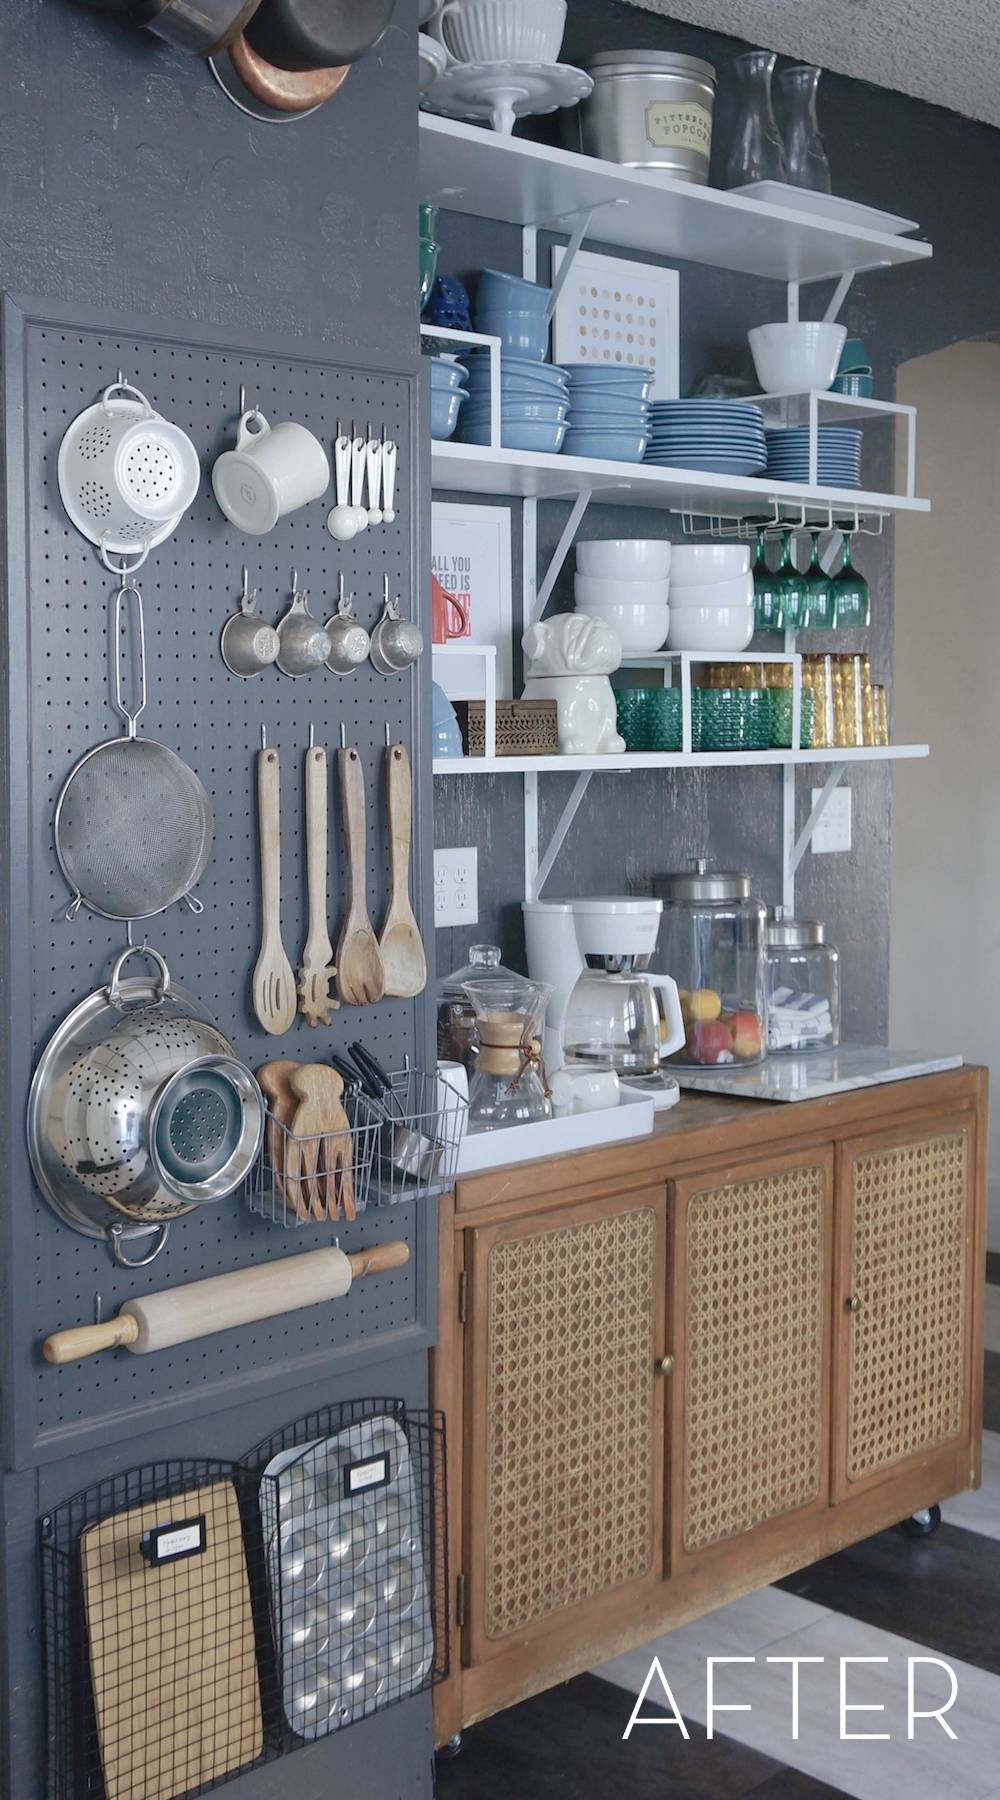
I found a china hutch at a garage sale for super cheap because the top was damaged. I seperated the two pieces and and now I have three more lower cabinets for storage. It also freed up kitchen countertop space by storing the coffee and tea. If you can imagine with only three lower cabinets and a dishwasher…I don’t have much countertop space.
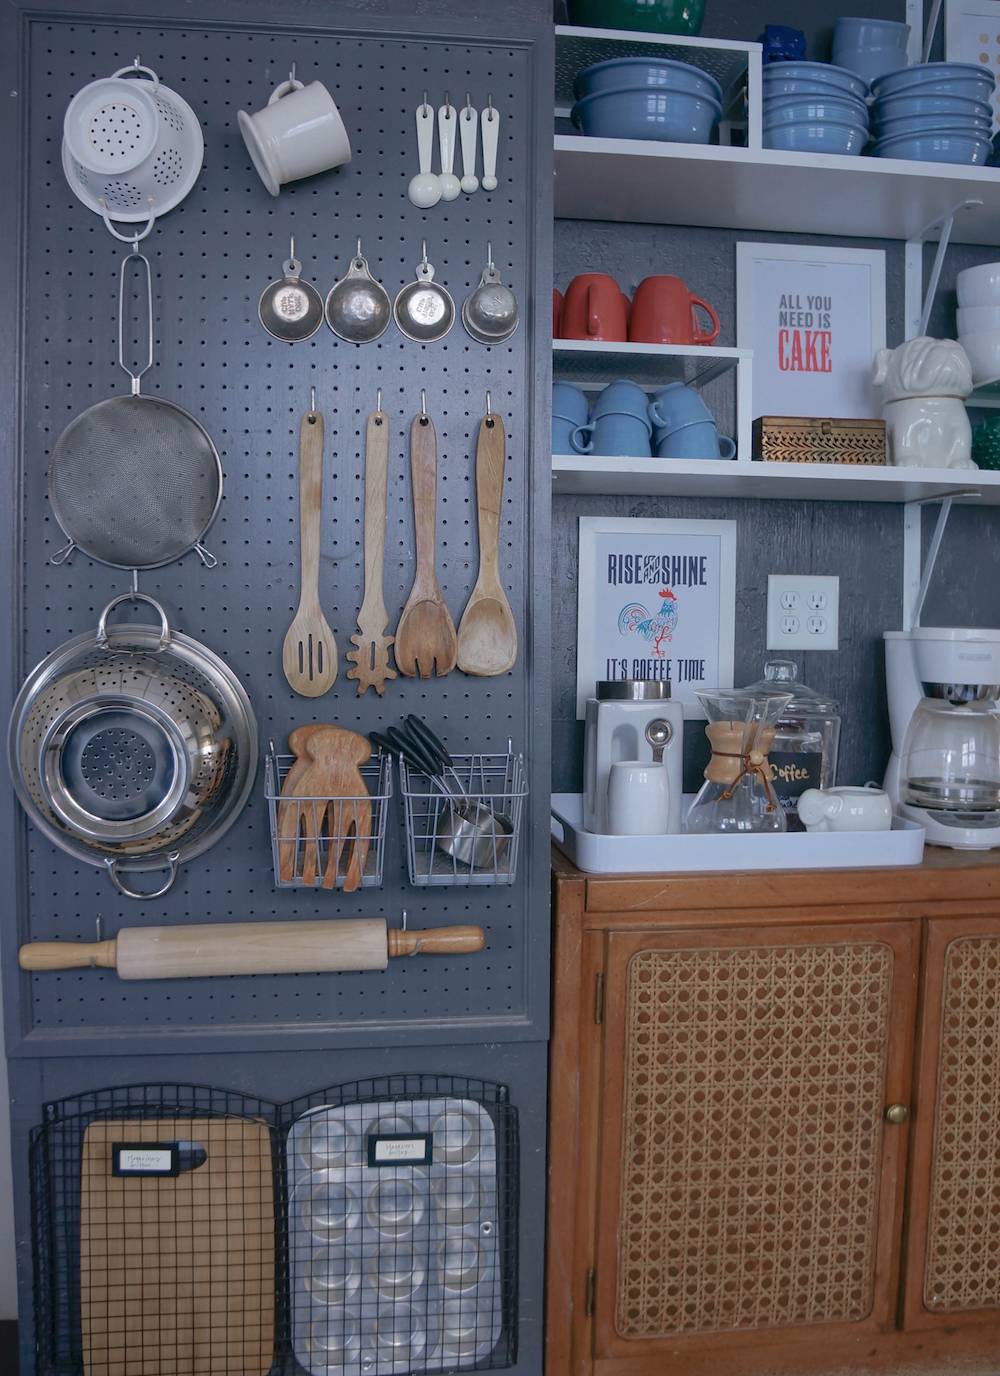
I added a pegboard to the (plywood covered) brick chase that once housed all the radiator pipes. The basement had some pegboard with pegs from the previous owners. I used old lath that we removed from the lath and plaster upstairs to give some space between the pegboard and plywood. I bought and installed some trim to make it look framed. The peg board houses all my baking stuff. I used a magazine rack to store muffin tins and cutting boards. Not pictured is a pot rack. The brick chase is a thin layer of plywood covering 100 year old brick. The only place sturdy enough for a screw to drive in and hold a pot rack was the very top where the chase is wrapped with a 2X4. This makes the pot rack a little high but hey…the pots are out of my cabinets.
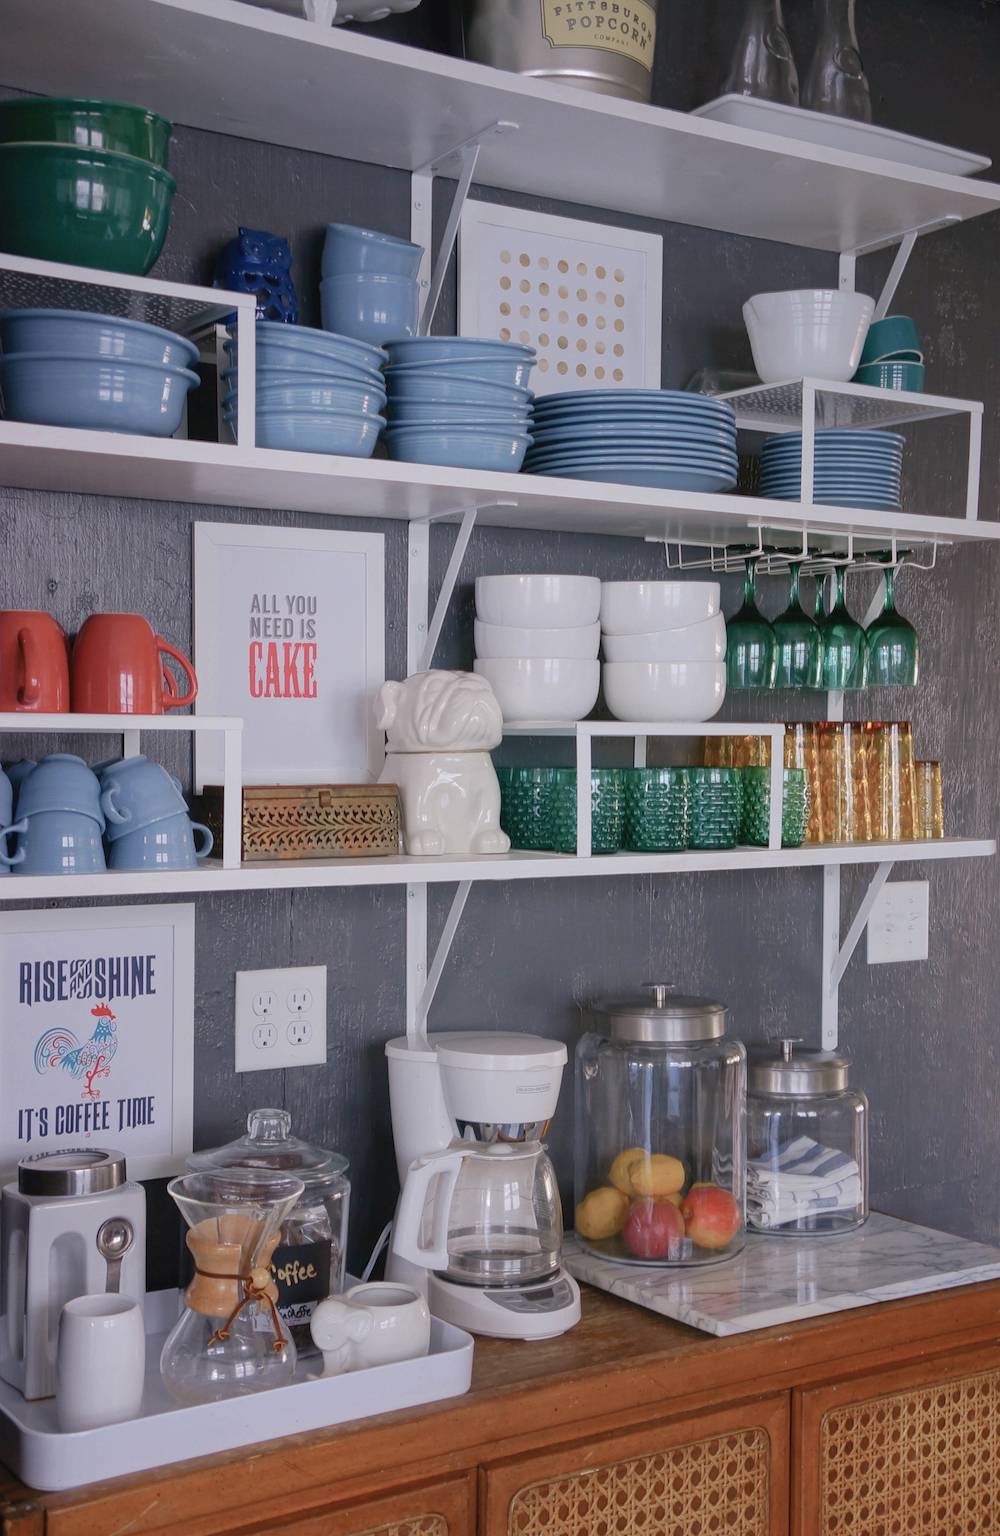
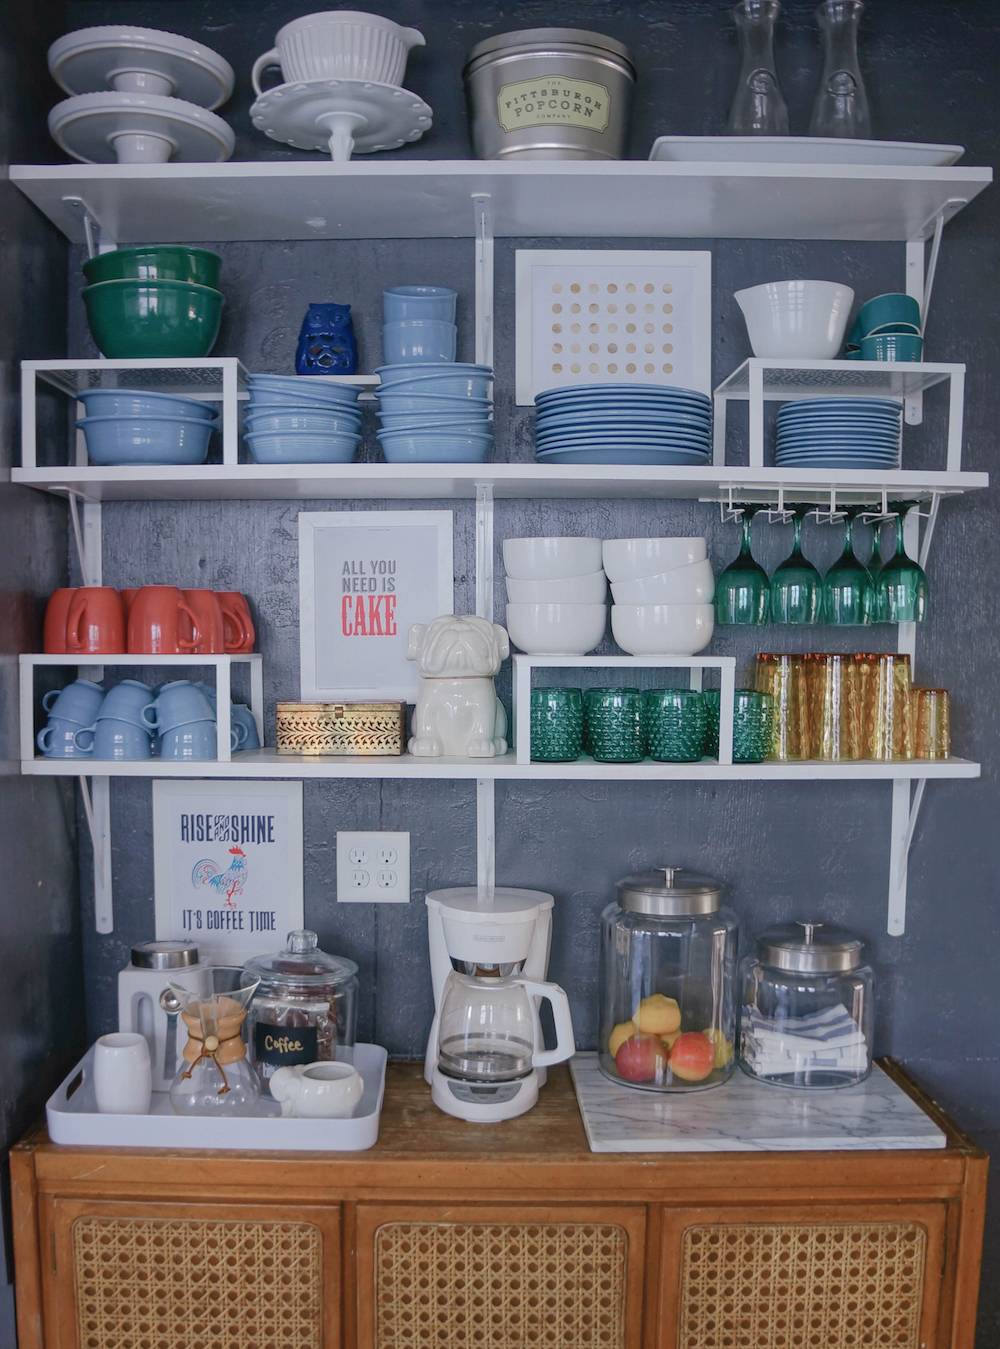
I bought cheap pine boards at my local hardware store and painted them white. The most expensive part of this project was buying the brackets. They are not fancy, but they are sturdy. They hold every piece of dinnerware I own so they needed to hold up well.
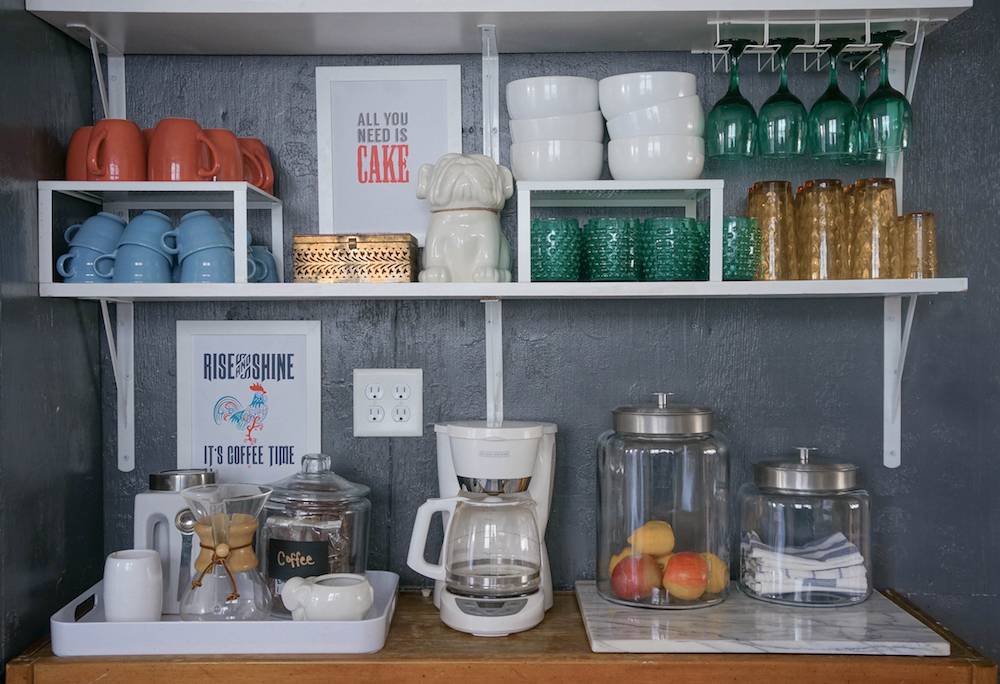
I love open kitchen storage. It is so easy to use and put away things. Finding a place for all these dishes helped my cabinets store spices, plastic kiddo stuff, and our small kitchen appliances. There are so many things you can do with a blank wall in a kitchen. A buffet and some shelves can transform your space and your storage so don’t let your tiny kitchen get you down. Make it work.
If you know me, the accent colored wall is not really my design style. I love unified and open spaces with different textures. This is a shot of color in your face…and I love it. It has been fun to be a little different and quirky for a few years. Rember this tiny entryway? It is attached to this tiny kitchen. Need more kitchen storage ideas? Curbly has you covered. Check out this post and this post.
