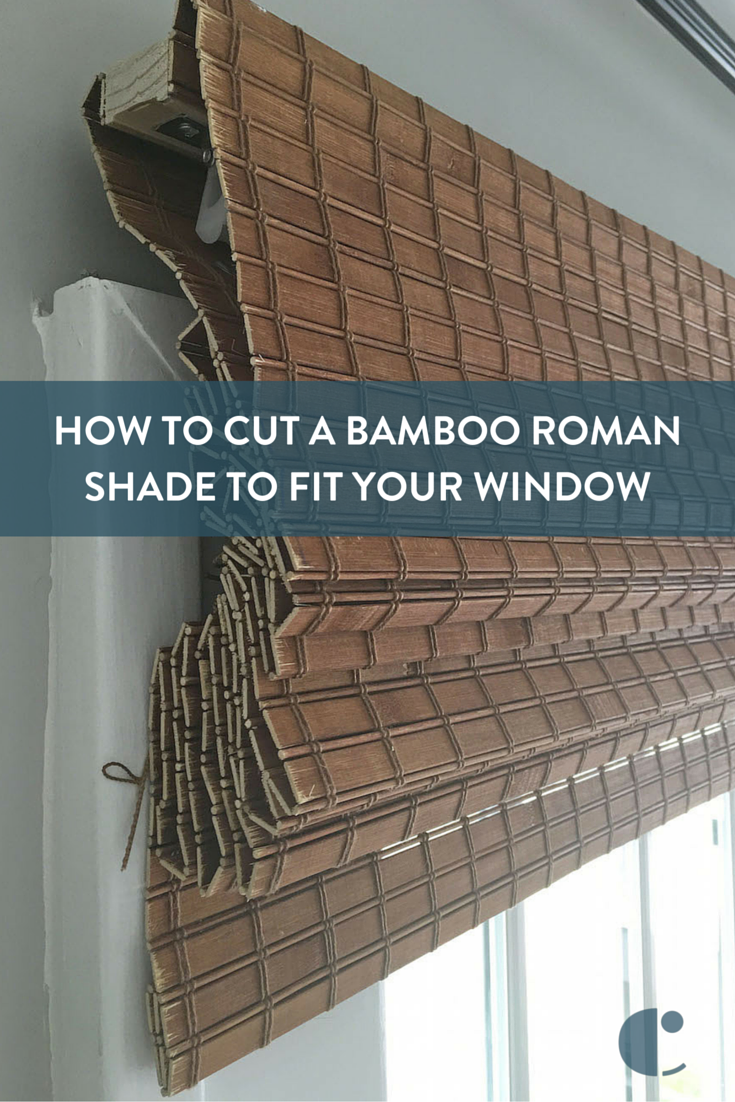
I love the look of white trim and bamboo roman shades, but the problem is my window sizes are anything but standard. Custom bamboo roman shades are expensive, but the store-bought version can actually be affordable window treatments. The problem is getting them to work for those of us who have non-standard window sizes. The obvious solution is to cut them, but when you inquire about that possibility, you’ll hear every reason why you shouldn’t. But, guess what? I am here to tell you it is possible to cut store-bought bamboo roman shades to fit your windows perfectly. Read on to find our how!
My 63-inch wide window was a poor match for the standard-sized shades sold in most big box stores. Most store-bought shades jump from 48-inches to 72-inches, so cutting one down from 72-inches was my only option. I found these bamboo roman shades at JCP Home. I ordered the 72 inch shade and assembled my tools. Here’s what you’ll need to cut your shade.
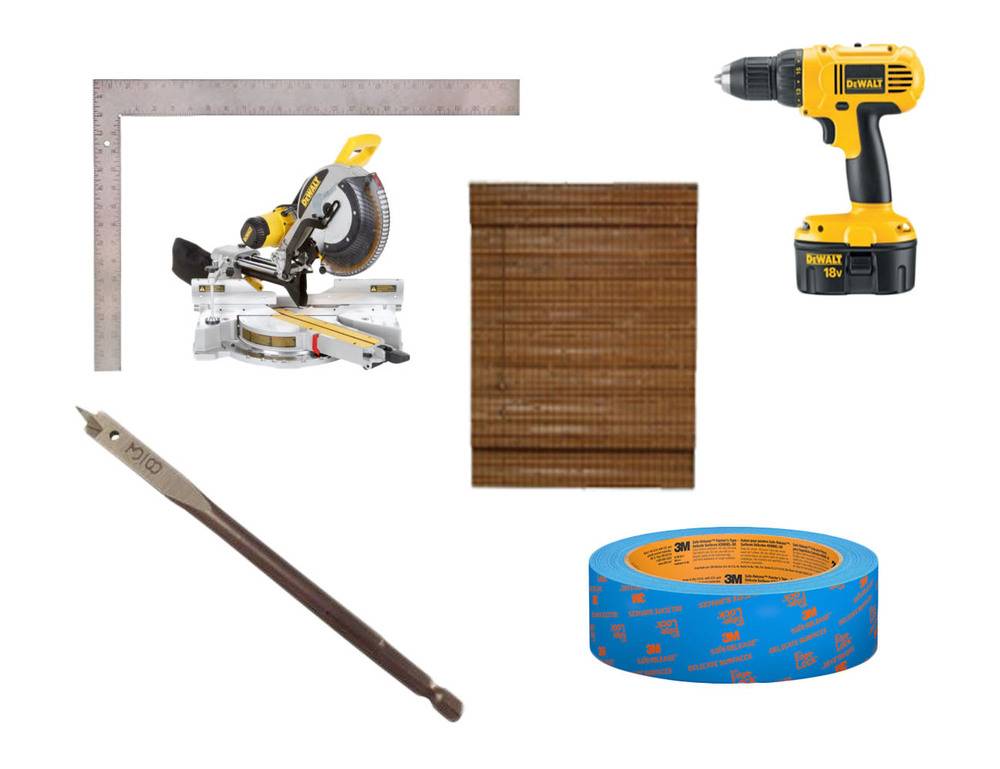
Materials
- Store-bought Bamboo Roman Shade
- Large Chop Saw with at least a 12 inch blade (Small chop saws won’t fully cut through a rolled bamboo roman shade)
- Painter’s tape
- Tailor’s chalk (used for sewing), alternately, you can use any removable marking device
- Large ruler
- 3/8 inch Spade bit
- Drill
Step
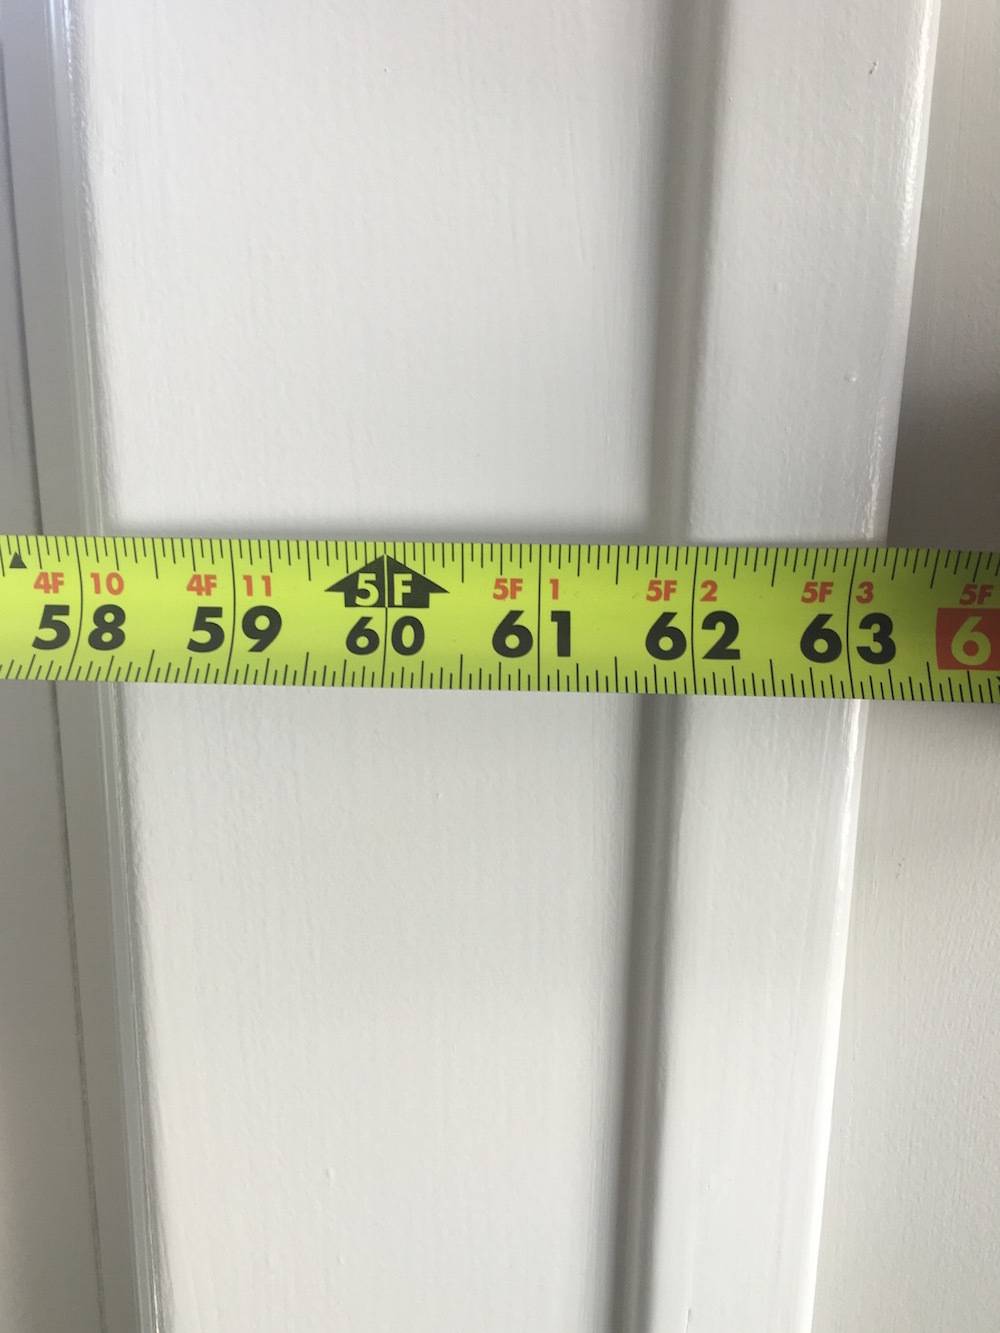
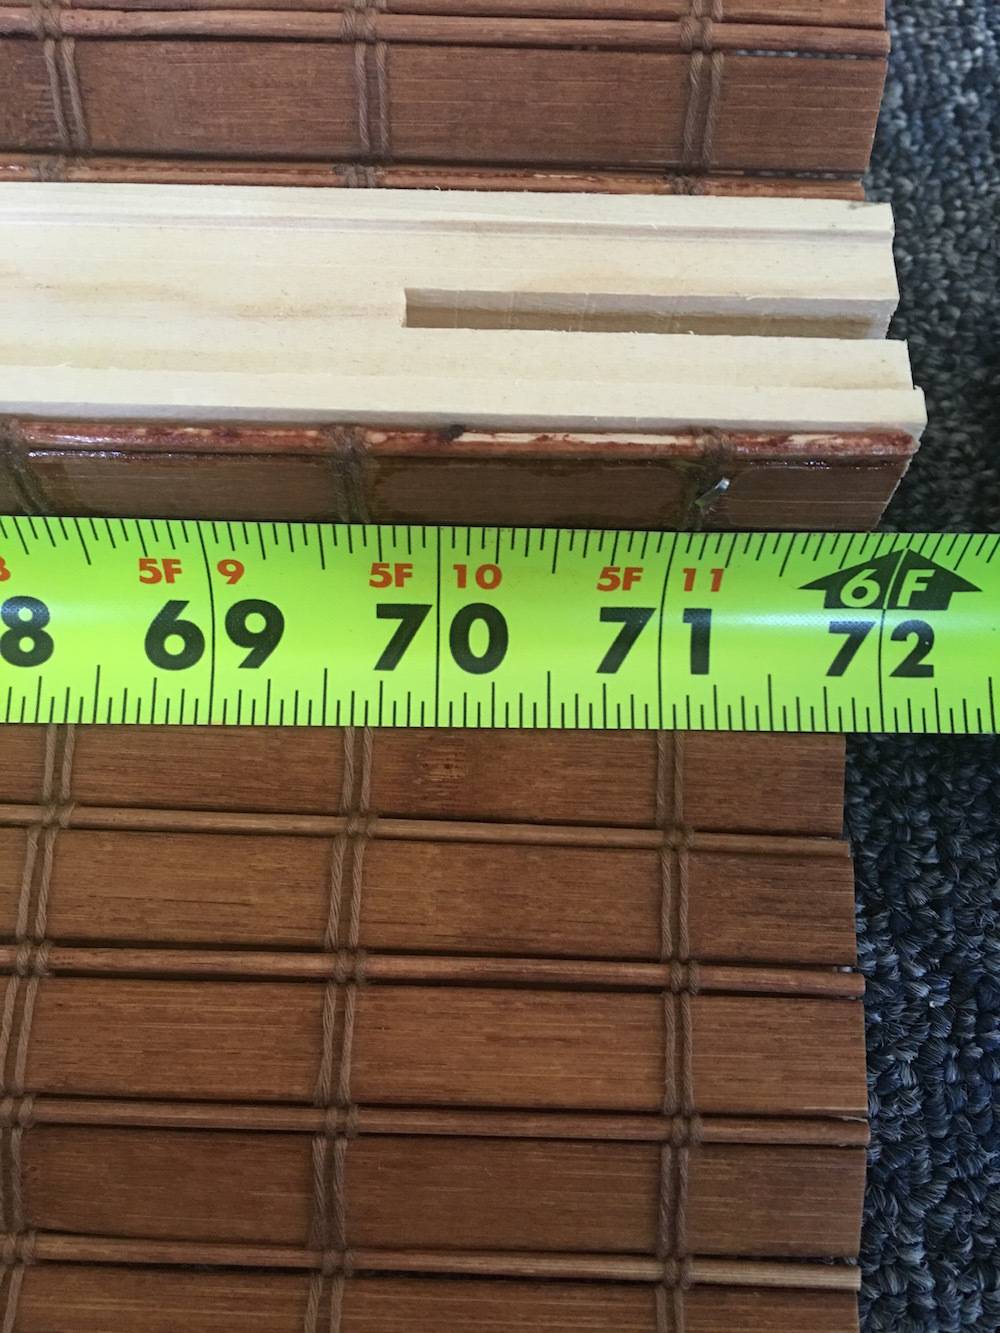
Measure your window and purchase the right size bamboo shade. Most likely the next size up will work. Because of the cords and hardware, a bamboo shade usually only has about 8-12 inches that you can actually cut off the width. Installing the shade inside the window trim was not possible because I’d have to remove 17-inches. I decided to top mount the shades (over and outside the trim), and then removed 9-inches off the sides of the shade.
Step
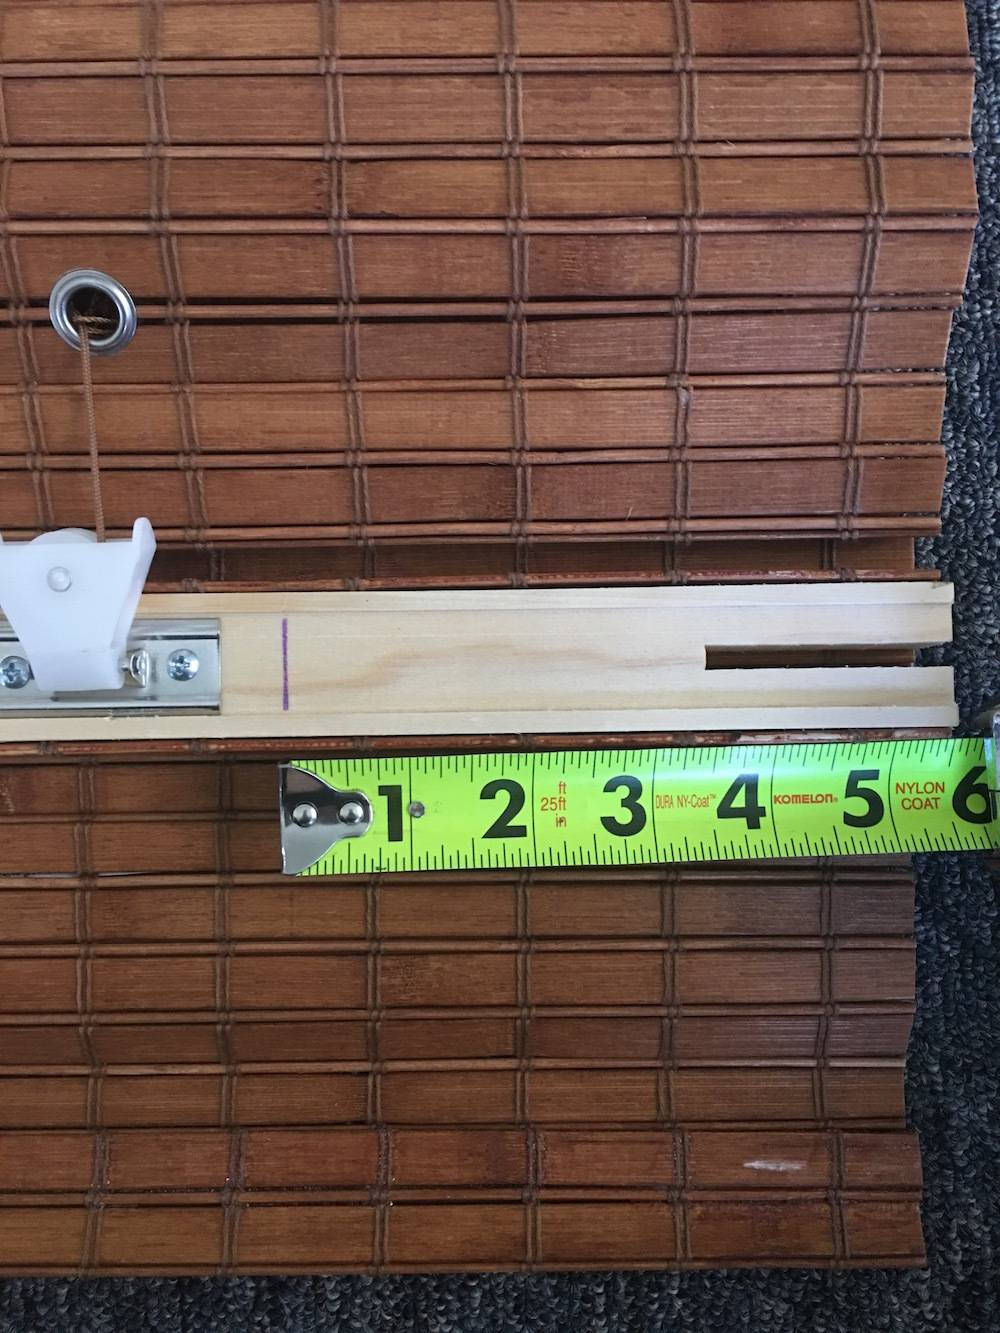
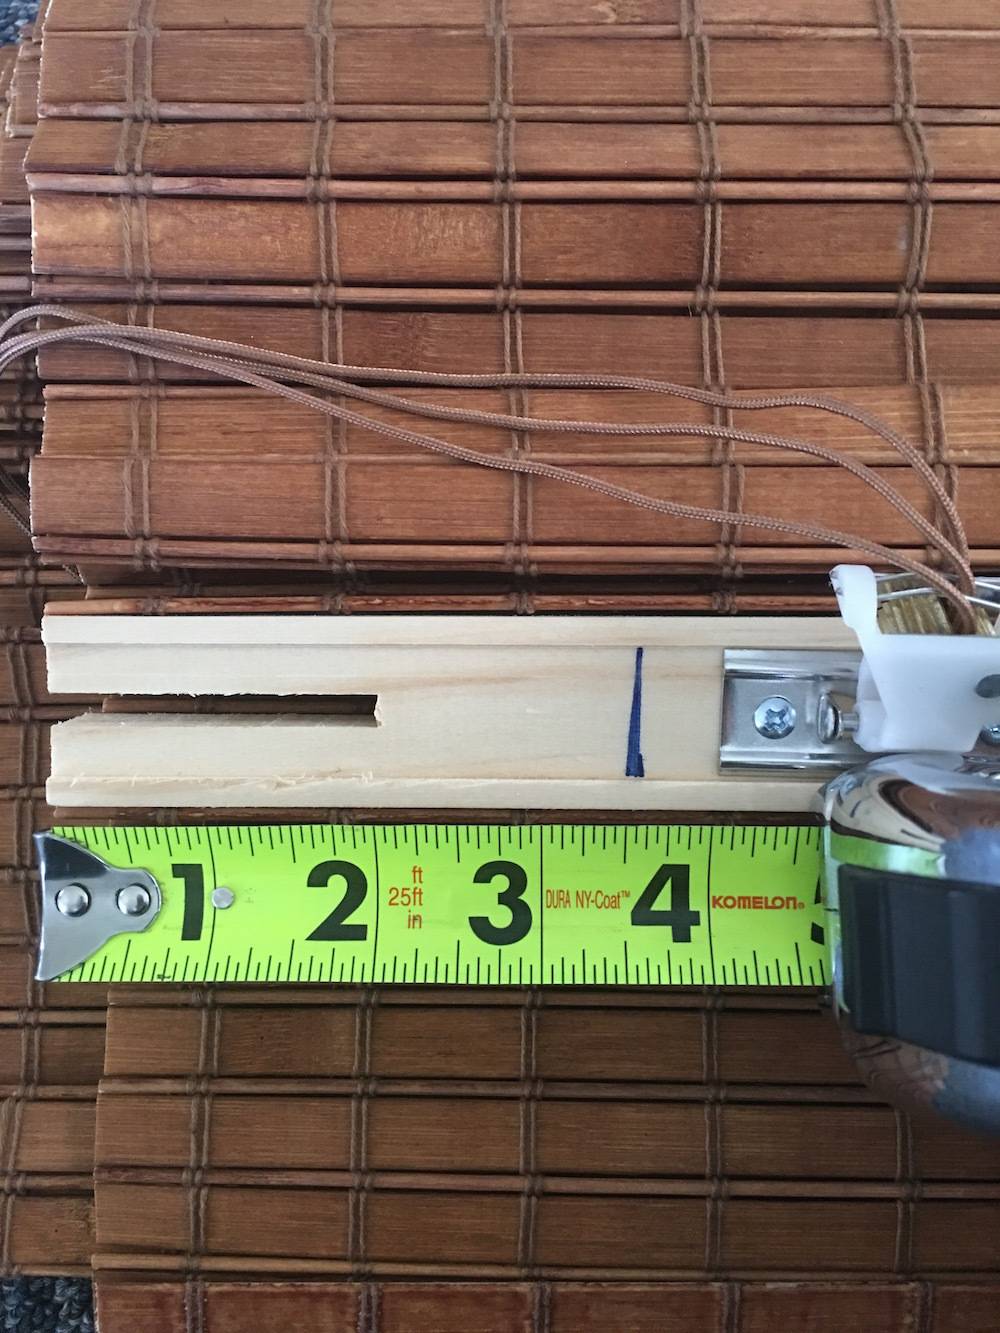
After you measure the total amount needed to be cut, determine how many inches will be cut off each side. The placement of the shade hardware is often asymmetrical. I ended up taking 3.5 inches off the right side and 5.5 inches off of the left. Make sure you leave at least a half inch excess beyond the hardware. The line marked above was my cut line. You may have to cut off the routed out section used to mount your shade, but that’s okay, you’ll be able to fix it later.
Step
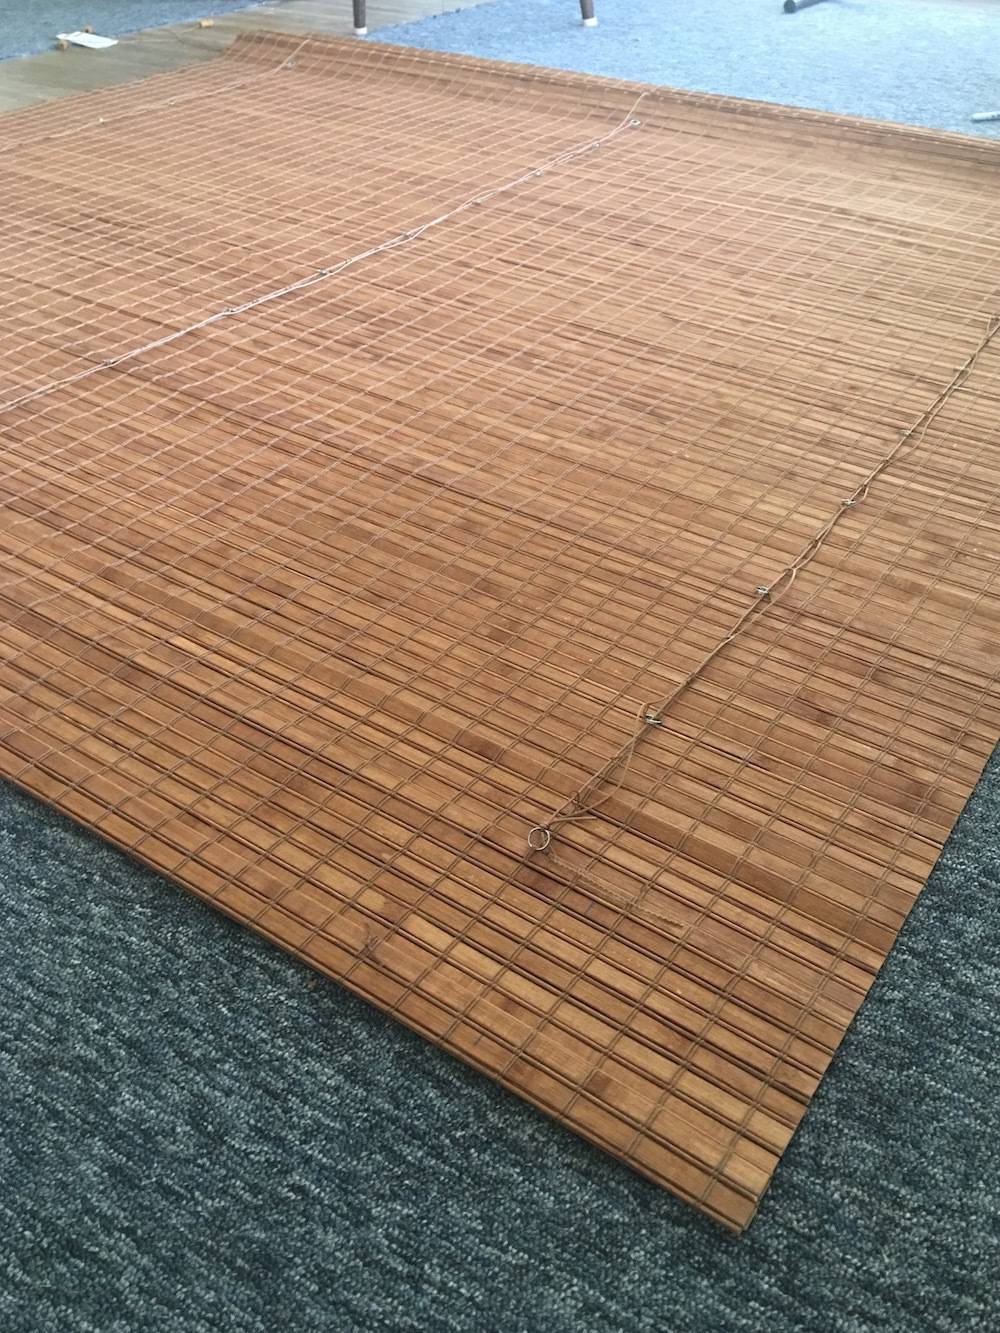
Completely release your shade and lay it down back-side up.
Step
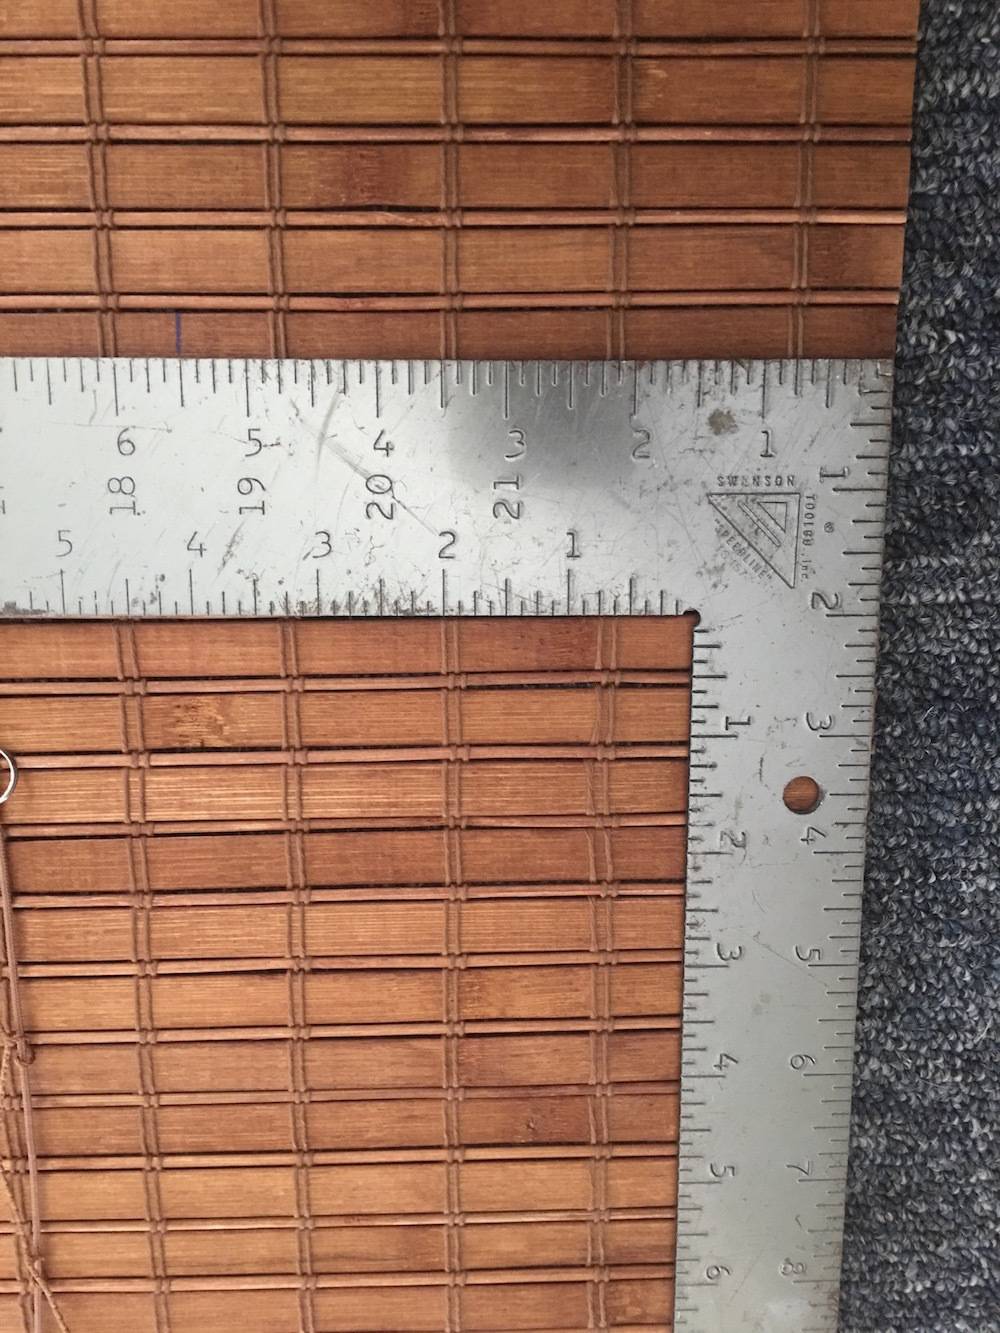
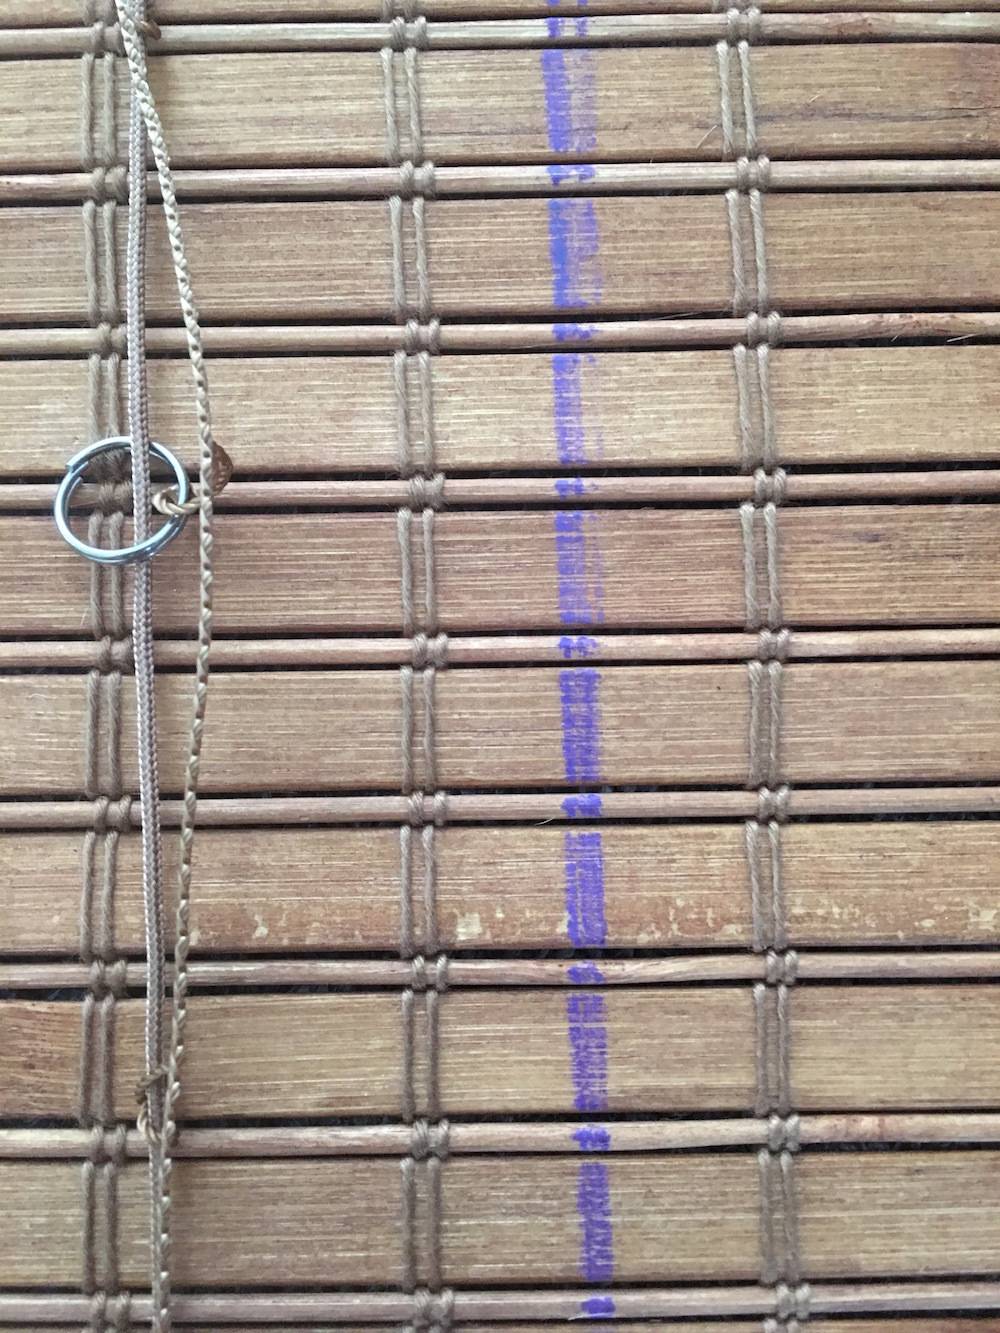
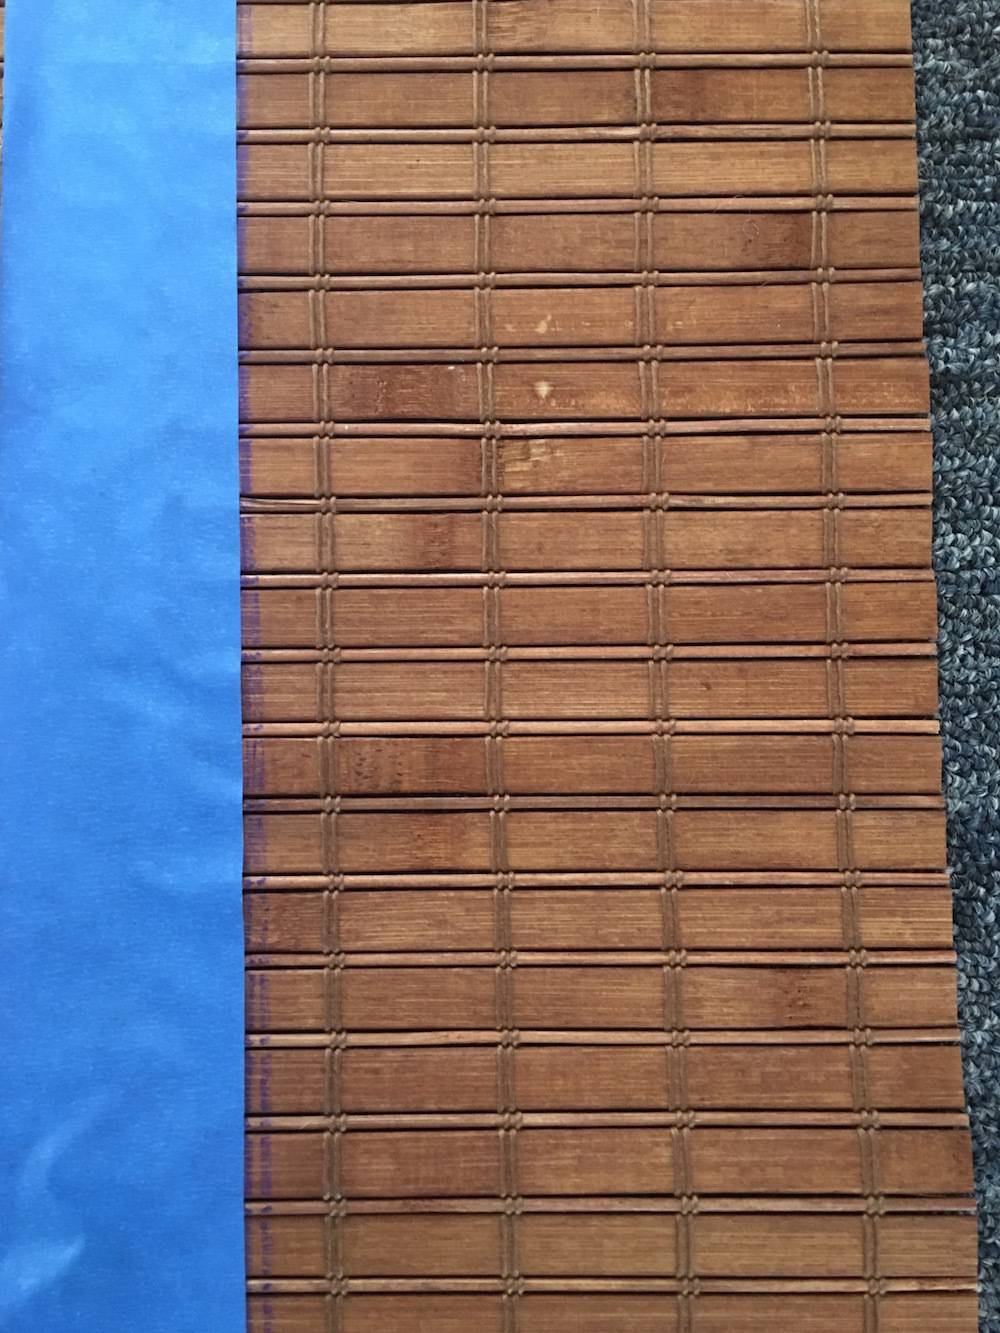
On both sides of the back of your shade measure the distance you need to cut. The left photo shows the side of the shade I removed 5.5inches from. I made marks with tailor’s chalk all the way up the shade. I used the same straight-edge to mark a straight line.
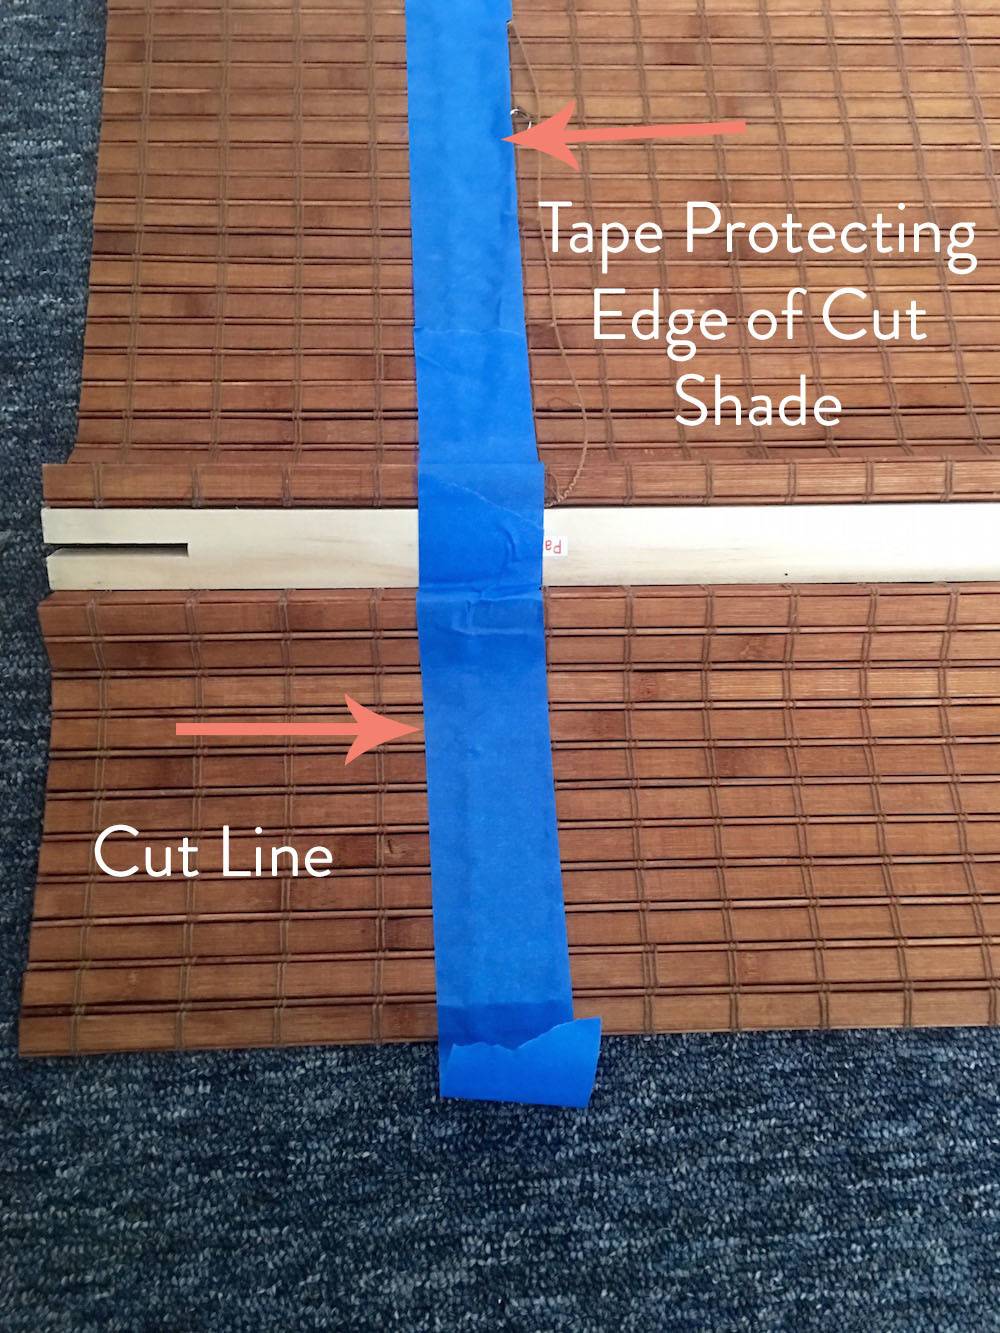
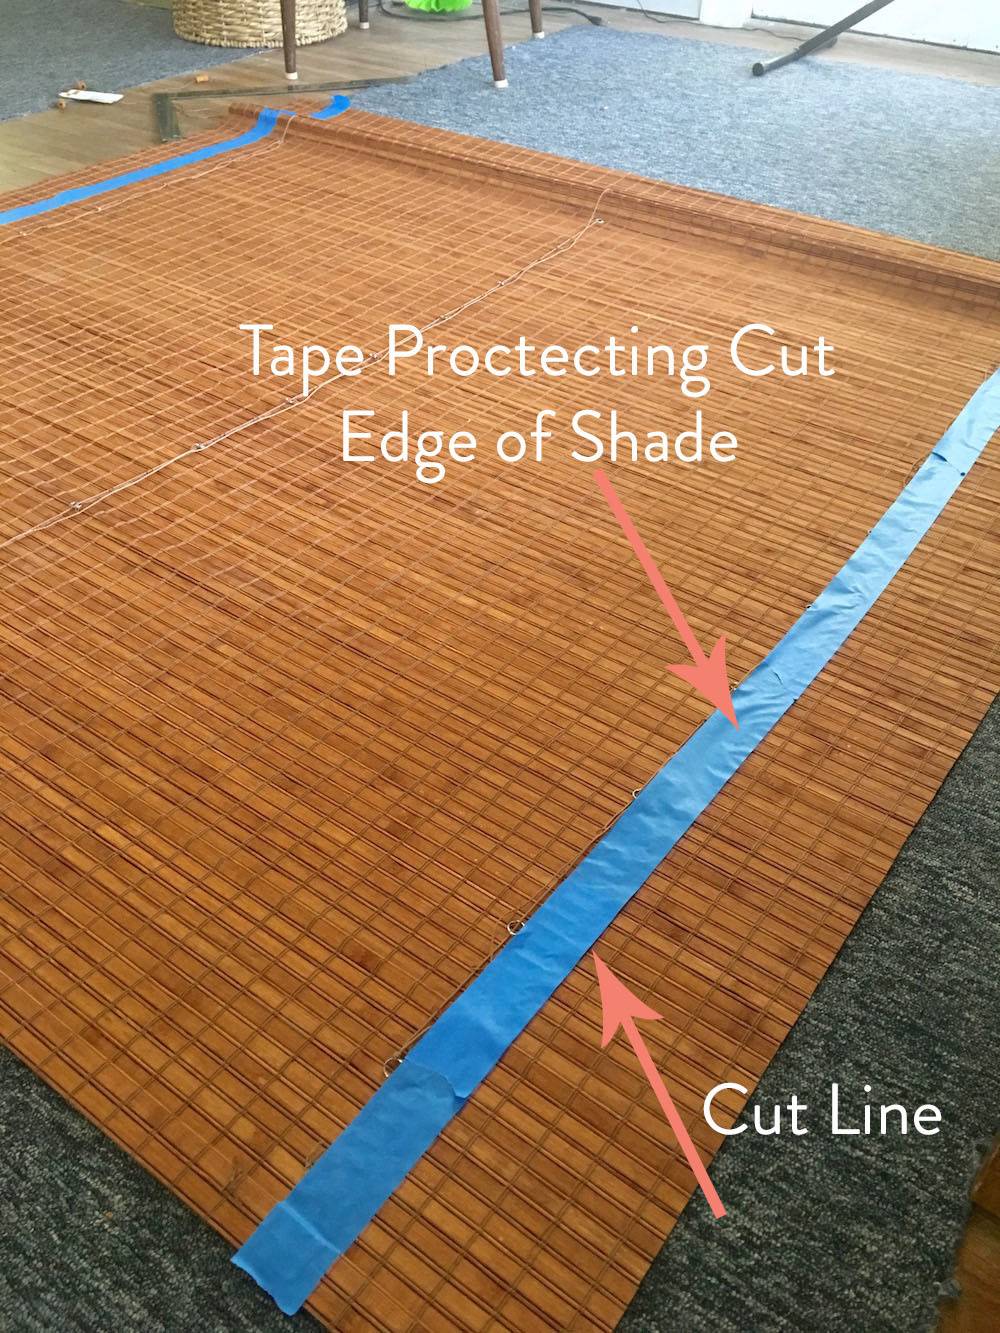
Finally, tape along the line you’ll cut. Place the tape along the line on the part of the shade that will NOT be cut off. The tape is the key to keeping the bamboo from fraying. You want the tape to keep the edge of the newly cut shade nice and clean.
Step
Continue to run the tape over the wood mounting strip and onto the flap. Do this for both sides of the back of the shade.
Step
Flip your shade over and repeat steps 4 and 5 for the opposite side of your shade. Do not skip this step. To make your cut you only need the tape on one side, but to keep your bamboo from fraying you need tape on both sides. Again, make sure the tape is on the inside of the line protecting the cut edge of the portion of the shade you’ll keep.
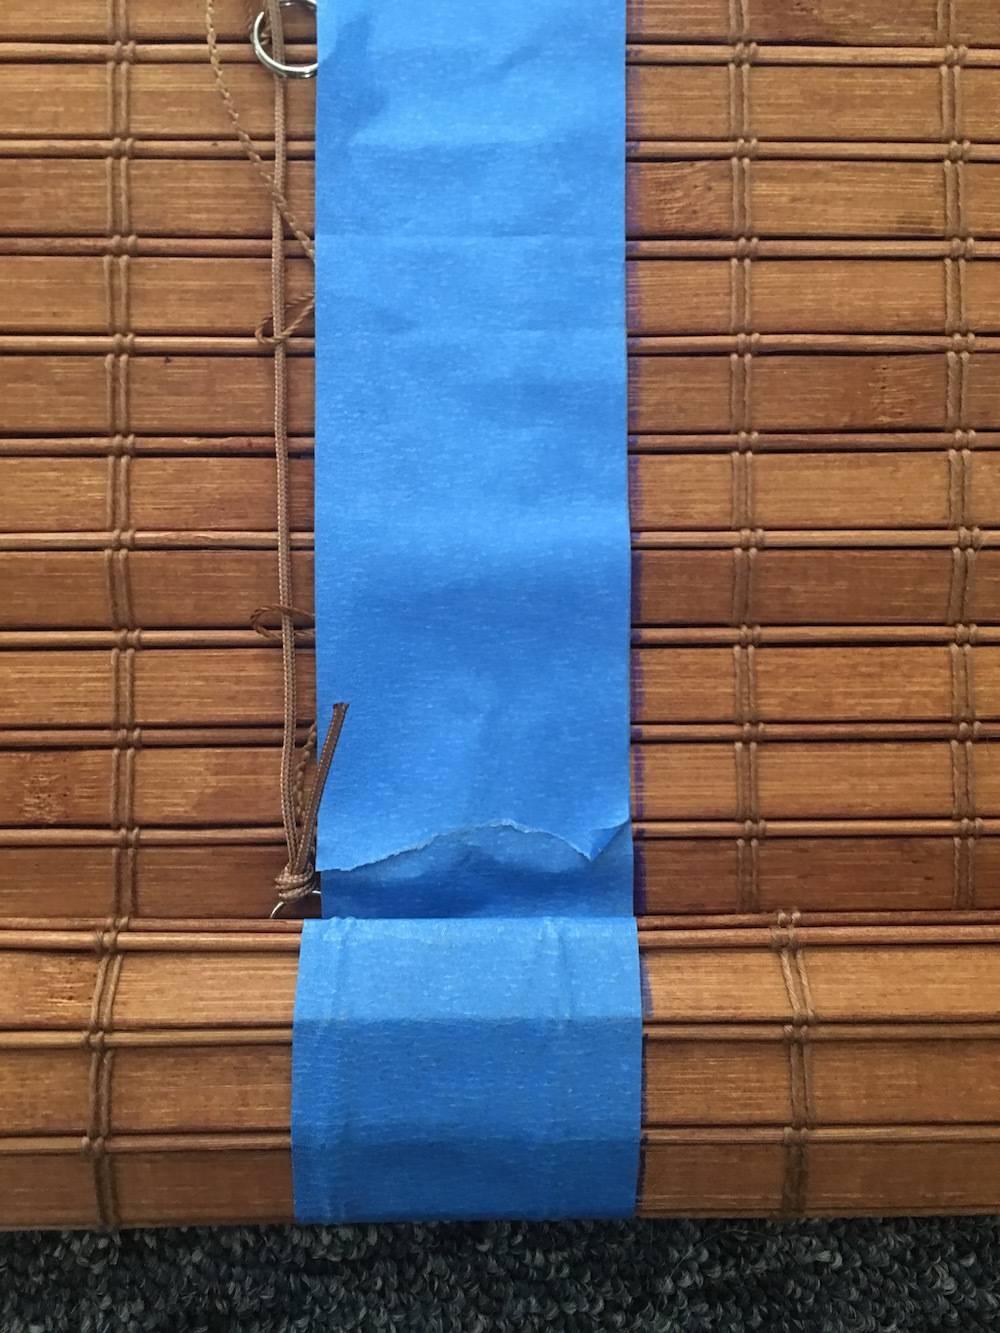
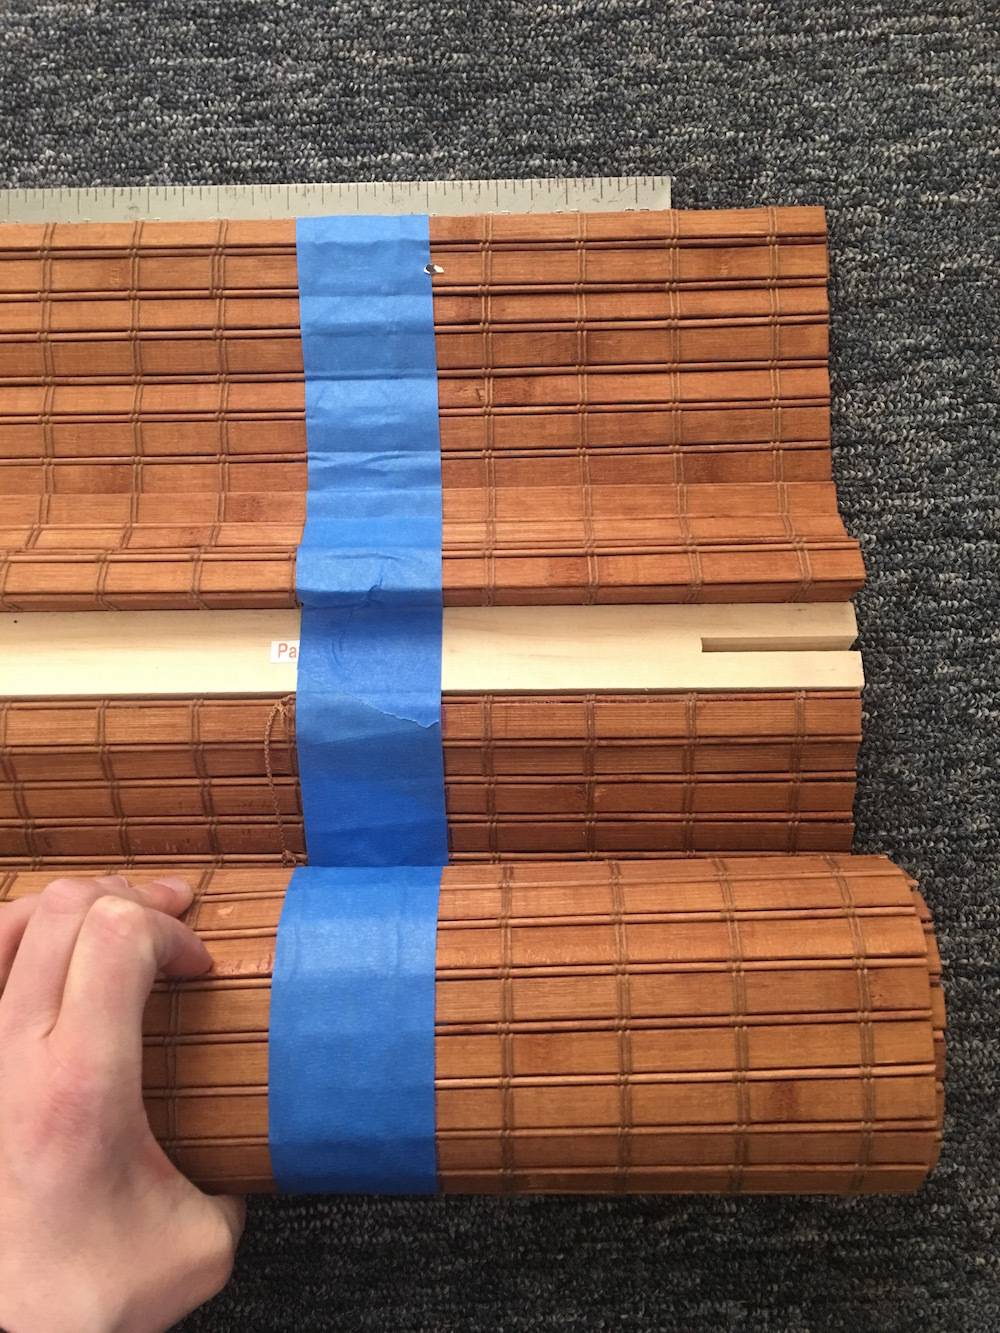
Step
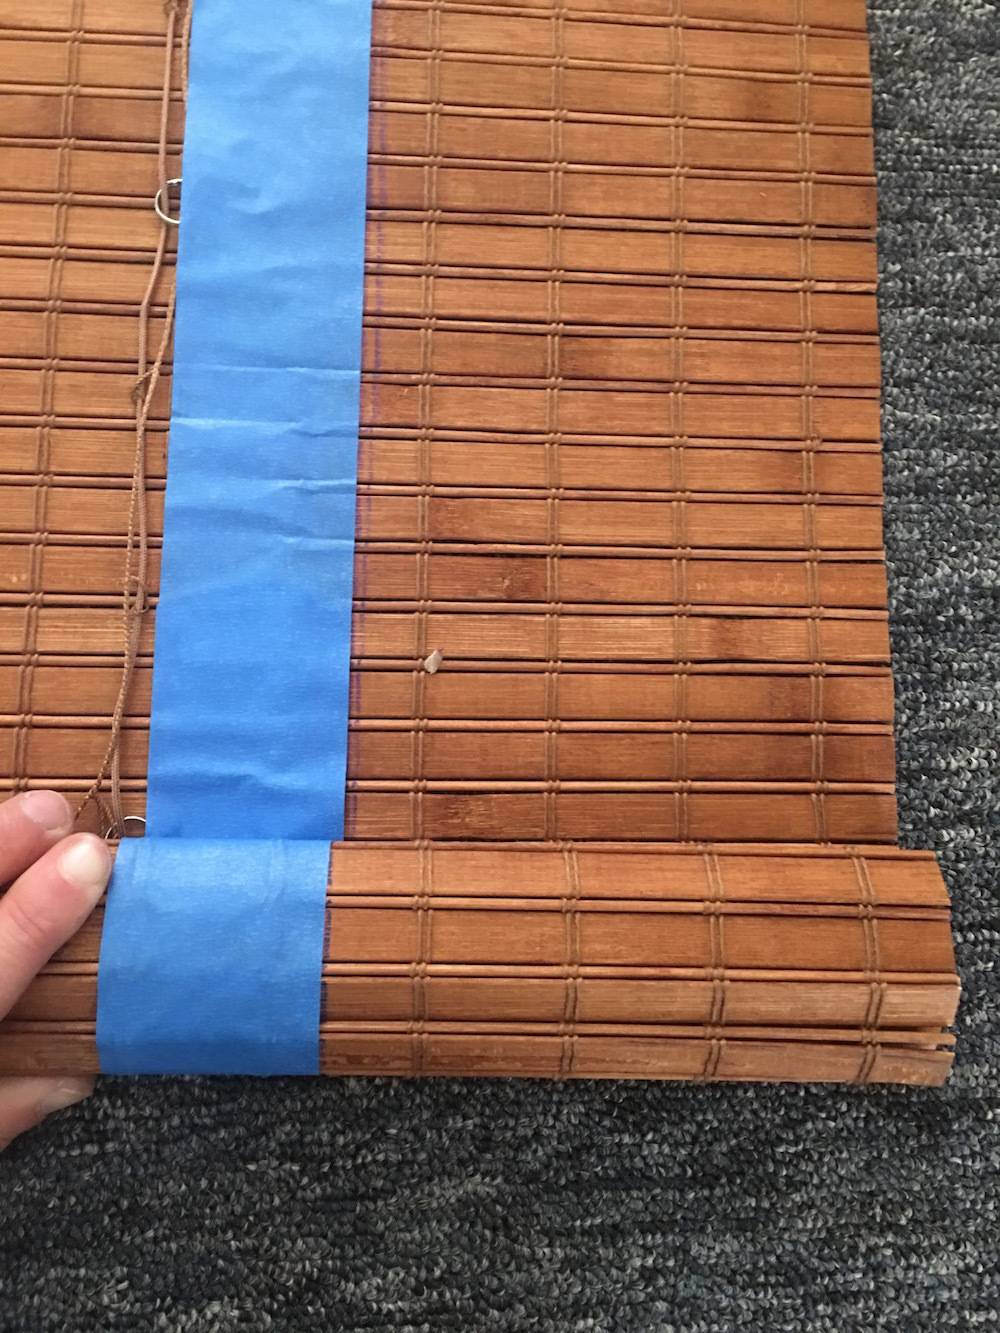
Once both sides are taped, now it’s time to tightly roll up your shade. Flip your shade with the back side up and roll your shade tightly keeping the lines of your tape straight as your roll. This is how you get a nice straight cut line. There are very few tutorials out there on how to do this, but what I did find often resulted in jagged edges after the cut. In fact, this is why box stores will not cut them. If you have marked well, taped well, and your tape lines up when as roll your edges will be straight. Here are a few extra things to pay attention to during this step:
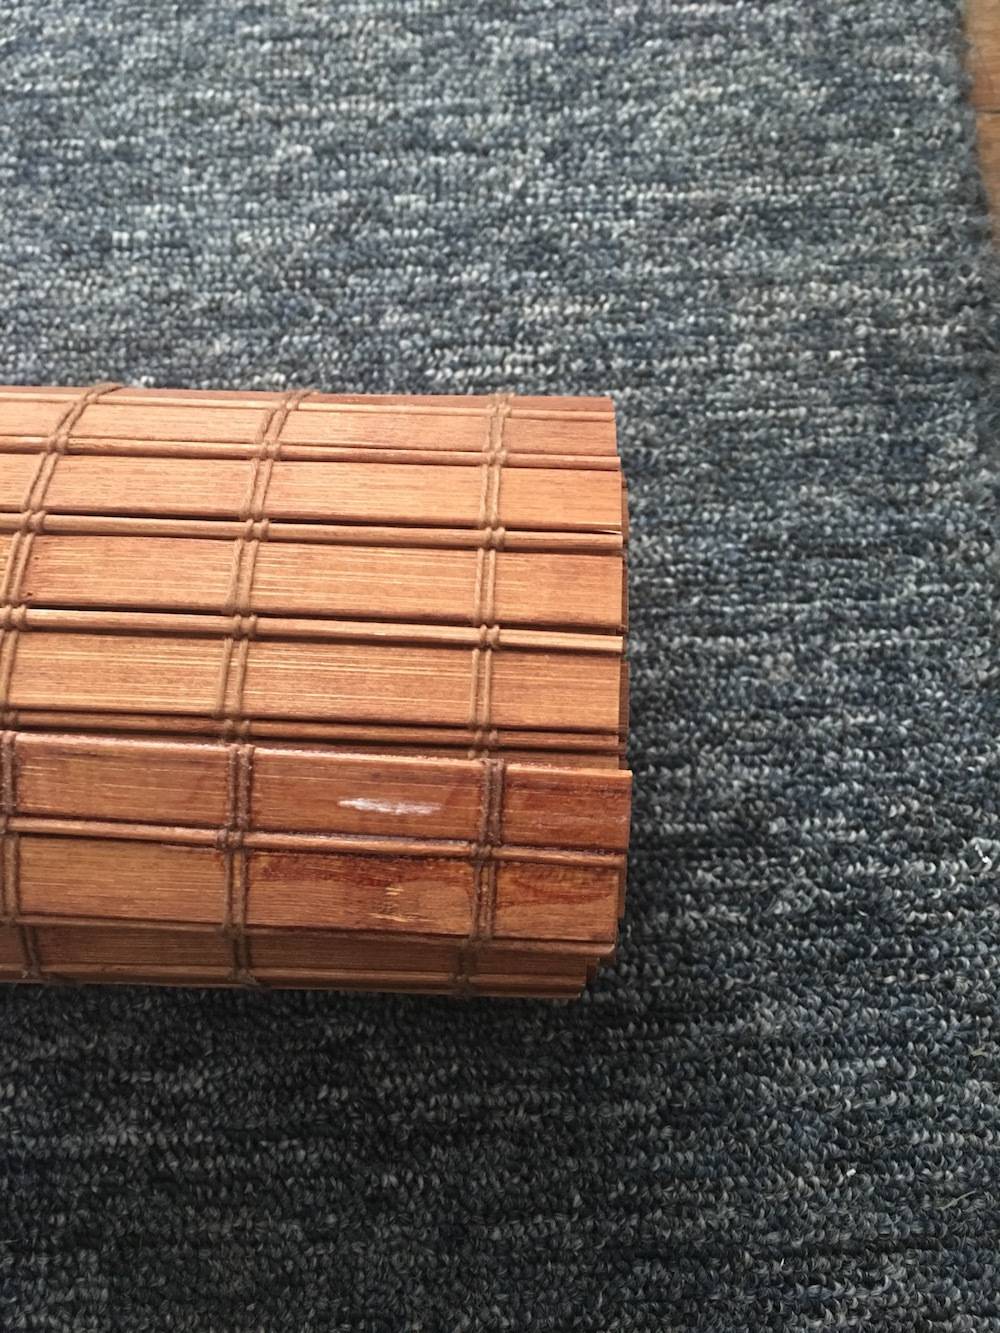
This is the edge my shade after it was fully rolled. Notice it is not completely even. This is okay! These shades have manufacturing flaws. If your tape lines match as you rolled then you will be good to go. If for some reason the end of the rolled shade has caved in, then undo it and re-roll.
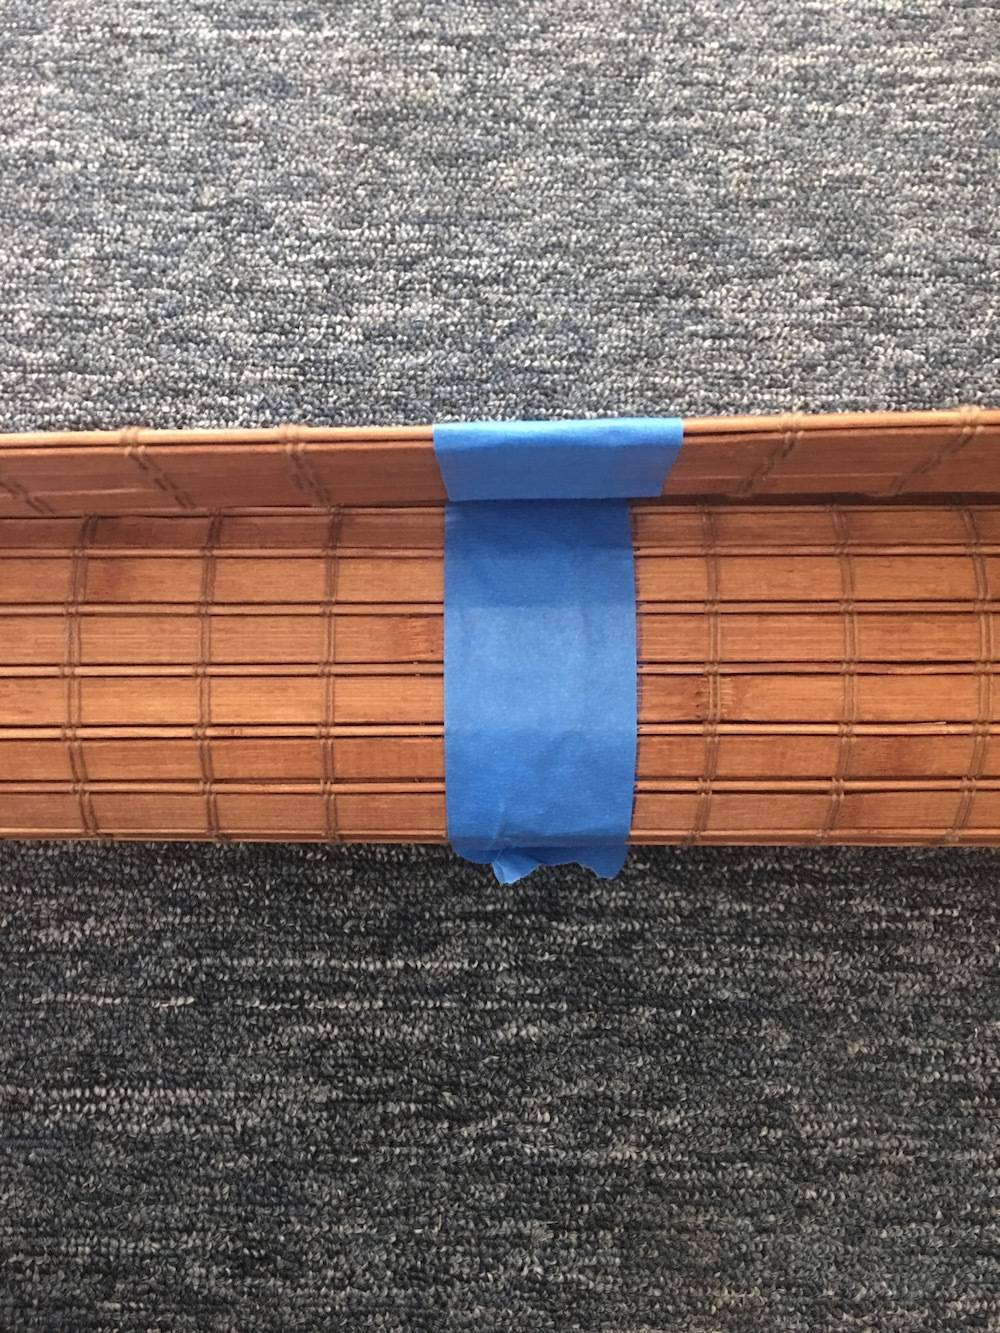
Once you have completely rolled the shade, lay the taped flap down to line up the shade roll.
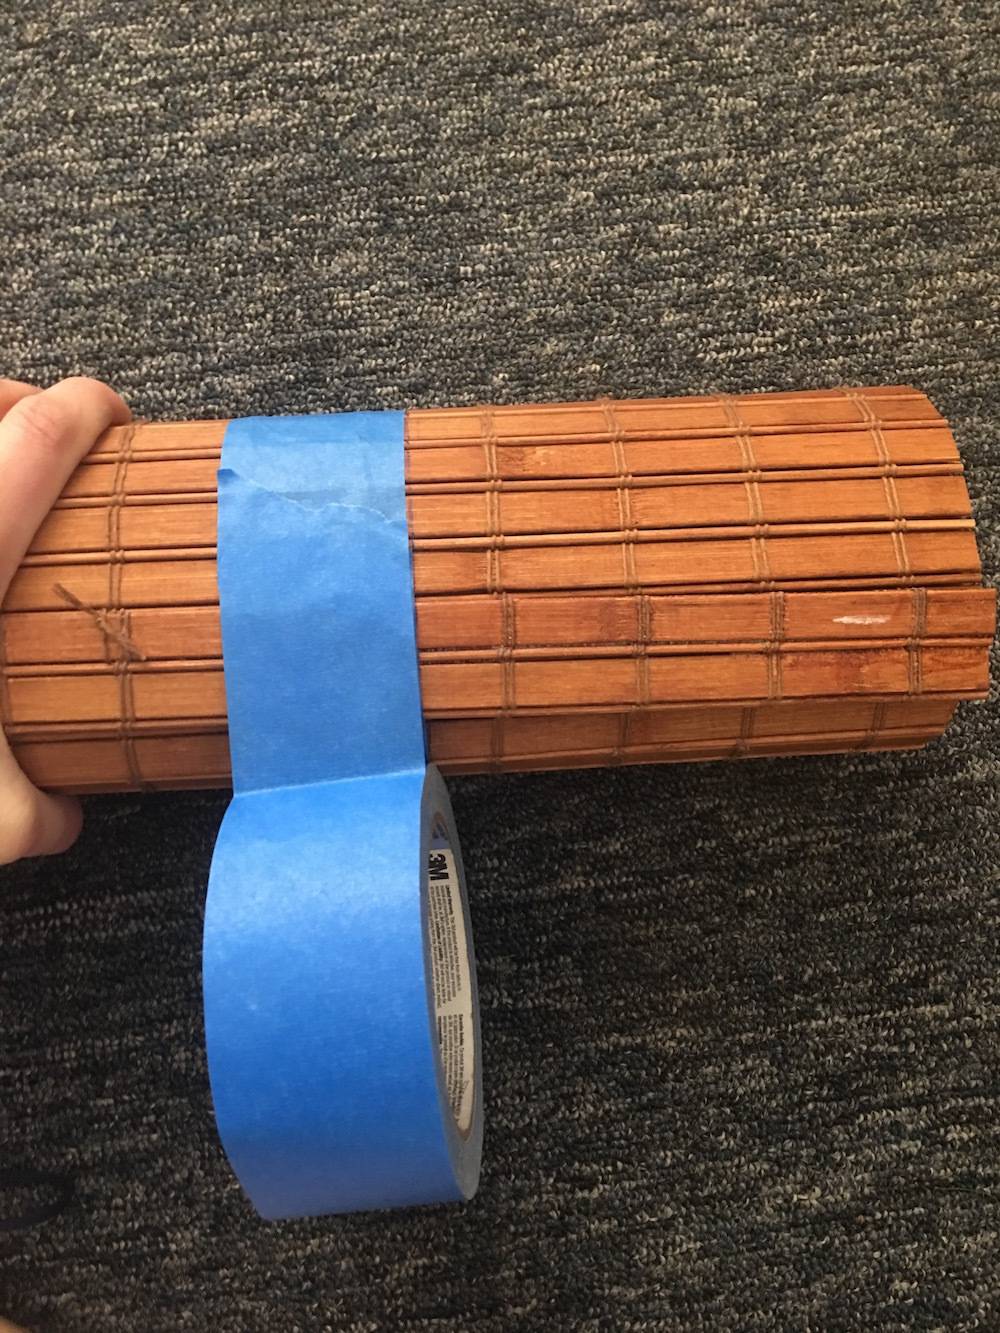
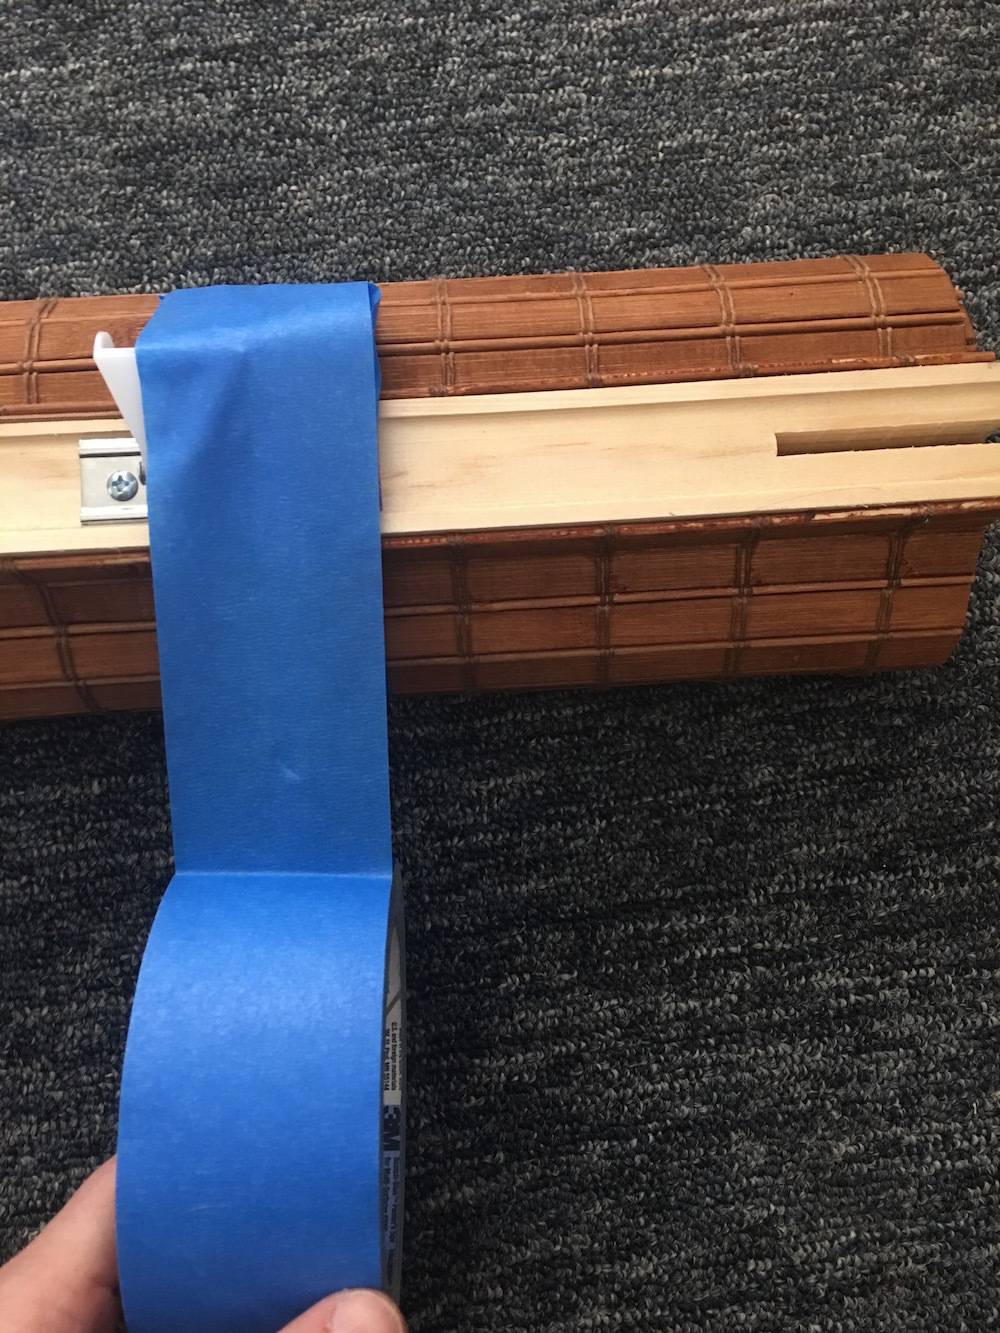
Step
You thought you were done with the tape right? Not yet. On both sides of the shade, wrap the entire roll in tape. This is to keep the flap and the shade together when you cut the shade. Wrap the tape along the cut line. Do this on both sides of the shade.
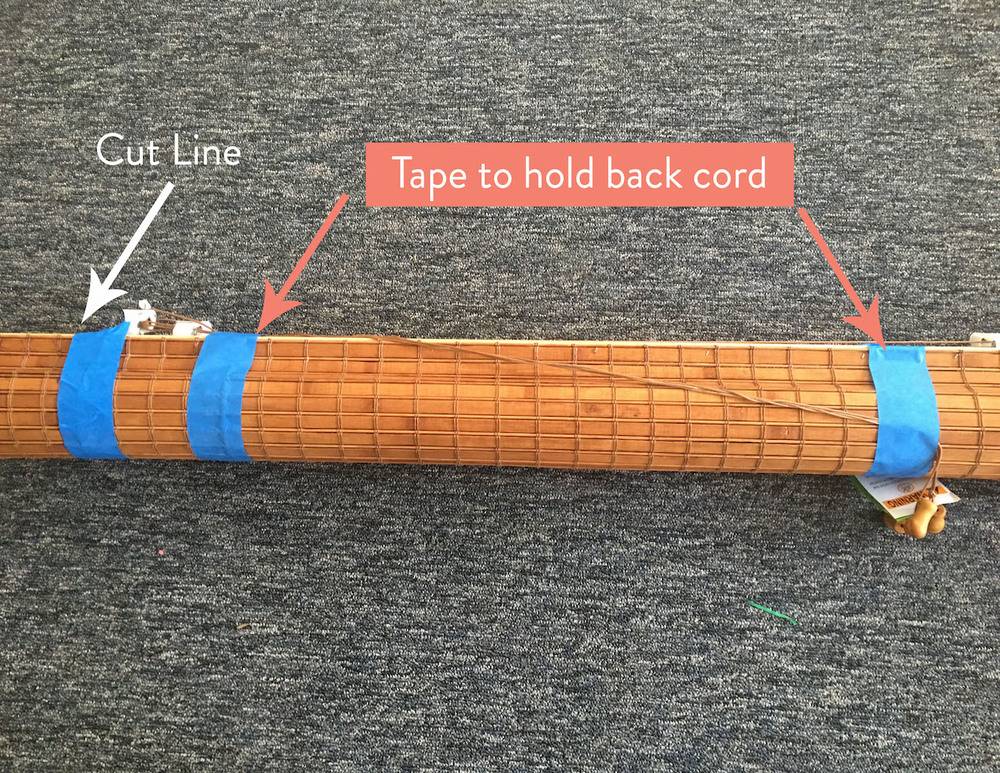
Step
Use tape to keep the cord out of the way when you cut the shade.
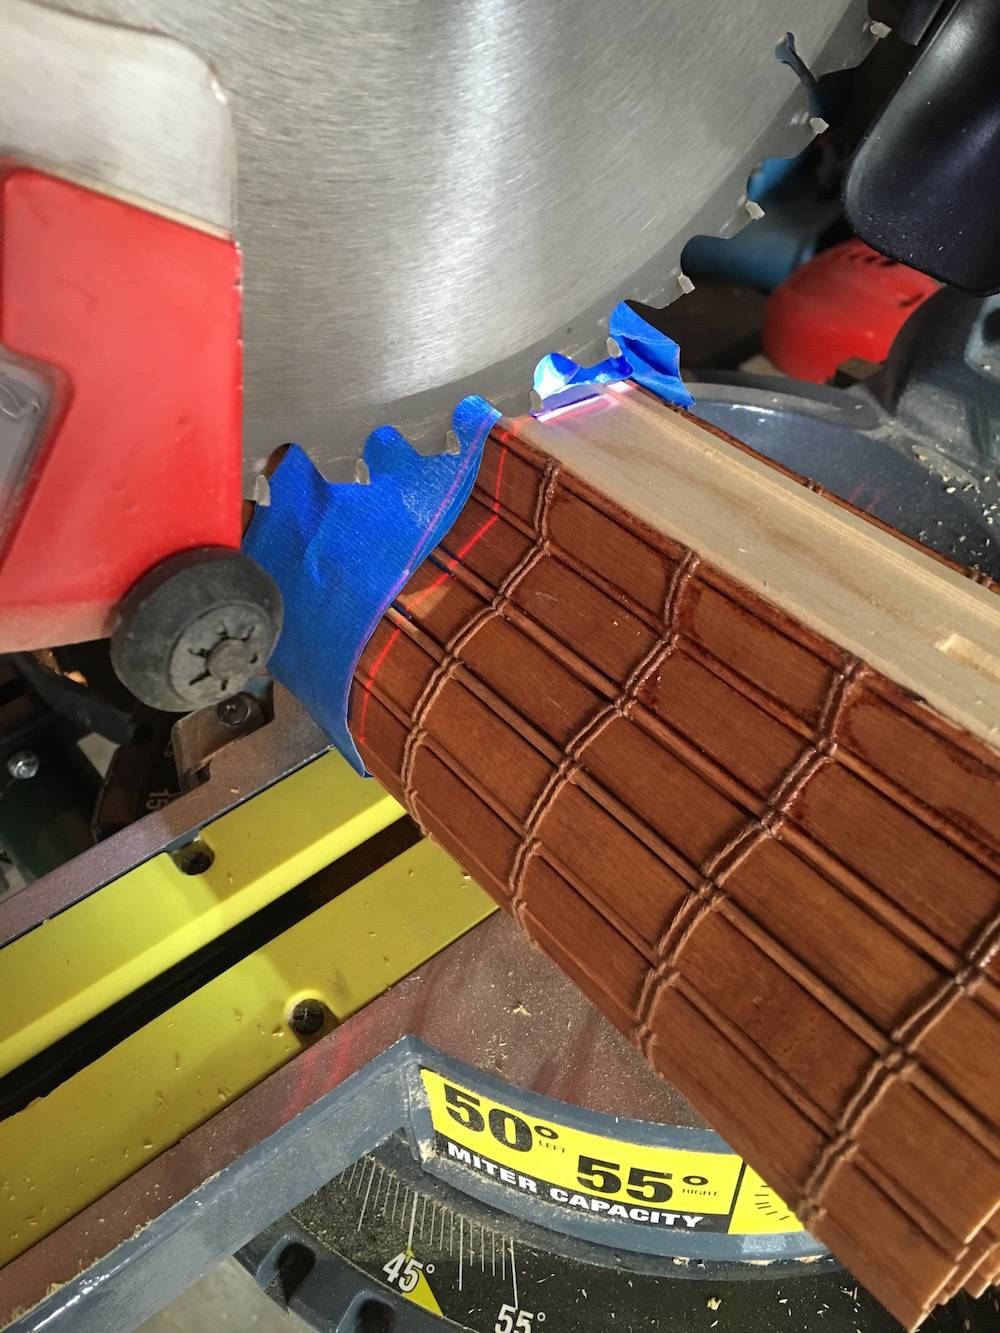
Step
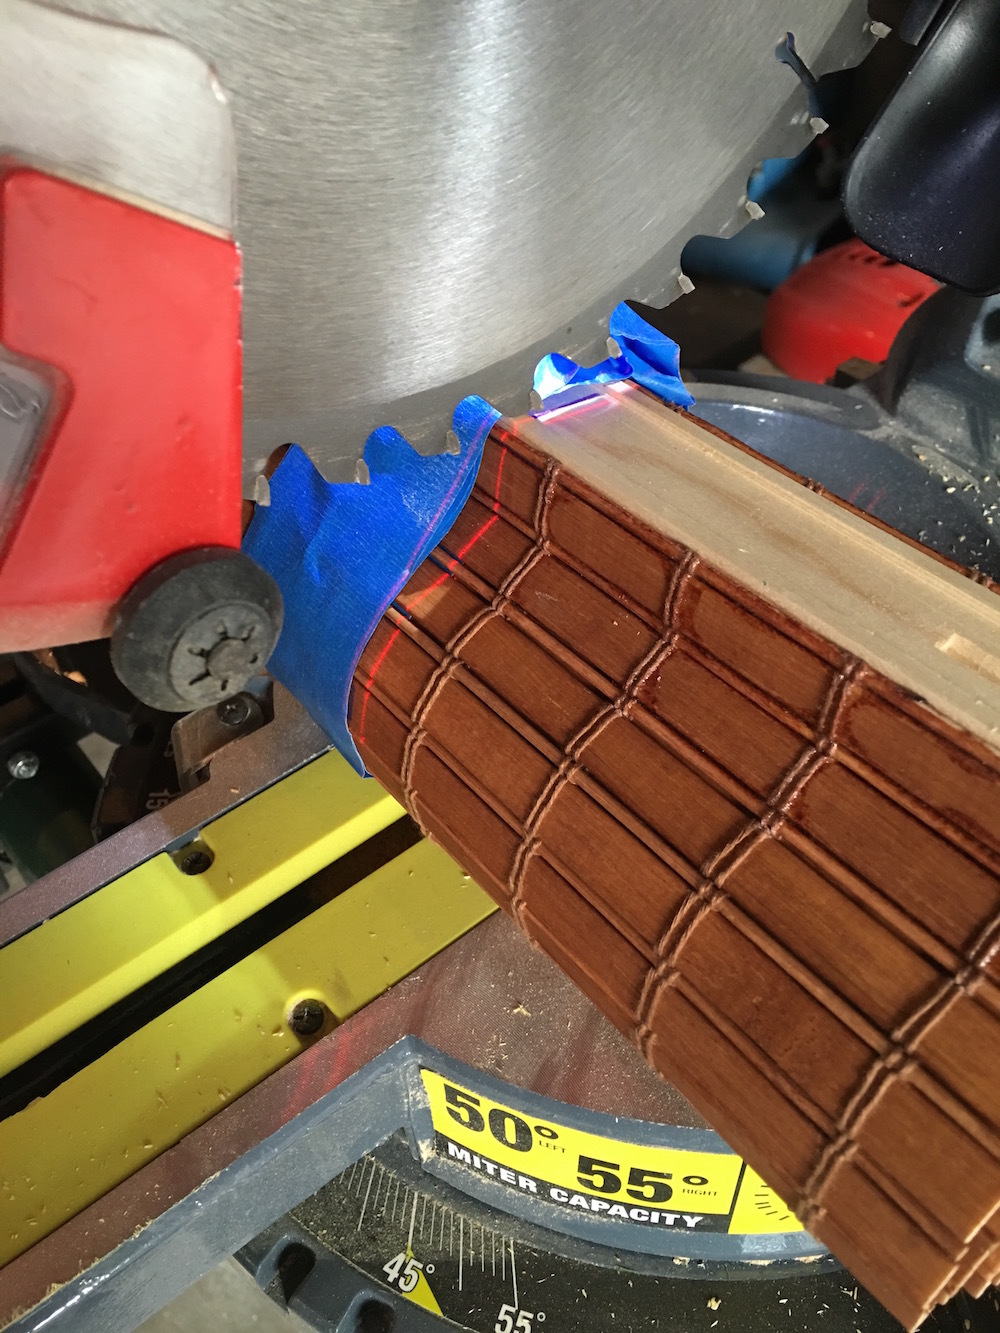
Take your shade to the chop saw and cut the shade along the tape line. It is best to cut the shade with the wood and hardware facing up. You will cut through the wood first and then the roll. Make sure your blade is sharp; if you have a dull blade, be sure to change it out before you make the cut.
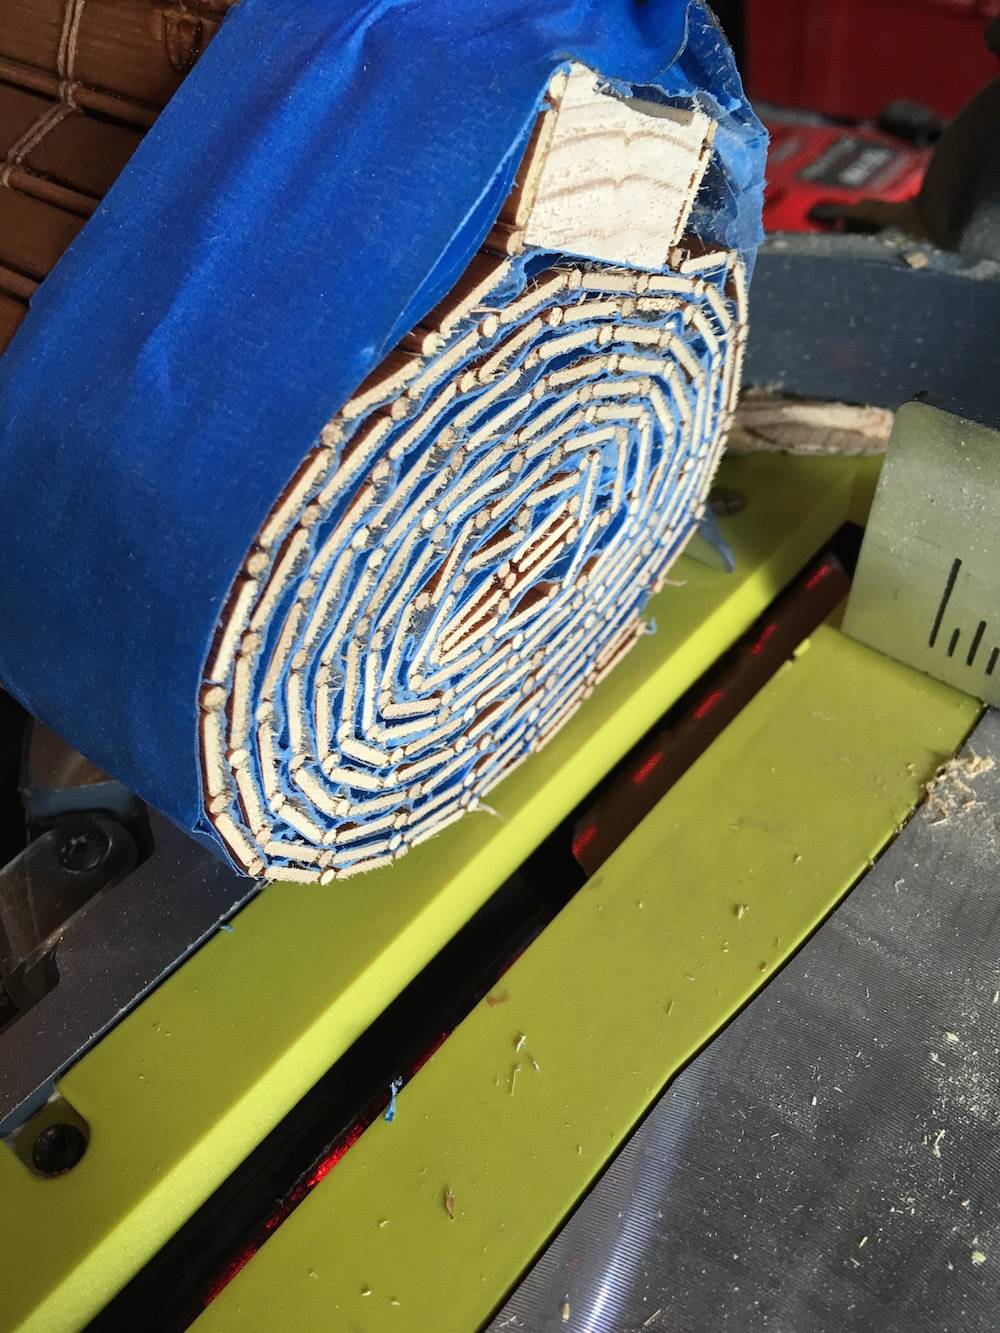
Here is what your rolled shade will look like cut.
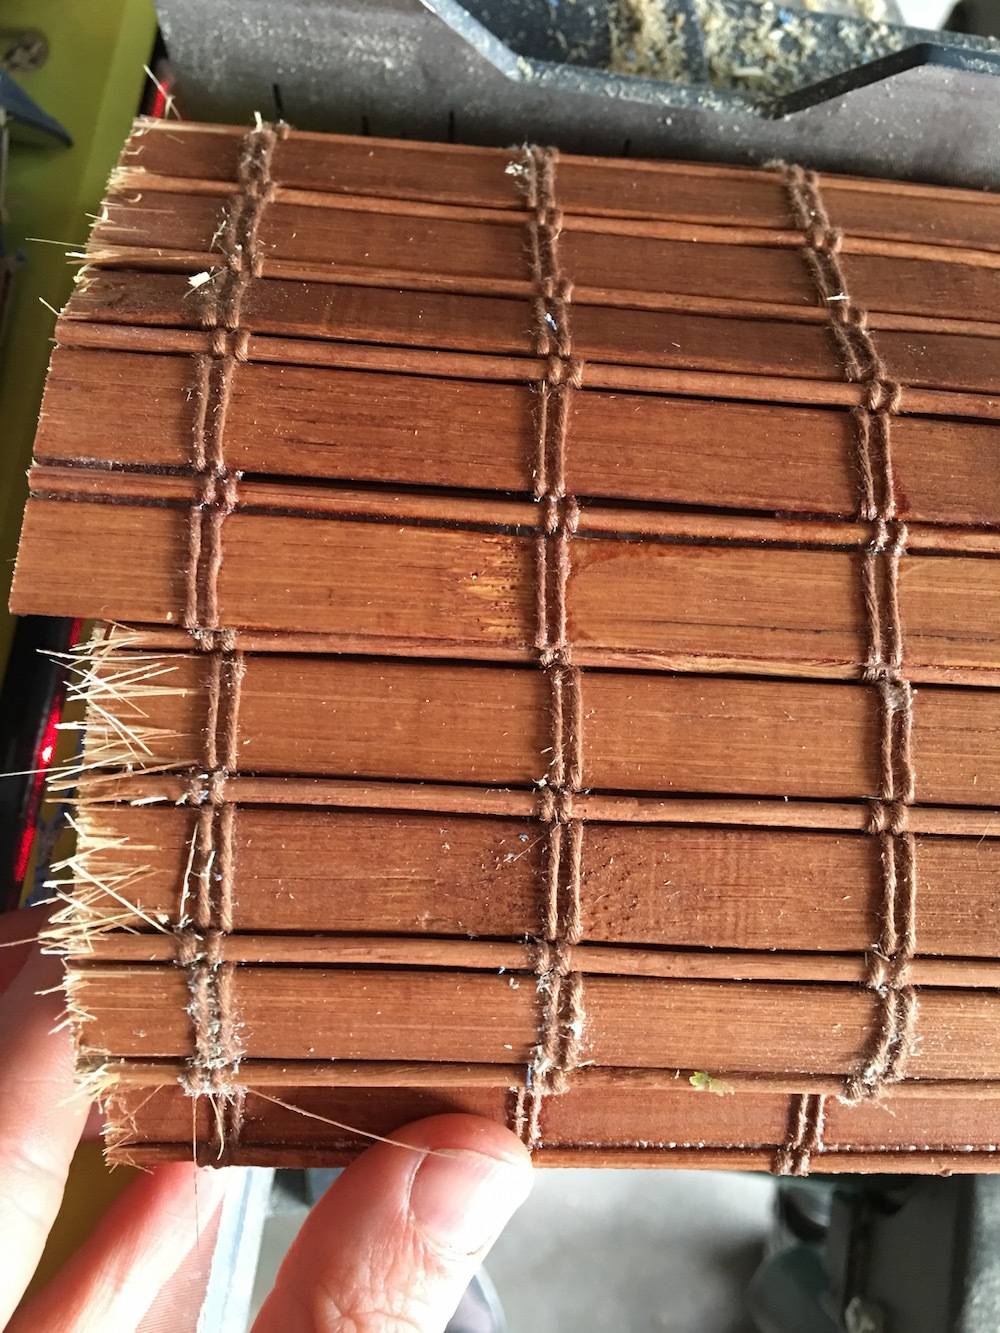
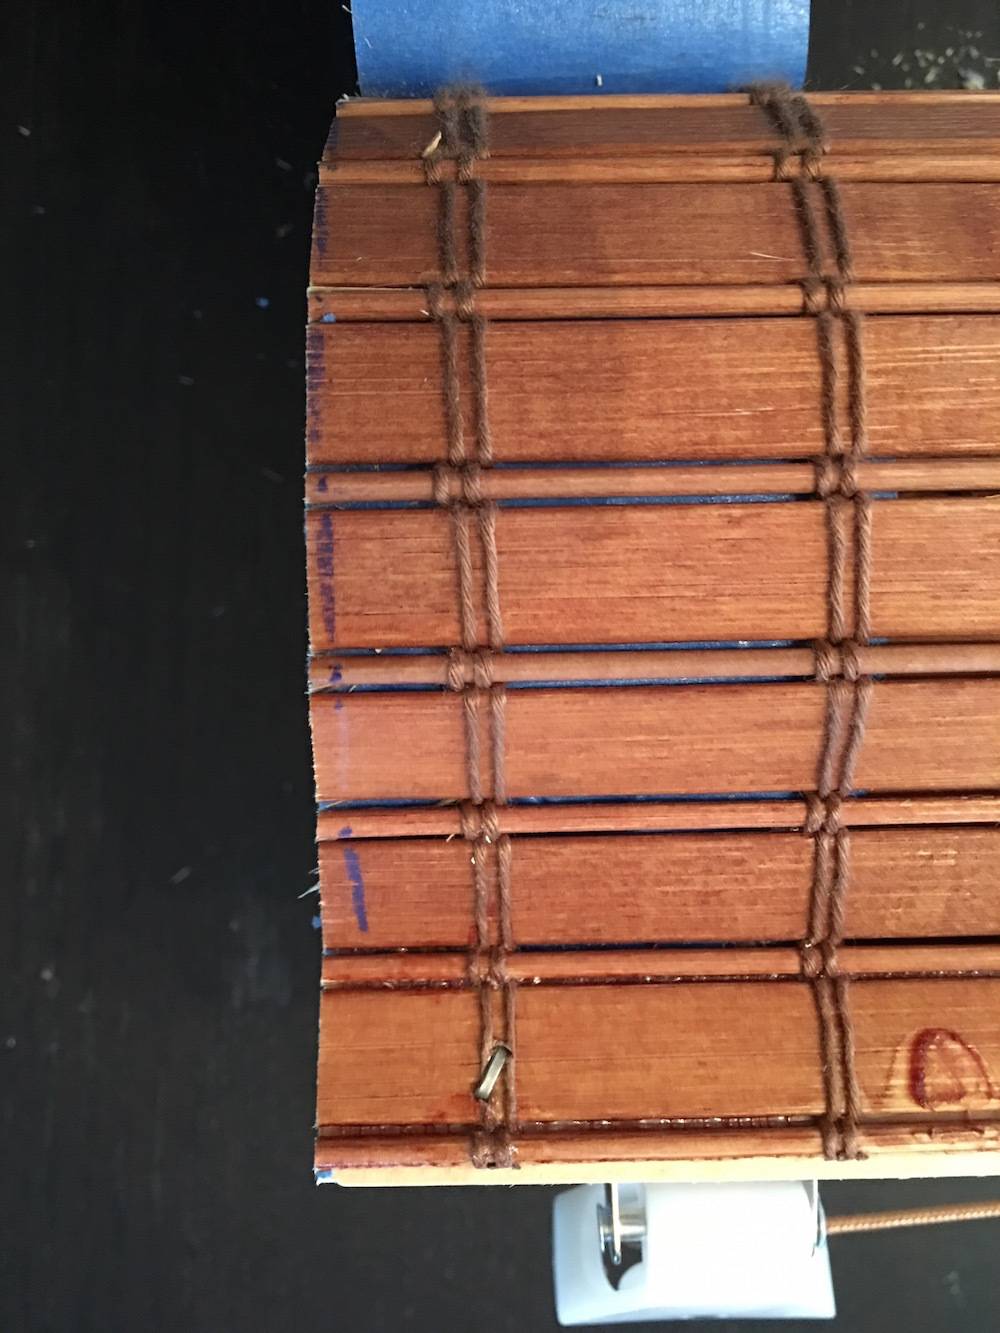
The above left photo is the part if the shade we cut off. This is the side of the cut line that did not have any tape. Do you see how bad the fraying is at the cut line? The right photo is the actual unrolled cut shade. There will be a little bit of chipping or fraying but it’s unnoticable once the shade is hung. All that taping is worth it! If you have some chalk lines left, just wipe them clean with a damp cloth.
Step
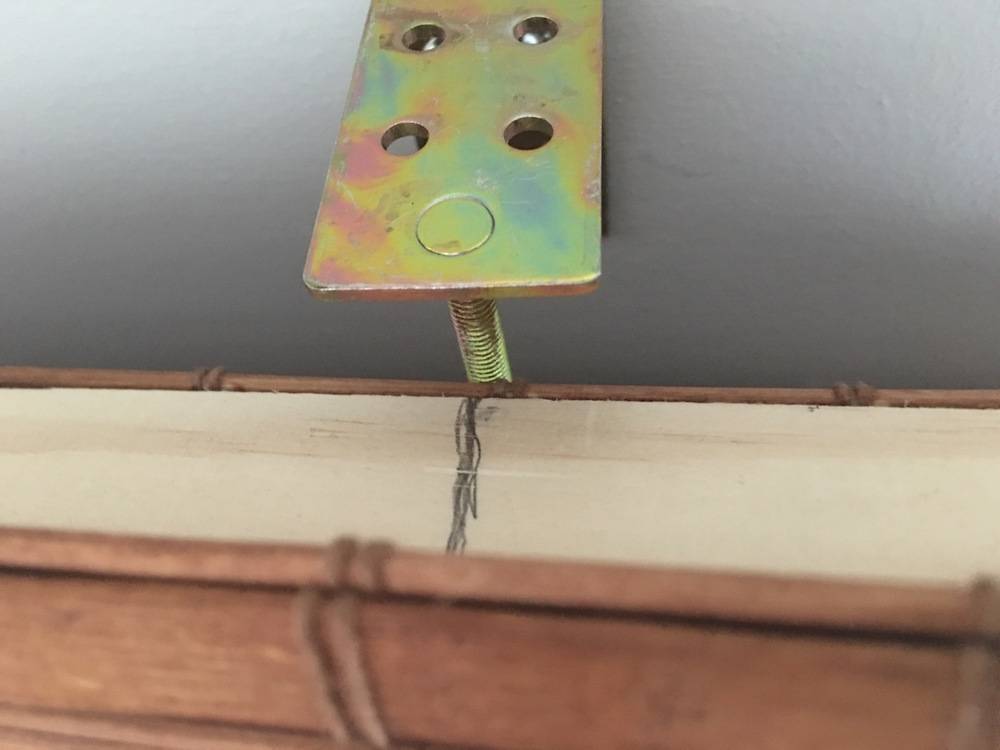
Since you cut off your mounting holes you’ll need to make new ones. I’ve found the best way to do this is to follow the instructions for installing the mounting hardware first. Once you do this then have someone hold up the shade and mark where you need to drill your hole.
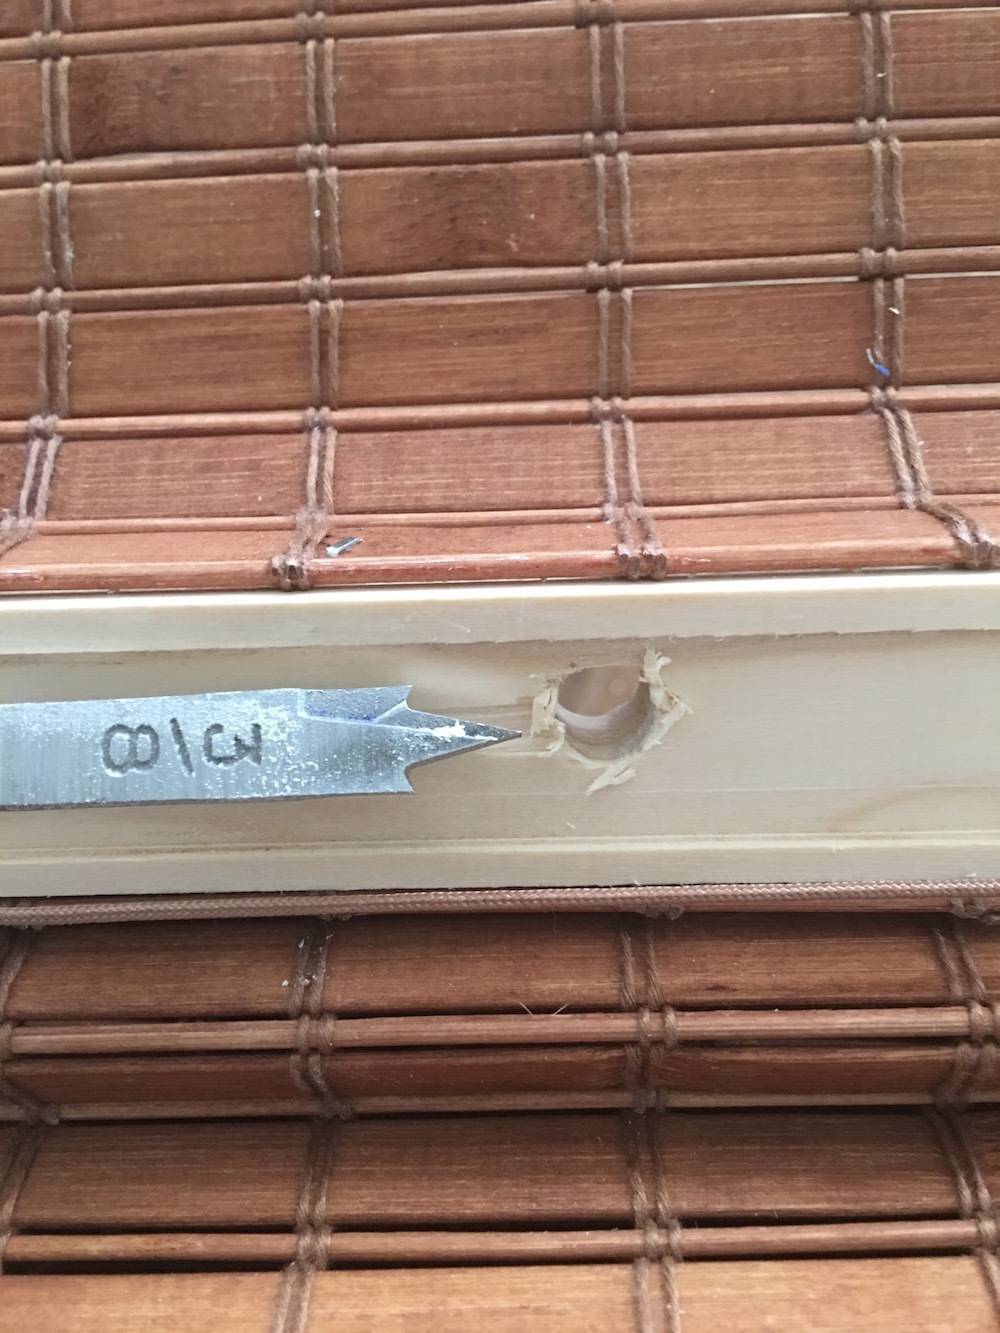
Step
Use the 3/8-inch spade bit to drill your hole where you’ve marked it. I chose a 3/8-inch bit so I could use the washer and wing nut that came with the shade hardware. You could actually use a router to cut a slot like the one previously on the shade. This would give you a little wiggle room just in case you didn’t measure correctly. I don’t have a router so my measurements had to be exact. Check it twice just in case. Once you’re done, install your shade per the instructions.
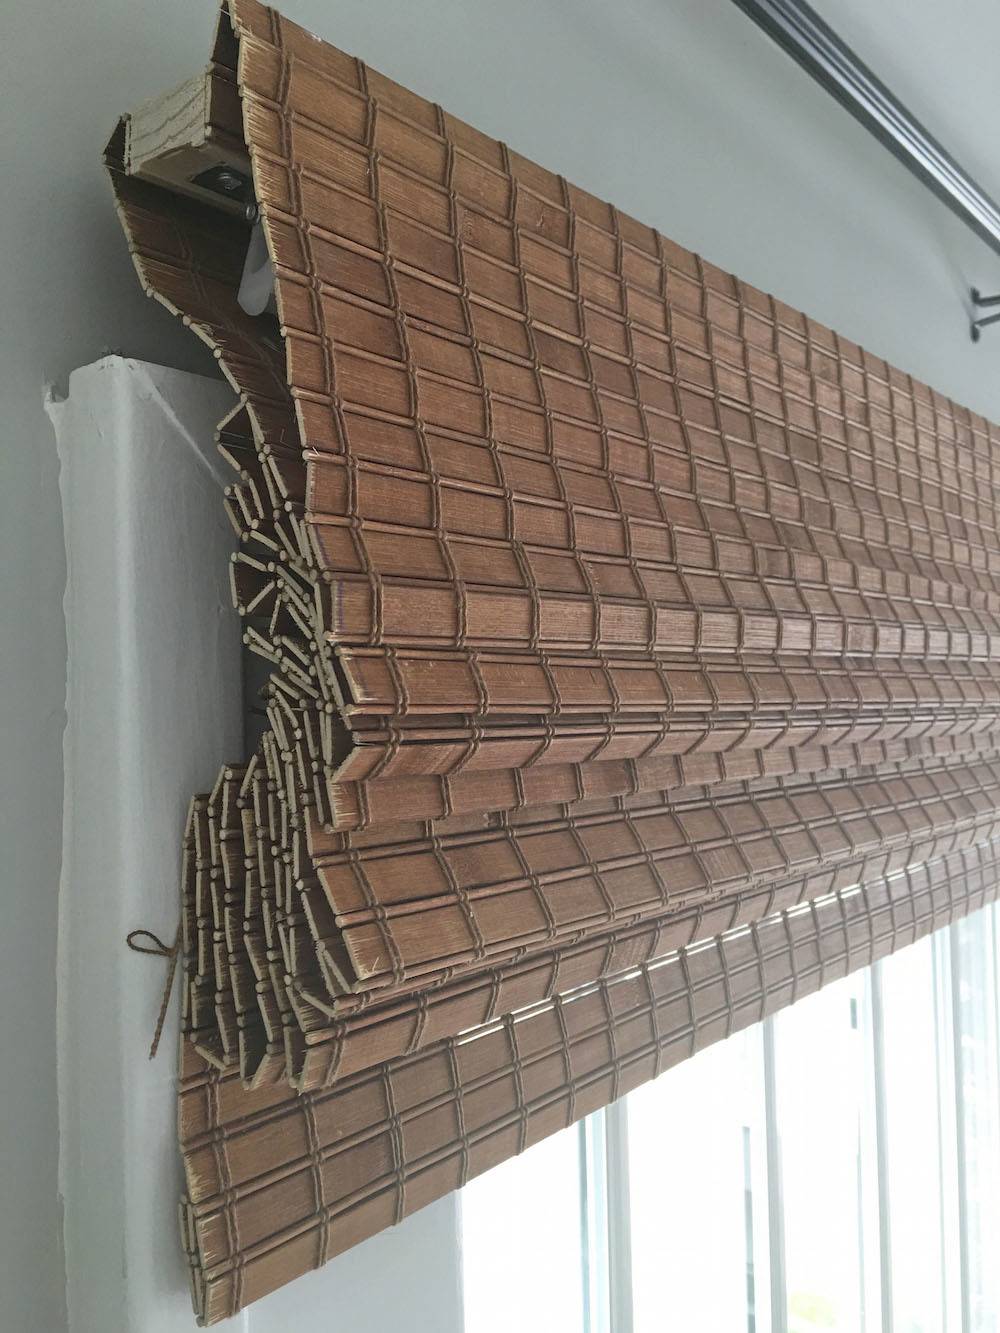
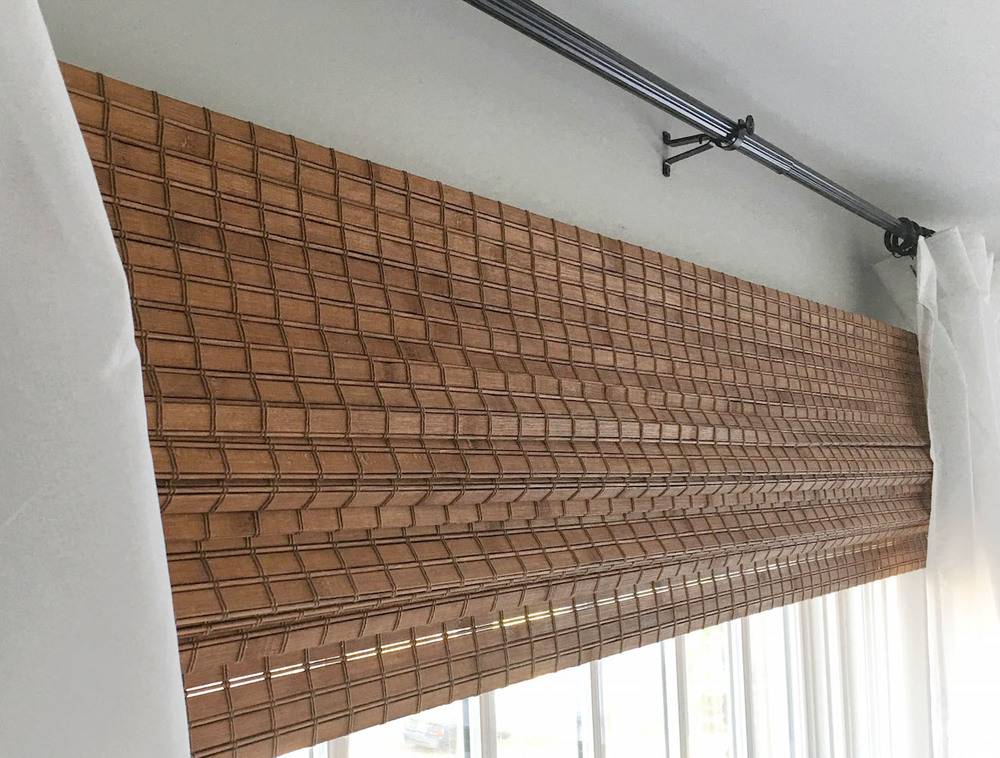
You can see a little but of cut fray upclose, but this is inevitable. If you want, you could grab a stain pen matched to the shade and gently touch up the rough edges. I have not done this but if you do, I would suggest testing it on the piece of shade you cut off first. Since my shade was top mounted I new my curtains would cover this up. Honestly, you don’t notice it unless you are intently looking.
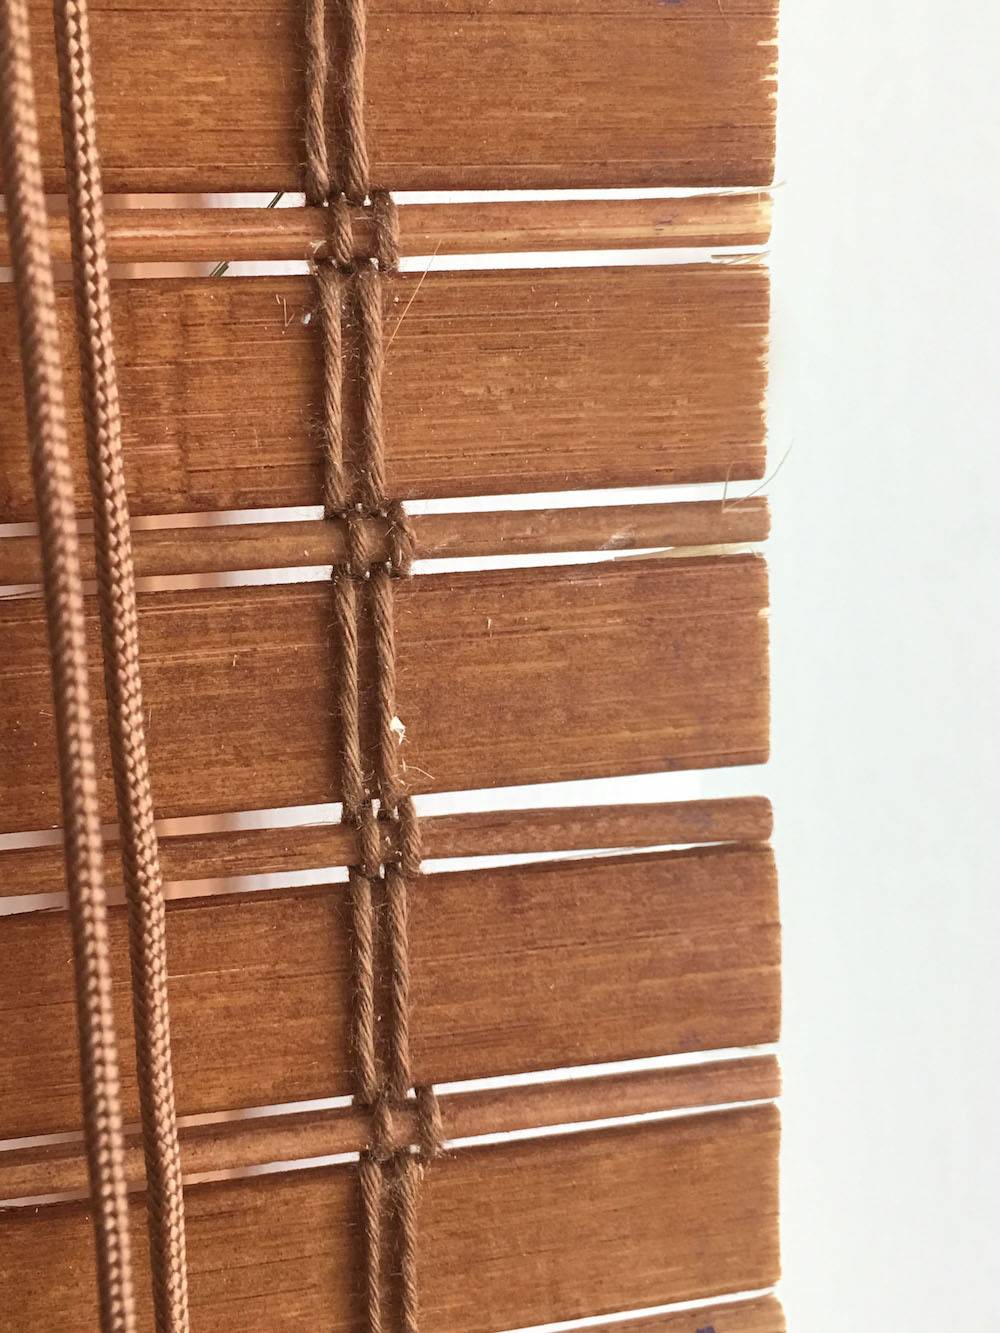
This is an upclose and personal view of the shade after it was cut and hung. The funny thing is I have an uncut shade on another window and these edges are more straight.
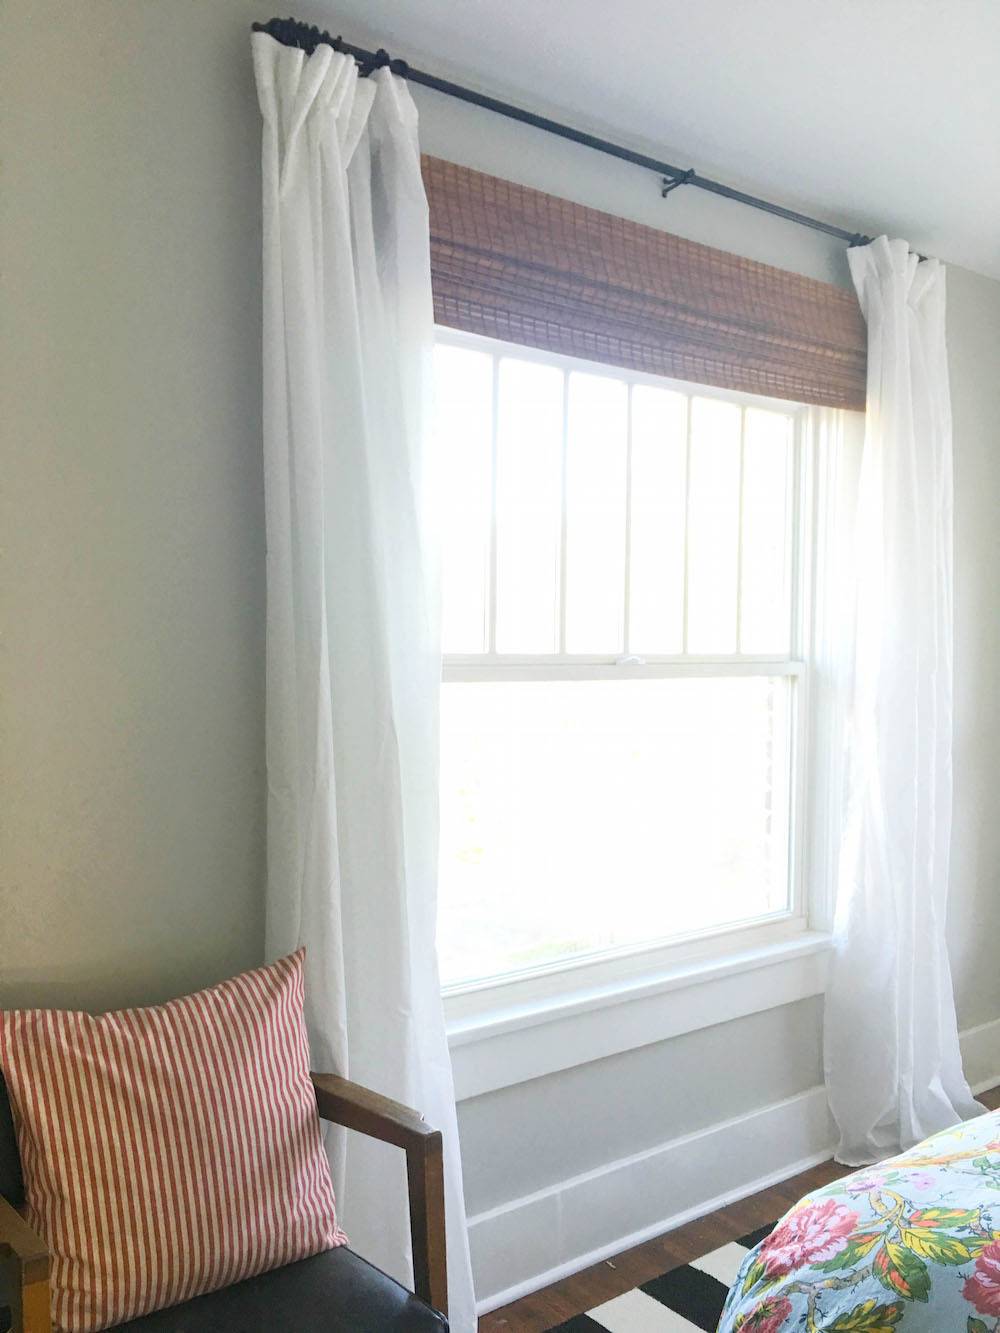
I love how it turned out and the fact that it looks custom. I know you can hang two shades to make one big shade but I just love the ease of having one.
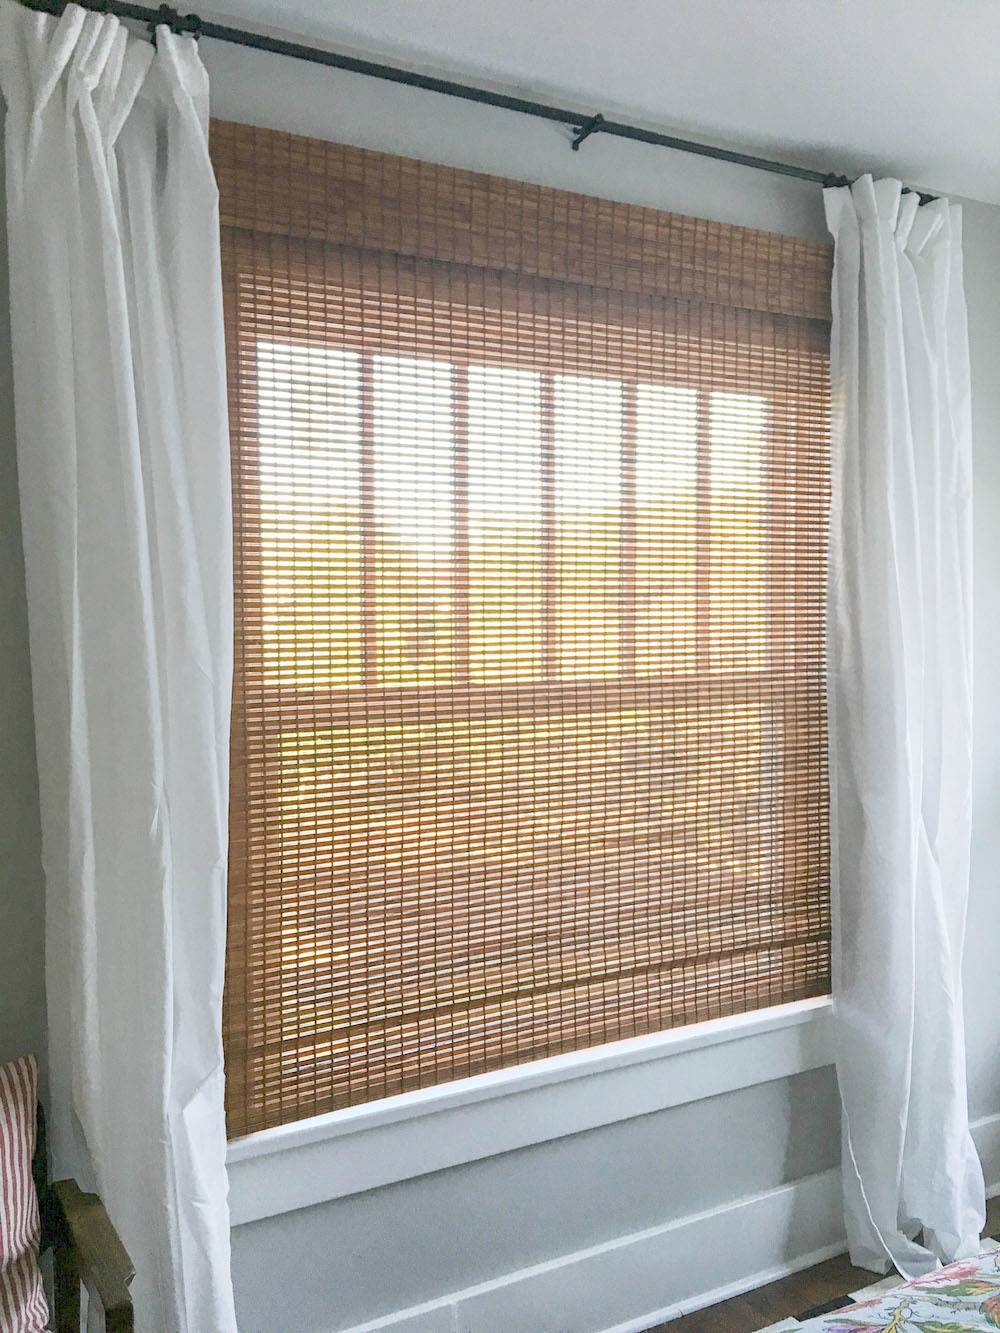
I wish I could’ve hung it a little higher, but my windows are large and it would have come up too short at the base. My hubby reminded me that we would have to lower the curtain rod to install the crown molding, so one day it will be perfect.
Note: I ordered the oak color from JCP home. It looks more walnut colored in person. The pecan was too dark and too cherry colored in this brand of roman shade.
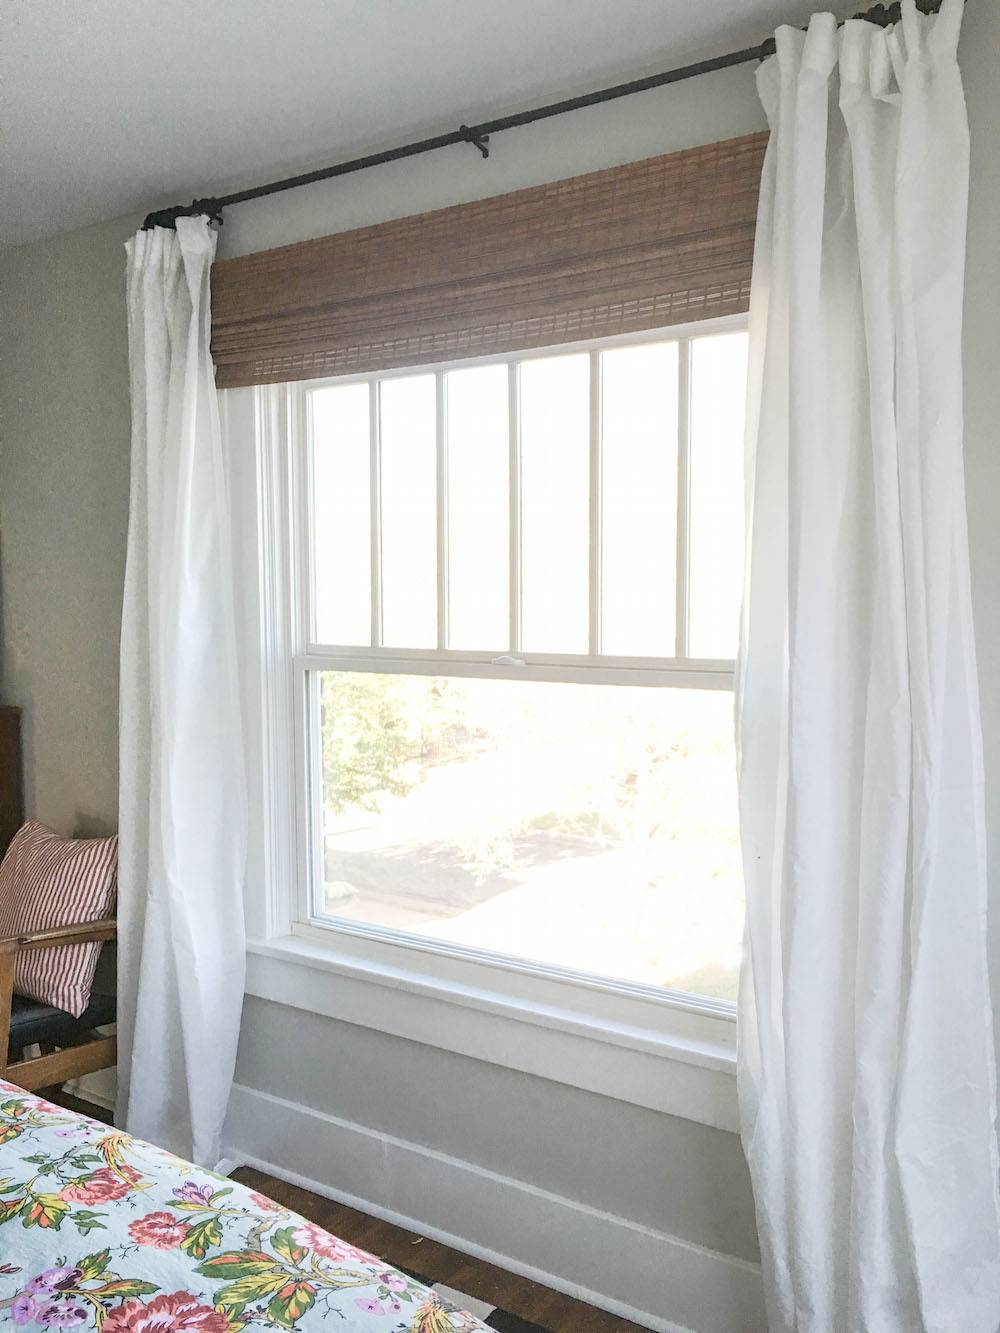
It’s a little tedious, but cutting a bamboo roman shade is totally doable. I love the custom window treatment at the standard sized store-bought price!
Did you love this hack? Then you should check out our top 100 favorite IKEA-upgrades of all time!
This is great. Any advice on trimming the length? I have an older 50s home with the wide and short windows. I can get the shades the right widtch, but my only option for how wide they are are about 72″ long, which is more than double what I need.
We just hung bamboo shades that we ordered from Amazon and we followed your hack exactly. Taping the edges worked perfectly to keep them from fraying. Thank you so much for taking the time to post this hack.
Glad it worked for you! Enjoy your shades. 🙂