I inherited a love for art from my grandmother. Her home was seriously a museum that I loved to peruse and take in. It was full of beautiful decor and art; some she brought into Canada with her after she immigrated from Holland. Some, she picked up along the way. I always thought she spent a fortune on most of her collections. But it turns out, they were affordable prints that simply spoke to her, which she collected over time. And that is exactly how I seem to collect the many pieces of art in our home. The problem is, I’m running out of frames to hang them in, so I decided to create a minimal and modern magnetic poster frame!
Materials and Tools:
- 3/4″ hardwood lumber (oak, walnut, etc.) desired length of frame
- 1/4″ diameter rare earth magnets (x12)
- super glue
- small eye hooks (X2)
- picture wire
- wood finish of choice
- Saw
- drill press or hand held drill with 1/4″ bit and stop collar
- orbital sander
- speed square
- pencil
Steps:
1. Cut hardwood lumber to desired length of frame.
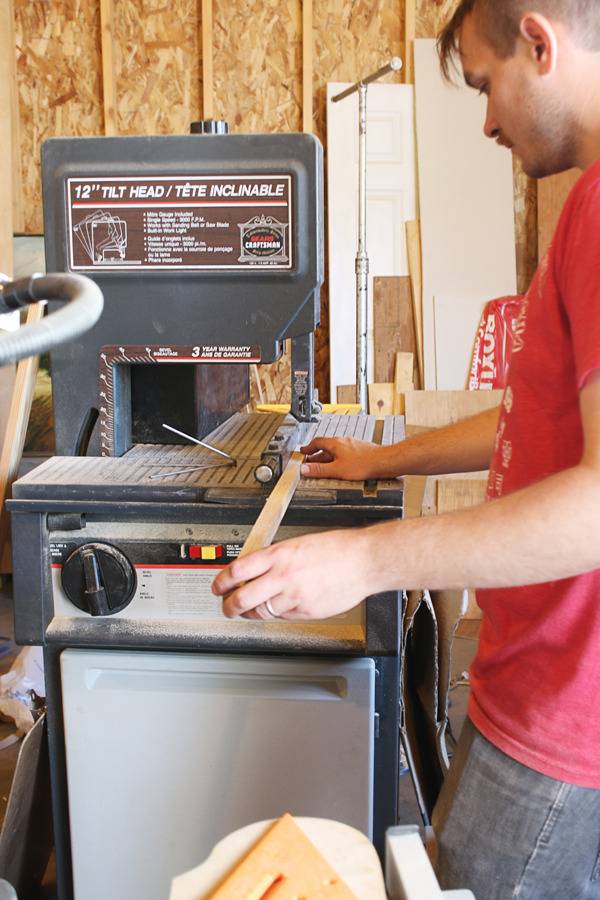
2. If you have a band saw or table saw, you can create your own hardwood strips by setting your fence to 3/8″ and ripping four 3/8″ strips of the lumber. Otherwise, just start with 3/8″ thick wood
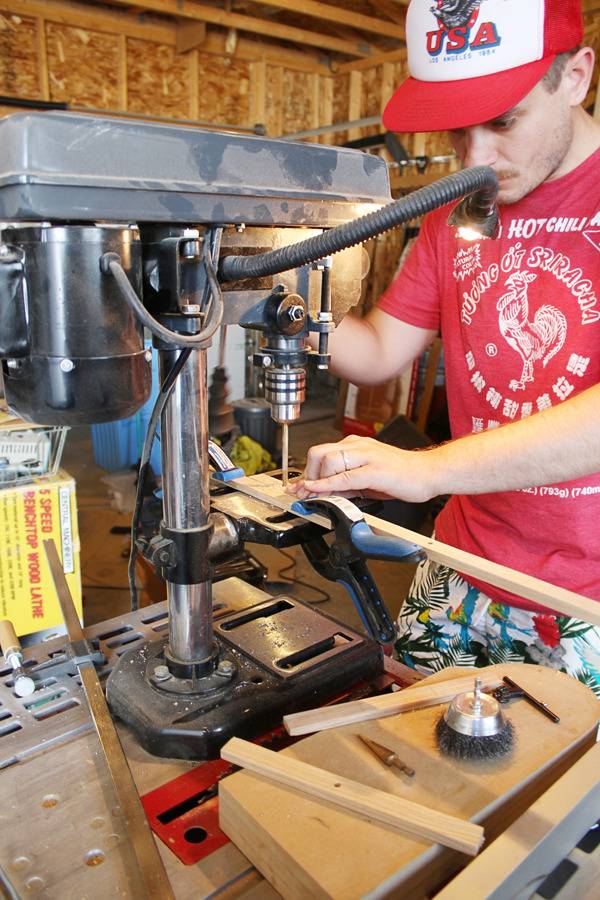
3. Measure and mark three drill points on each wood strip, one at each end and one in the middle. Drill 1/4″ holes at each point the depth of the magnet’s thickness. This can be done on a drill press by setting the adjustable stop collar to the desired depth, or by using a hand held drill with a 1/4″ bit and stop collar. You can also use several layers of painter’s tape to make the stop.
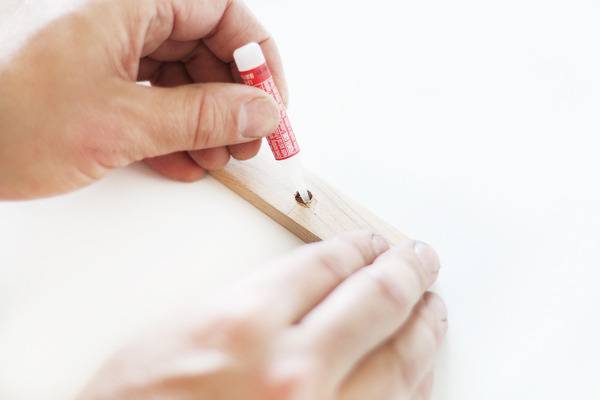
4. Place a dab of super glue in each hole and push a magnet in to each hole. You may need to use a rubber mallet to hammer each in. Be sure that 2 of the strips have all positive poles of the magnets facing out, and the other 2 strips will need to have negative poles facing out. This way the 2 pairs of strips will be attracted to each other.
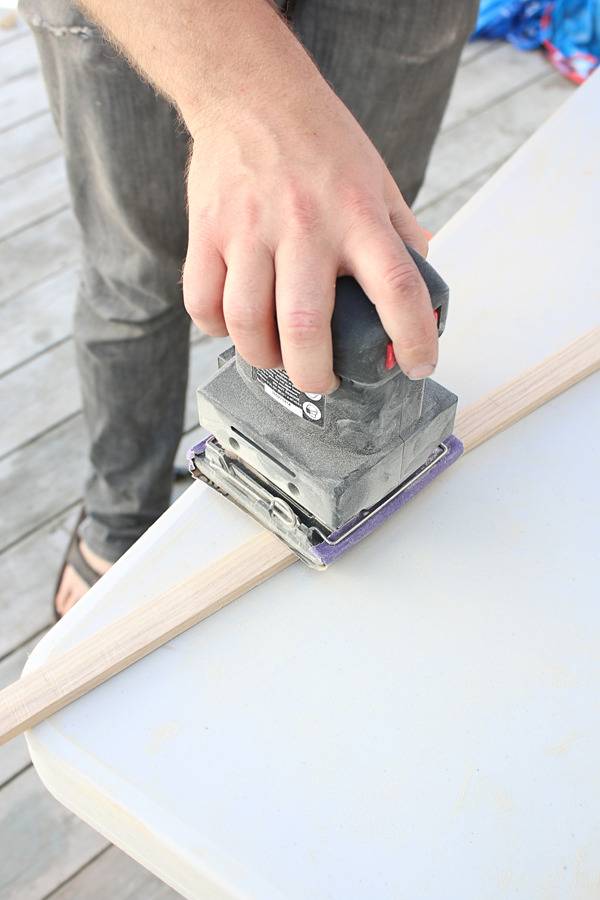
5. Sand each strip down until smooth and apply desired finish. We used a simple teak oil rub-on sealer.
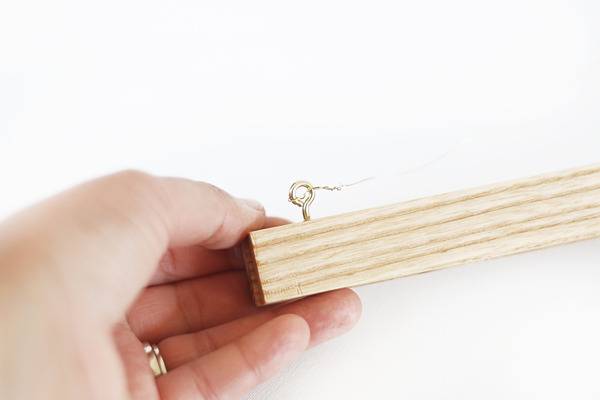
6. Screw the 2 eye hooks in to the top of one strip and connect with picture wire for hanging.
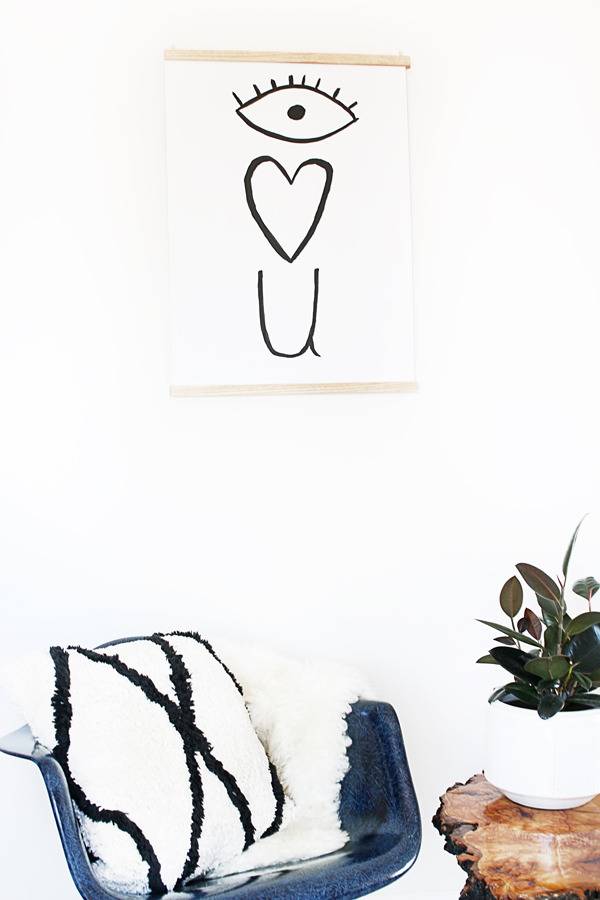
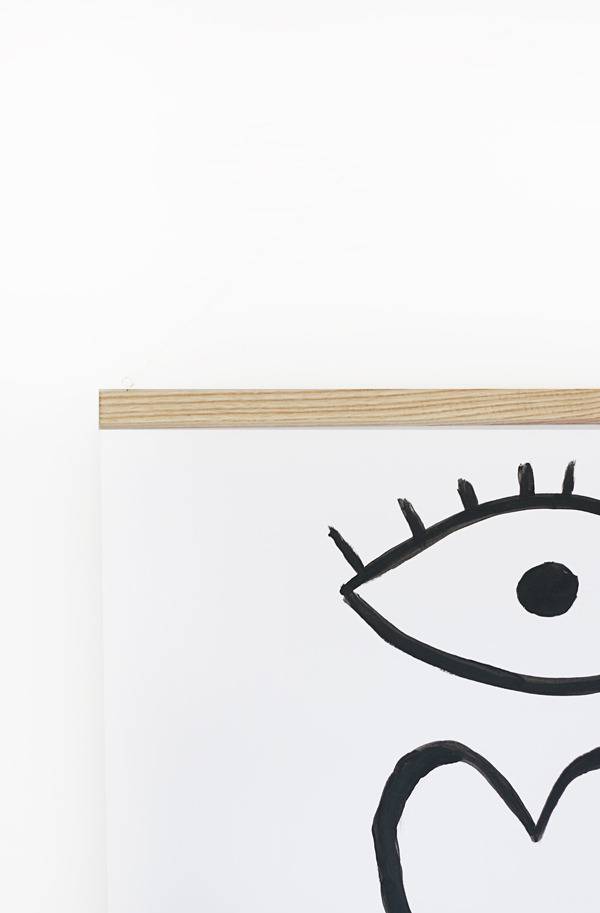
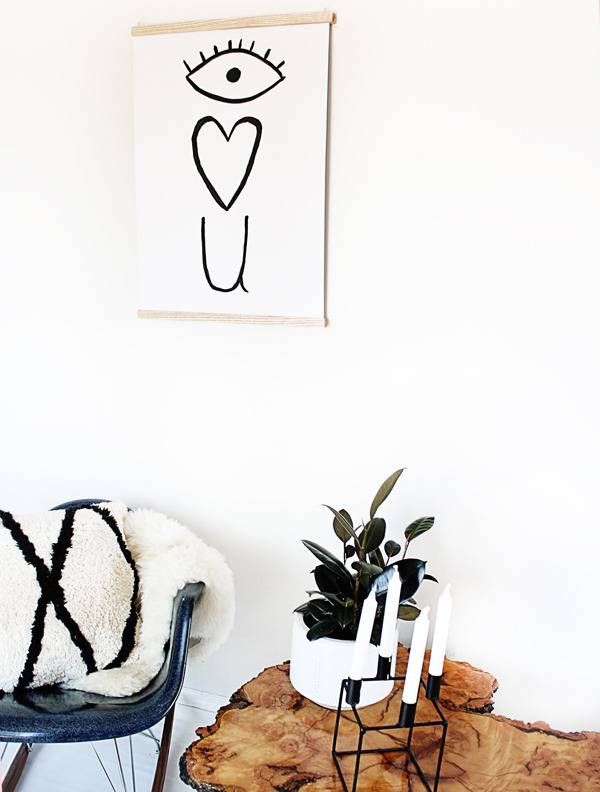
I love how in a few snaps, you have your print ready to hang! I can switch them out in no time and change up the look of any space in a jiffy. You can make these any size you want, depending on your art! I can’t wait to make a few more of these – don’t you think they would make fantastic gifts as well?!

I think I just found the perfect way to display my 3 year olds art work from kinder! And the works can be easily changed out per week, awesome
I’m so happy you like this idea TJ! And that is a FABULOUS idea might I add – our oldest son is going into Kindergarten this fall and I might just have to do the same 😉
XO, Lidy