You know the how the story goes: you are at the grocery store lugging around that gallon of milk, but you have this tingling in the back of your brain that there was something else you needed to get as well. After walking down every single aisle waiting for your memory to trigger, you give up and just go home- only to remember you are completely out of cereal. This is where a fridge-mounted notepad comes in handy to jot down those needed items as they run out. Better still is a mod notepad that you’ve made yourself.
A notepad is an easy project that’s great to use all over the house, or even as a gift. Want to know how easy they are? Okay, I’ll show you:
1. Download your copy of a grocery list or task list – or both! – from the bottom of this page. I chose “Fit” in my print preferences to get the borders to print all pretty on my paper, and printed 12 copies.
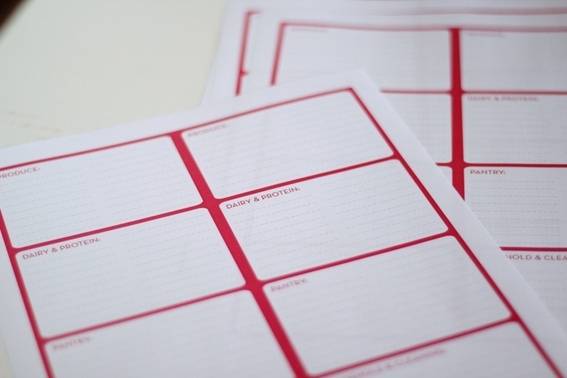
2. Cut off the excess white border, and cut the paper in half so each page yields two lists.
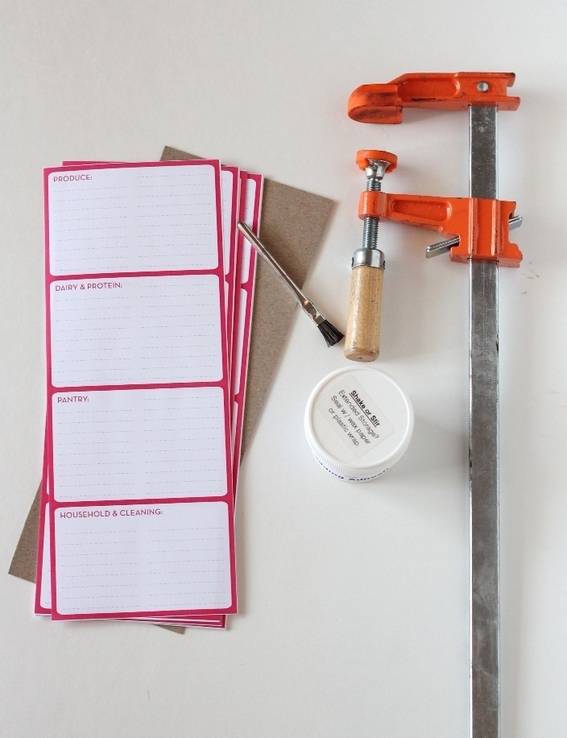
3. The nice stack of pages is already impressive, but to make it even more useful as a notepad you will need:
- a piece of chipboard (or you can use a cereal box, like I did) cut to the same size as your printed sheets,
- a clamp or heavy duty butterfly clips
- notepad glue. Notepad Glue is thicker than school glue or Mod Podge, so it keeps the pages together really well. I got my 2 oz bottle off of e-bay for a few bucks. In a pinch, feel free to substitute Mod Podge for notepad glue.
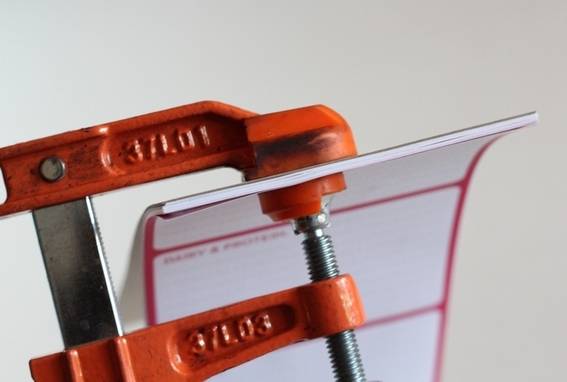
4. Stack your chipboard and note pages, and clamp them together close to the top. You can use pieces of wood to stabilize the pages before you clamp it, but I went the route that didn’t require me scrounging around in my garage in 100+ degree weather.
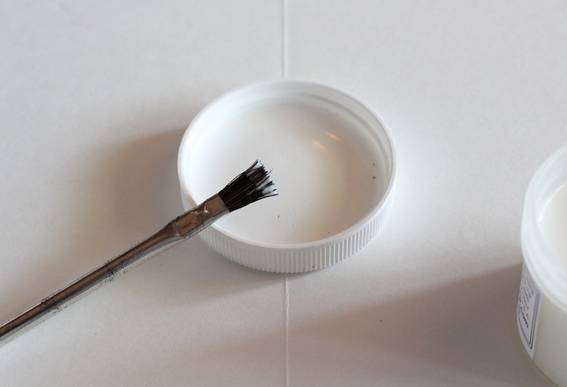
5. With a paintbrush, start applying the glue to the notepad at the top edge.
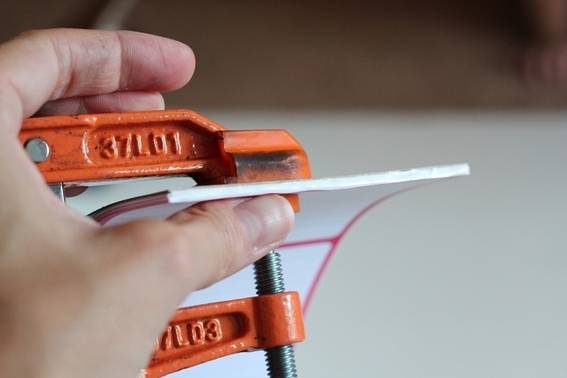
6. Apply in three separate coats so the glue doesn’t get too thick in spots and to avoid the paper getting soggy. Leave it clamped until it is completely dry.
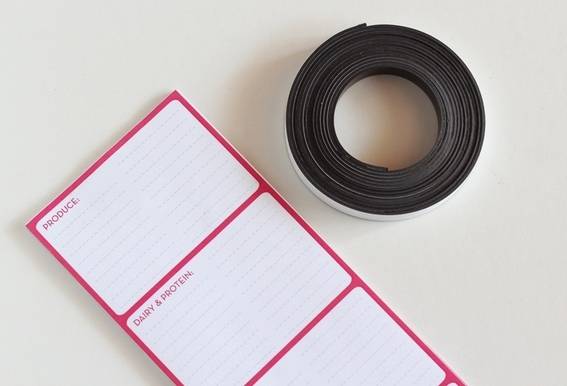
7. Your notepad is complete! If you want it to be fridge-friendly, cut two pieces of magnetic tape (found in craft stores, and I think even places like Home Depot have it) to slightly smaller than the width of your notepad.
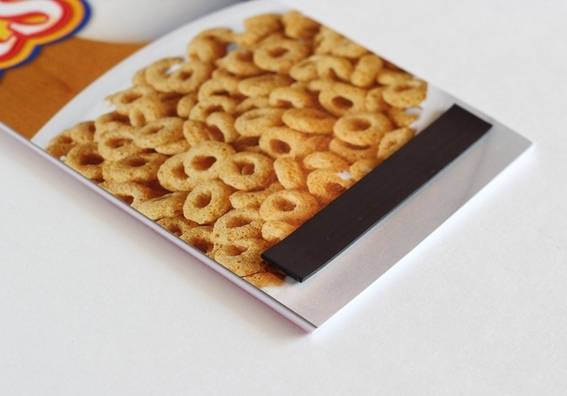
8. My tape wanted to curl, so I held it down for a minute for it to get a good grip on the chipboard (or, Toasted O’s box).
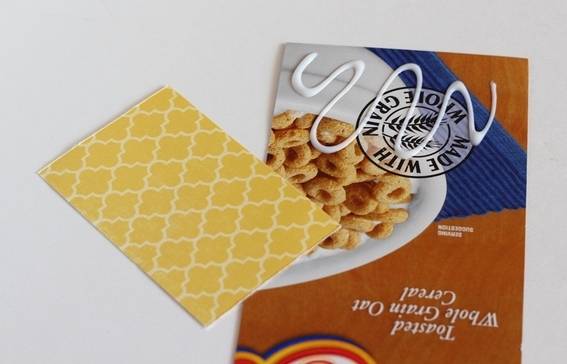
9. For variation on the magnetic notepad, you can add a pencil/pen holder to the top. You will need:
- a piece of chipboard
- scrapbook paper
- razor blade
- hole punch
10. Cut your scrapbook paper and chipboard the width of your notepad, but only 1/3 the height, and glue them together. I glued my scrapbook paper to the chipboard before I cut it.
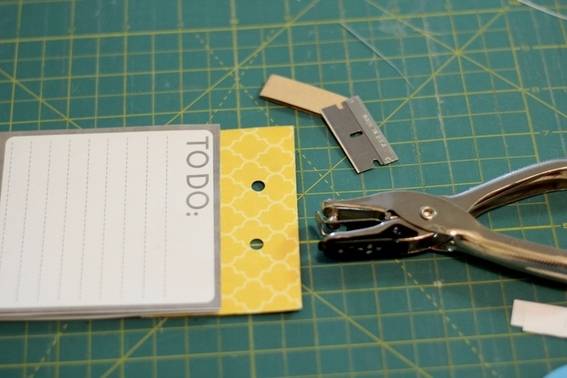
11. Glue this extra piece of beautified-chipboard to the notepad so that a good 1 1/2″- 2″ hangs over the edge. Punch two holes parallel to the notepad and about an inch apart from each other. Depending on your pen or pencil size, you may need to increase the size of your holes.
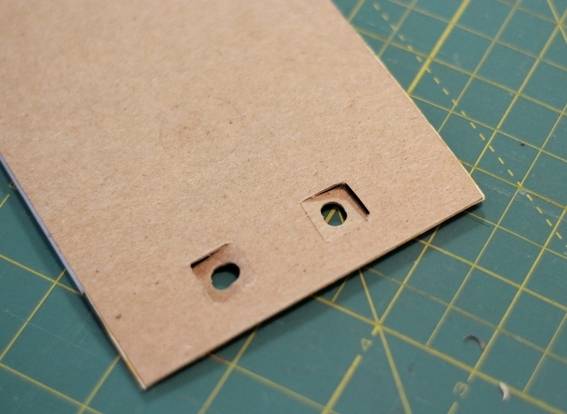
12. Flip the whole notepad over and with the razor blade, lightly score a square around the holes. Leaving the inner score marks alone, cut the rest of the sides all the way through to the other side.
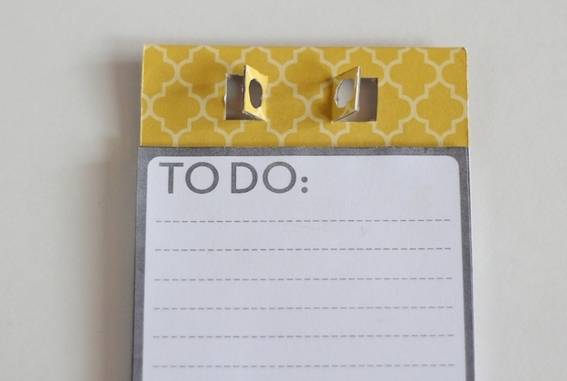
13. The inner score marks you made will let your newly cut flaps fold out.
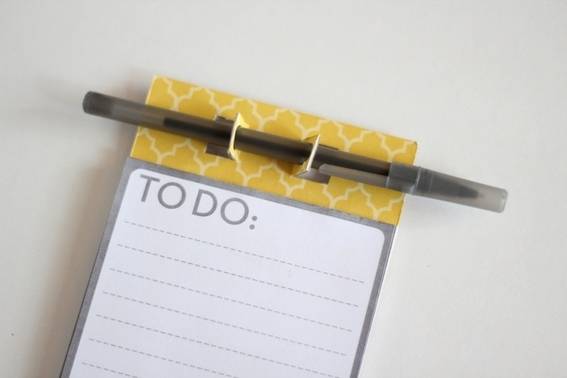
14. Slip a pen or pencil through the holes. Use your hole punch to make the holes bigger if you have to.
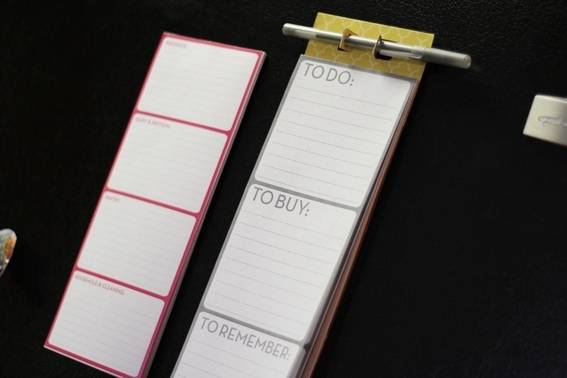
15. Hang on the fridge! You’re done.
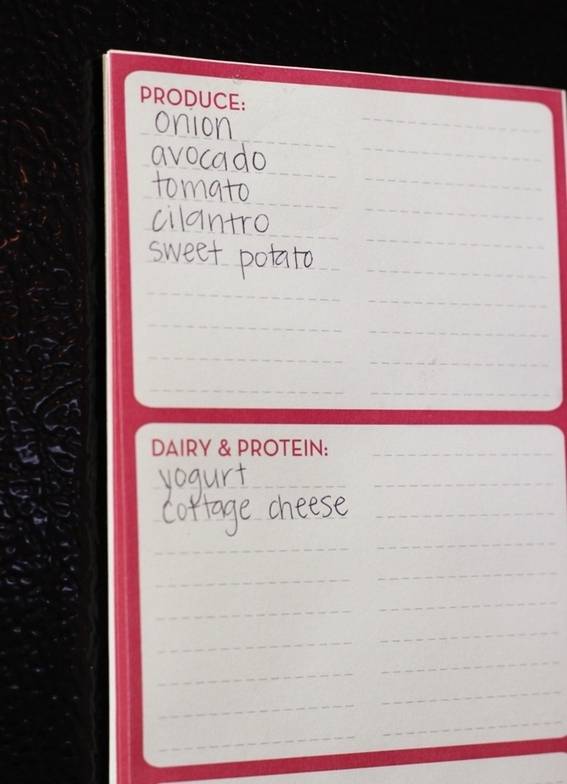
Now, keeping a list of items you need will be a cinch, plus pretty good-looking too.
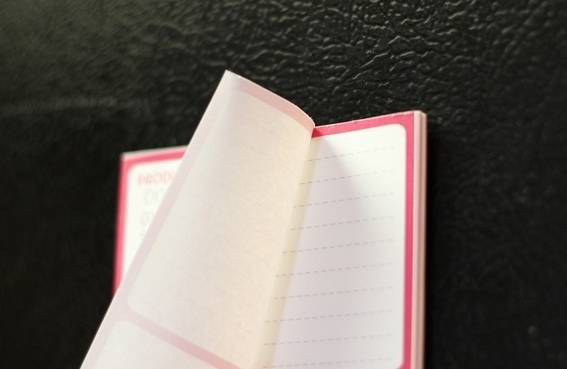
When you are done with a sheet, just gently pull it off from the top, exposing a fresh clean sheet underneath.
Make one, make two, make twenty. Now you’ll definitely remember the cereal the next time you are at the store!
Download the Printables to Make Your Own Here:
- Grocery list – yellow
- Grocery list – magenta
- Grocery list – gray
- Grocery list – blue
- Task list – orange
- Task list – green
- Task list – gray
- Task list – blue
Absolutely brilliant! Thank you!