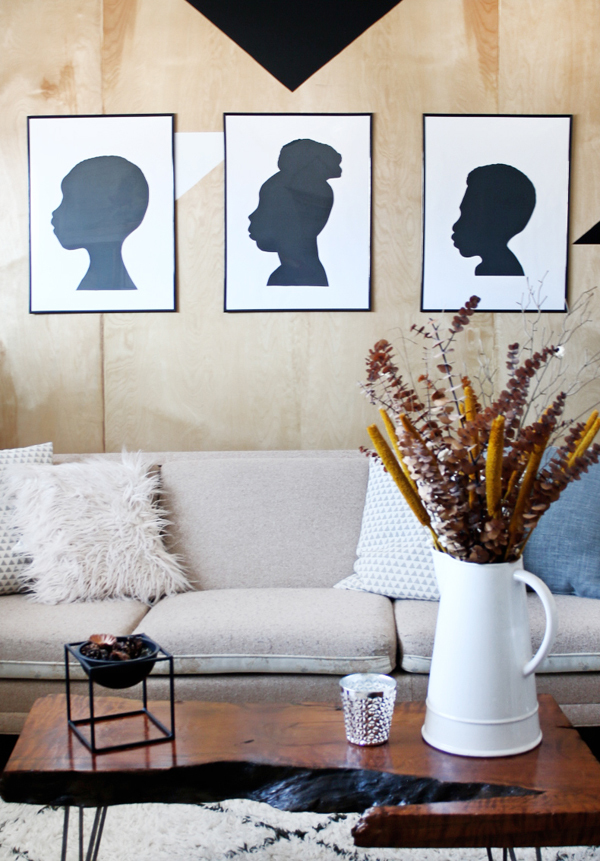
I’ve been itching to do some DIY art for our home that could involve my kids, but still be stylish and modern. This family silhouette art is definitely a blast from the past! I remember doing this in elementary school and coming home proudly displaying my rather odd-looking silhouette for my parents. This time around, I decided to have it more large scale, keeping the colors simple and the frames clean. It took less than an hour by the time I had them framed and up on the wall!
Materials
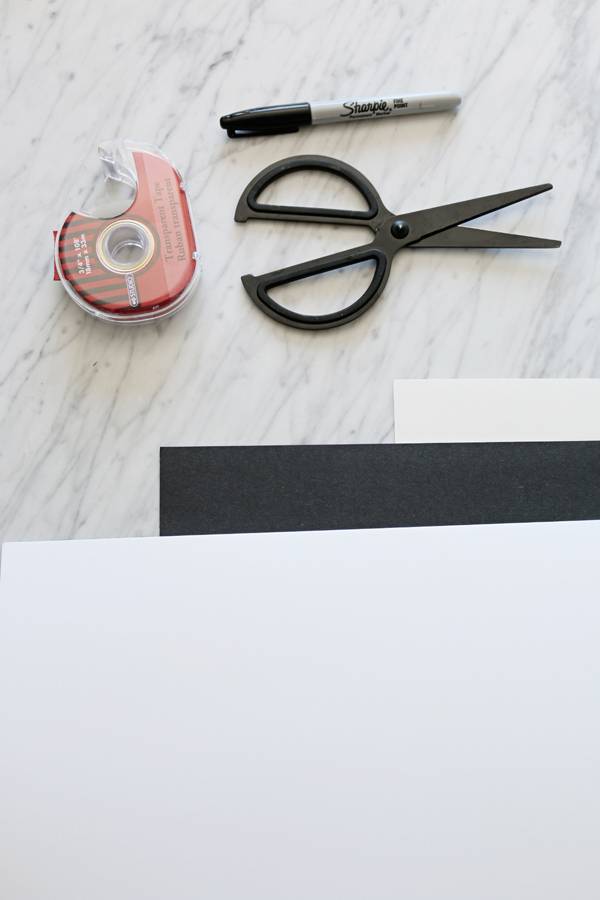
- Poster paper (I grabbed glossy white for the background, matte white for tracing and black for the actual cutting of the silhouettes)
- Tracing tool (pencil or sharpie)
- Tape
- Scissors
- Light source big enough to cast a clear silhouette on a blank wall (we used a lamp with a shade)
- Frames
Step
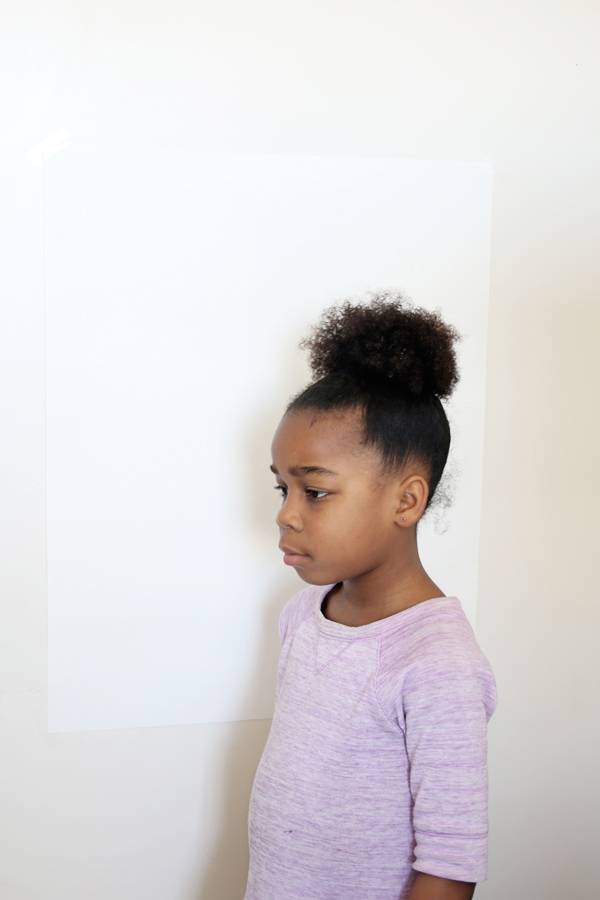
Find a blank wall in your home that’s big enough to project light in order to create a clear silhouette image for tracing. Have your child stand by the wall in order to gauge where you should tape your matte white paper. Once you decided the height, simply tape the paper to the wall securely.
Step
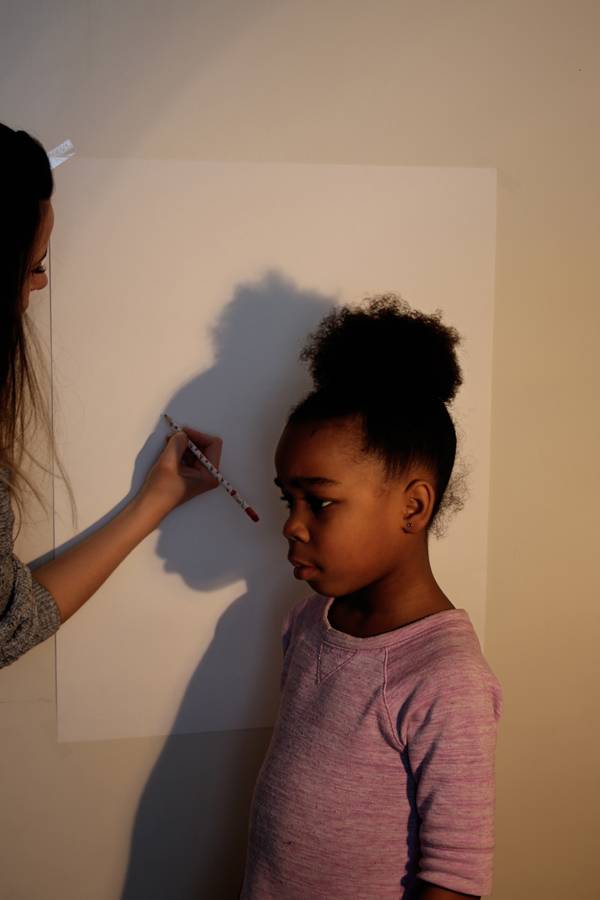
While your child sits (or stands) in front of the matte paper taped to the wall, project your light onto your child in order to create a shadow on the wall. Adjust the child or light where needed until you have the silhouette you are happy with. You can use any light source around the home, no projector needed! As long as the light is bright enough to cast a clear shadow on the wall, you should be fine. We used a lamp that had an adjustable neck. Something similar to this would work perfect, since the shade isn’t too narrow or too wide and the neck can be easily adjusted. Using a pencil, begin to trace the outline of the silhouette onto the paper.
Step
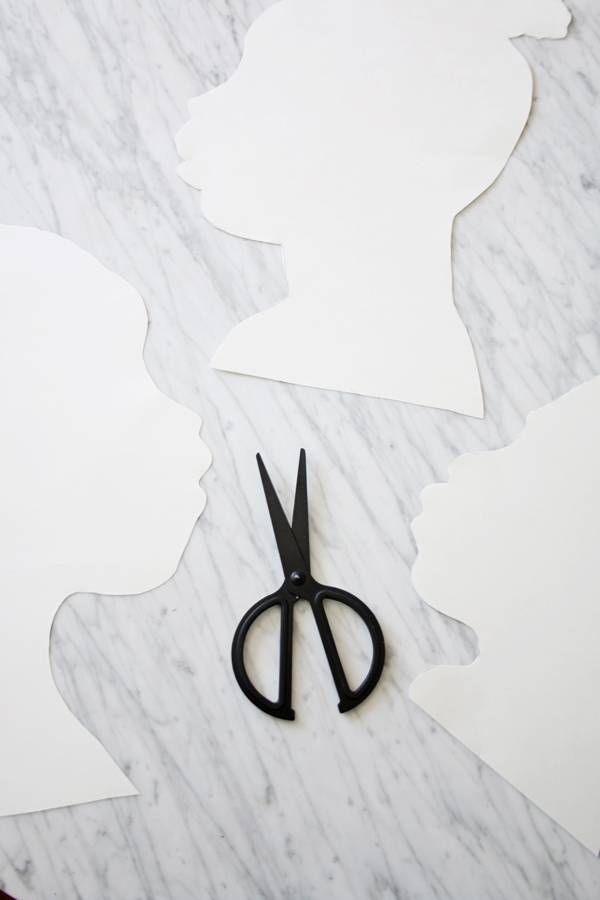
Remove the paper from the wall and carefully cut out the silhouette using your scissors.
Step
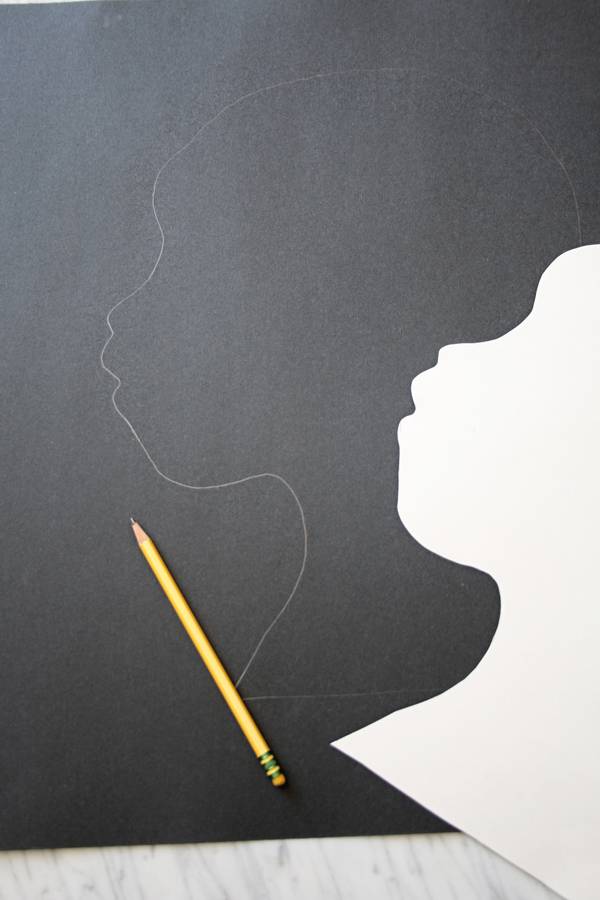
Depending on the color you would like your final silhouette to be, retrace the white image to the color of your choosing ( I chose black). Note: you could skip steps 4 and 5 and trace and cut one time on the paper of your choosing. But I opted for white so I could see more clearly when tracing and avoid making any mistakes.
Step
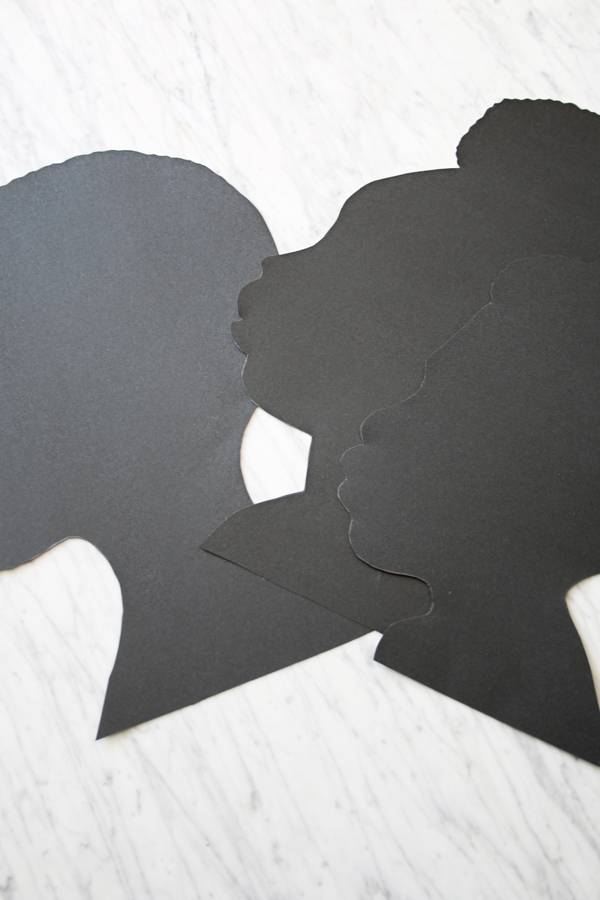
Once you have your final image traced onto the paper, carefully cut one more time!
Step
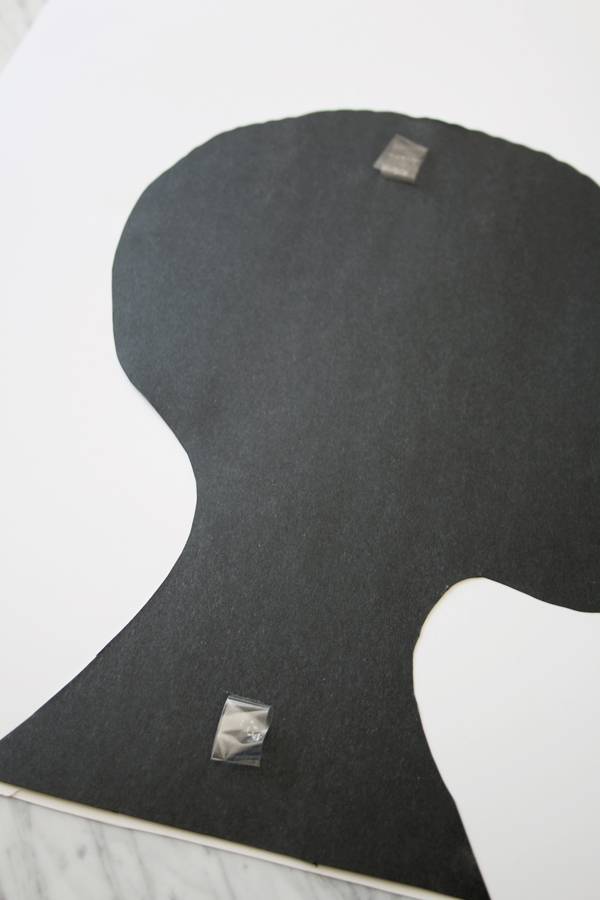
Tape or glue your final image to the center of your glossy white background. Note: you may have to cut the glossy paper to size in order to fit the frame.
Step
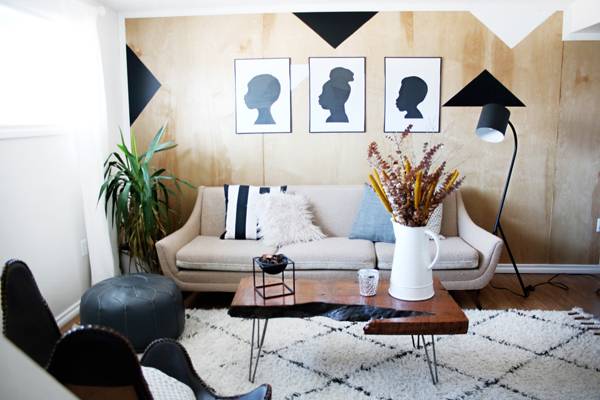
Place silhouette image into frame, hang up and enjoy! Repeat steps as needed.
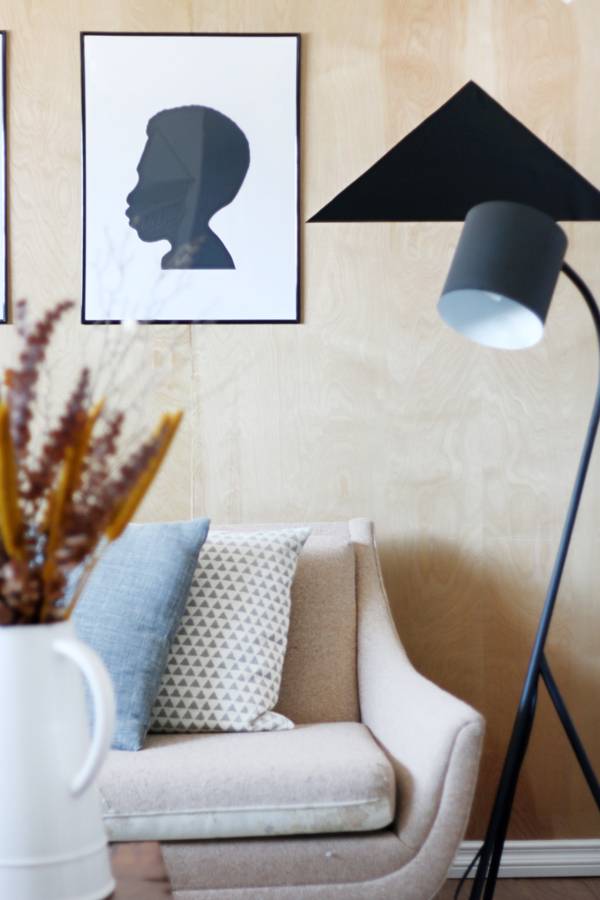
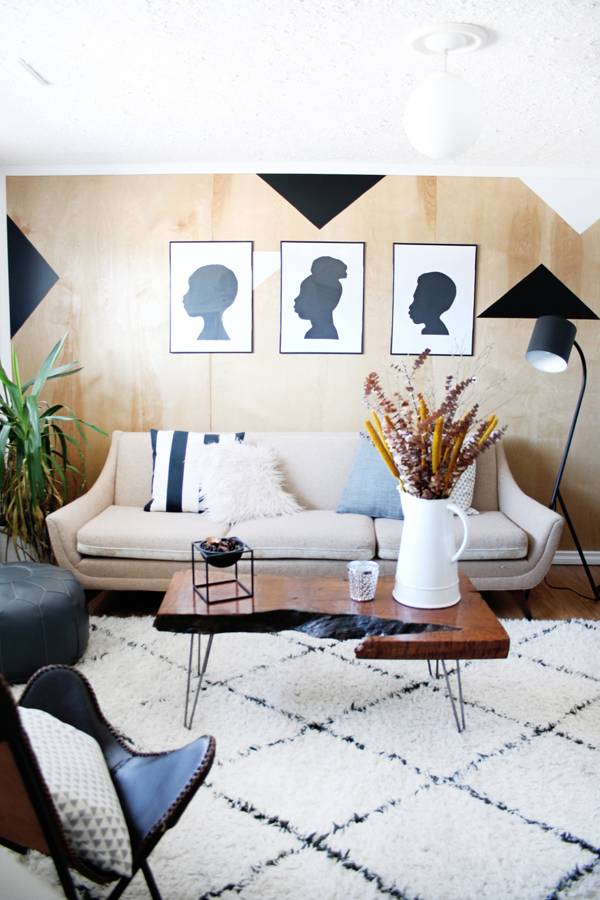
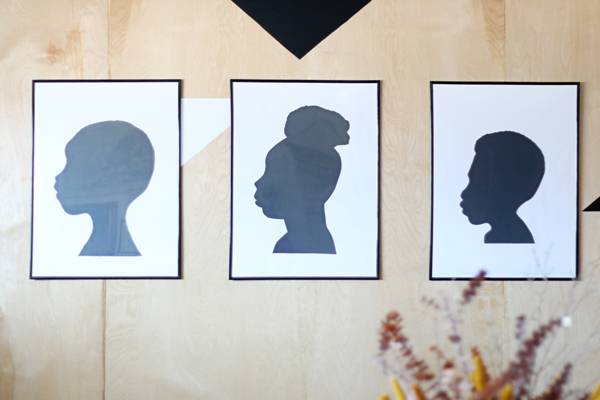
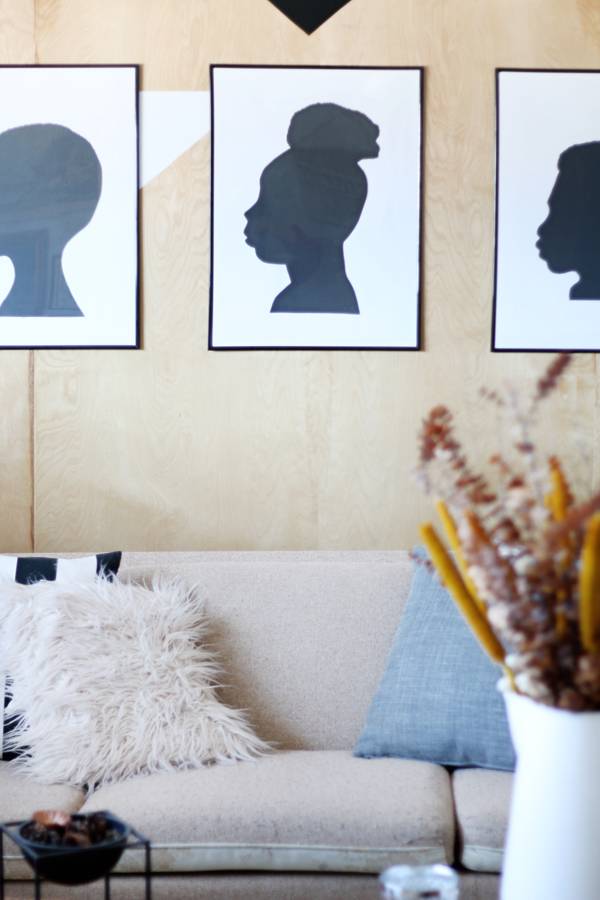
I created three silhouette images in under an hour, which is pretty impressive as far as DIYs are concerned. No need to make a fuss over this project – it’s both fun and rewarding! I decided to hang the pictures in our family room downstairs to make the space feel even more intimate and personal. Most importantly, the kids love it and we all had a blast seeing it come together!
Nice! I did this for every one of my kindergarten students at UWEC in 1959 for them to gift to their mothers on mother’s day.