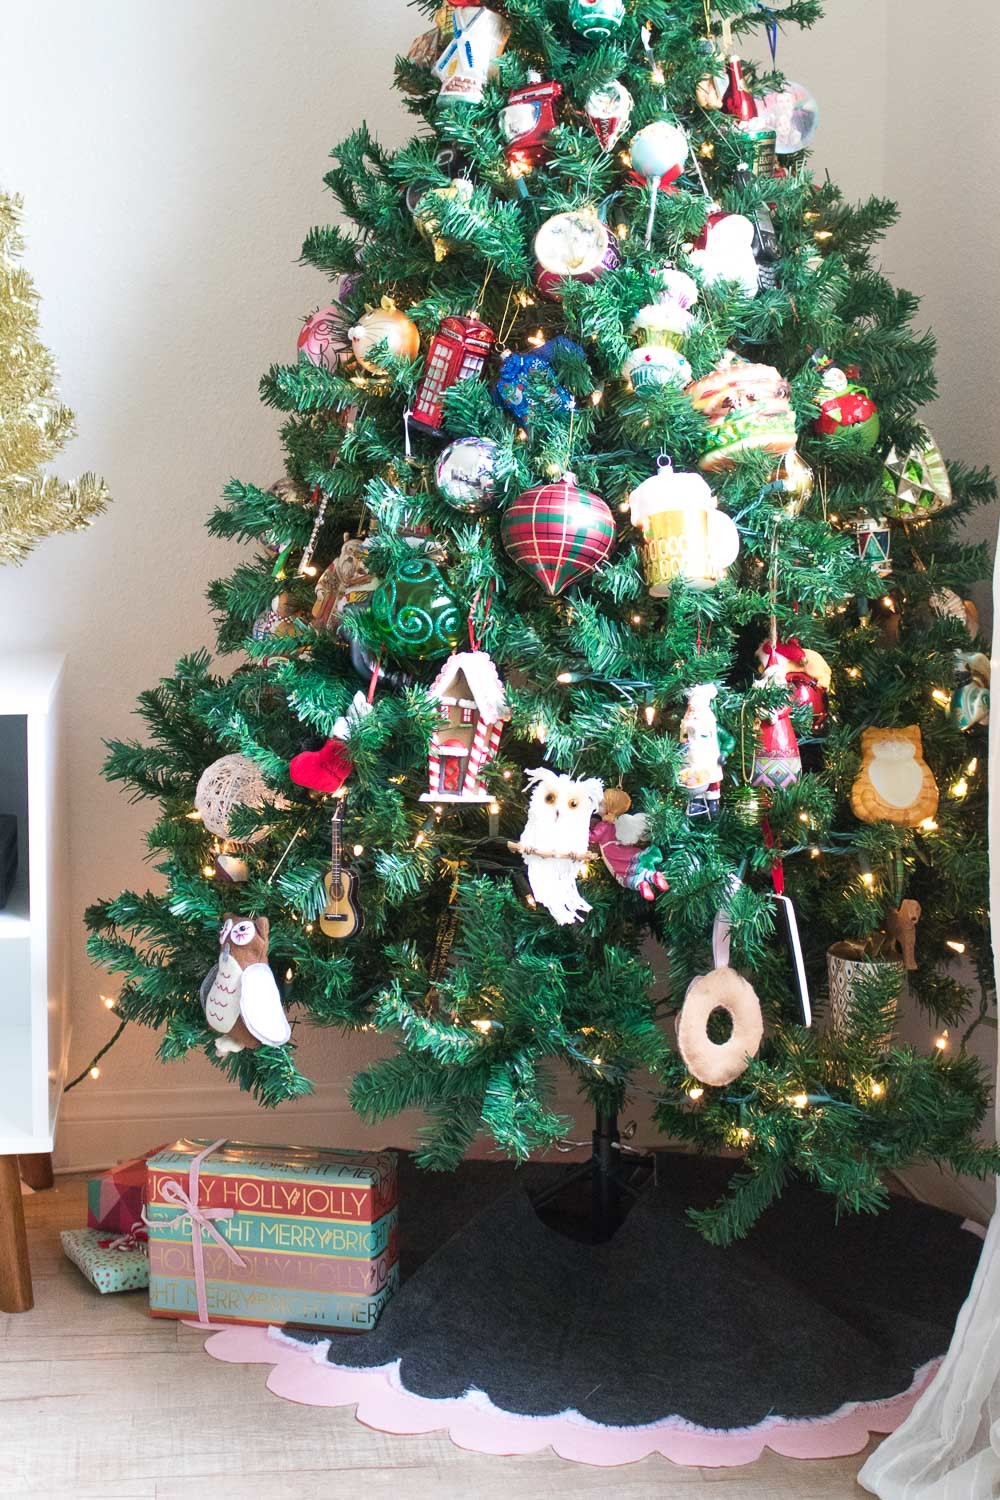
During the holidays, it’s a miracle to have time for anything, which means time-saving DIYs are a must. I decided it was time to swap out my dated Christmas tree skirt for something new and stylish, and I love how thick felt holds up underneath my tree. In the spirit of quick DIYs, I decided to make myself an upgrade with this simple no-sew scalloped tree skirt that took less than 20 minutes to make.
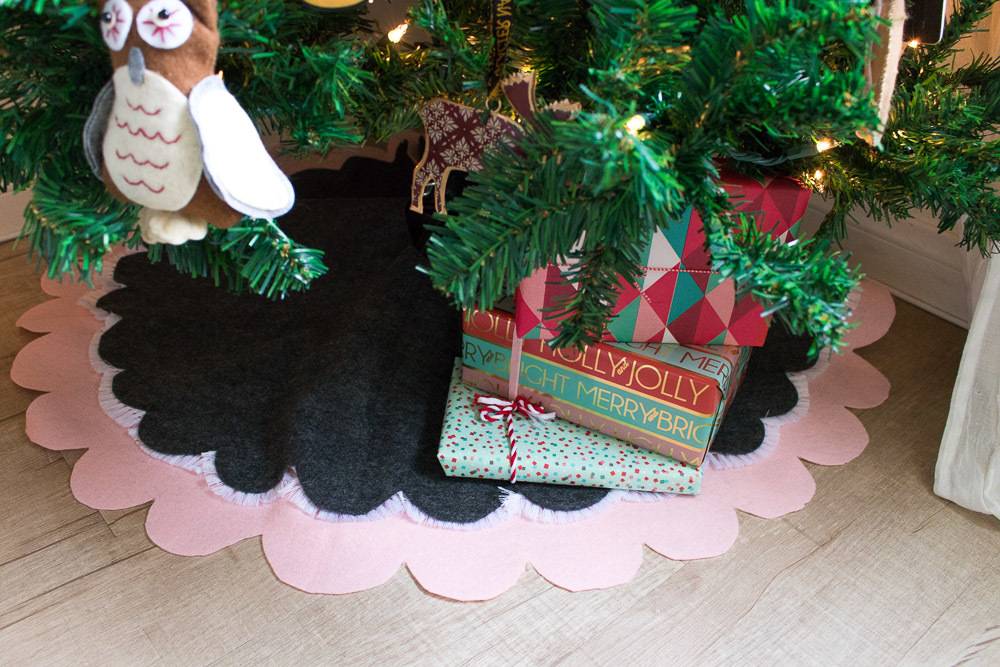
When the sewing machine is buried beneath unwrapped presents, or when I want to make something that seems too complicated to sew myself, I turn to fabric glue. Since sewing scallops seemed above my expertise, I used fabric glue to adhere all of the pieces together, which holds up well with felt, especially as an item that will generally stay stationary beneath the tree. For a little added flair, I lined the scallops with fringe trim!
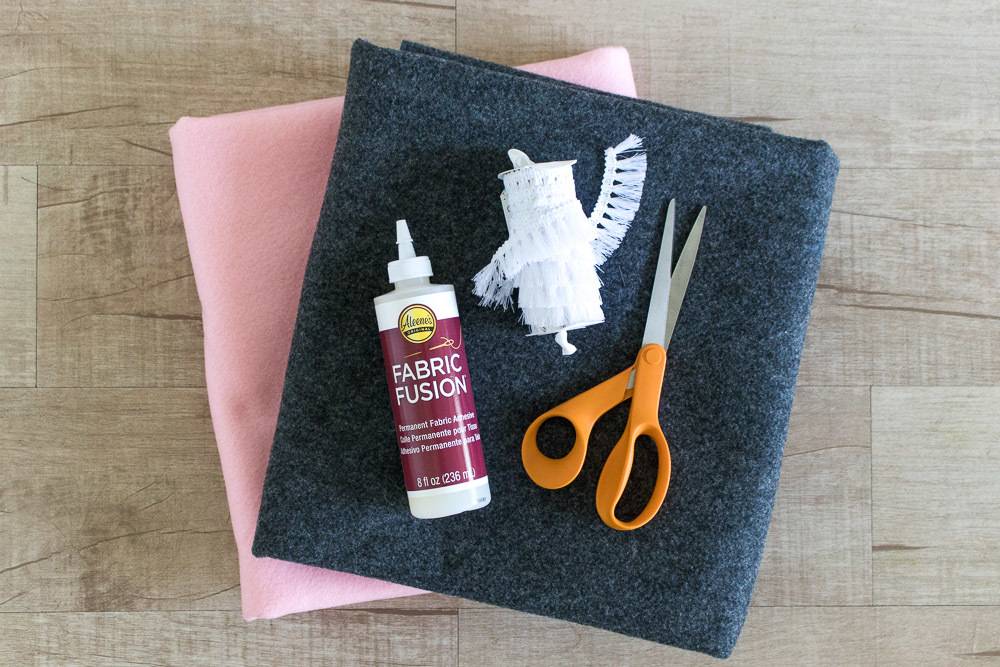
Materials:
- 1 yard felt, top color
- 1 yard felt, bottom color
- Fabric scissors
- Fabric glue
- Fringe trim
- Marker
Step
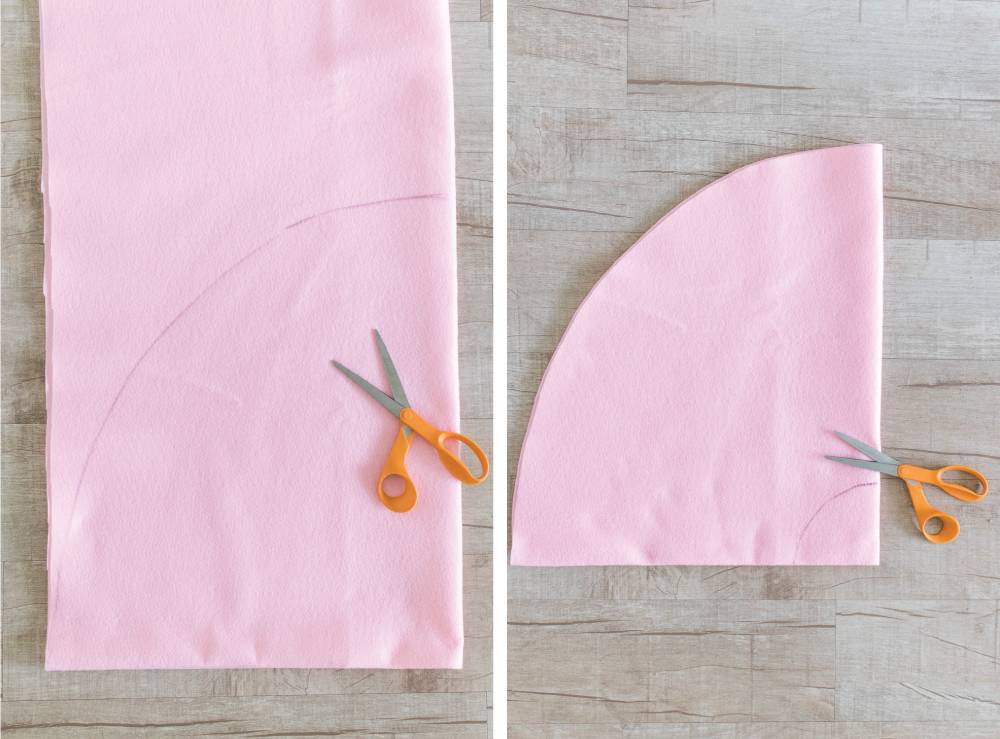
Fold the fabric (bottom color) into fourths. Use a pen/marker to draw an arc, with the long side along the folded side, and cut.
Step
Draw a much smaller arc at the folded corner and cut to create the hole for the tree trunk.
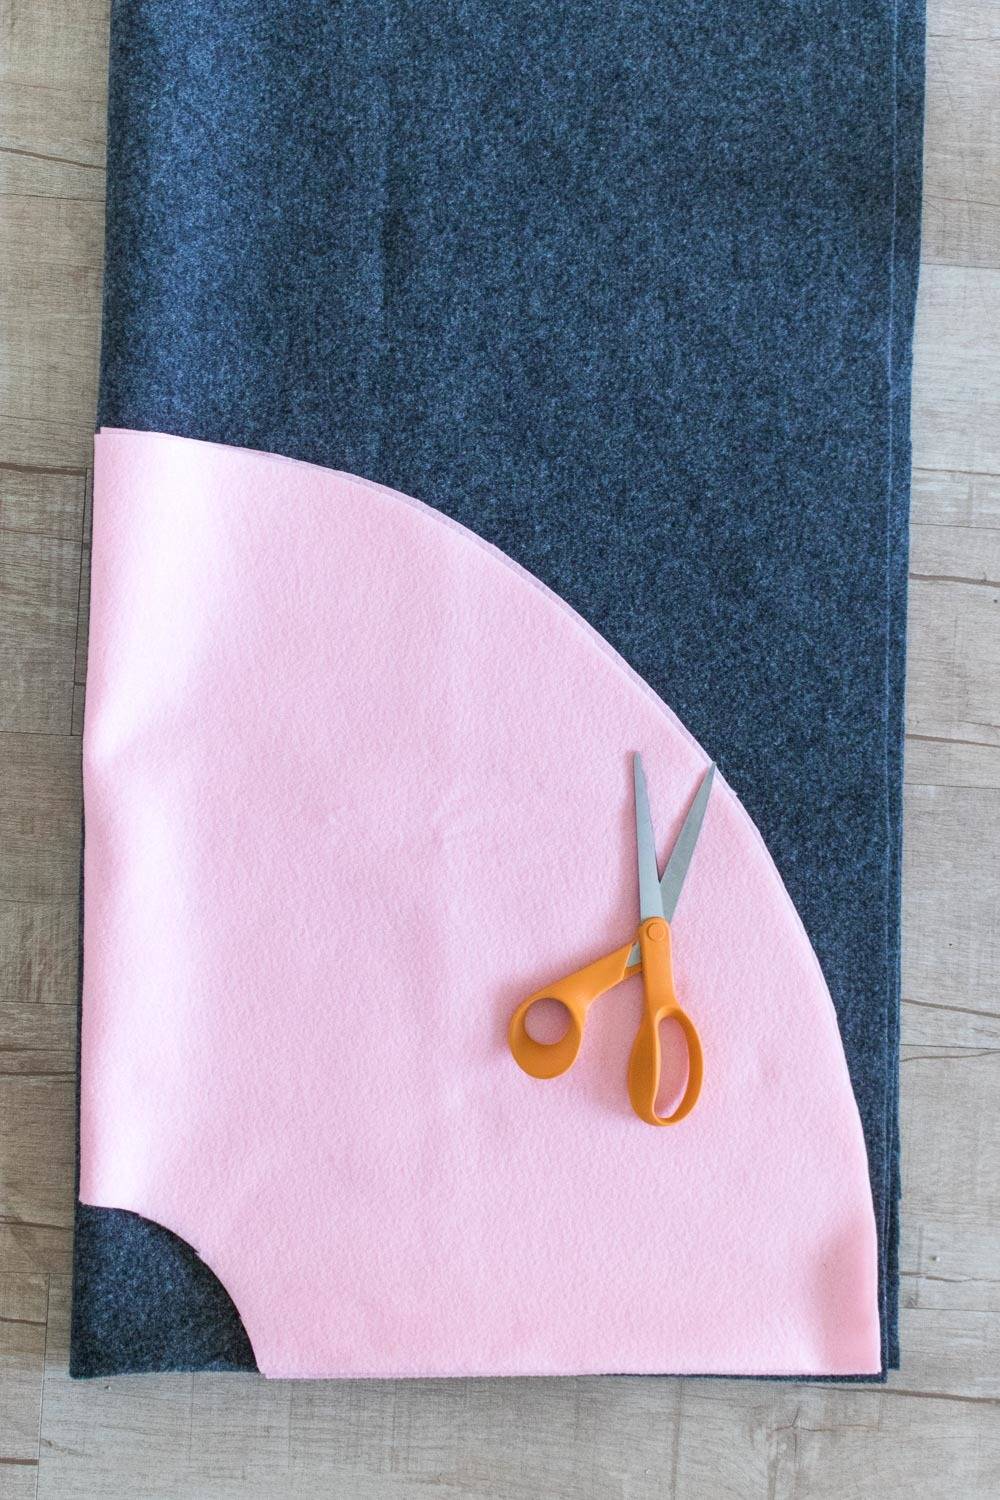
Step
Use the bottom color fabric as a template to cut the same size out of the top color fabric.
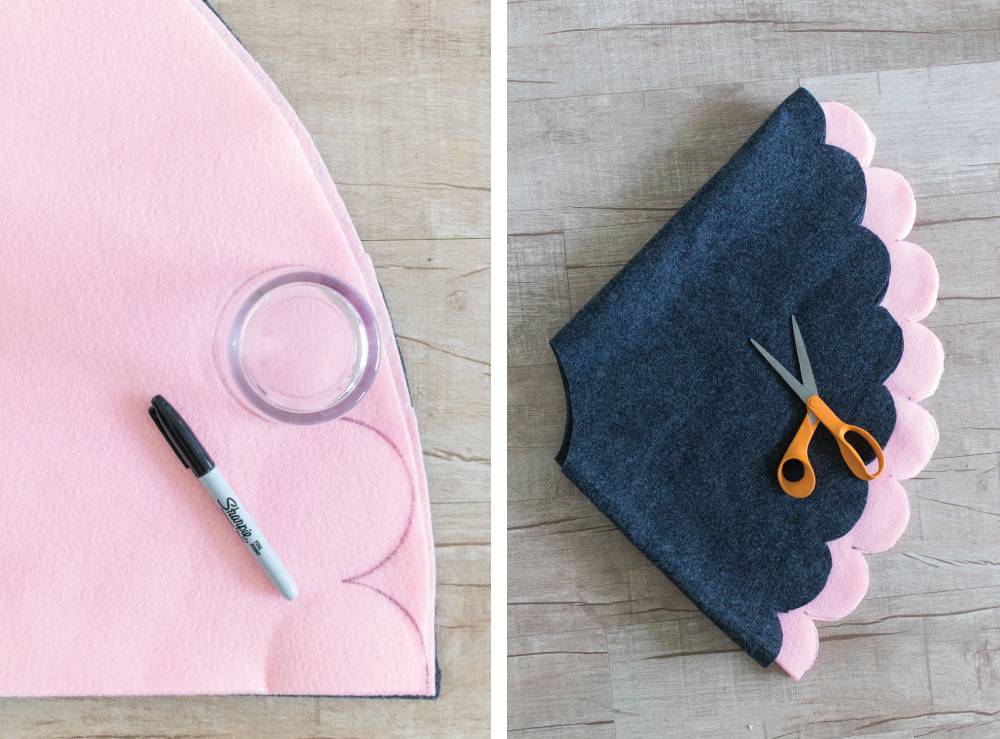
Step
Leaving the tree skirt folded into fourths, use a cup or similar item to trace scallops along the cut edge of the bottom color fabric. Then cut. If it is too thick for your scissors, unfold the fabric in half.
Step
Repeat with the top color fabric, using the bottom as a guide again, but move the scallops back from the edge. Because one will go on top of the other, it needs to be slightly smaller.
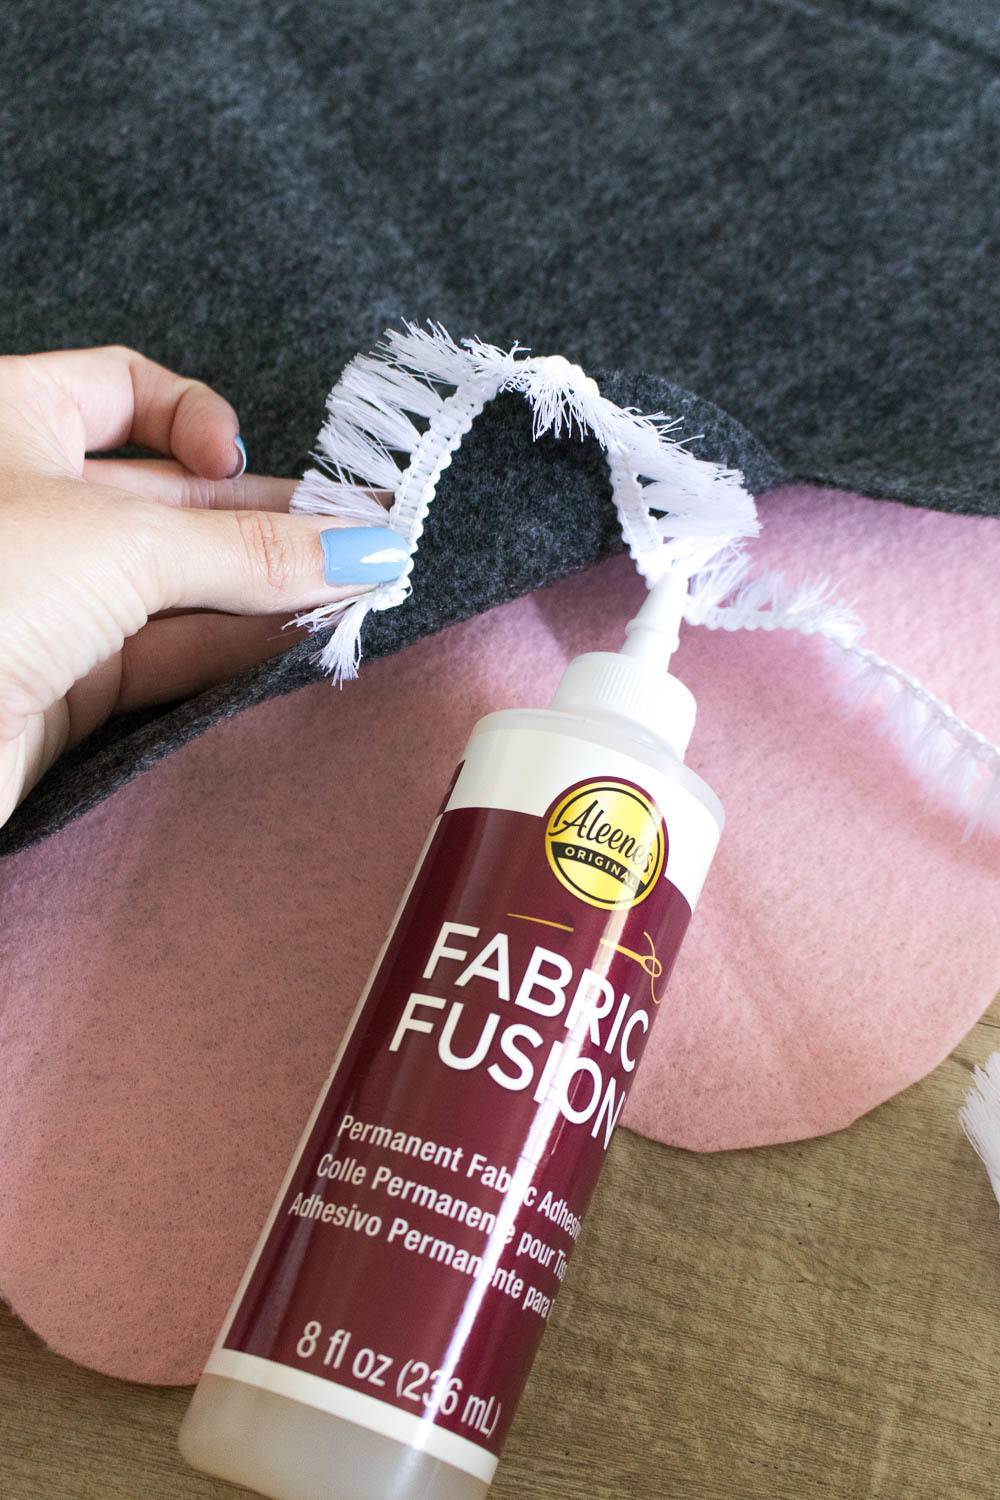
Step
Unfold the fabrics. Place the top color on top of the bottom color and make any desired cuts to even the scallops. Use the fabric glue to adhere the trim to the underside of each scallop on the top color fabric. Cut into separate pieces if it’s easier, or leave as one long strand of trim.
Step
Then add more glue all over to adhere the top piece to the bottom piece, lining up the middle and scallops. Let dry completely.
Step
Lastly, make one straight cut from an outside edge to the middle. This will allow you to wrap the skirt around the tree.
Place the skirt around the bottom of your tree and start filling it with presents. I can’t wait to see it fill up this year! Until then, at least I can still see it!
