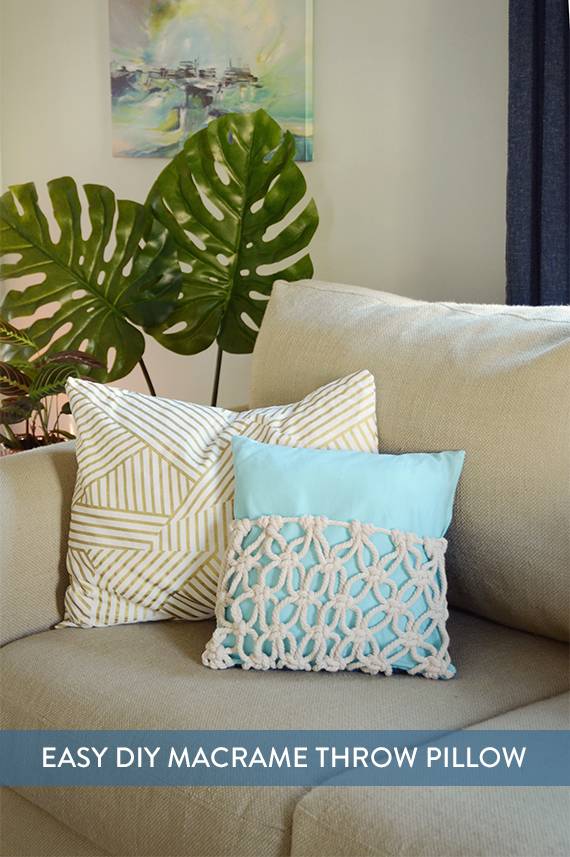
I’ve always loved macrame, ever since my mom taught me how to do it as a kid (she was a hippy in the 70’s, and a beatnik before that). And while it looks pretty as a wall hanging, I started thinking that maybe it could have other applications as well. So I decided to make a macrame pillow and share it with all of you! Click through to check out the tutorial.
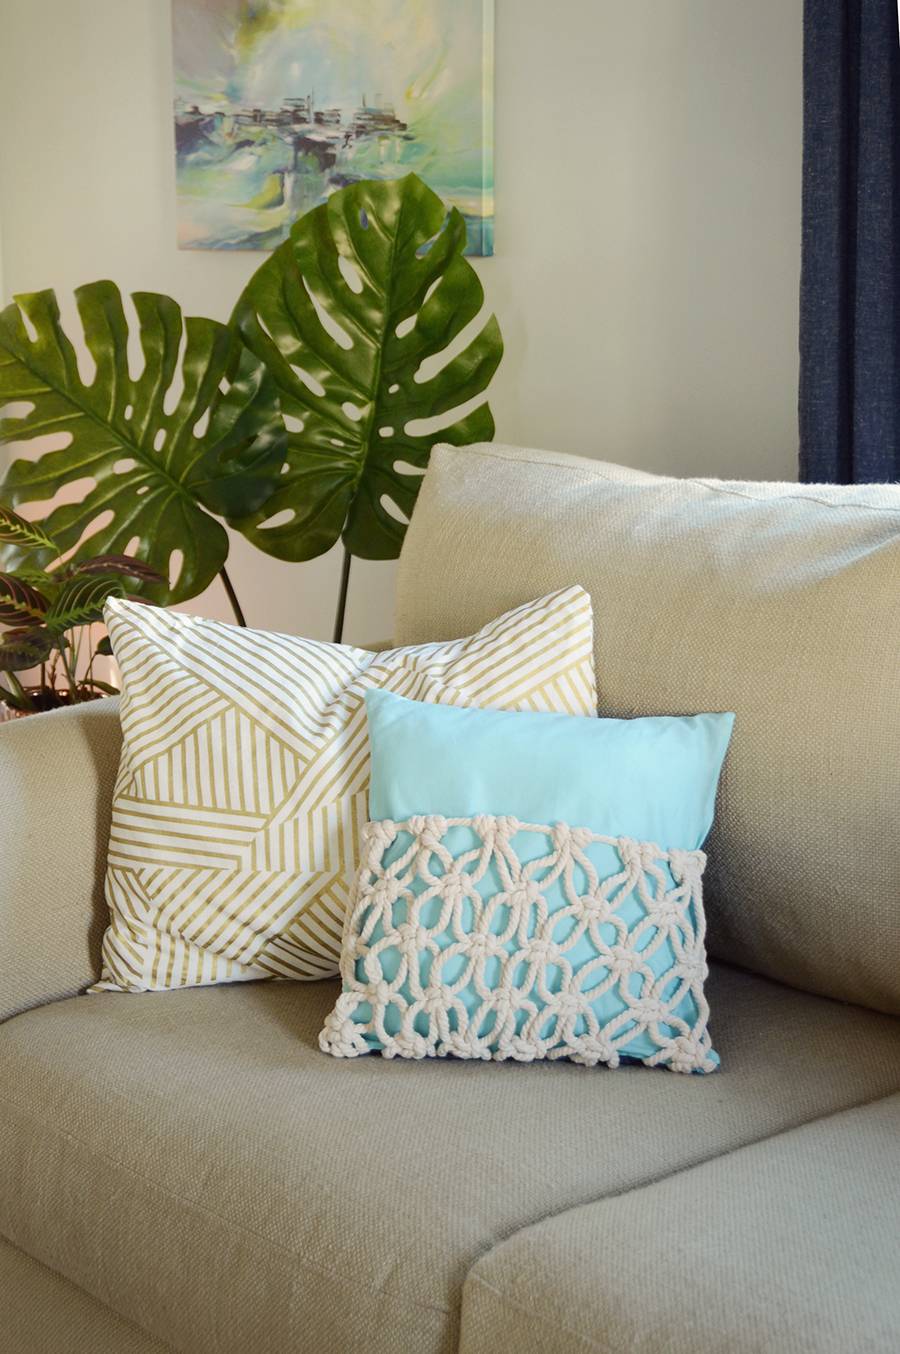
The final piece looks a bit nautical, and really quite contemporary thanks to the brightly colored fabric. So let’s get started!
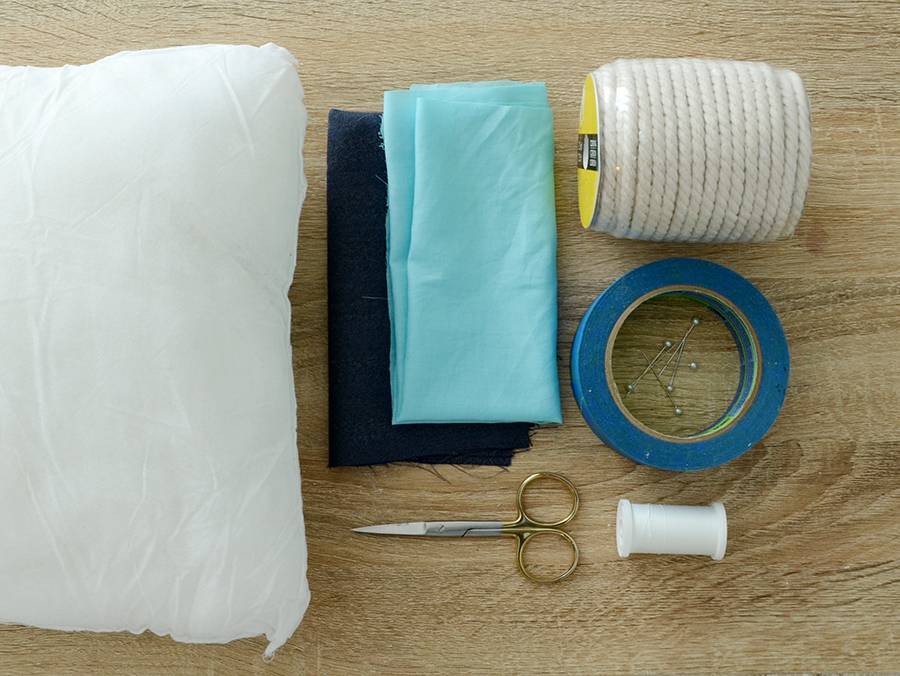
Here’s what you’ll need for this project:
- 13″ pillow insert
- 14 x 14″ piece of fabric
- (2) 14 x 9″ pieces of contrasting fabric
- 20 yards of cotton rope
- Scissors
- Painter’s Tape
- Pins
- Sewing machine and coordinating thread
- Size 14 sewing machine needle, or similar (heavier duty)
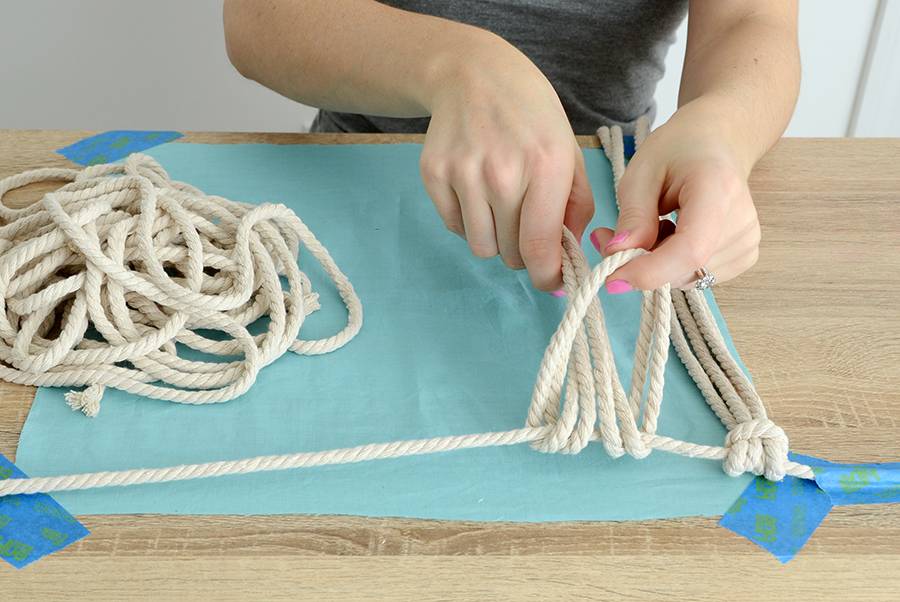
Begin by taping down your 14 x 14″ piece of fabric with painter’s tape. This will give you a sense of the size and shape you need for your macrame piece. Cut a 16″ long piece of rope and tape it across the top of the fabric.
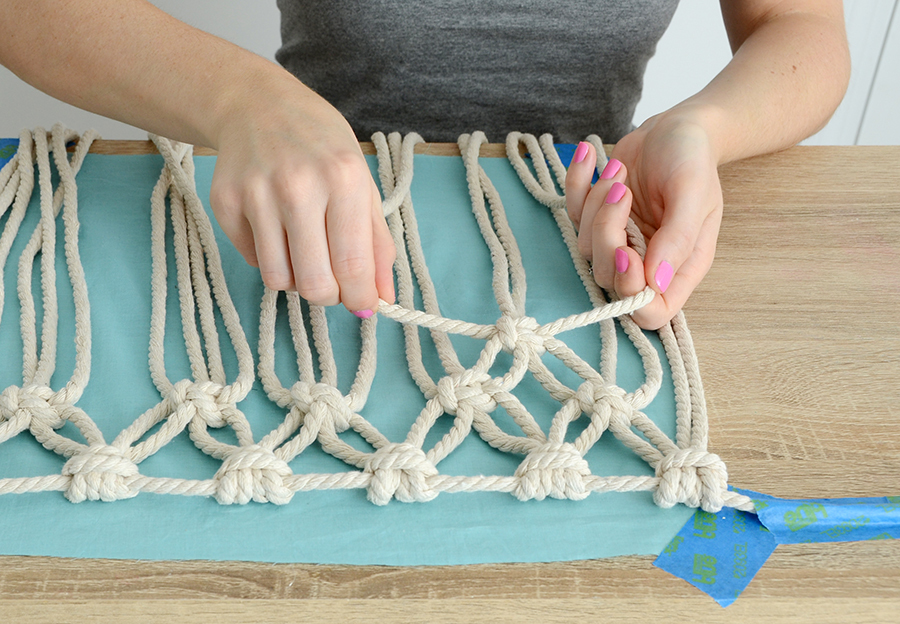
Cut 12 pieces of rope that are 50″ long each. Loop two at a time along the top rope as shown above. You’ll end up with 6 sections – space them out evenly along the top rope.
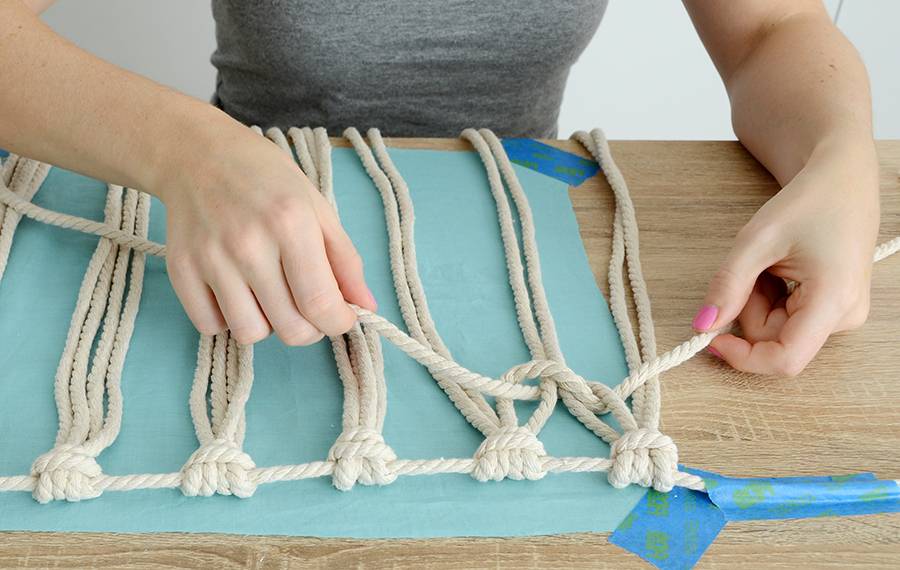
Start with two ropes from the first cluster and two ropes from the second cluster. The two pieces in the middle will stay where they are, and you’ll form a square knot around them.
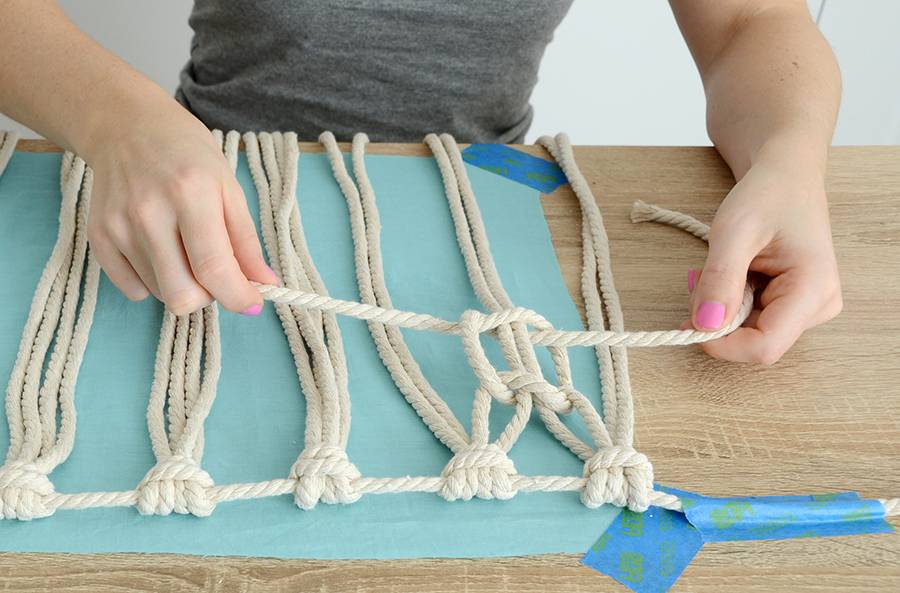
Check out this helpful diagram from Better Homes and Gardens.
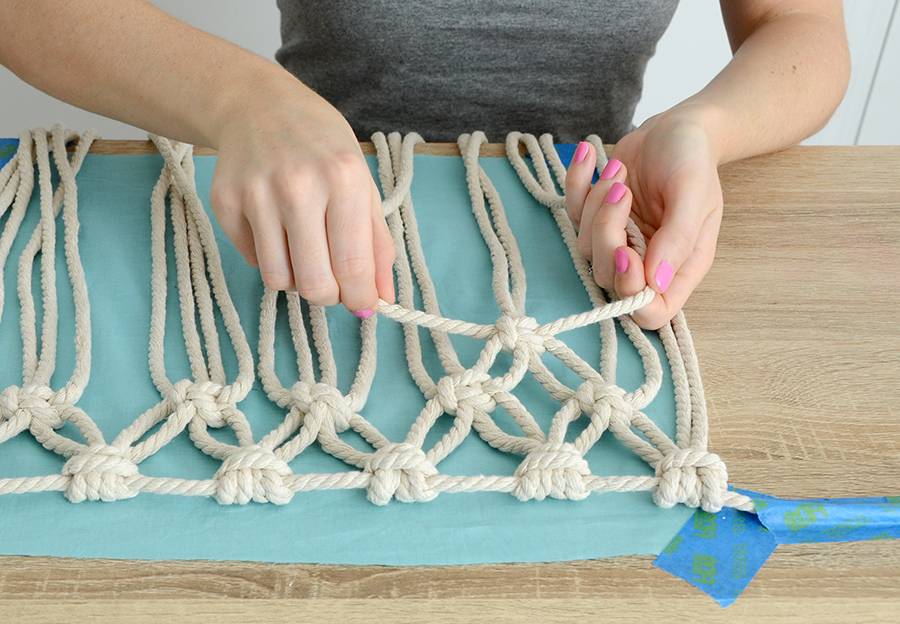
Do this all the way across, then use the opposite ropes on the next row so that you form diamond shapes as shown above. I made my macrame piece 14 x 9″ so that it would cover about 2/3 of the front of the pillow.
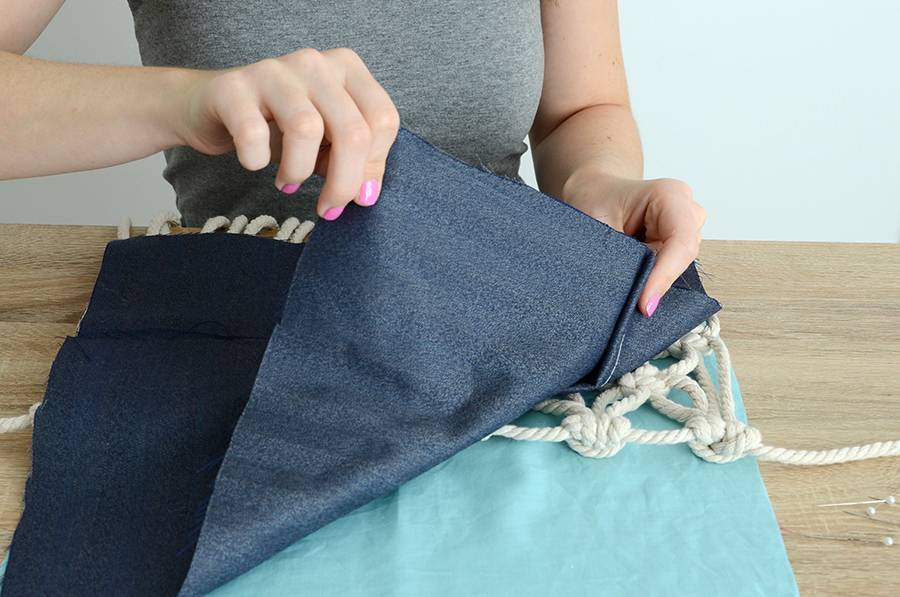
Next, hem one long edge of one of the 14 x 9″ pieces of fabric. Now assemble everything so you can sew it together. Lay the larger piece of fabric right side up, with the macrame panel on top of it. Then put the hemmed piece right side down on top of the macrame (positioned at the bottom) and lastly the un-hemmed piece right side down (positioned at the top).
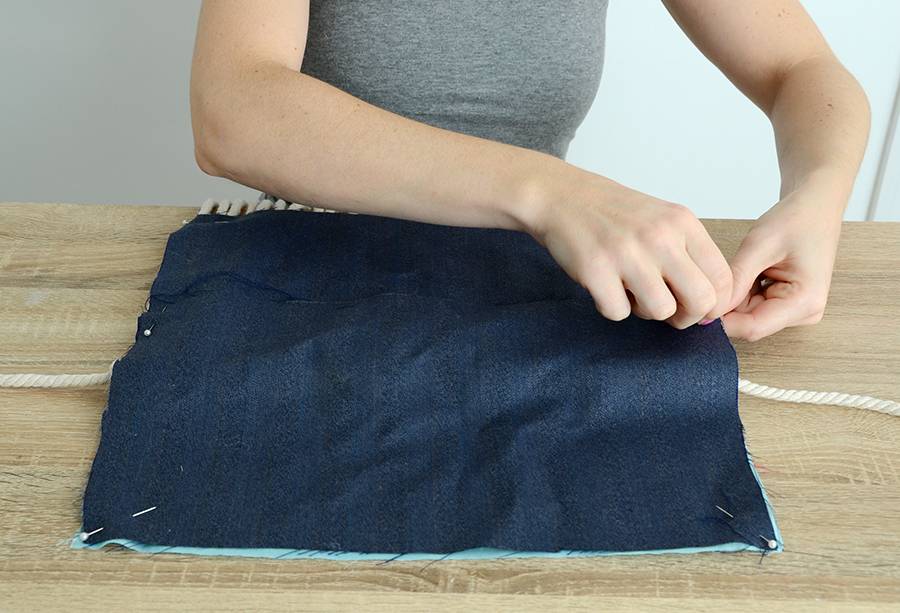
Pin everything together.
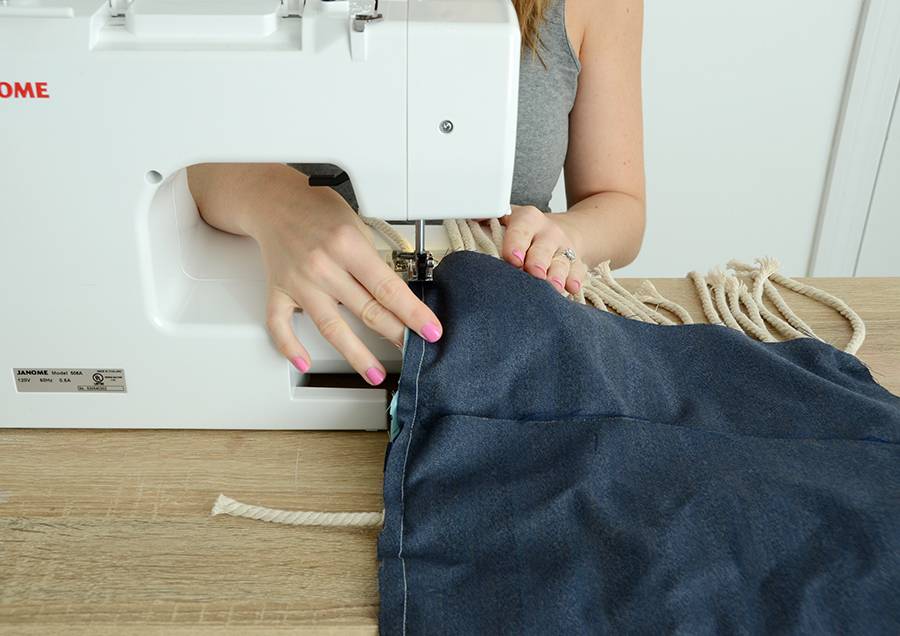
Using a size 14 machine needle or similar (to avoid breaking a needle), sew around the perimeter with a 1/2″ seam allowance. Make sure to check the macrame periodically to make sure that everything is laying flat and is evenly spaced out.
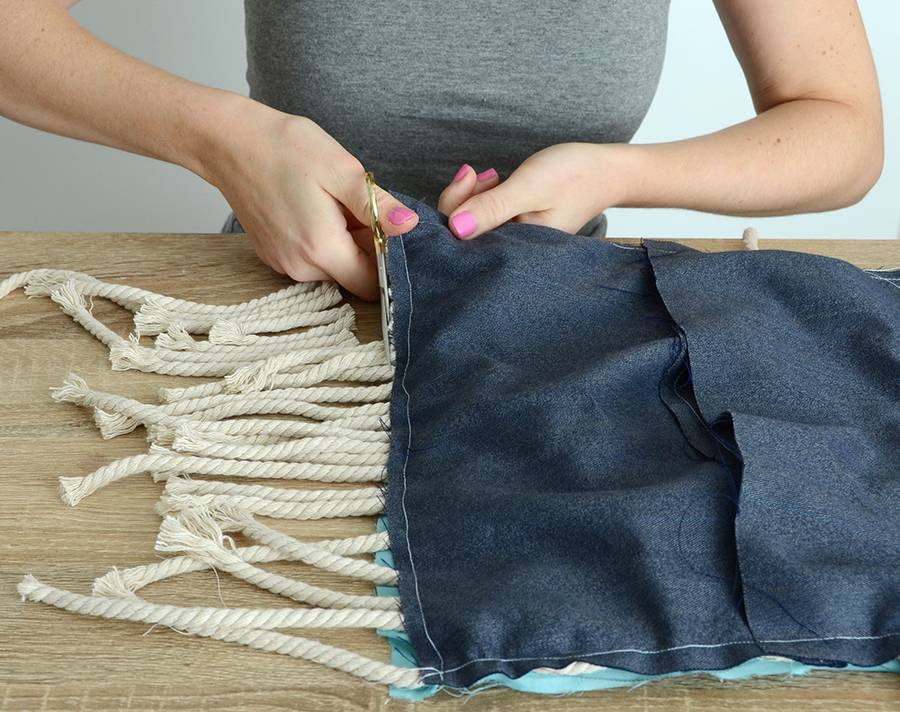
Trim off the excess and any long threads. Turn it right side out and stuff your pillow insert inside.
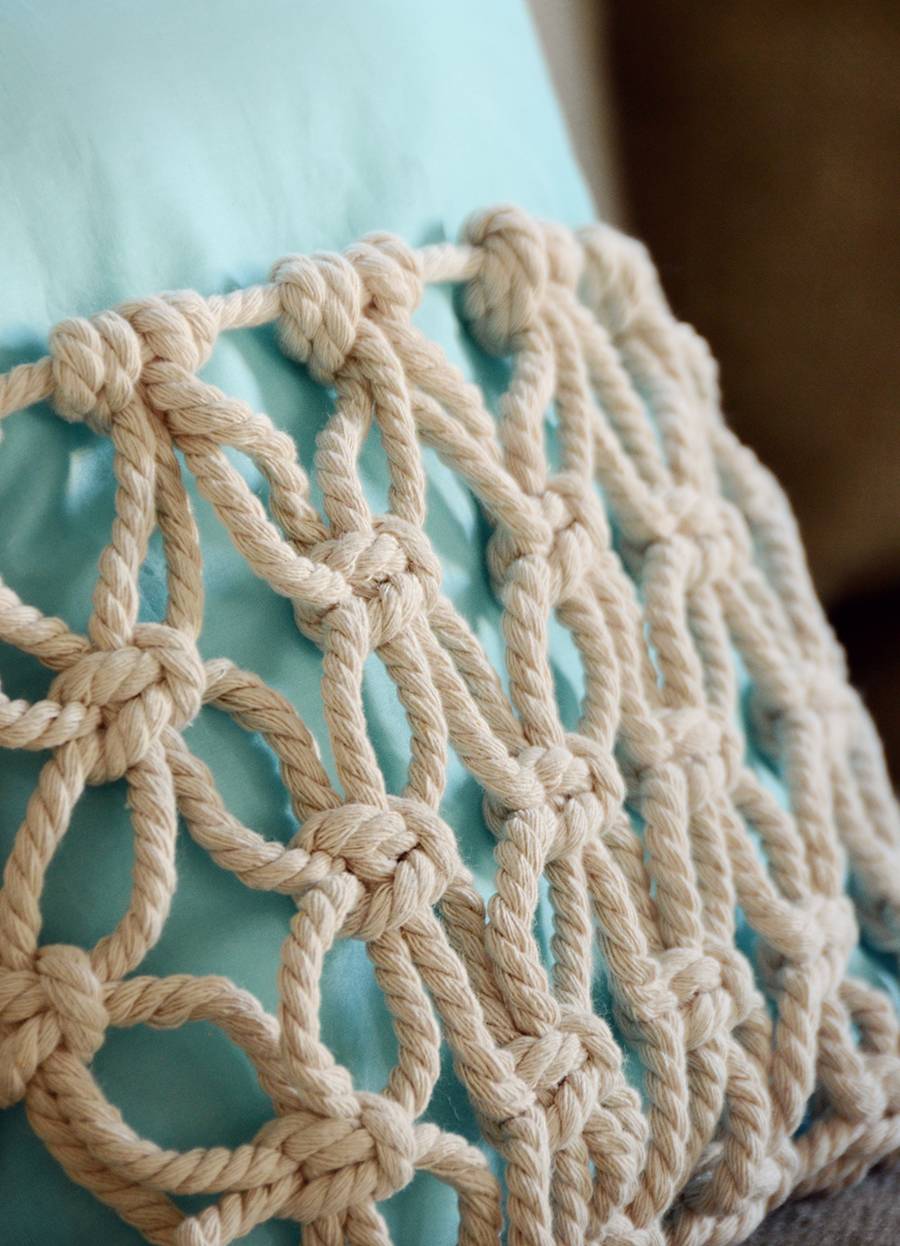
And you’re finished! The final piece is unique and intricate, yet not as difficult as it looks to make. Especially if you’re already well-versed in macrame.
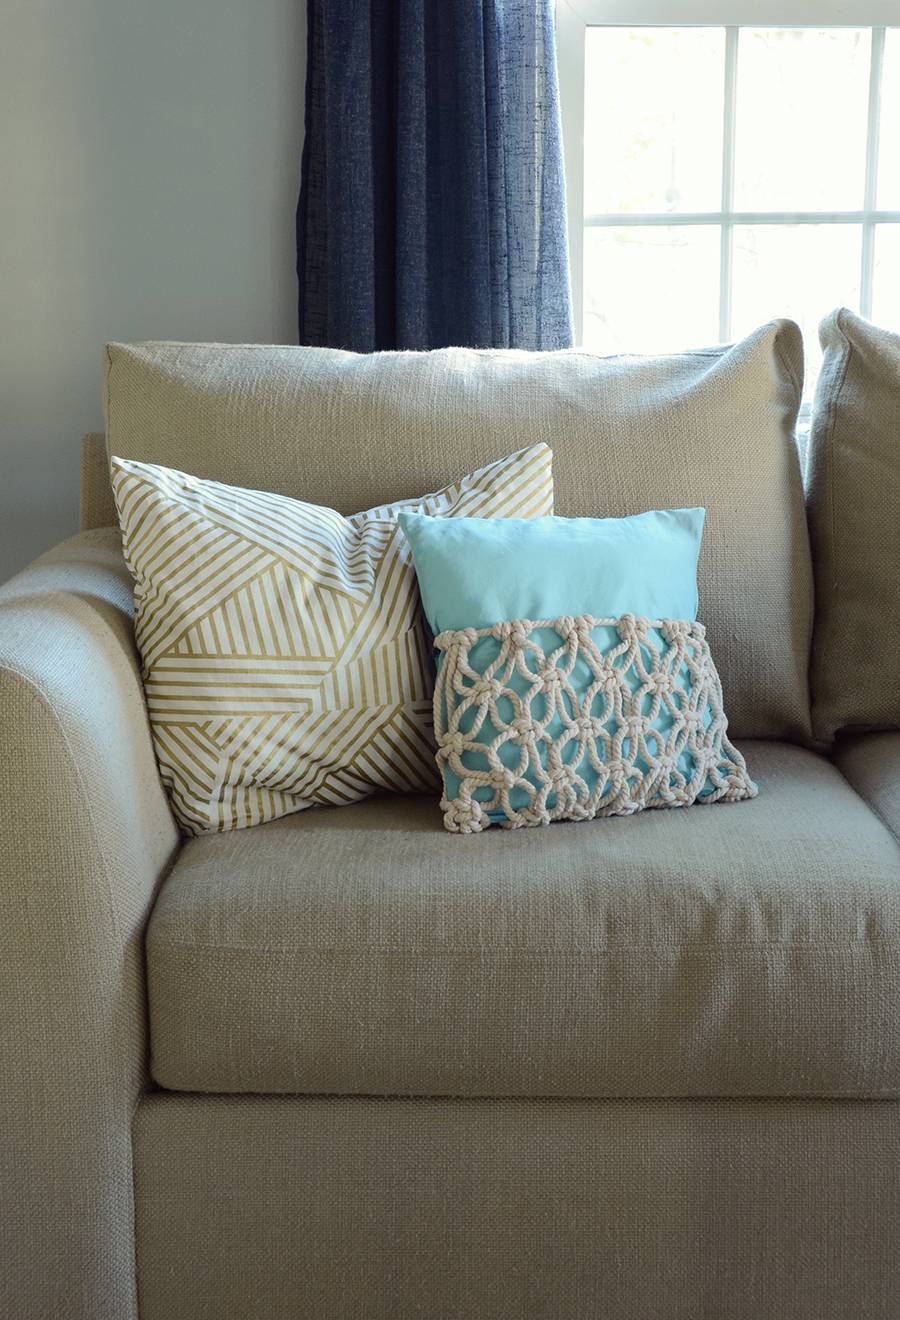
I love the way it looks a bit nautical from a distance, with just a touch of that retro flair. You might experiment with the project a bit too, trying thinner rope or different fabric colors.
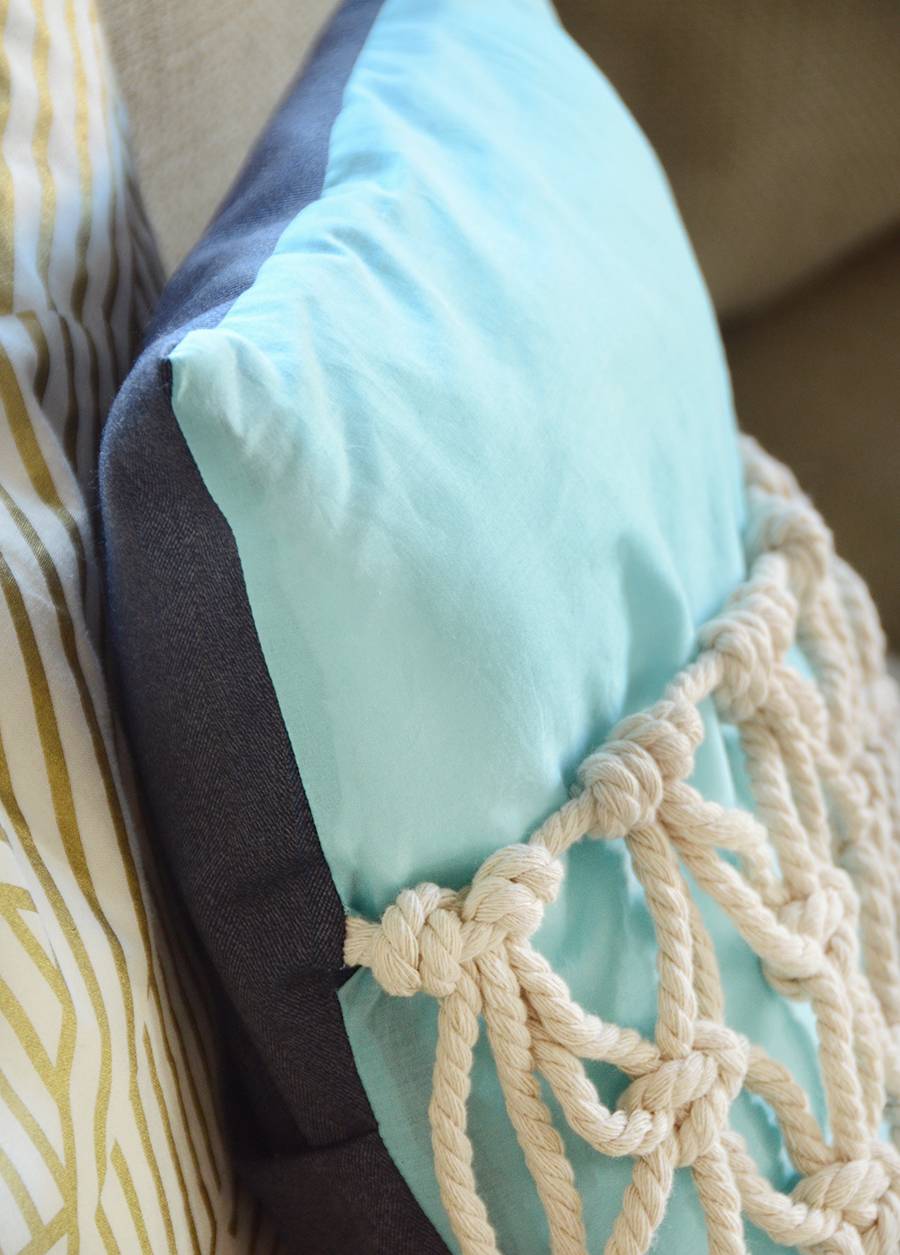
And the contrasting fabric on the back looks pretty cool, don’t you think? Just an easy detail that makes any pillow look more professional.
