If you’re a frequent shopper at your local nursery, you’ll have had days where you’ve come home with a fantastic haul of pretty plants… only to be faced with row upon row of the ugly, flimsy plastic pots they get sold in.
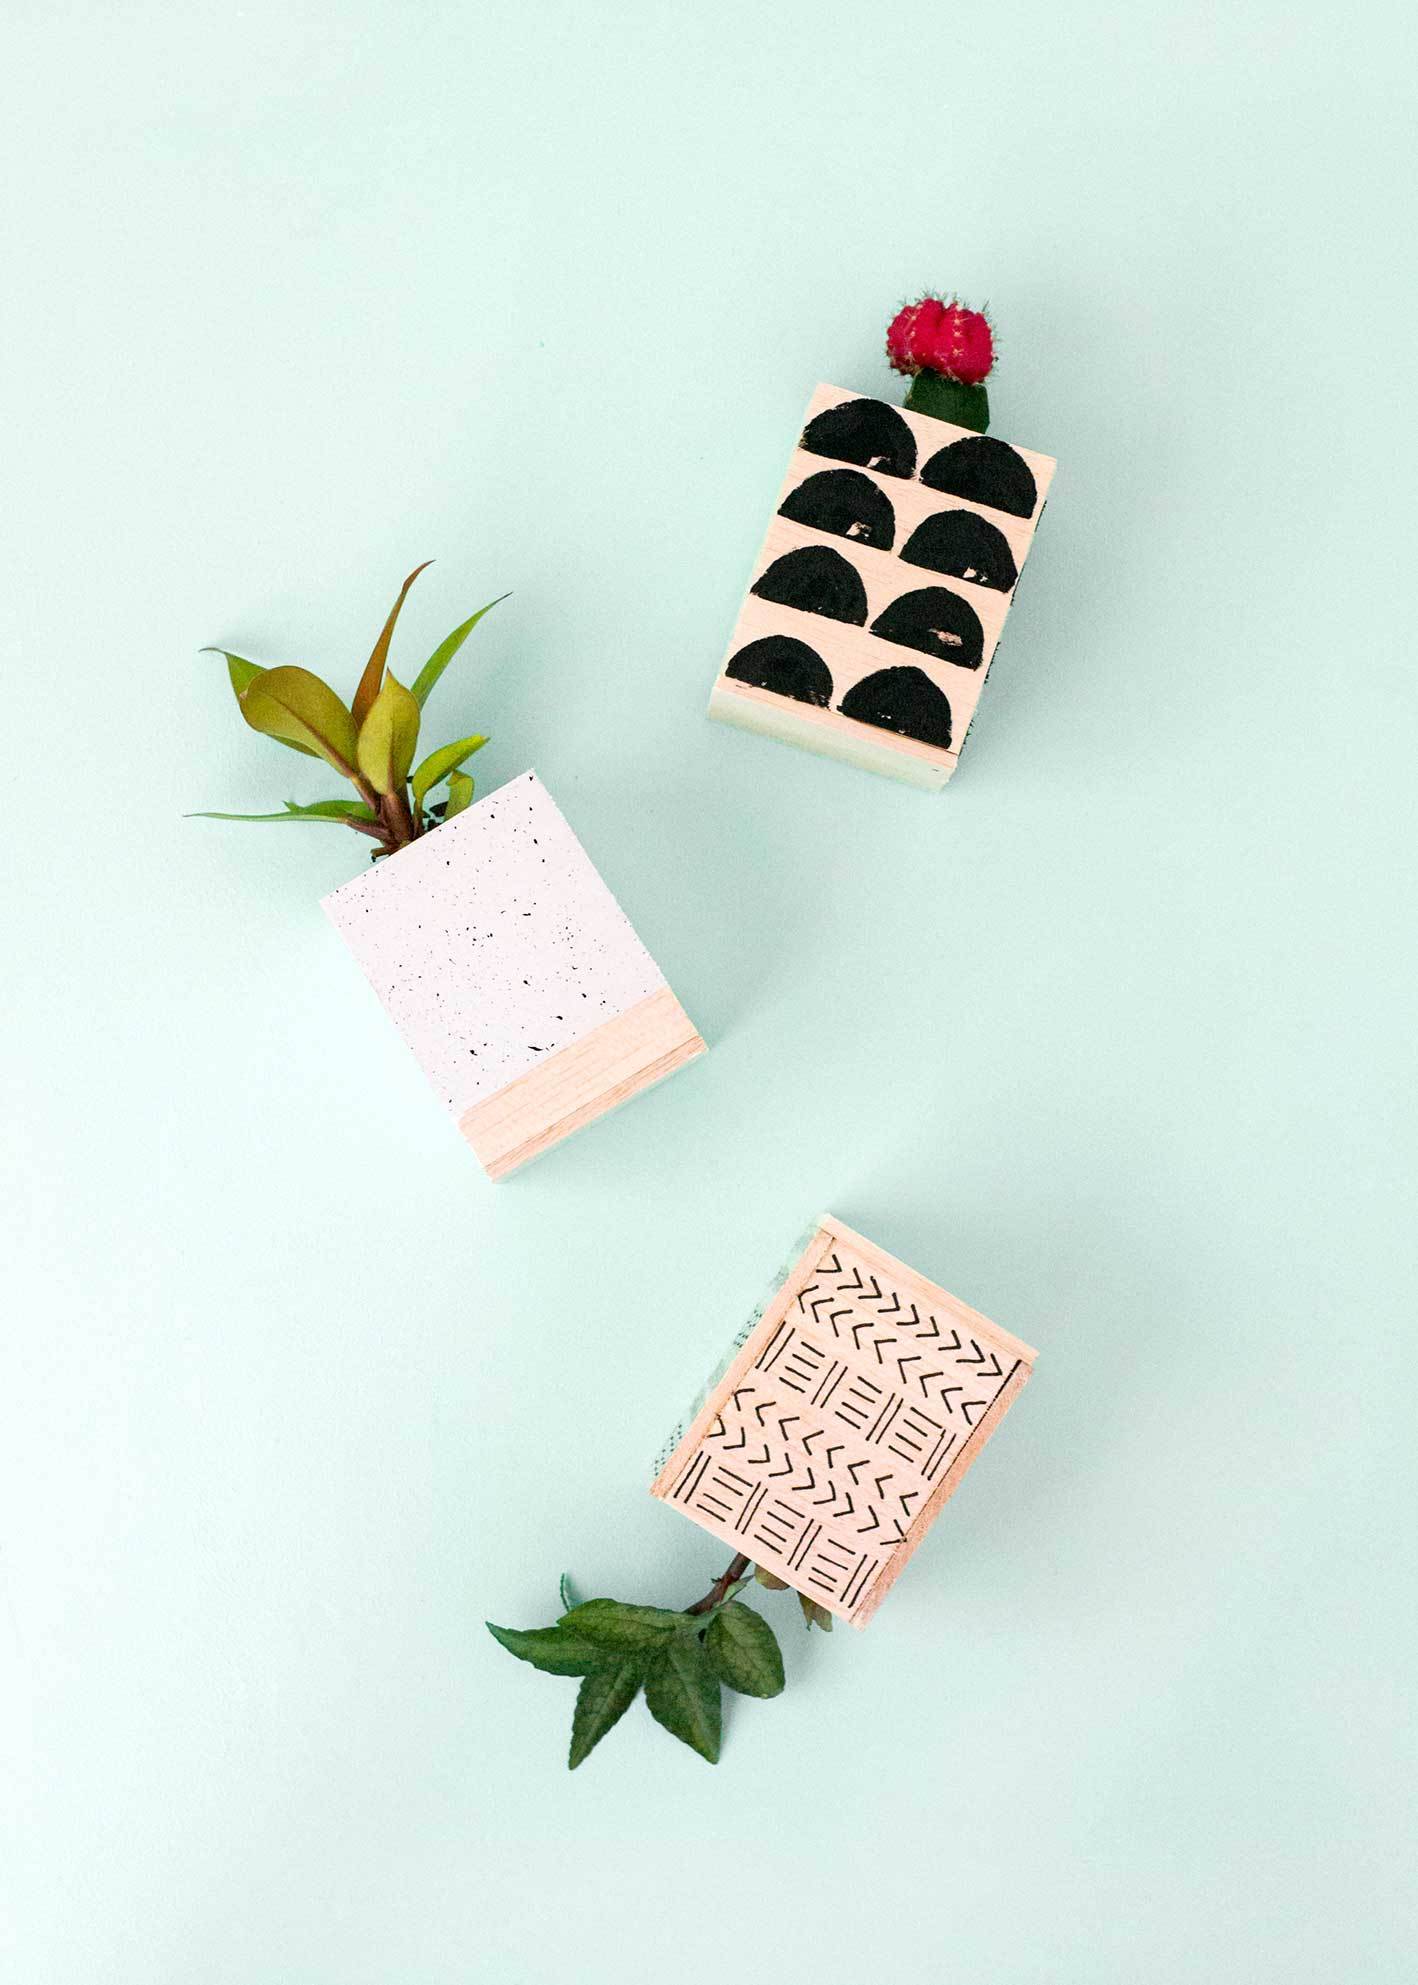
And sure, you could head straight back to the nursery and spend up big on designer planters. Or you could pull out your craft materials and whip up some handmade boxes that’ll hide those ugly plant pots without breaking the bank!
If that sounds like your cup of tea, get some balsa wood and follow along!
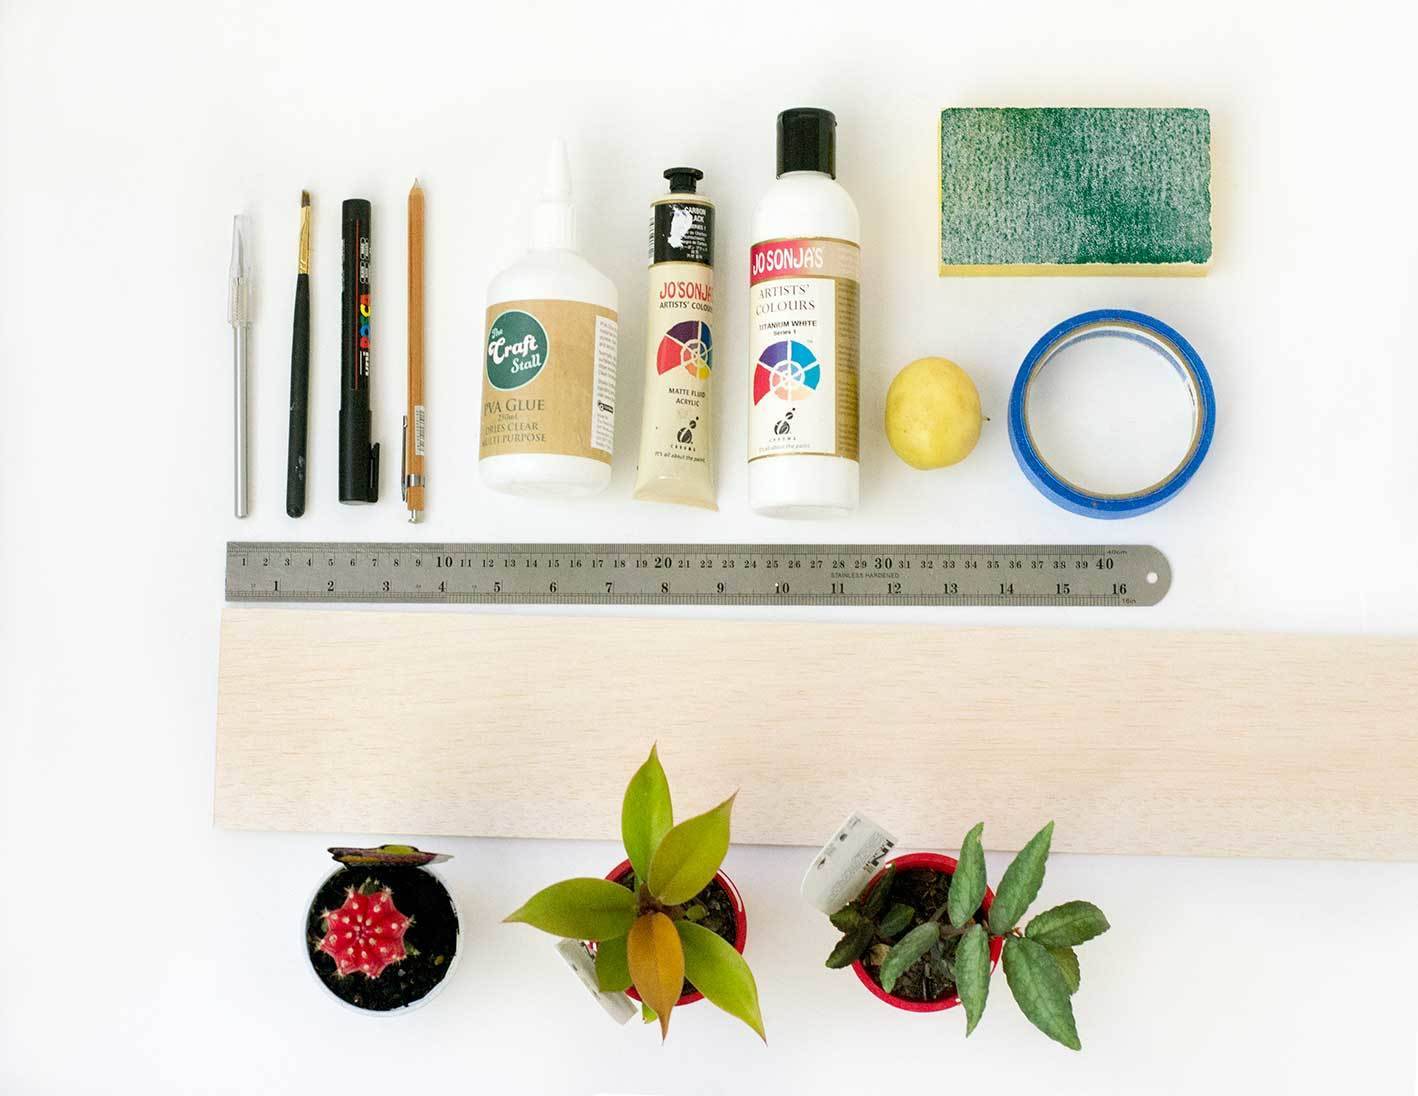
Materials
- Balsa wood
- Ruler
- Pencil
- Sharp craft knife
- Wood glue
- Sandpaper
- Plants
- White and black acrylic paint
- Painter’s tape
- Black paint pen
- Paintbrush
- Potato
Step
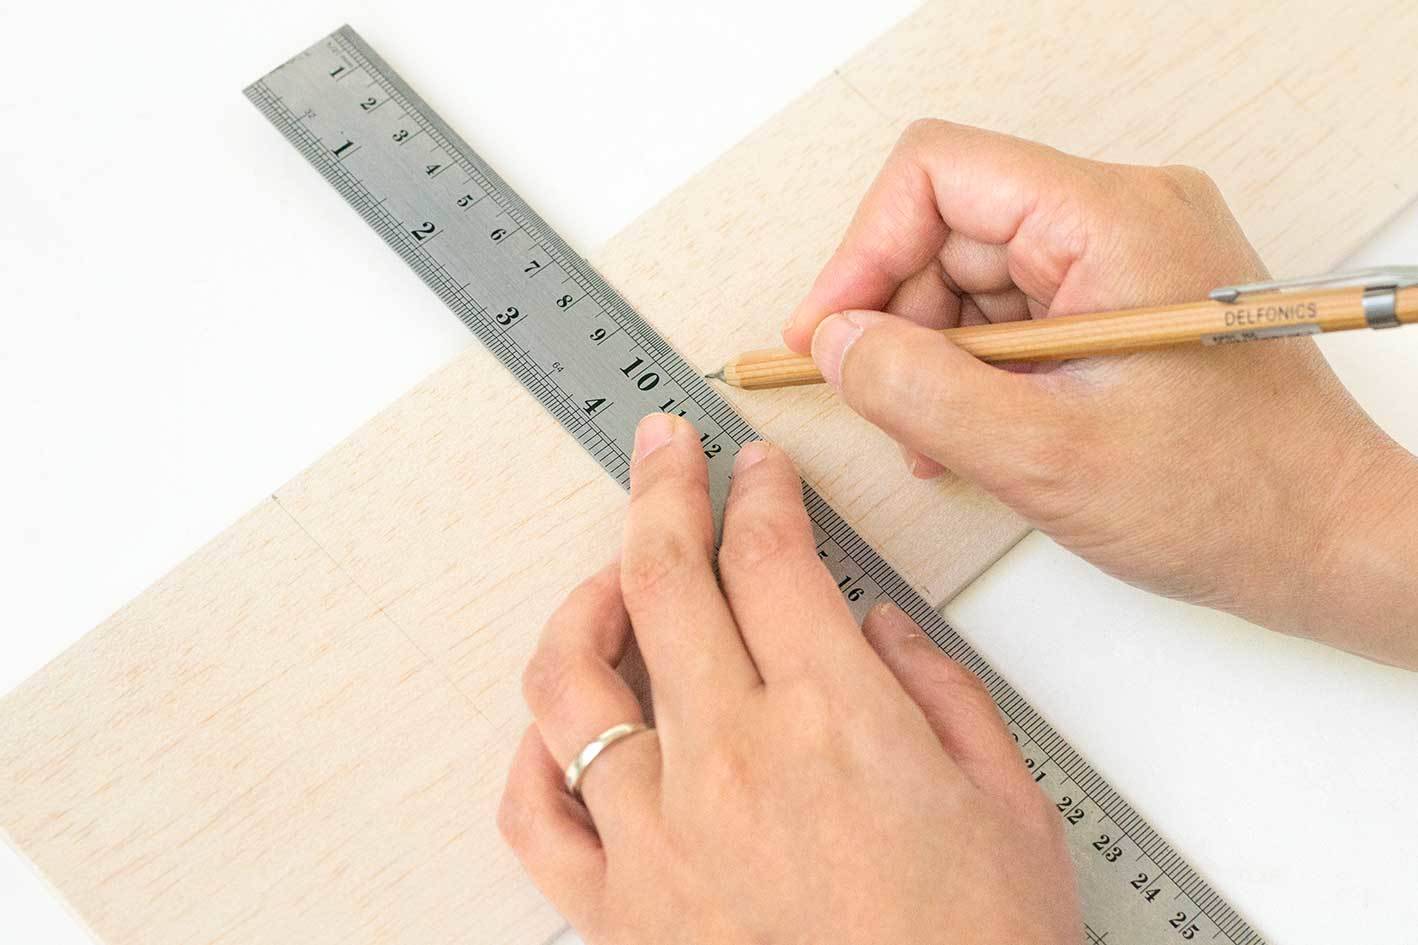
Measure and mark out 5 pieces of balsa wood with a ruler and pencil.
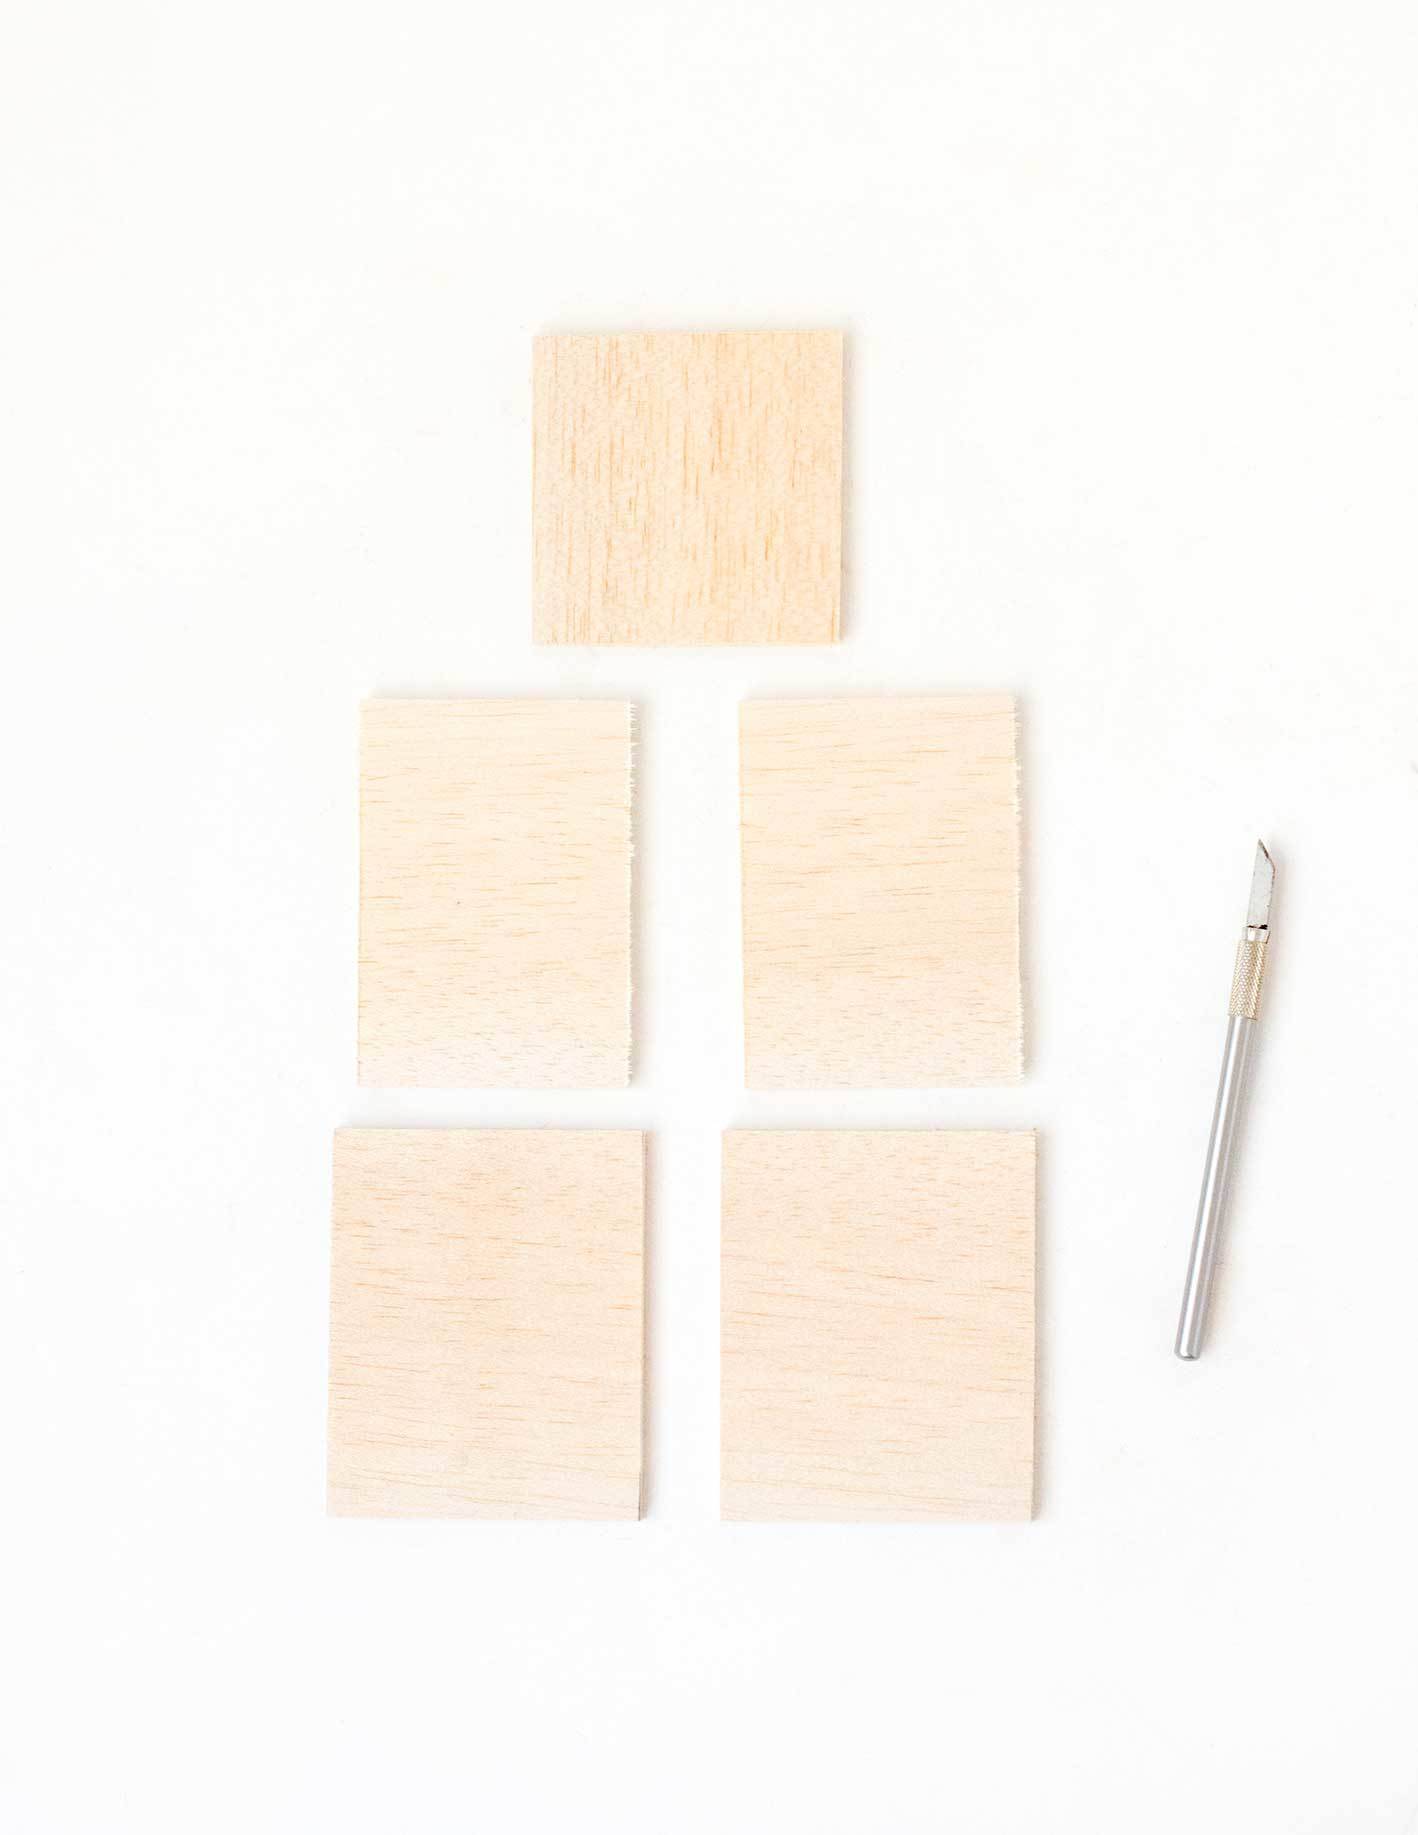
To make each box you’ll need 4 rectangular pieces (2 wide and 2 narrow) and 1 square piece. The square piece will be the base of your box and the rectangular pieces will be the sides.
Start out by deciding how large you want your square piece (the base) to be. Ideally, it’ll be at least 1 inch/2cm wider than the widest part of your plastic plant pot.
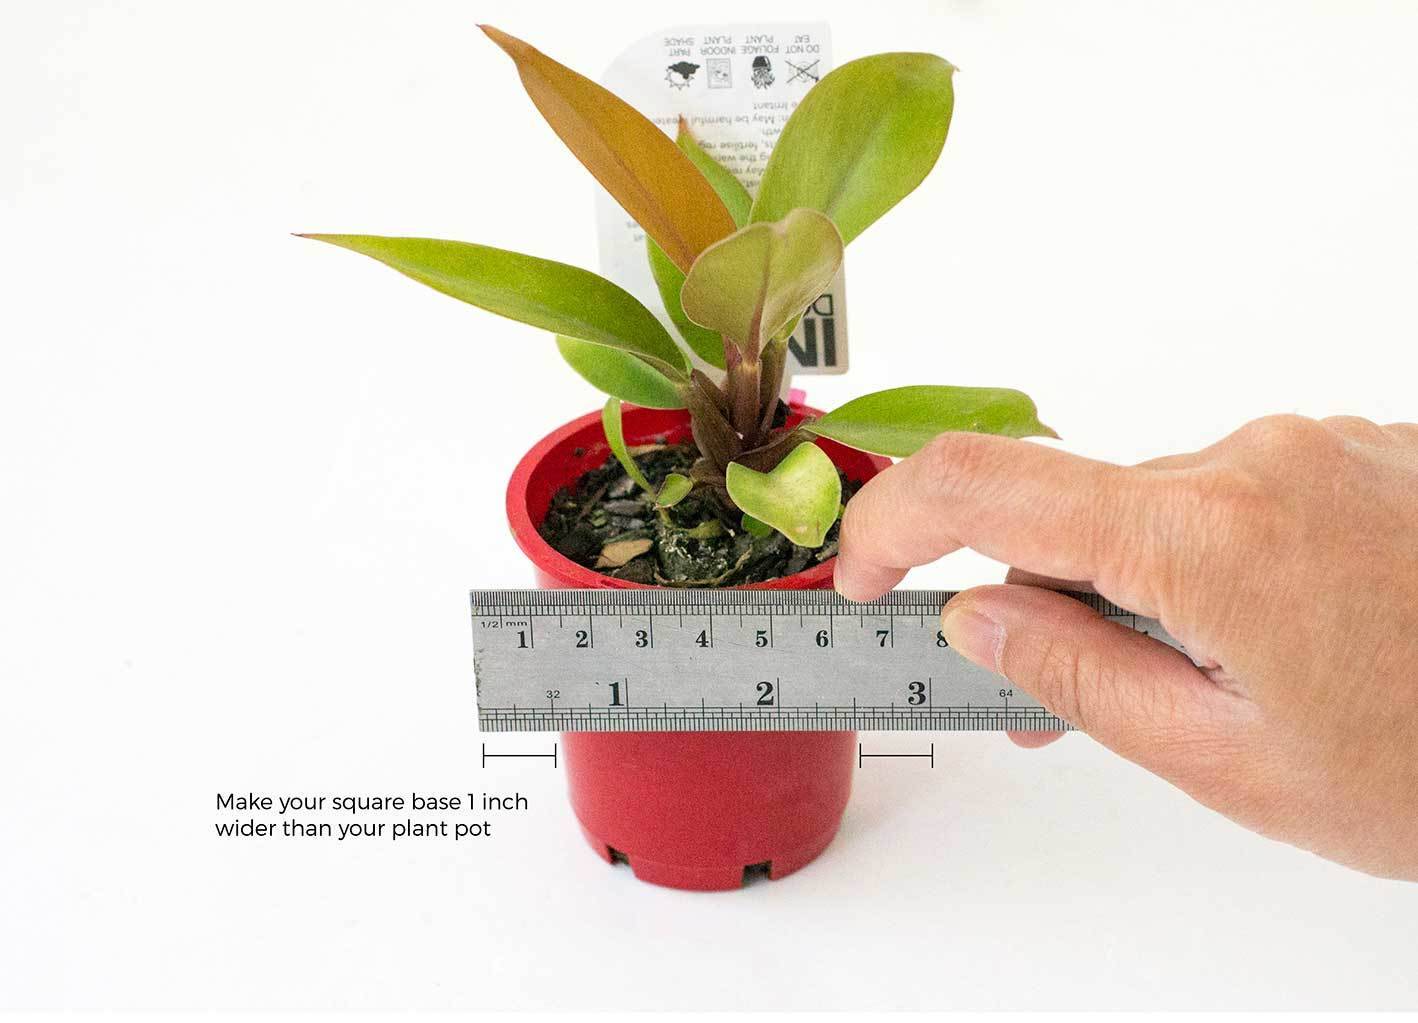 Once you’ve decided on the measurements for the base, the rest of the pieces will be as follows:
- The 2 wider rectangles should be the same width as your square base
- The 2 narrower rectangles should be the width of your square base minus 2x the thickness of your balsa wood
- As an example, my square base was 4 inches wide and my balsa wood was 1/4 inch thick. So my wide rectangles were 4 inches in width, and my narrow rectangles were 3.5 inches wide (4 inches minus 2x 1/4 inch).
All your rectangular pieces should be the same height. They can be as tall as you like, but make sure they’re at least half an inch/1cm taller than your plastic plant pot.
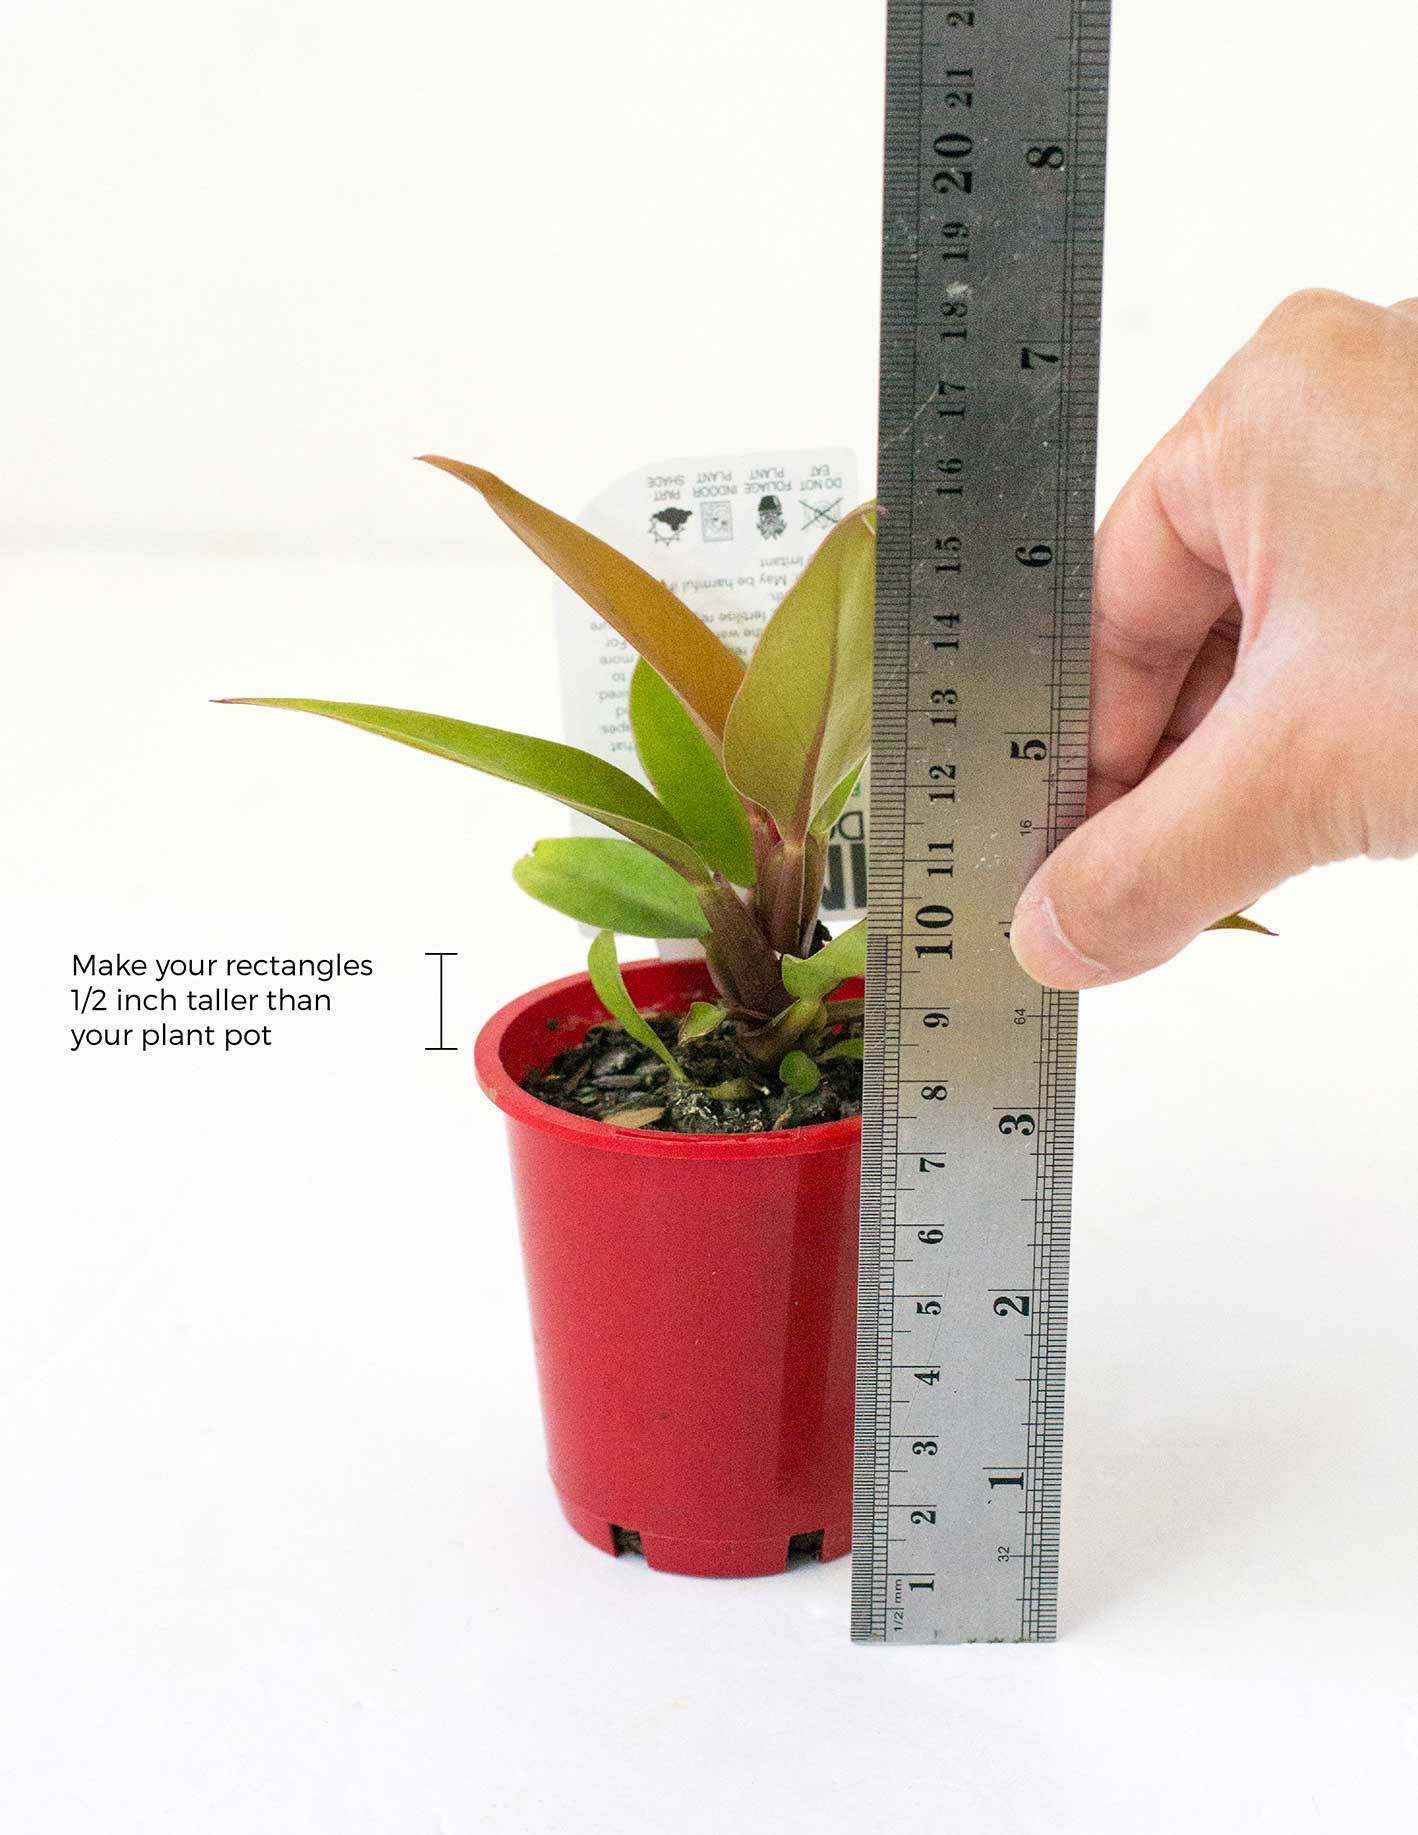
Step
Cut out each piece with a ruler and sharp craft knife (or you can use a saw and mitre box if your balsa wood is quite thick).
Step
Once all your pieces have been cut, give them a quick sand to remove any rough edges.
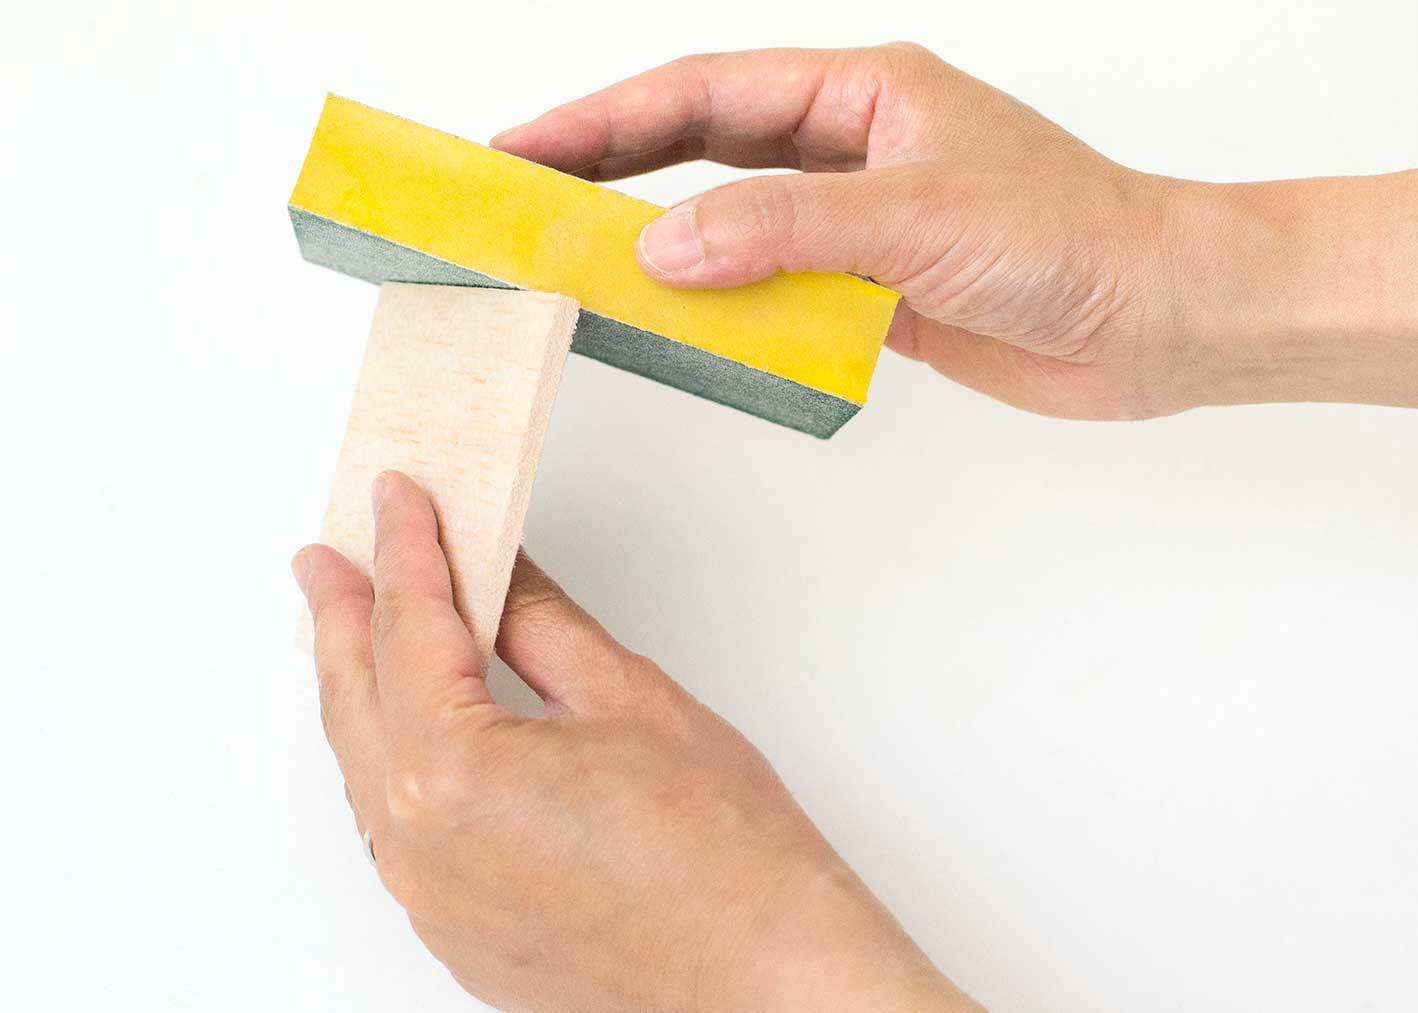
Step
Stick one of the wider rectangles to your square base with wood glue. Position it so that it sits along the edge of the square base.
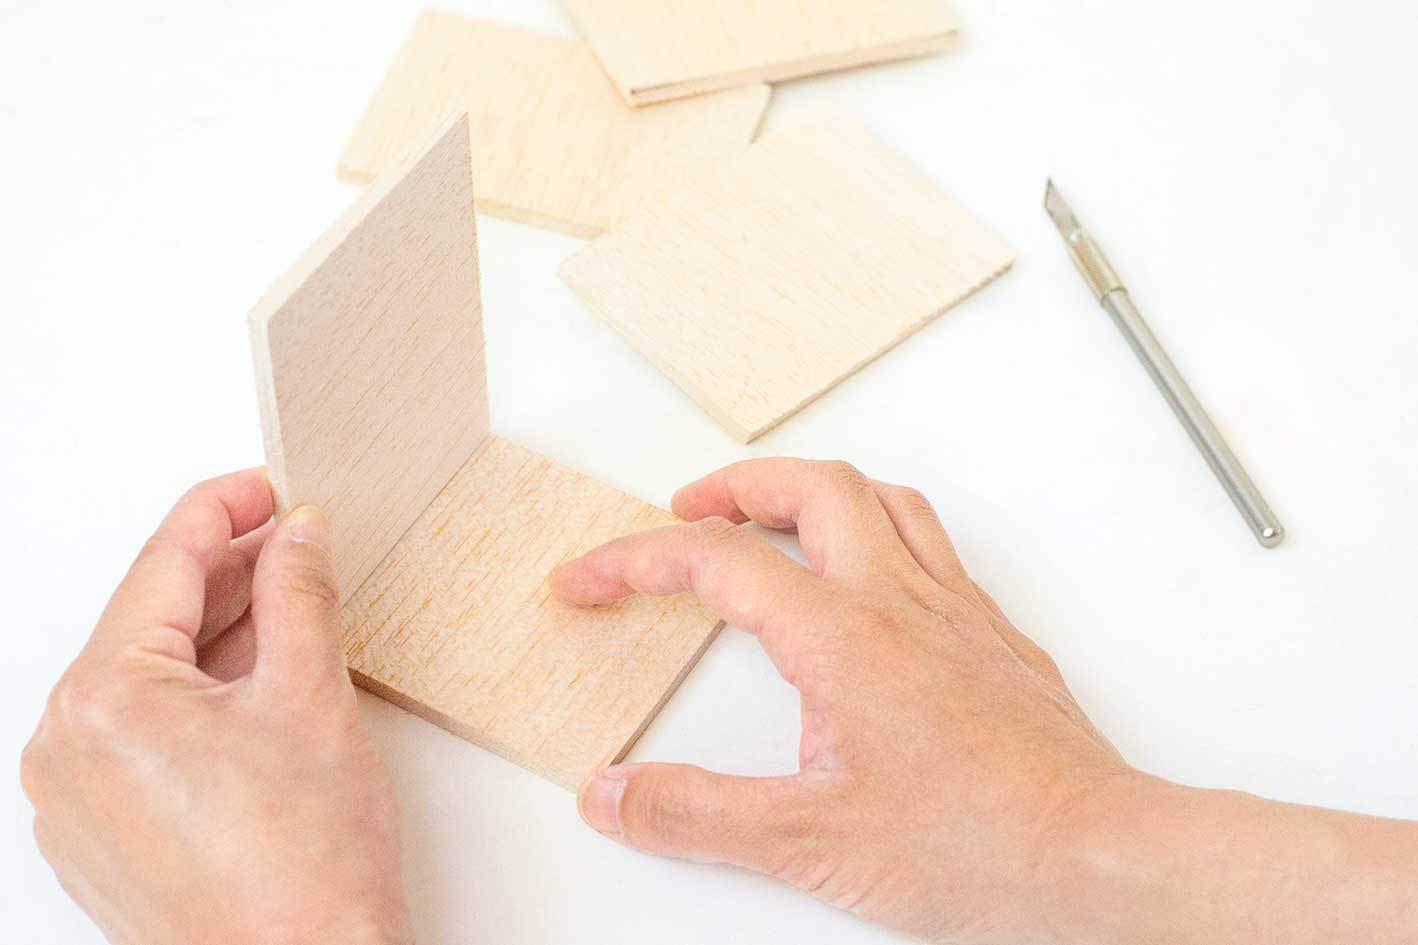
Step
Add some glue to one of your narrower rectangular pieces and stick it to the wider rectangle and square base so that all three bits of wood form a corner.
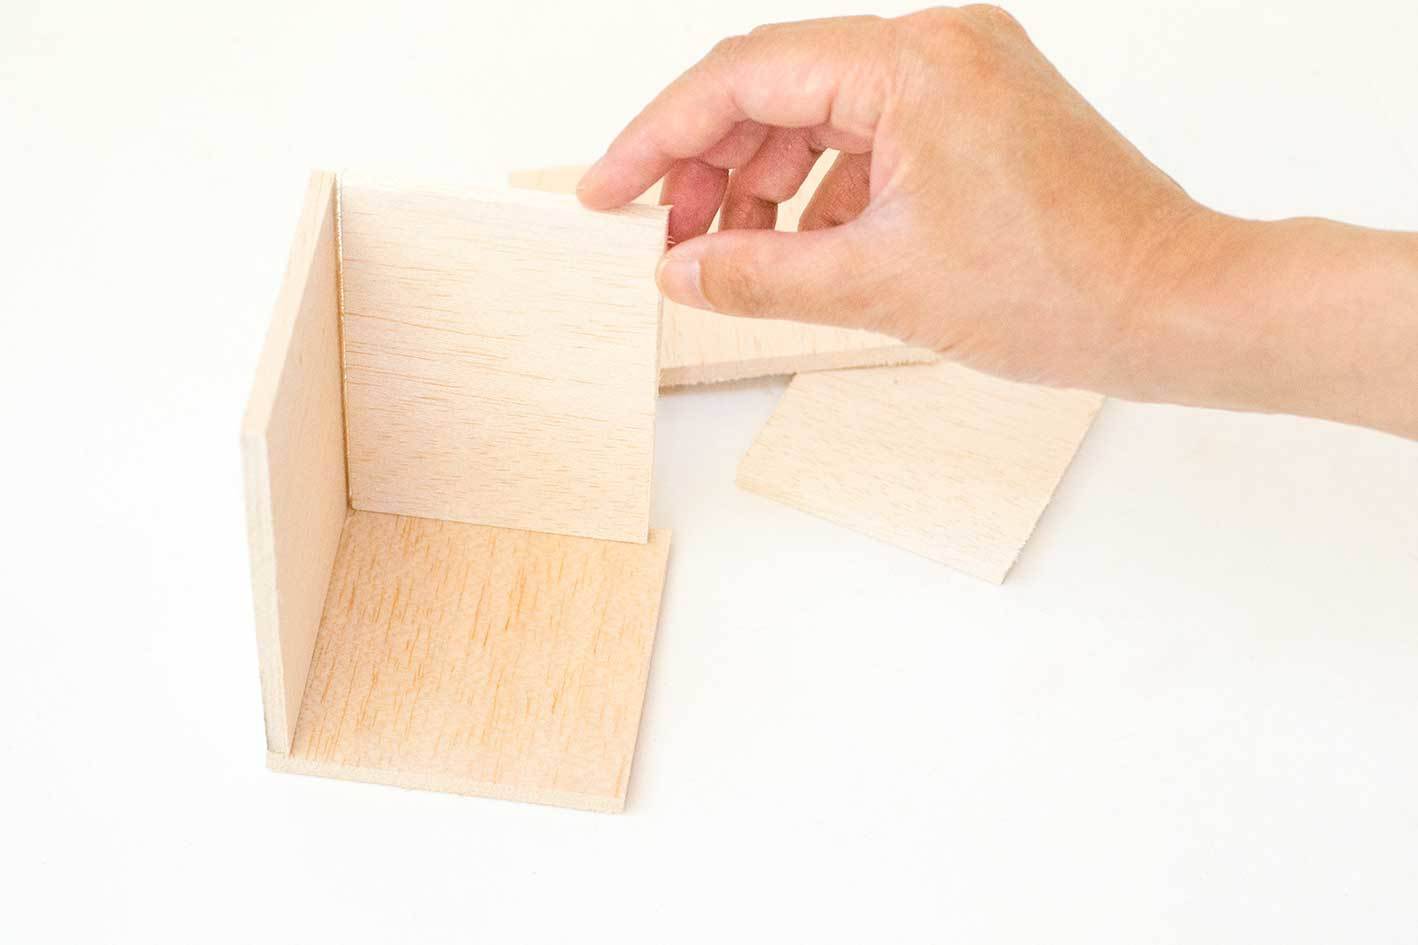
Then stick your second narrower rectangular piece to the opposite side as shown below.
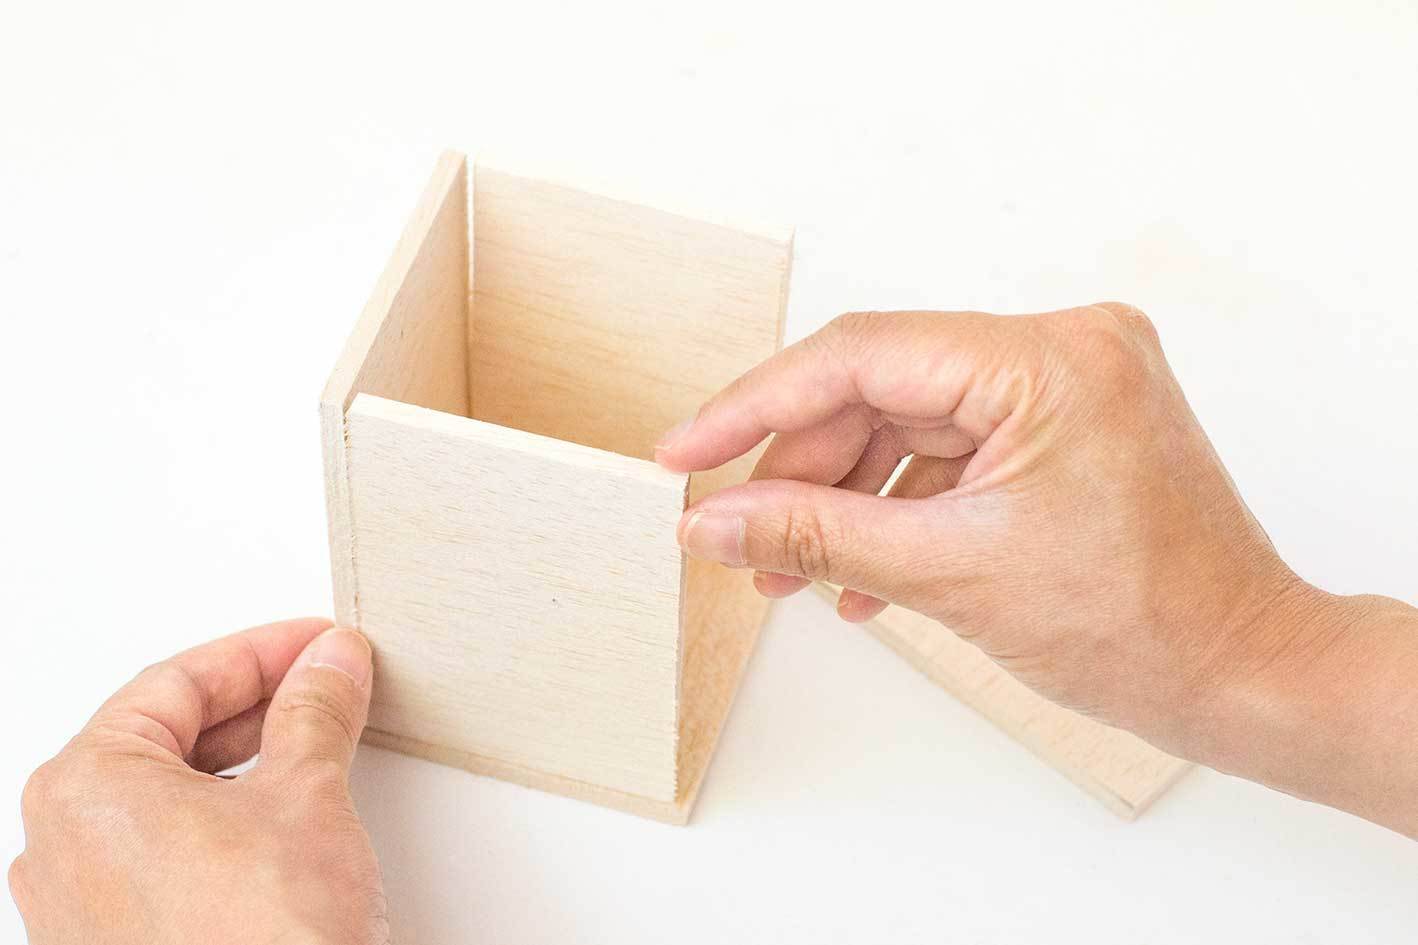
Finally, glue the last (wider) rectangle in place to form an open-top box.
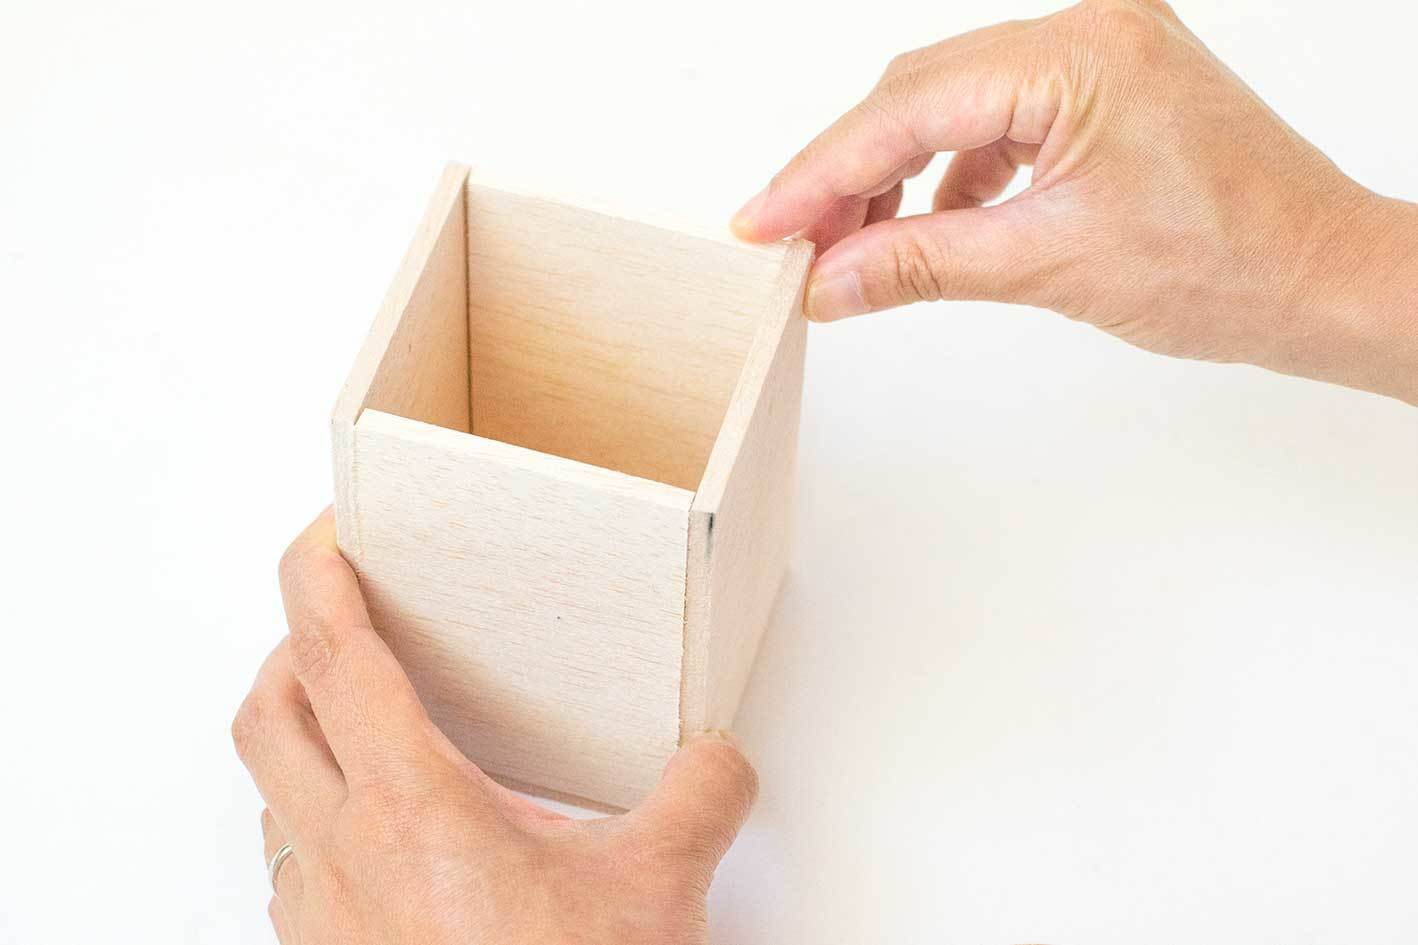
Step
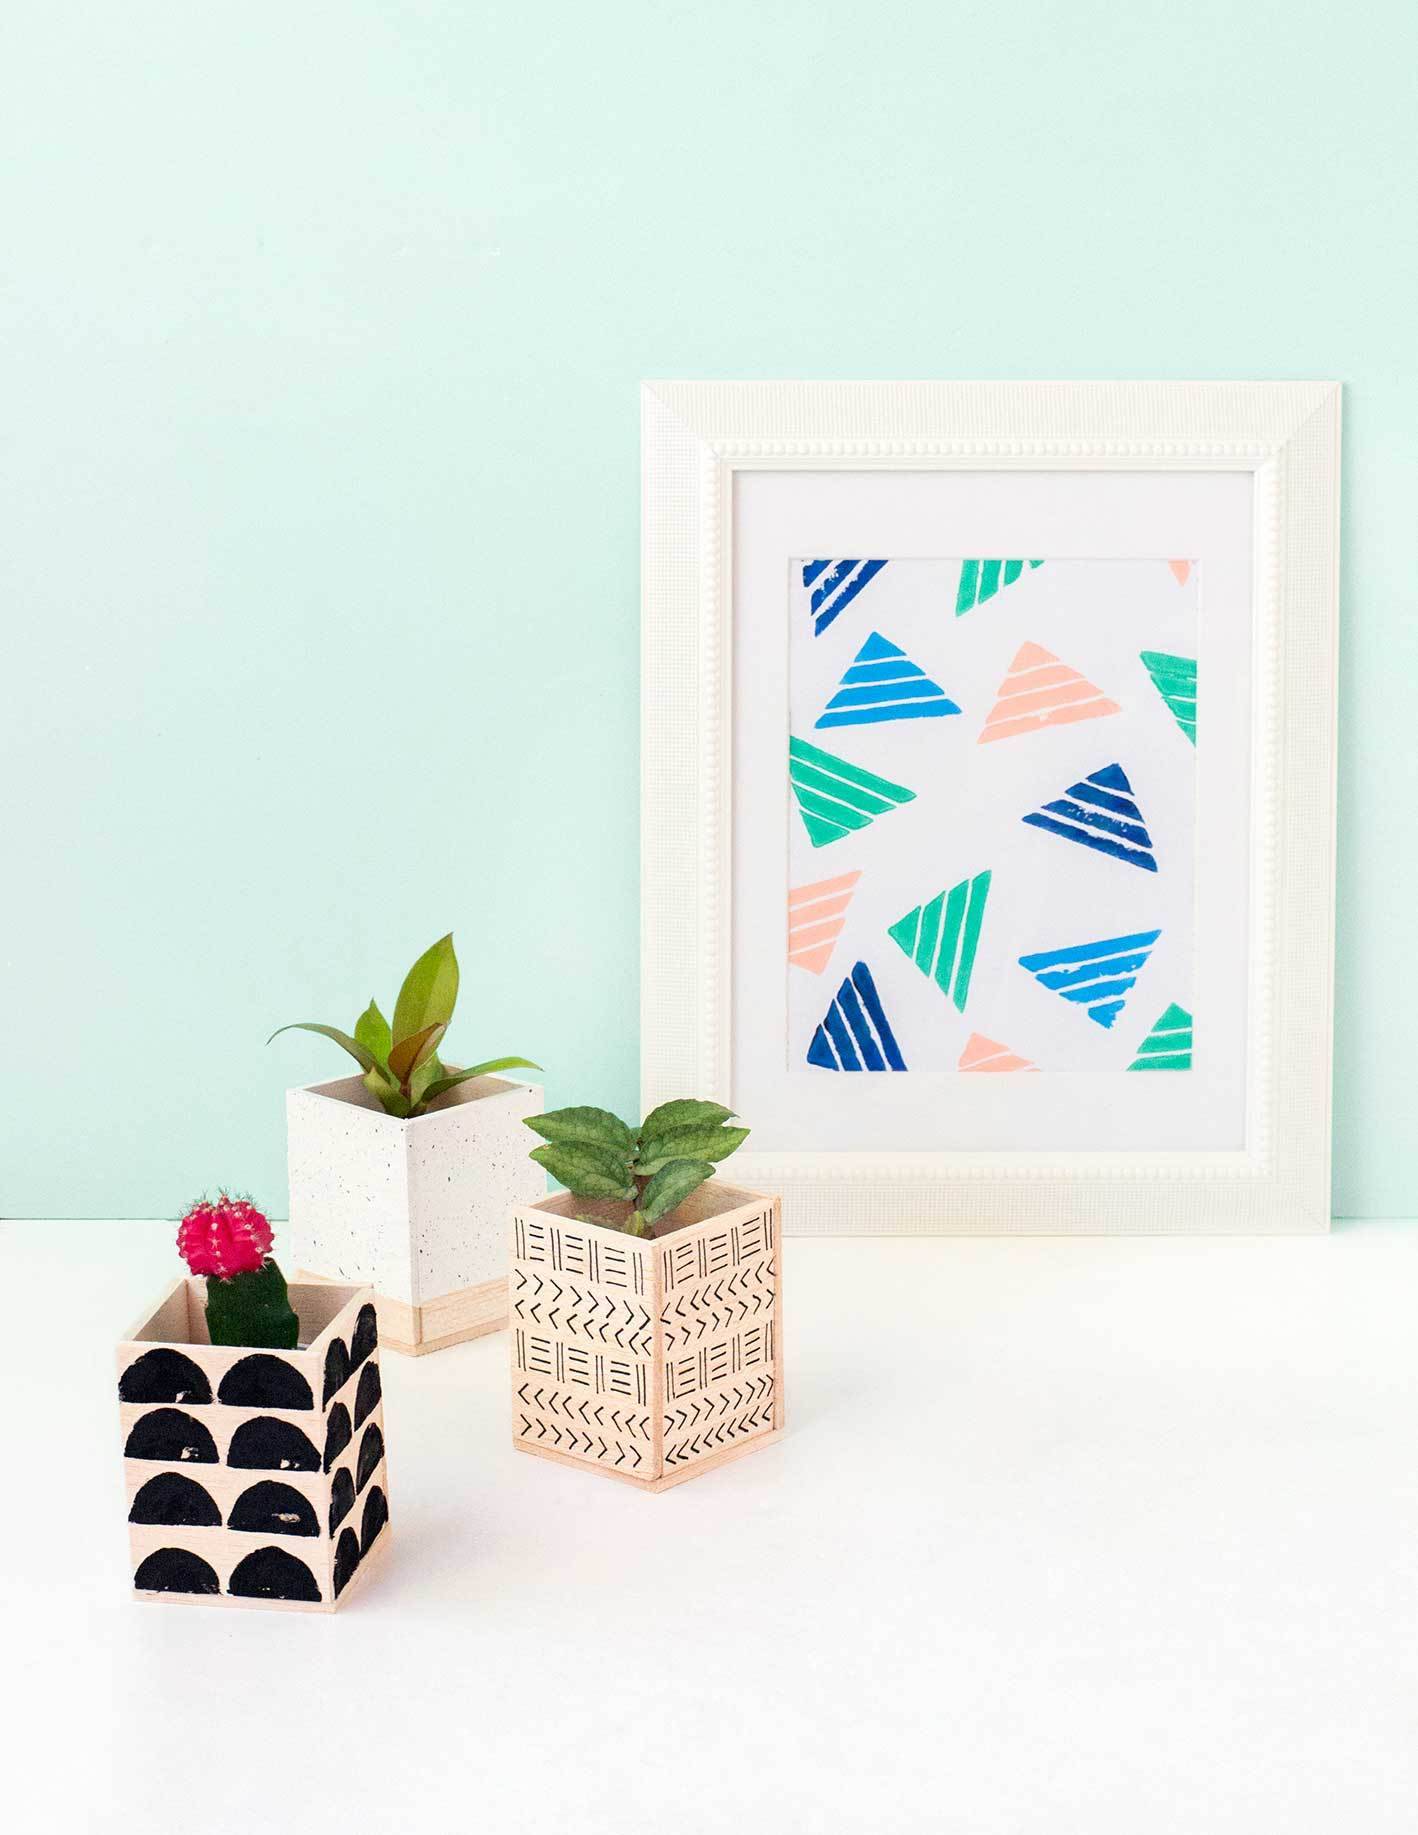
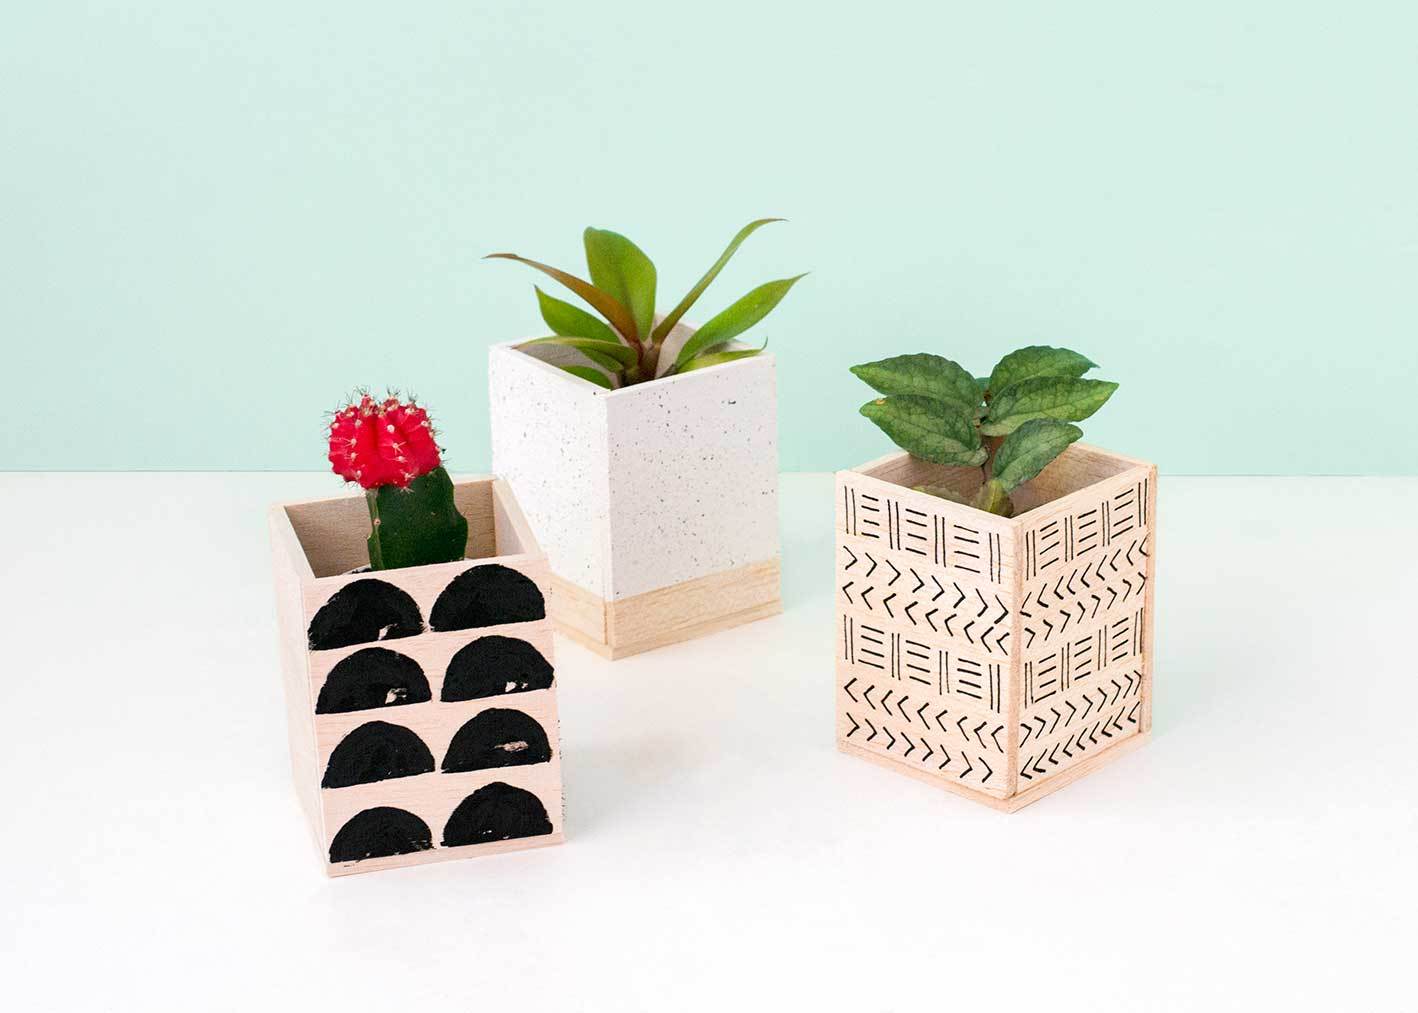
It’s time to decorate! Here are 3 ways to get creative with the look of your box planters:
Colour blocked and paint flecked:
Place a strip of painter’s tape around the base of your plant pot. Then paint the bare area with white acrylic paint.
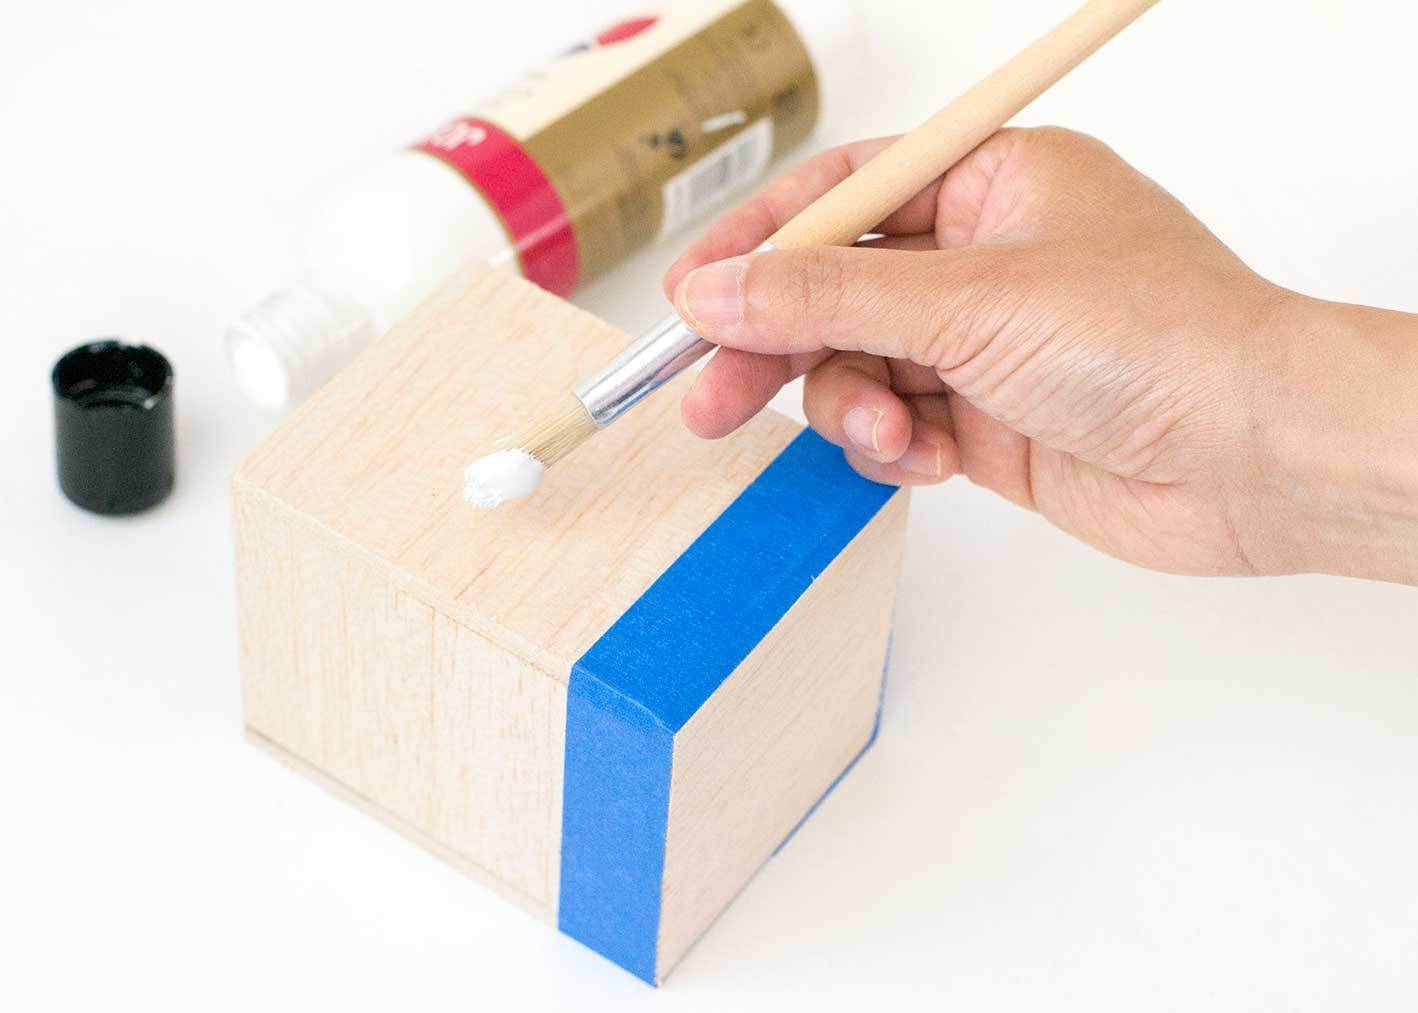
Once the paint has dried, coat the tip of a clean paintbrush with black paint and use your forefinger to speckle it across the white area.
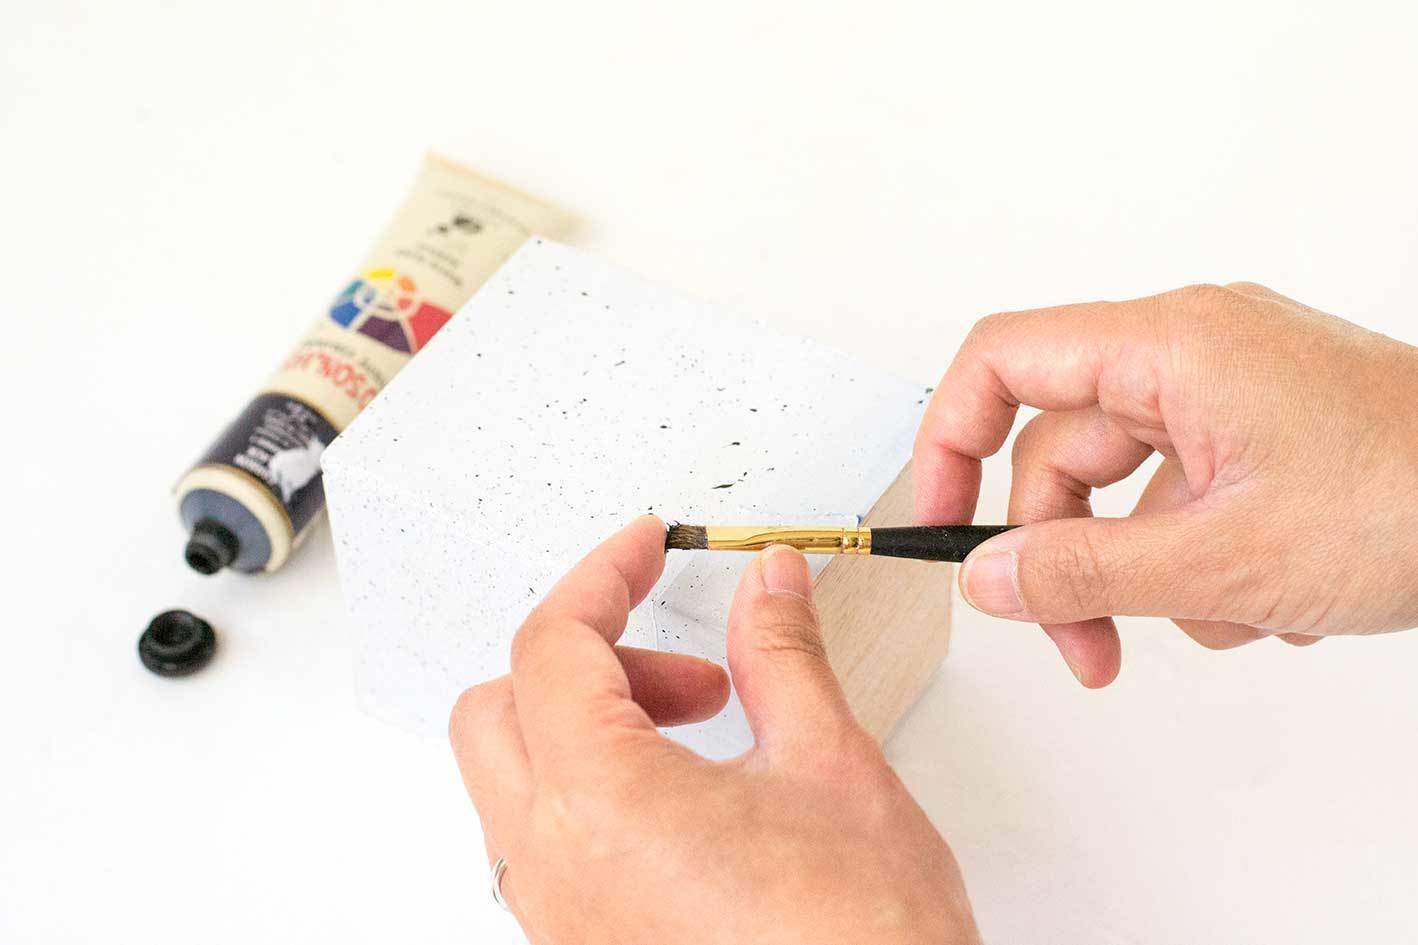
Then remove the painter’s tape.
Mudcloth
Begin by choosing 2 line patterns that you can easily draw freehand (I used lines and arrows). Place a strip of painter’s tape just below the top of your plant pot. Using the tape as a guide, start drawing in your first pattern with a black paint pen.

Once you’ve drawn all the way around your planter, reposition the painter’s tape to leave another gap and fill the space in with your second pattern.
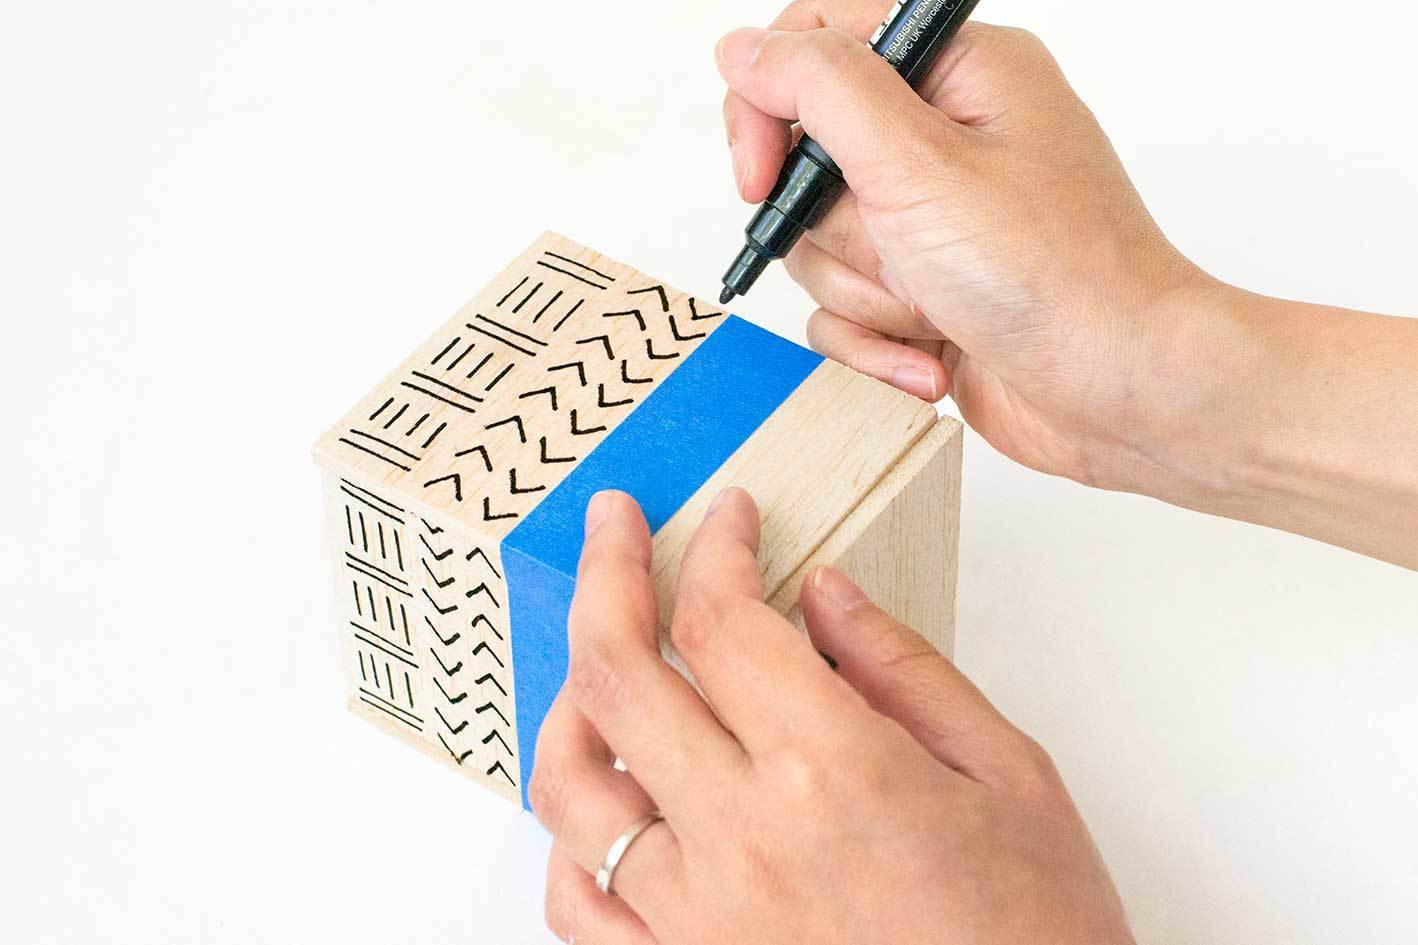
Make your way down the planter, repeating the two patterns until the entire surface is covered.
Scalloped
Cut a small potato into quarters so that you have a semi circle surface.
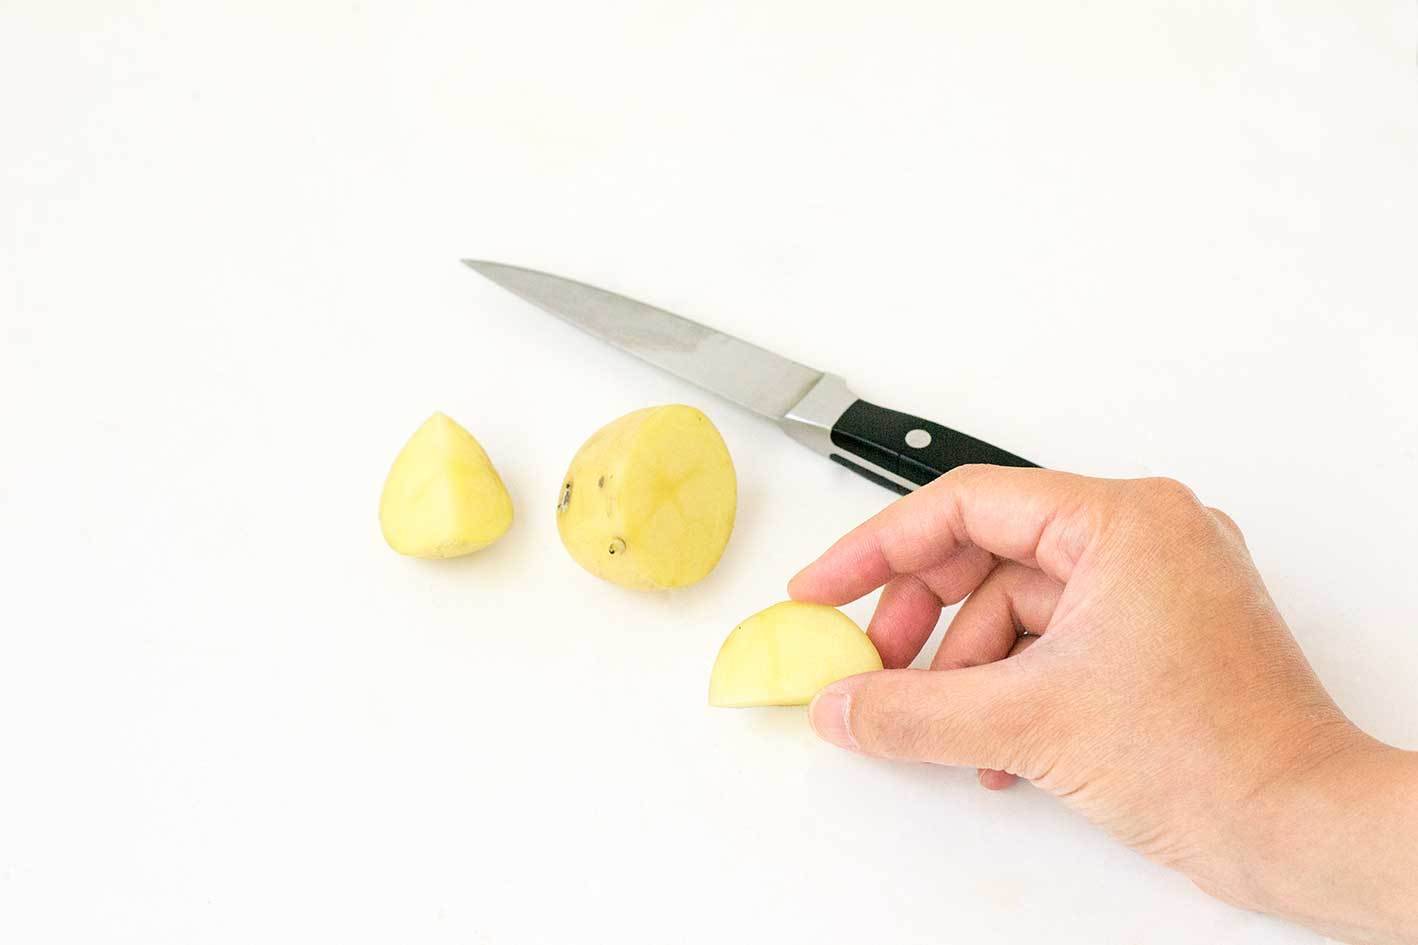
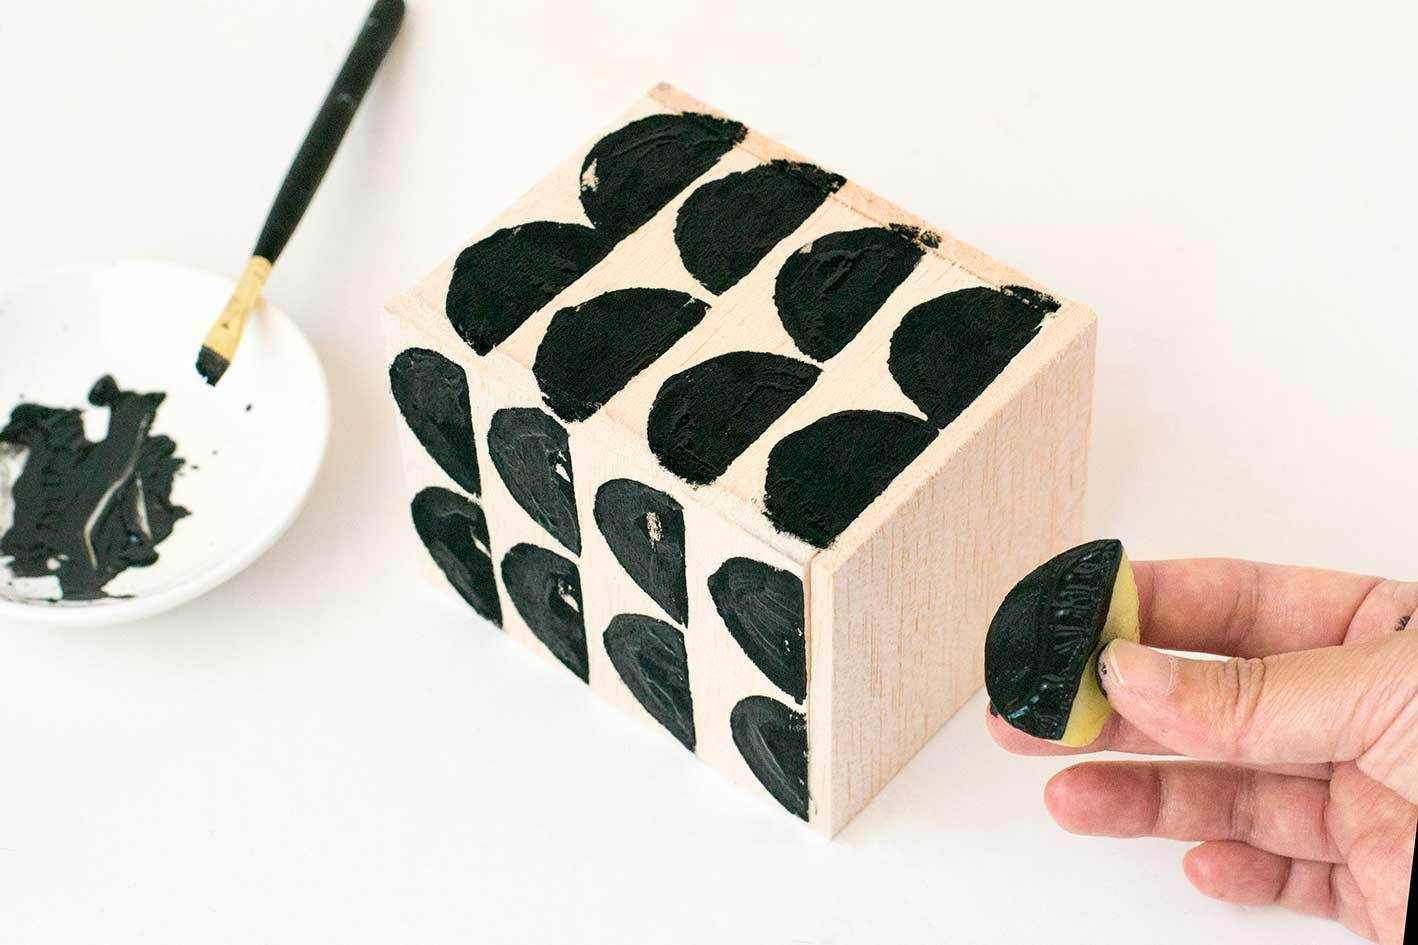
Dip the potato in black paint and begin stamping around the planter, starting from the bottom and working your way up.
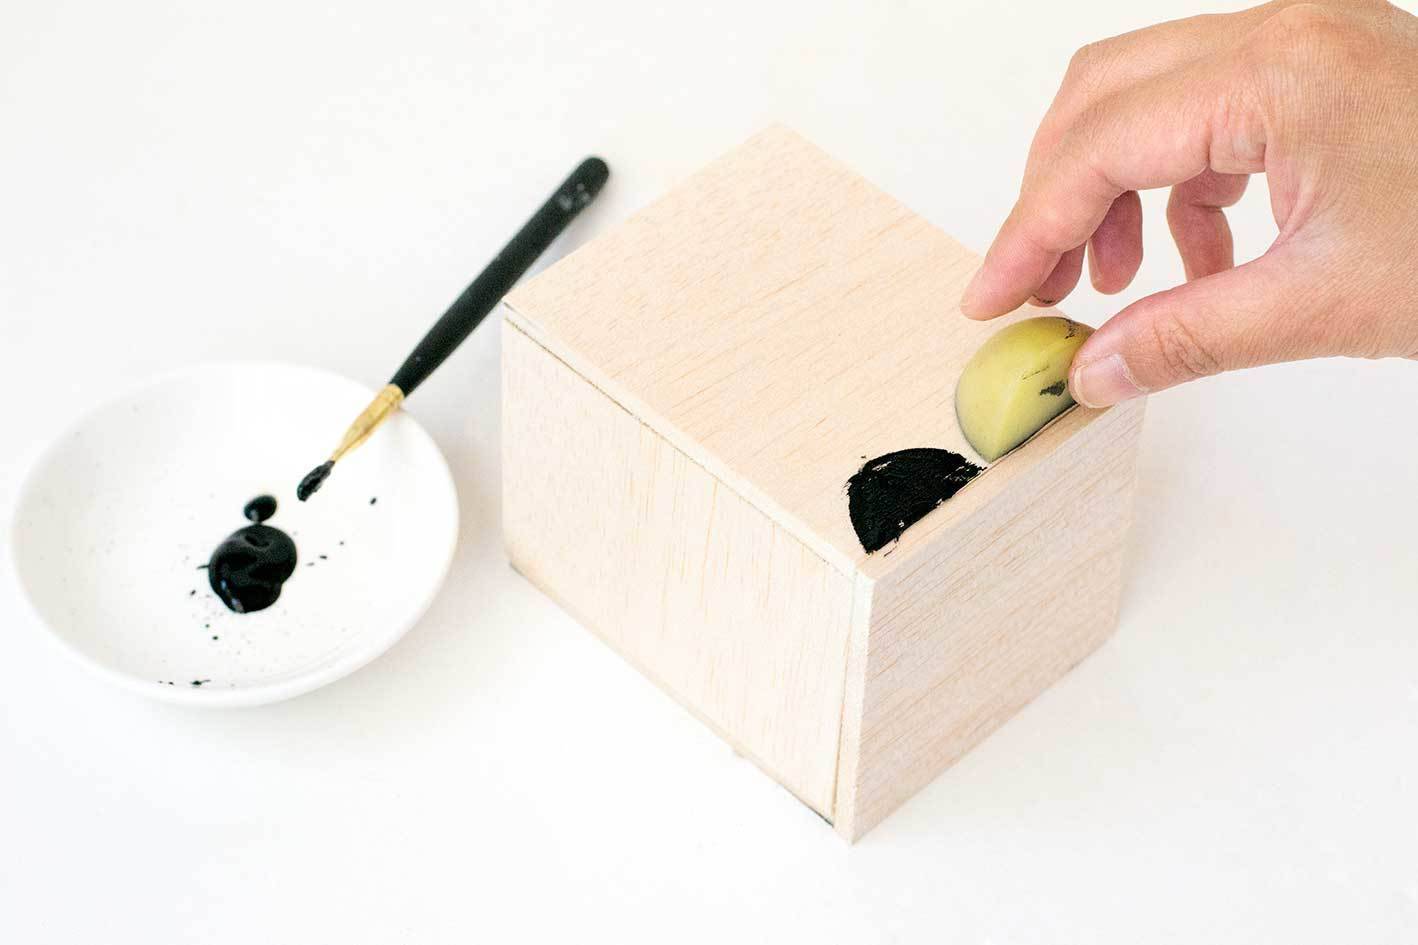
The key to this look is to keep it rough. So don’t worry too much if your scallops aren’t straight or properly filled in – the more imperfect, the better!
Step
Once your planters are decorated, pop your plants (with their plastic pots) inside.
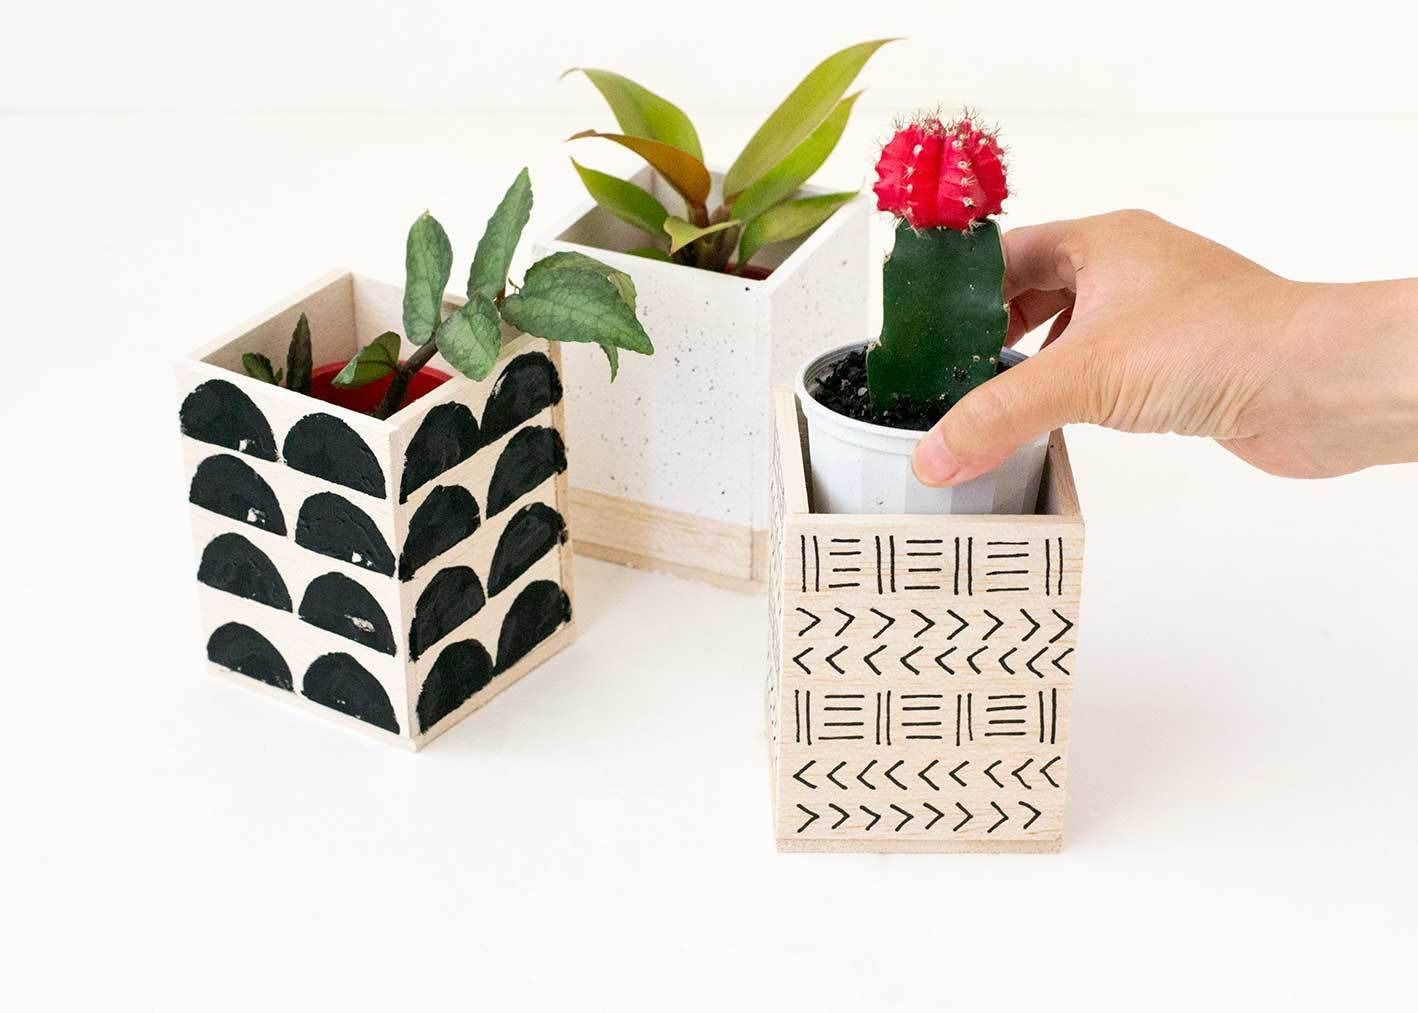
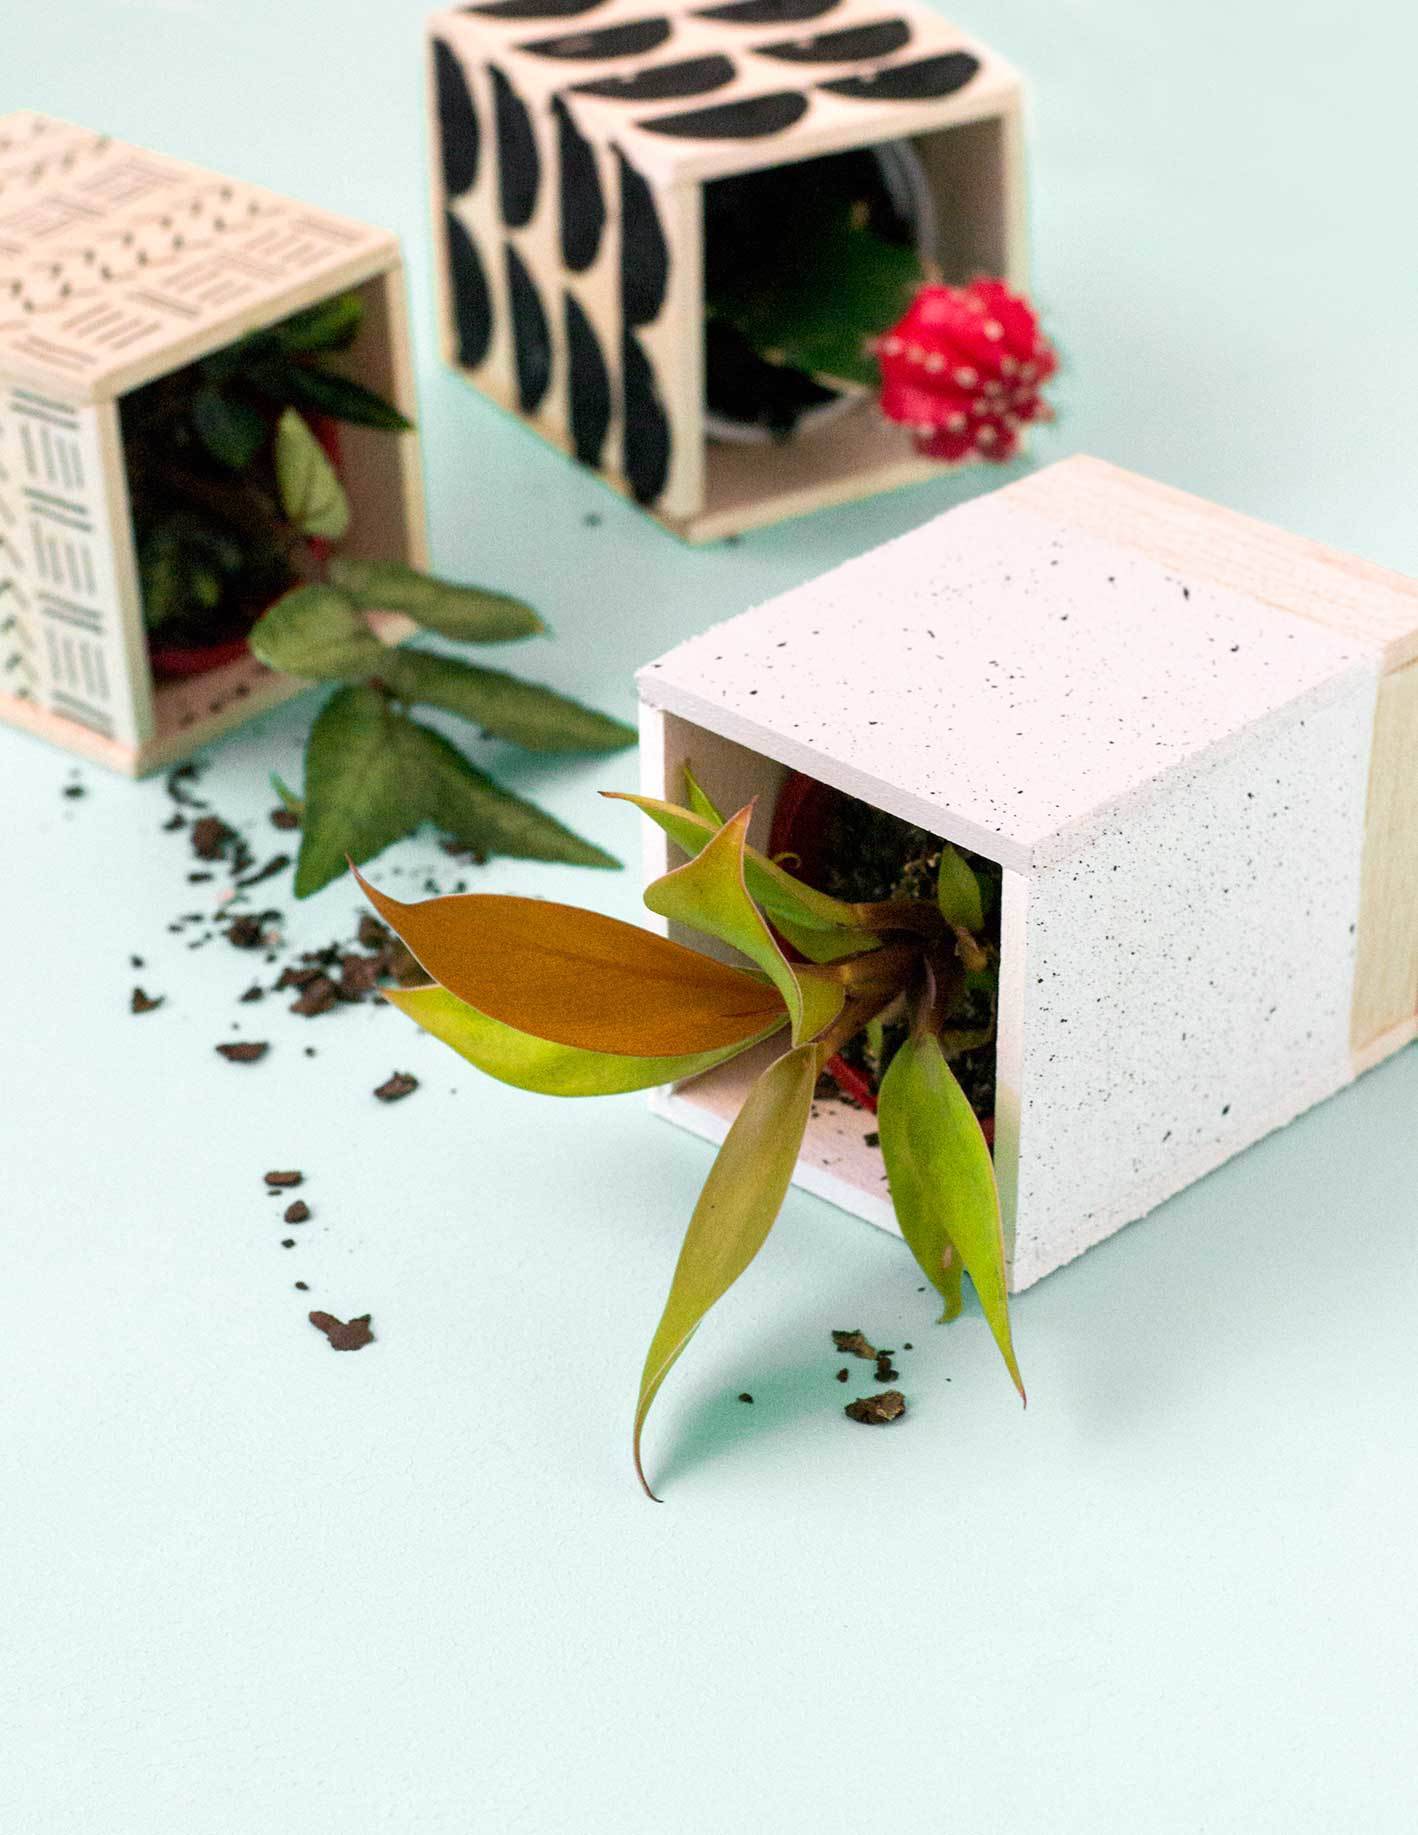
The sky’s the limit with these little boxes. Once you’ve made one, it’s easy to make many, and they’re like a blank canvas that you can decorate any way you like.
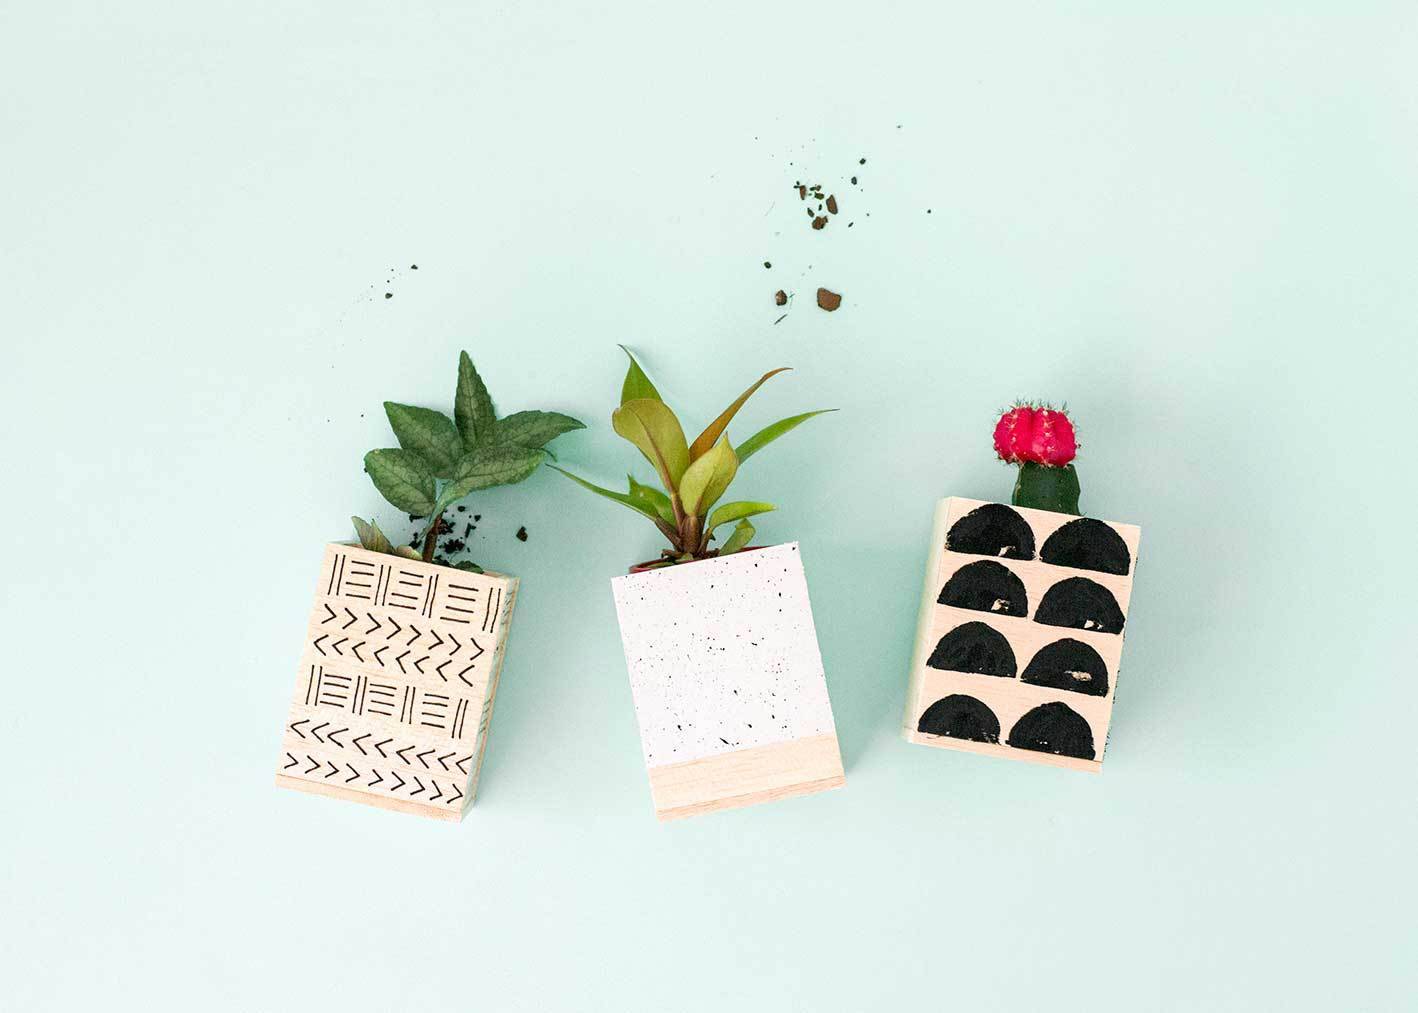
Style them to suit your interior decor or get the kids involved – they can have a craft session where they decorate a box to house a seedling of their own!
Awesome job, Stephanie. These are so adorable!
Thanks Chris! They were so much fun to craft – I can see myself making a whole lot more in the future! 🙂
I just did this as a weekend project and they turned out so lovely. really adds character to our house plants!
That’s wonderful to hear Alex, I’m so glad you got a chance to try it out!