I’ve been crafting for a fairly long time (I won’t say how long because I don’t want to date myself). In all my years of making stuff I can’t believe it took me this long to discover the embroidery tool I’m using to create this easy wall art. I first stumbled across this technique on social media. Someone had posted a “Work in Progress” video, and they were causally punching away at some fabric, creating embroidered lines at breakneck speed. After some internet searching, I was able to locate what is currently my favorite tool: Everyone, meet the punch needle.
If you can use a pencil, you can use a punch needle. It’s insanely fast, and ideal for creating embroidered chain stitches. If you love the simple, handmade look of embroidery and want to create some fast and easy wall art, the punch needle is totally the tool for you. I used my needle to create these two embroidered pieces in under an hour!
Watch how these easy wall art pieces were made (plus how to thread a punch needle), or read ahead for the full tutorial.
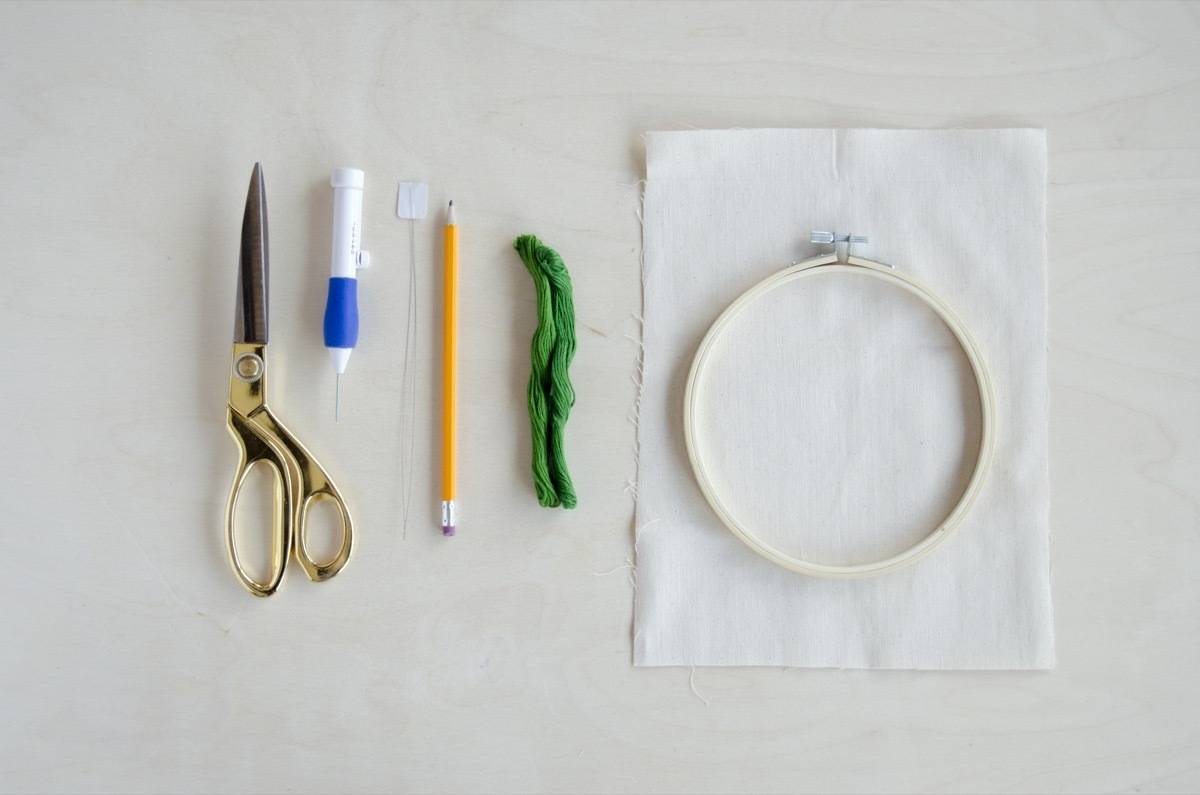
Materials
- Punch needle with threader
- Embroidery hoop
- Embroidery floss
- Non-stretch cotton fabric
- Pencil
- Scissors
- Hot glue and glue gun (not pictured)
Step
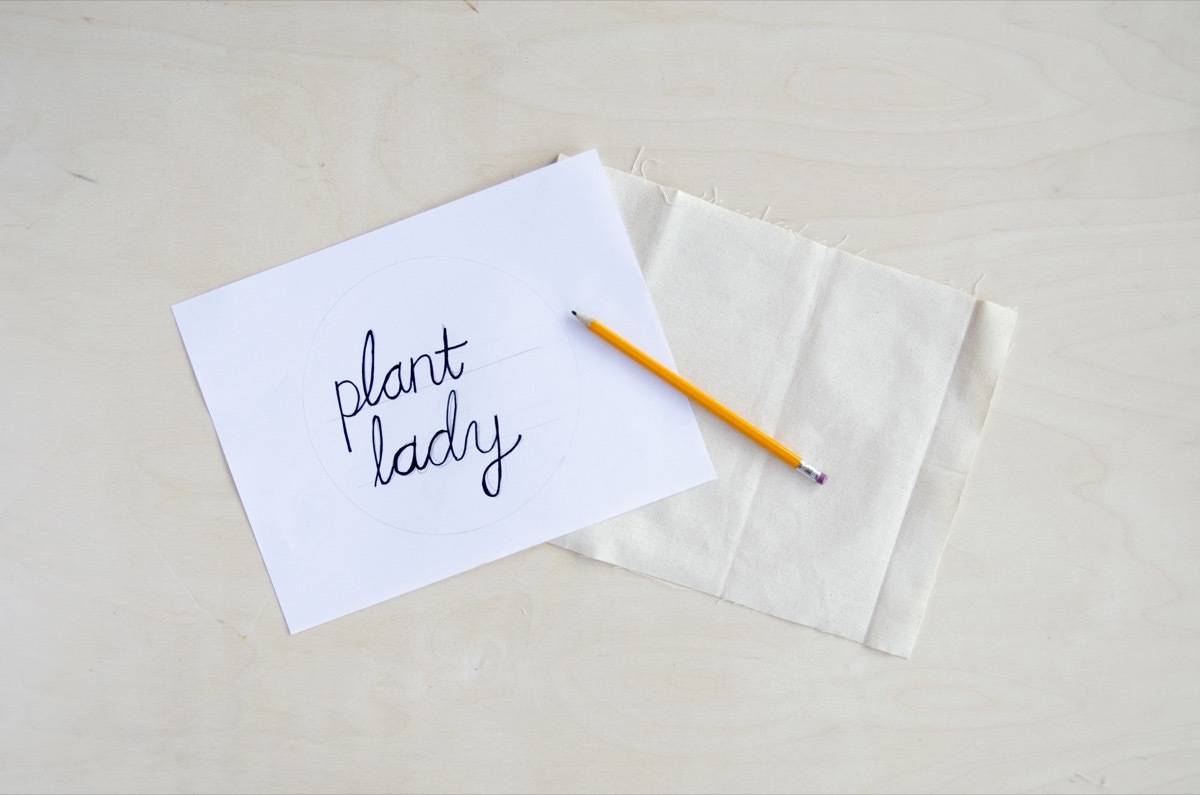
To start, you need a plan! You can either hand-write with a pencil onto the fabric directly, or use a sketch or printed design. I drew out my lettering on a piece of paper before I started, using a black marker to make it stand out.
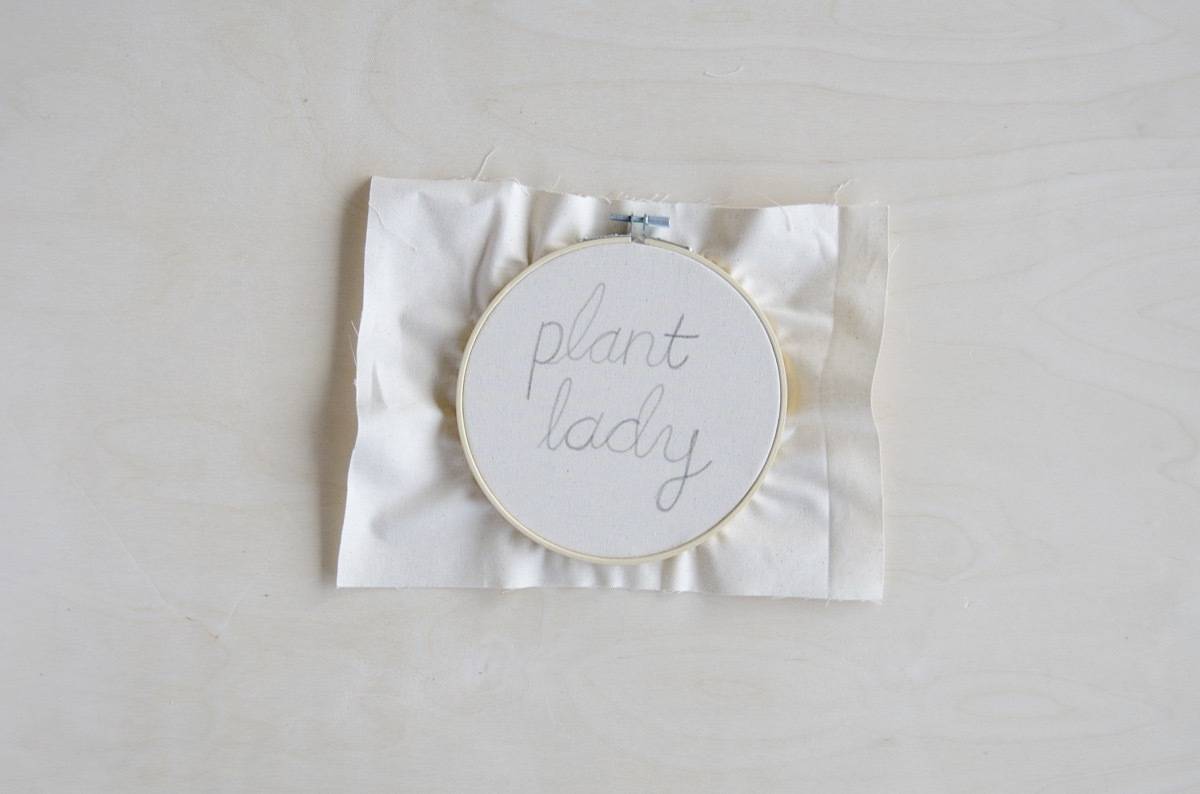
To transfer the image onto your fabric, lay the fabric on top of the design, then hold both the fabric and the design up to a well-lit window. Trace the design onto the fabric with a pencil.
Take the embroidery hoop apart, and center the fabric on the smaller hoop. Tighten the larger hoop over the fabric.
Step
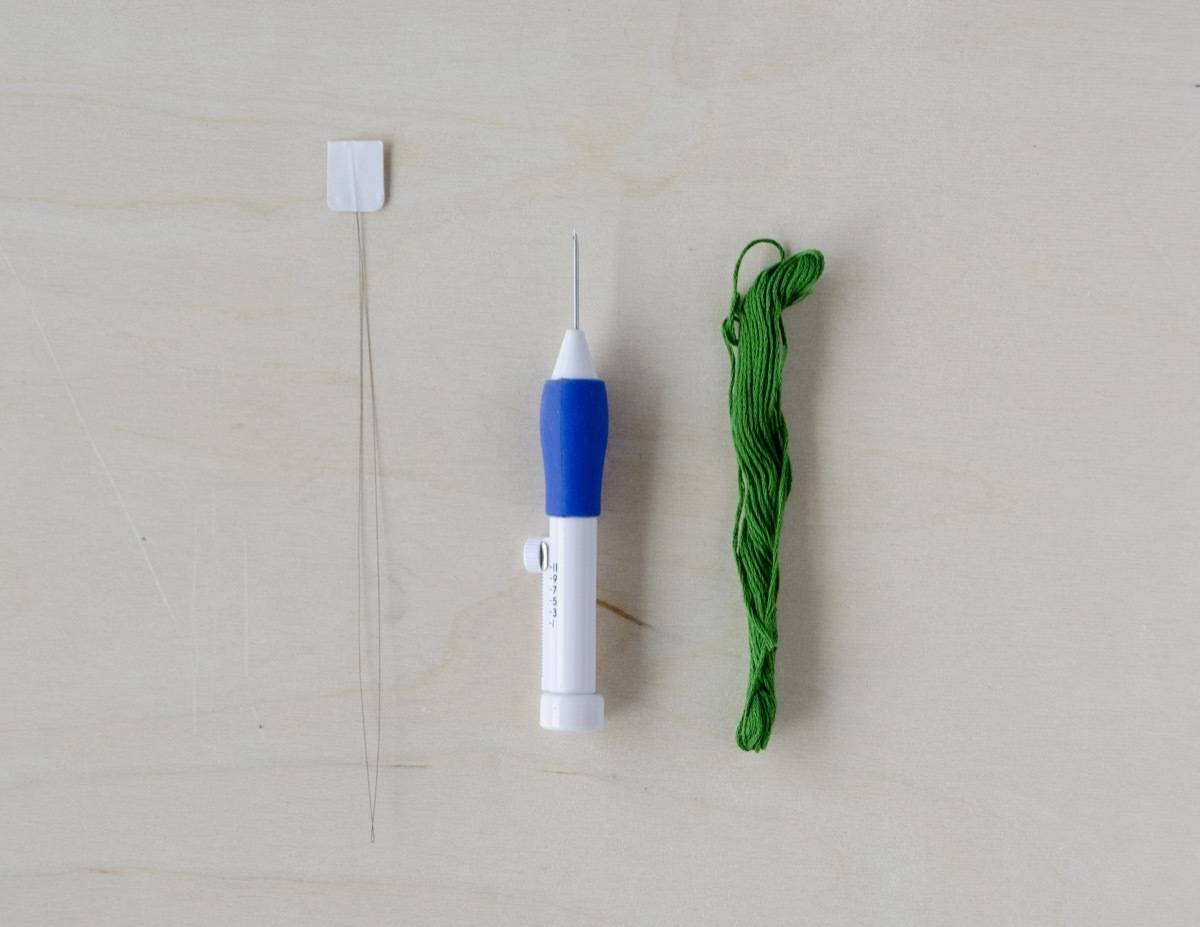
Now to prepare the punch needle. Most embroidering is done by using three of the six strands comprising embroidery floss, as it appears less bulky. Since this project is made solely of chain stitches, I used all six threads.
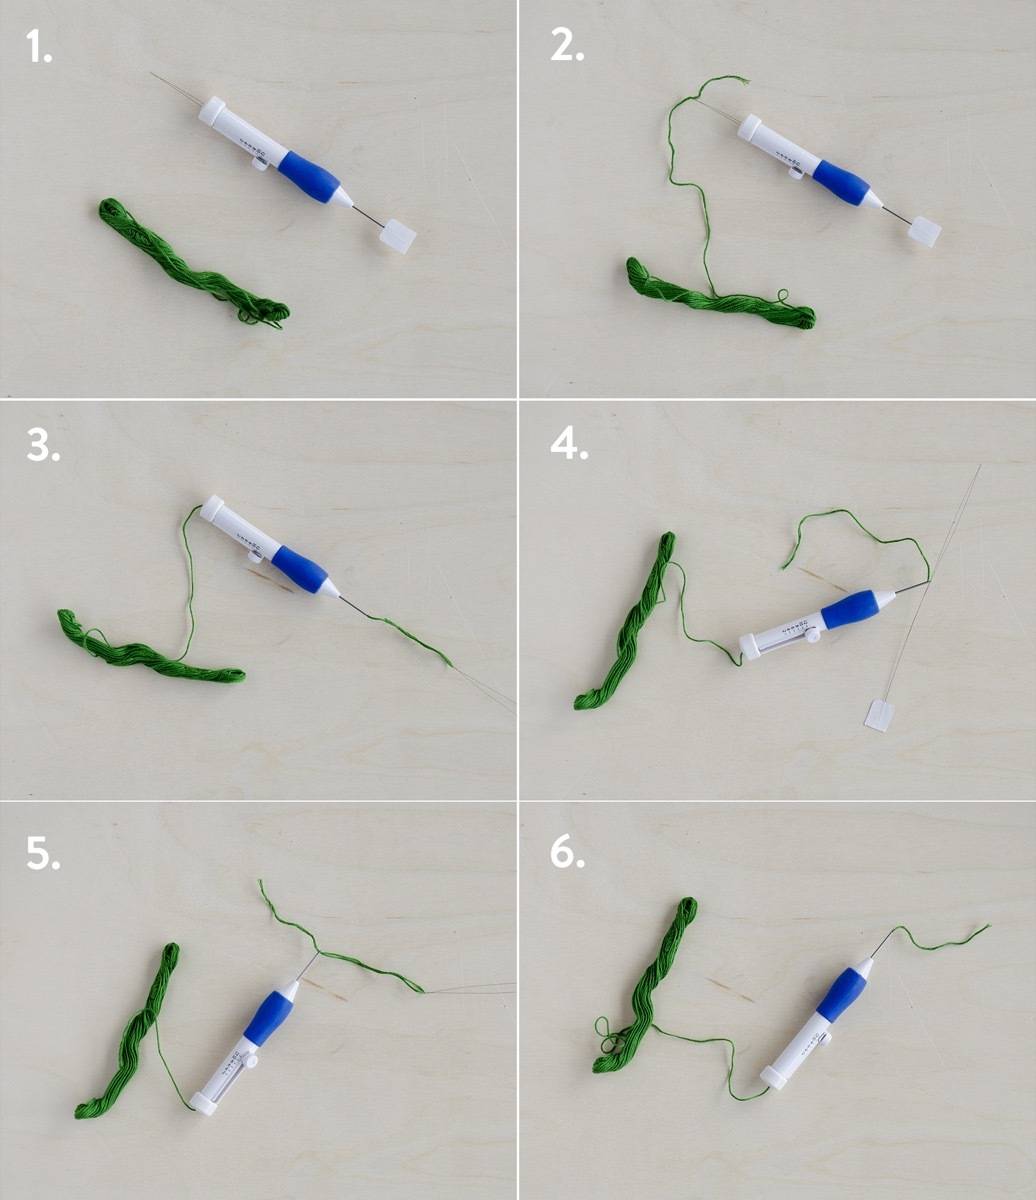
Here’s how to thread a punch needle:
- Insert the threader through the needle-end of the punch needle
- Thread the embroidery floss through the loop of the threader
- Pull the threader through the needle
- Insert the threader through the eye of the needle, going in through the back (or longer side)
- Thread the end of the embroidery floss through the loop of the threader
- Pull the threader through the eye of the needle
Step
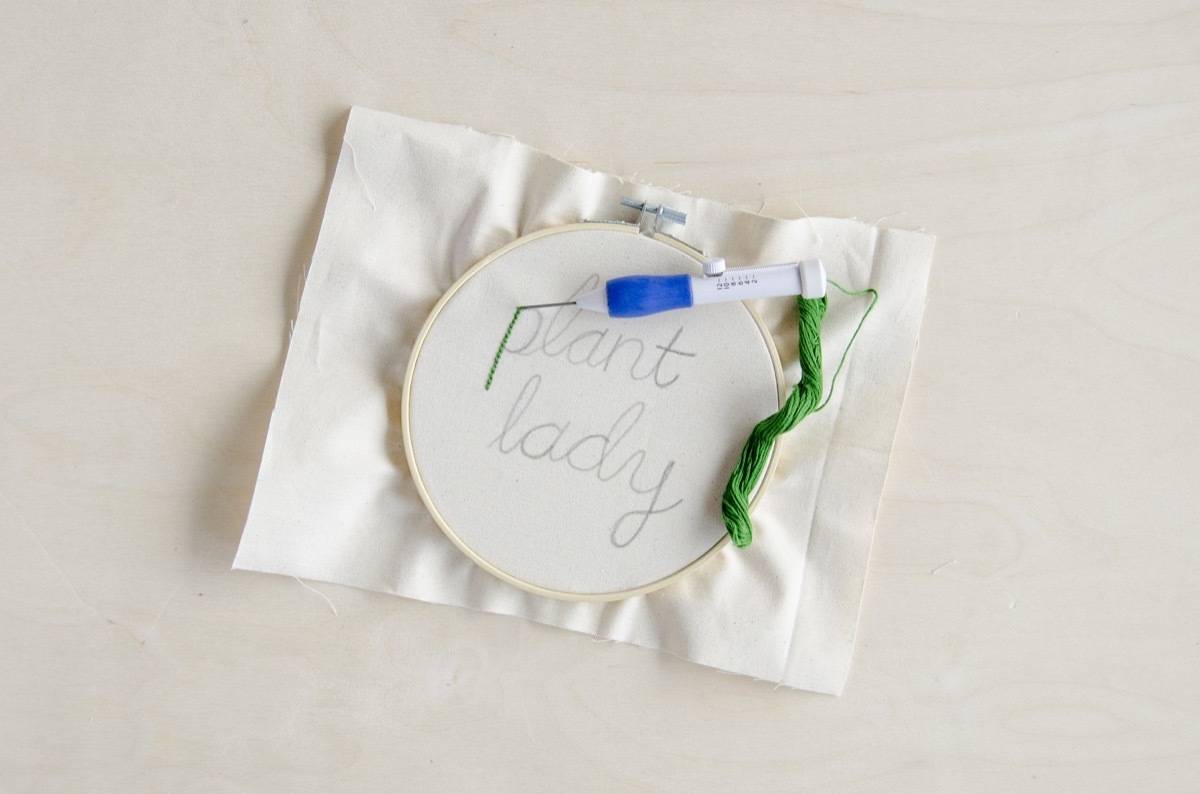
To start embroidering, punch the needle through a starting point (like the beginning of the “P” in this design). With the needle through to the back of the fabric, pull the loose end of the embroidery floss through so it pokes out the back. Now we can get to punching!
When using a punch needle, the “short” end (or front) of the needle should always be pointing in the direction you’re going. Punch into the fabric far enough for the base of the needle to touch the fabric. Bring the needle back up through the fabric, move down, and punch again.
When bringing the needle to the next punch point, don’t pull too far up. Try and keep the tip of the needle touching the fabric. If you pull it up too far, your stitches will be uneven. Punch away!
Step
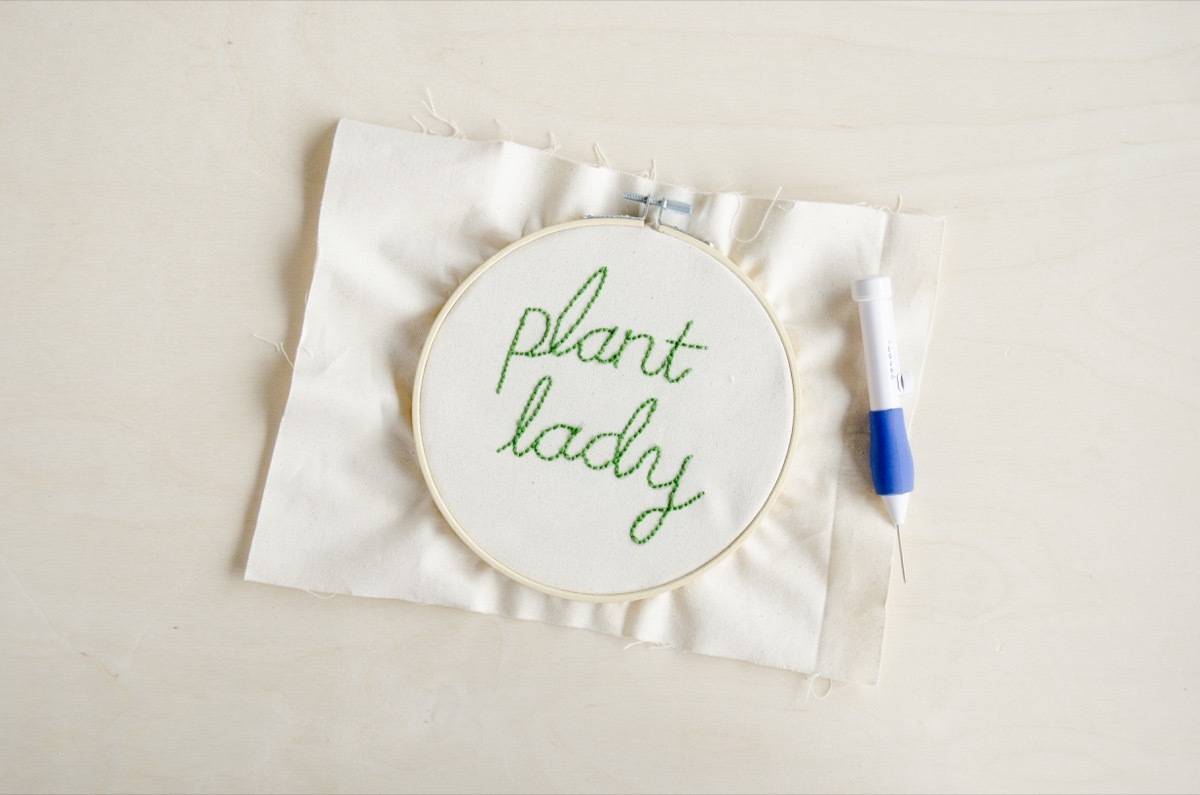
On the final stitch, punch as usual, but don’t pull up until you have cut the embroidery floss loose at the eye of the needle.
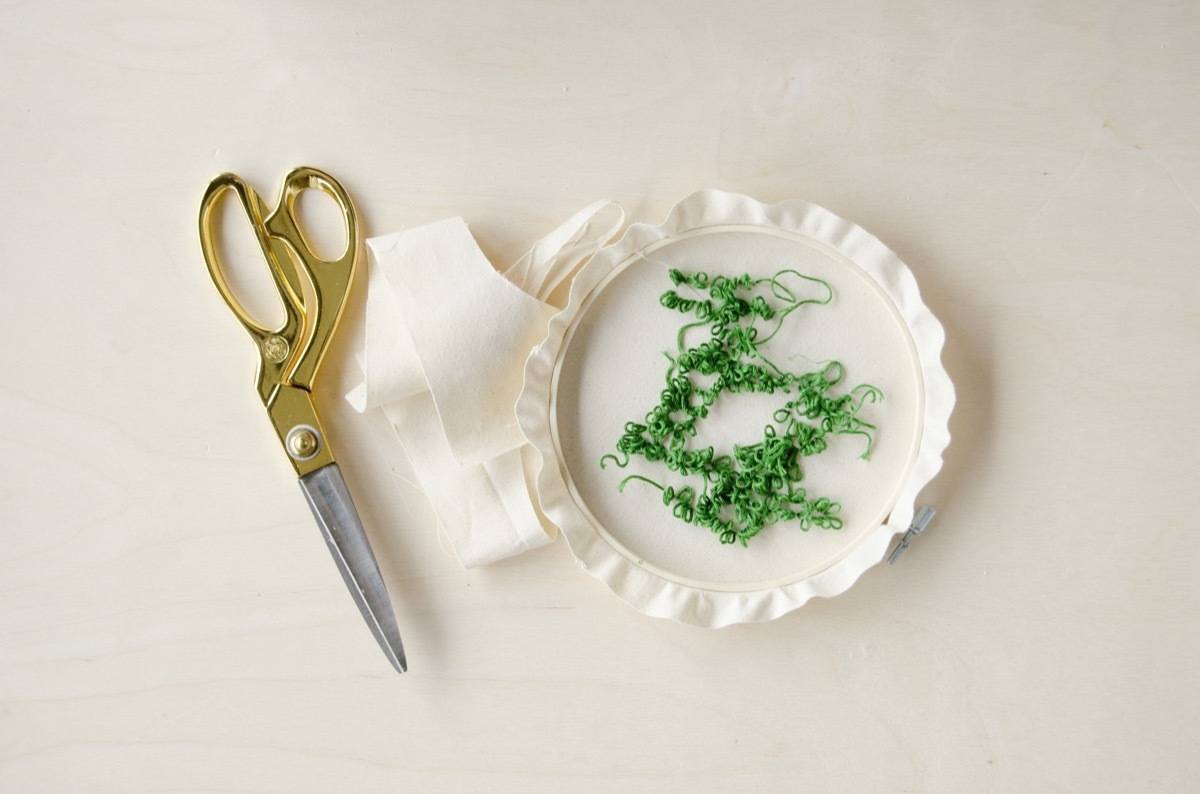
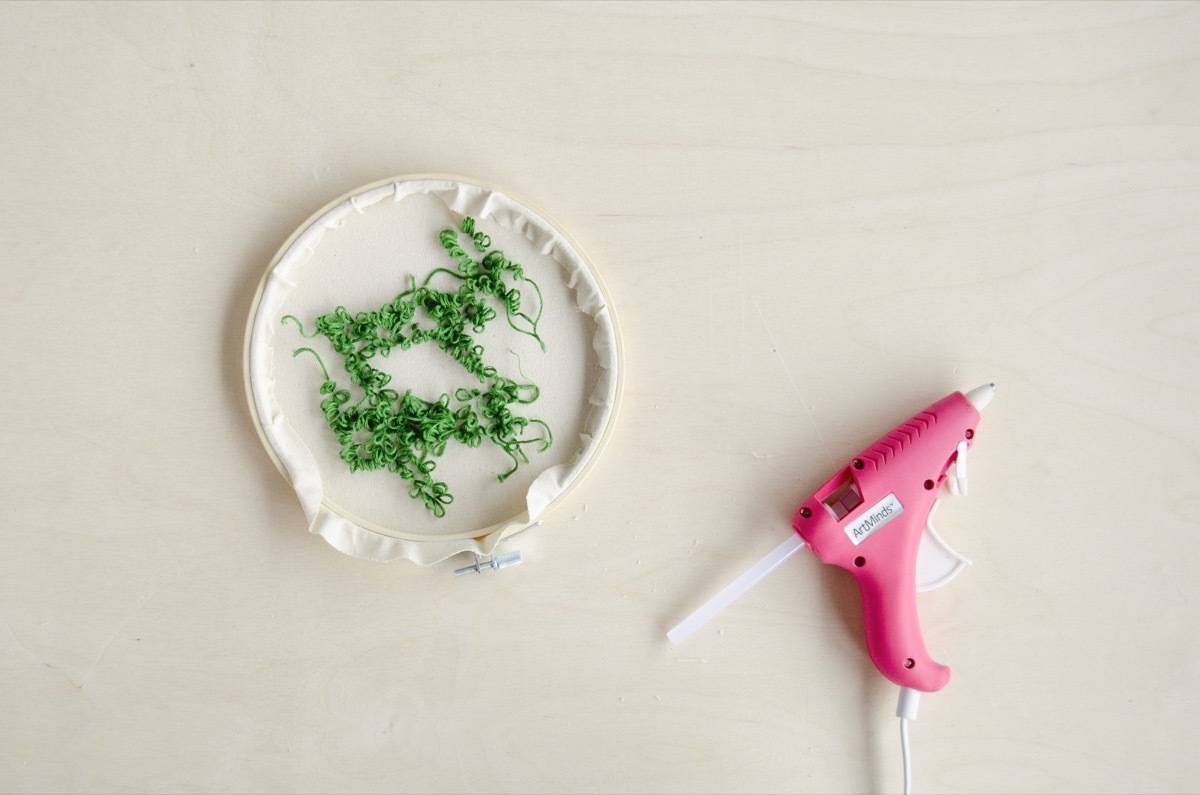
To frame the embroidered wall art, begin by double-checking the fabric’s tension across the hoop. Next, cut away excess fabric around the back of the hoop, leaving about 1/2 inch all around. Apply hot glue to the inner hoop, and press the loose fabric edge in place.
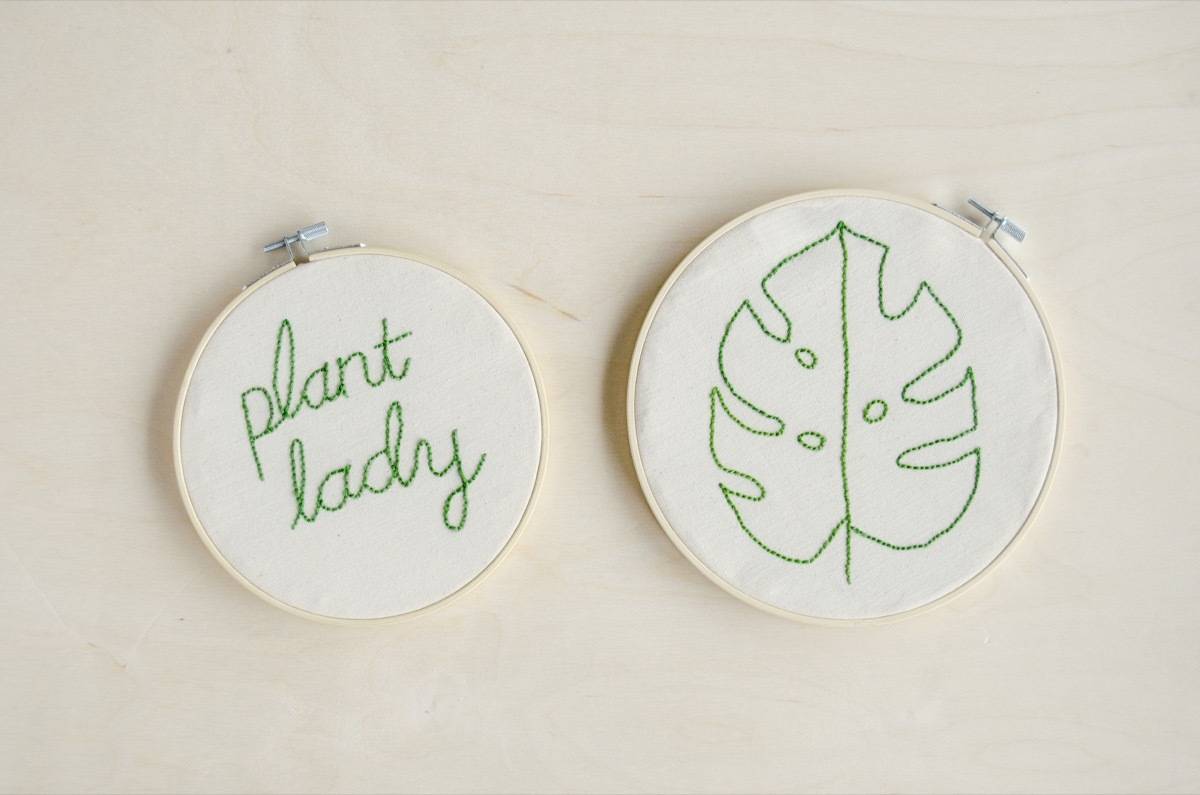 If you’re concerned about the loops of embroidery floss coming loose, you can apply a thin layer of white glue to the back of the easy wall art to keep the loops in place.
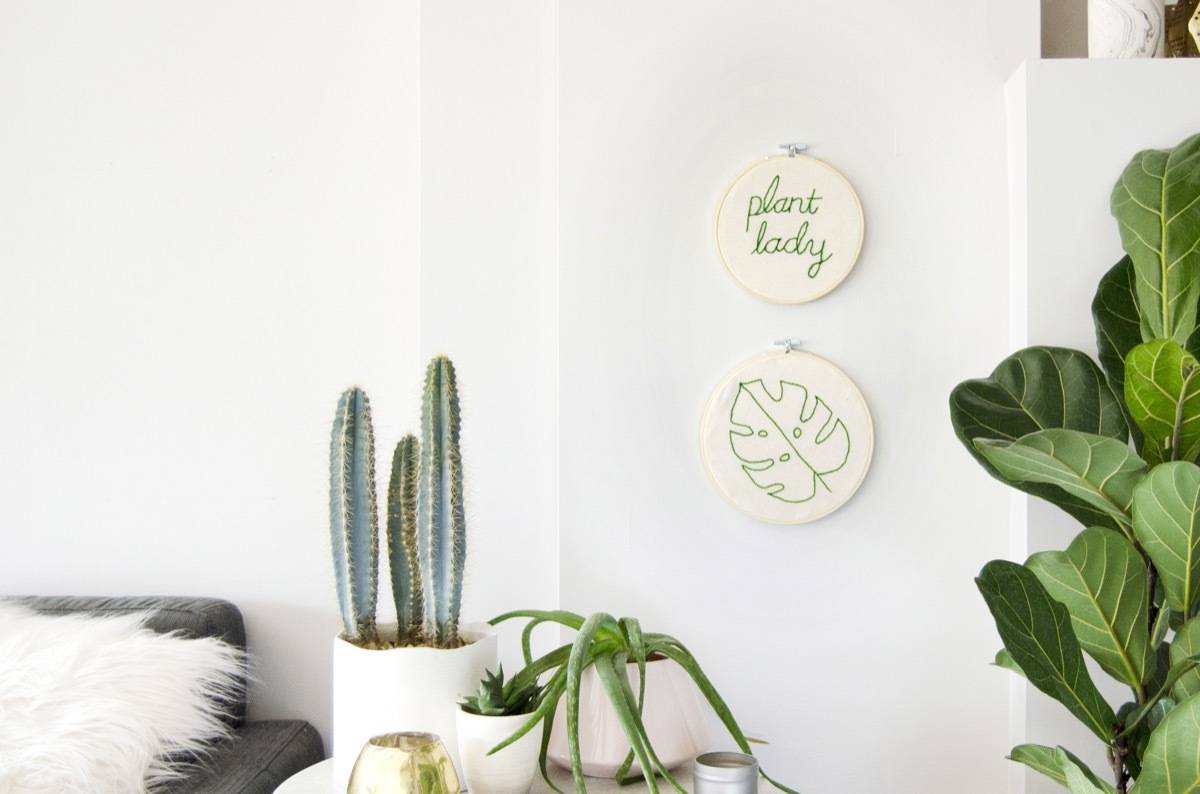
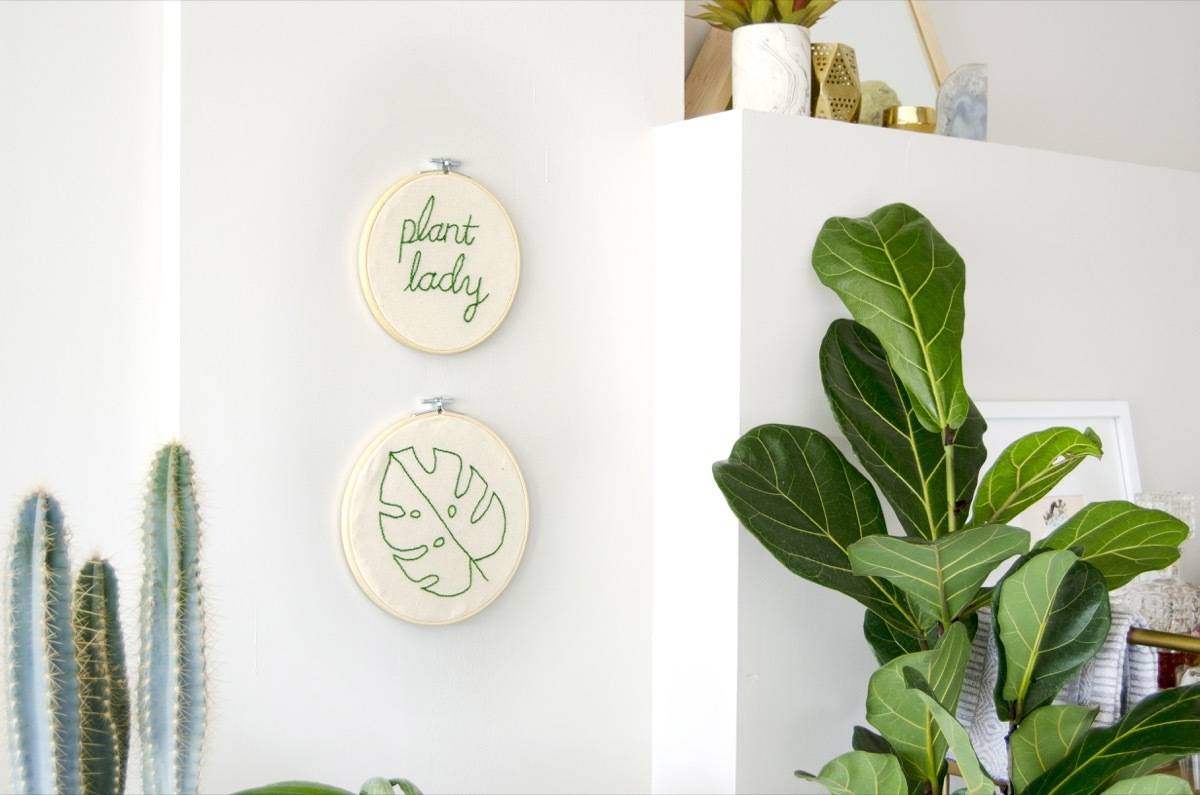
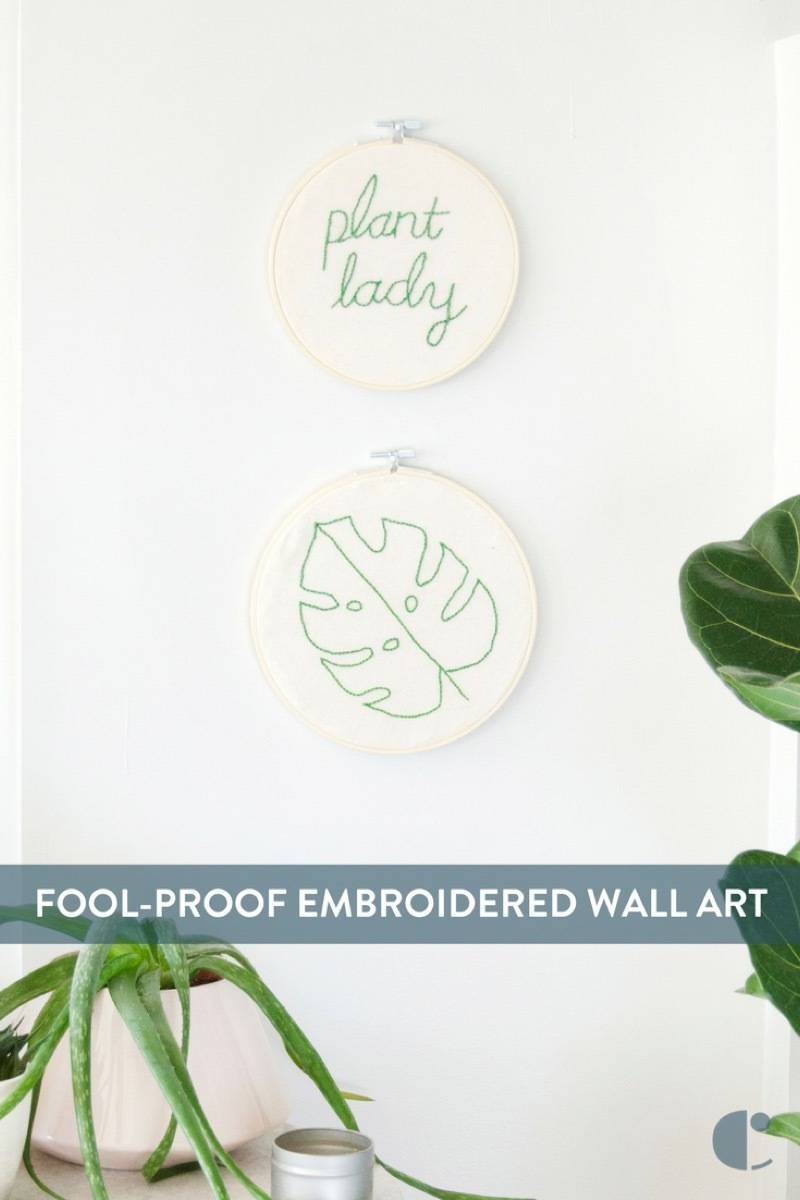
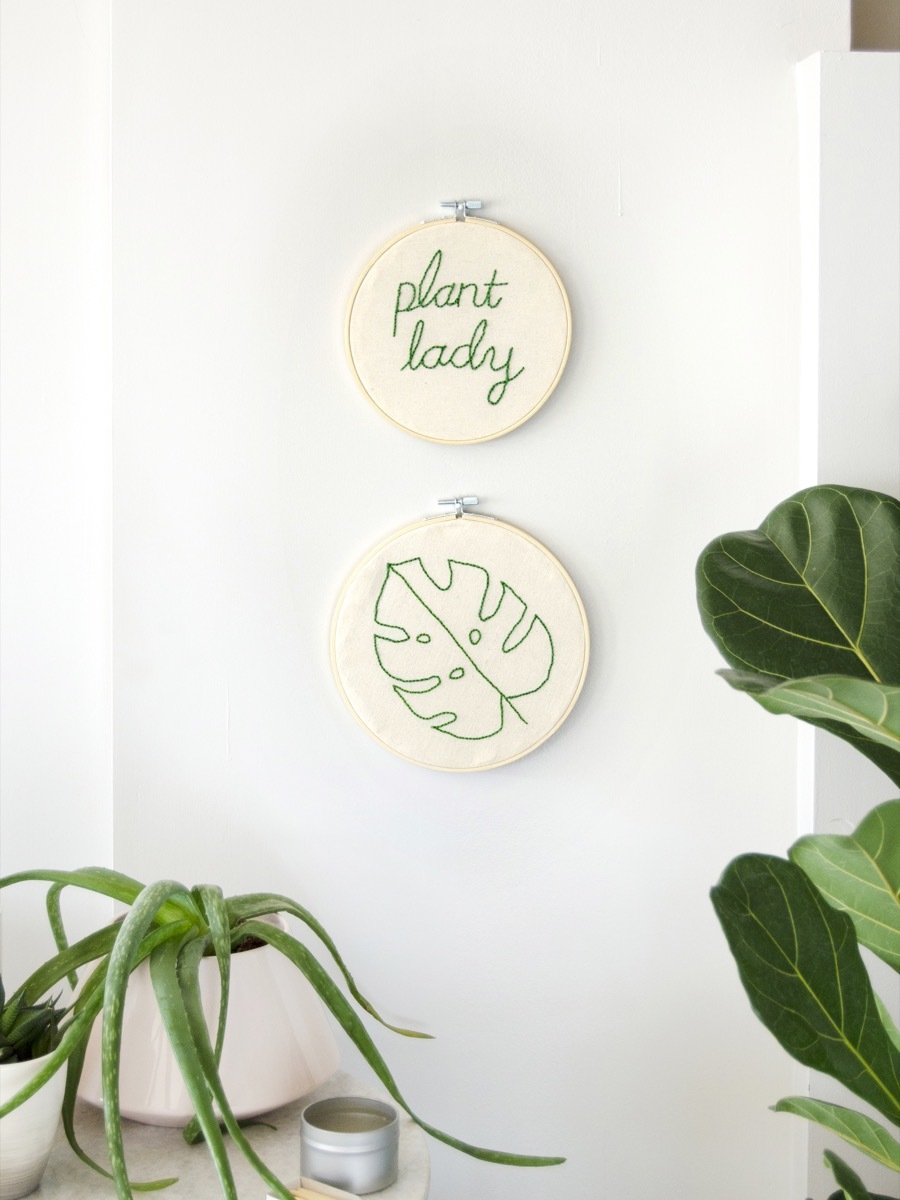
I decorated my easy wall art with the phrase “Plant Lady” because I feel like I can officially call myself that now. I (miraculously!) haven’t killed a houseplant in over two years! I’m so proud of my babies.

OMG. I am not going to date myself either, but I had one of these punch needles when I was a kid and I thought I was doing it wrong b/c of all the loose stitches on the back, and there was no youtube to tell me I was right! lol.
from one plant lady to another, awesome!!
@Anita I wish I knew about this tool when I was a kid! Glad you liked the post! =D