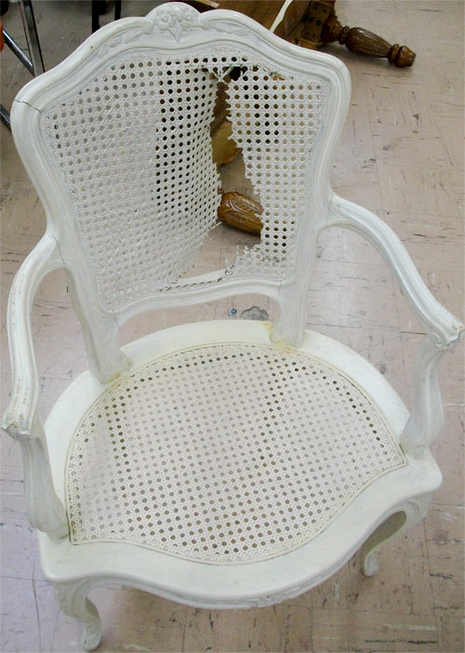
While we absolutely love cane chairs as a decor choice, the downside is that they tend to break pretty easily. Whether you’ve found a great second-hand chair at a flea market, or you’ve got an old one that needs a little TLC, learning how to fix a cane chair seat or back is easier than you’d think!
Of course, the easiest thing to do would be to rip out the cane and just replace it with a sturdier fabric. But then you’d lose the whole charm of having a cane chair in the first place! As long as you can source some pre-woven cane, you’ll be able to restore your piece to its former glory in no time.
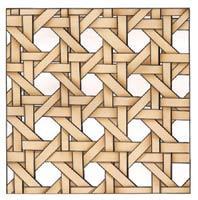
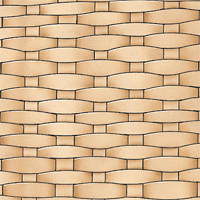
First off, know what kind of cane you’re looking for. Pre-woven cane comes in three styles:
Conventional weave which is the classic look you’re probably used to,

closed modern weave which is a little sturdier,

and open modern weave with a more blocky style.

Cane chair repair: how to fix a seat or back
Pre-woven cane material comes in various widths and is sold by the inch. Here’s what you need to gather, and how you proceed.
Materials you’ll need
- Before you get started, you’ll need to gather the following materials:
- pre-woven cane (available in sheets by the inch)
- cane spline
- water
- white vinegar
- wood glue
- wood stain or paint (optional)
Tools you’ll need
- wedge or blunt edge chisel (a flat head screwdriver would also work)
- razor utility knife
- hammer
- clean rag
Repairing your cane chair
Step 1: Fully remove the old cane and the reed that holds it in place (the spline), using your knife and chisel. Be extra careful near the wood and be sure not to accidentally chip it.
If you have issues removing the spline, it may have been set with hide glue. In this case, a solution of equal parts warm water and distilled white vinegar, applied and left to soak, will help loosen it.
In some cases, you may be able to keep the spline intact and just lever it out of the groove, which means you won’t have to buy new spline.
Step 2: Once the old cane is all gone, clean out the grooves with a damp rag and make sure there’s no cane, dirt, or adhesive left behind. If necessary, you can sand any rough edges.
Step 3: Soak your new cane sheets for 30-60 minutes in warm water — the bathtub might be the best place to do this. Let drip dry for 5 minutes.
Step 4: Lay your cane sheet squarely over your chair and trim to fit. You want it to cover the groove in the chair back by at least a half-inch. Gently push the edges into the chair’s groove using your wedge or even a kitchen spatula. To keep it straight, push a small section on one edge, then do the same to the opposite side. Work your way around the perimeter, making sure it’s securely in the groove.
Step 5: Trim any excess cane sticking out of the groove, using a sharp knife. While you do this, soak your spline in warm water for 10 minutes.
Step 6: Add wood glue into the cane-filled groove, then dry off your spline and push into the groove. Start at the top center of the chair and work your way around. You can use a hammer and wood block to tap it into place if needed. Use clamps around the edge of the chair to hold the spline in place for at last 24 hours until it dries.
Step 7: If your cane chair needs a little more sprucing up, you can add wood stain or a fresh coat of paint!

This is a really good article. Thanx so much! 🙂
I will try this method