One of my favorite things about the festive season is the lead up to the big day; there’s so much anticipation and excitement surrounding the countdown to Christmas. This is why advent calendars are right up my alley and this year I finally got around to hand-making one, which is something I’ve been wanting to do for a long time. Best of all, being a free printable advent calendar, it’s easy to set one up for your own holiday celebrations – click through to see how!


Materials
- Snowy mountain advent calendar printable
- White cardboard
- Bone folder
- Ruler
- Scissors
- Double-sided tape or glue
- Hole punch
- String/twine
- Dowel rod
How to get this printable advent calendar
Step 1
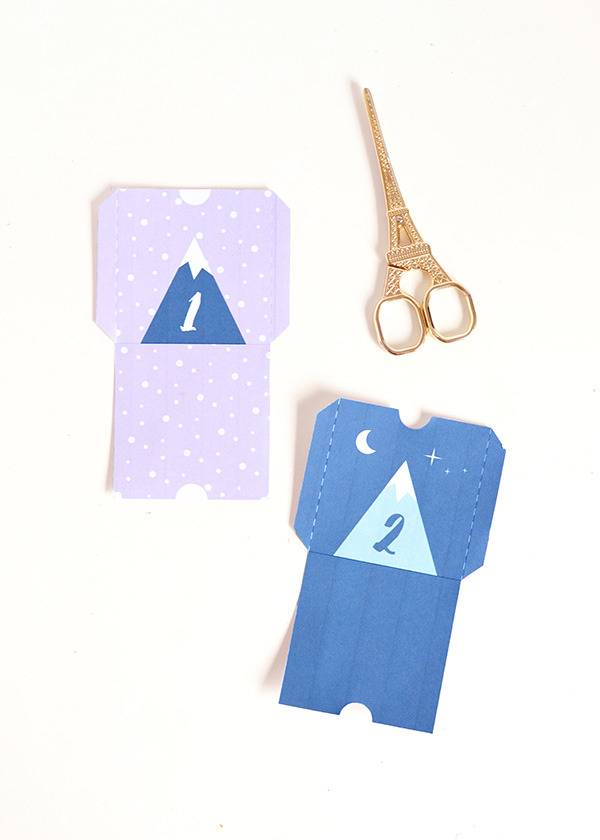
Print out the snowy mountain advent calendar file onto white letter-sized card stock. In the file, there’s a pocket for each day of December (up till the 24th).
With your ruler and bone folder, score along the dashed white lines that section off the two tabs on each of the pockets. Also score a line along the middle of each pocket (use the base of the mountain as a guide).


Step 2
Cut out each of the pockets with a pair of scissors.
Step 3
Fold the pockets along the lines you scored in Step 1.

Step 4
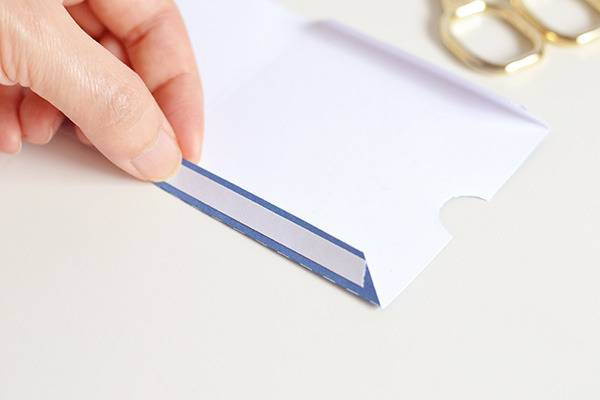
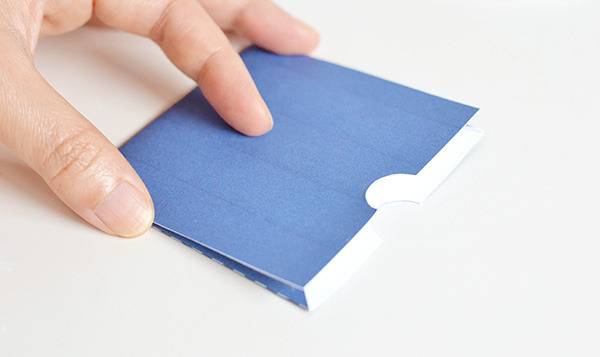
Apply double-sided tape or glue to the two tabs on each pocket. Fold up the bottoms of the pockets so that they stick to the tabs.
Step 5
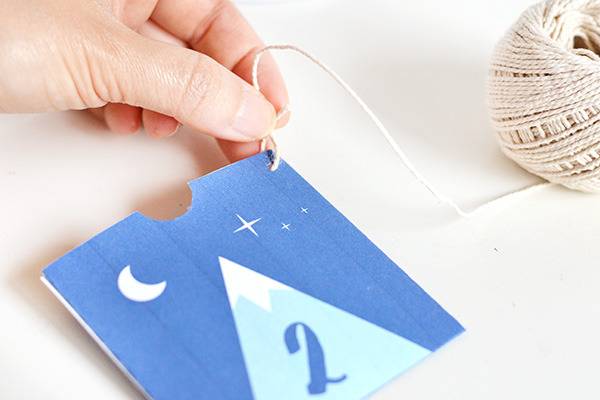
Punch a hole in the corner of each pocket and thread a piece of twine through it, tying a knot to secure it in place.

Step 6
Attach each pocket to your dowel rod by tying the other end of the twine around the dowel.

As you attach each of the pockets to the dowel, try to vary the lengths of the twine so that some of the pockets hang lower than others – this will add more visual interest to your calendar.
Once your advent calendar is complete, simply fill it with goodies or printed Christmas greetings for your loved ones.

