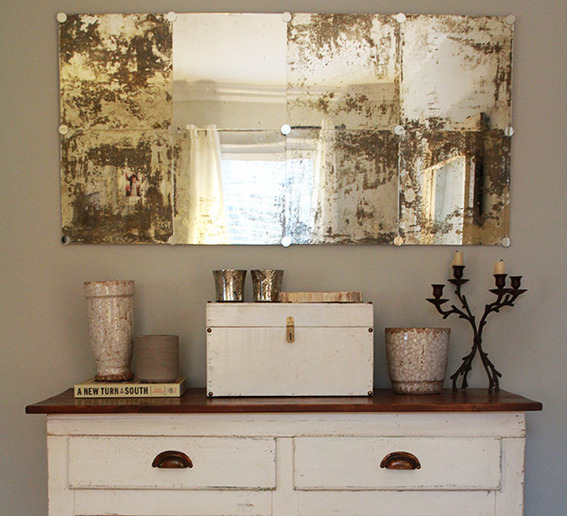
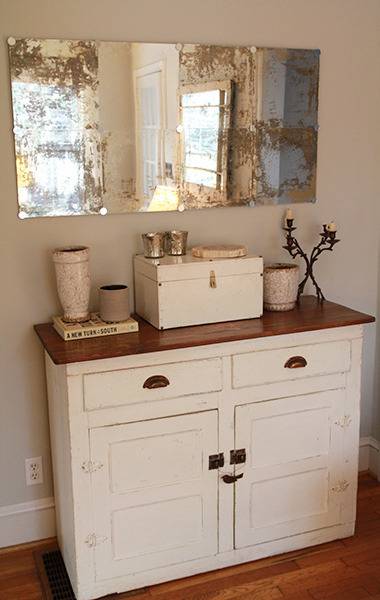
Our house has a good amount of blank walls, so one unassuming Saturday, we got to work on one of them. We fell in love with this mirror from Restoration Hardware, but yikes, $895 was not going to happen. Not even on a good day. So we decided to make our own. One short weekend and roughly $50 later, and we have this new beauty to grace our housing presence.
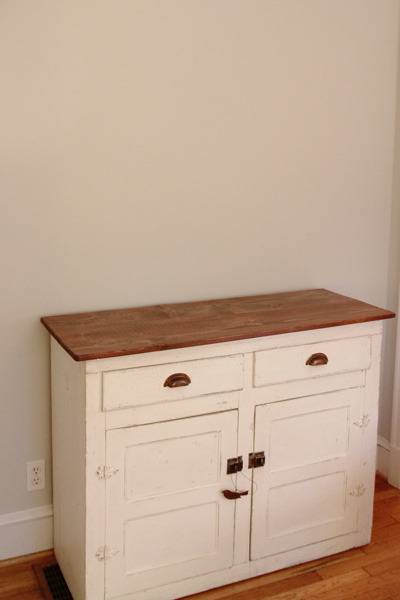
Exhibit A: the blank wall. You may remember our other blank wall from a few weeks ago. Like I said, blank walls seem to be our specialty. It’s a problem, but we’re working on it.
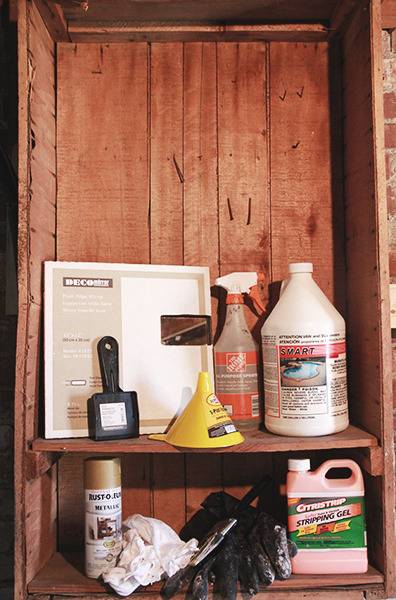
To tackle this project we went down to the hardware store and grabbed a few supplies:
- 2 – 12″ Mirror Tile Packs (6-Count)
- Mirror to Wall Adhesive
- Chemical Gloves and Goggles (Safety First)
- Paint Stripping Gel
- A Plastic Putty Knife
- Muriatic Acid, Spray Bottle and Funnel
- Cotton Rags
- Gold Spray Paint
- A pack of round 1-inch mosaic mirrors
- Some sort of backing to stick the mirrors to (we used some thin particle board)
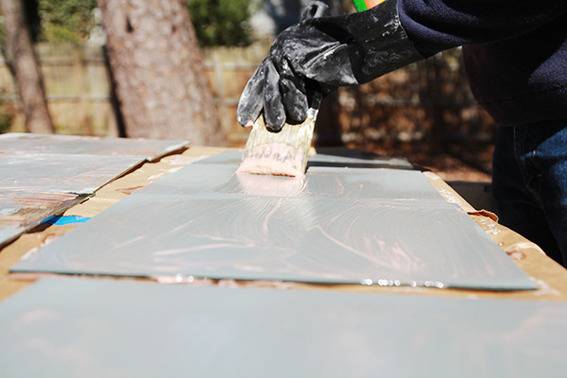
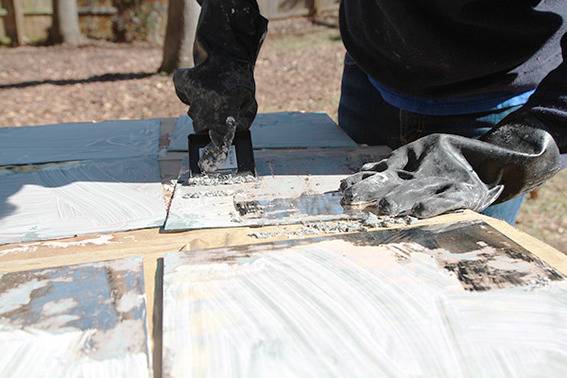
To start off, put on your rubber gloves, grab a paint brush and lay down a thick coat of the stripping gel to the back side of the mirrors.
Let the stripper work for a number of hours then grab your putty knife and begin to remove the paint. A few lessons learned the hard way:
- If you think you’ve waited long enough for the stripper do it’s work, wait longer. We gave it 3 hours and should’ve let it sit a few more.
- Mirrors tend to break if you really get your back into it (Al now has 21 years of bad luck).
Don’t worry if all the paint doesn’t come off. The goal here is to get enough off for the acid to do it’s thing.
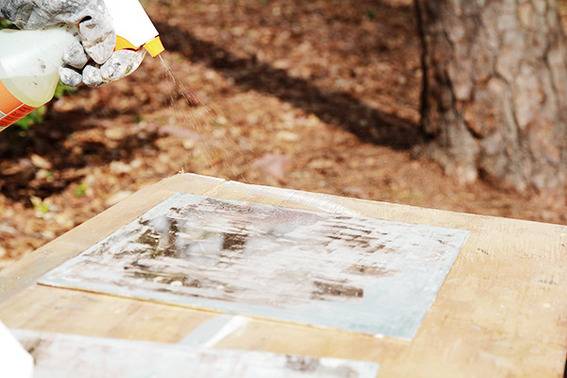
Next up, don your trusty rubber gloves and goggles, pour some of the muriatic acid in the spray bottle using the funnel, and mist the edges of the mirror.
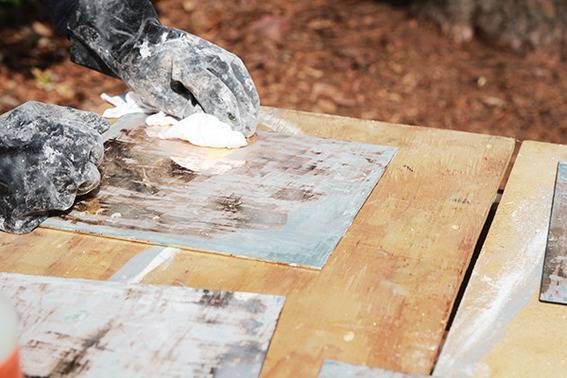
Let the acid sit for a minute or so and blot it up with the clean cotton cloth.
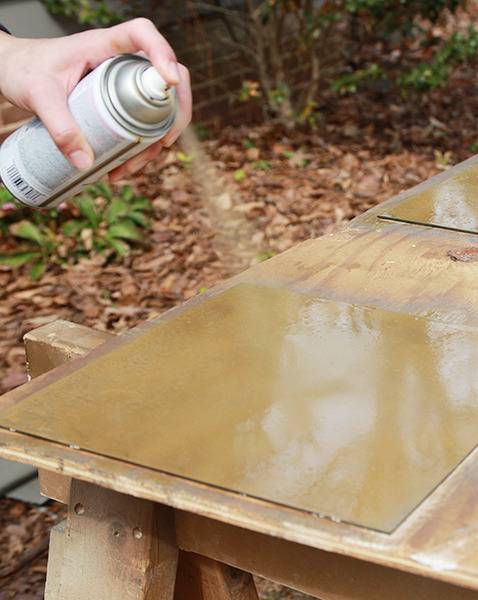
Once all the mirrors have been sprayed and blotted, spray a coat of the gold paint on the back of each mirror.
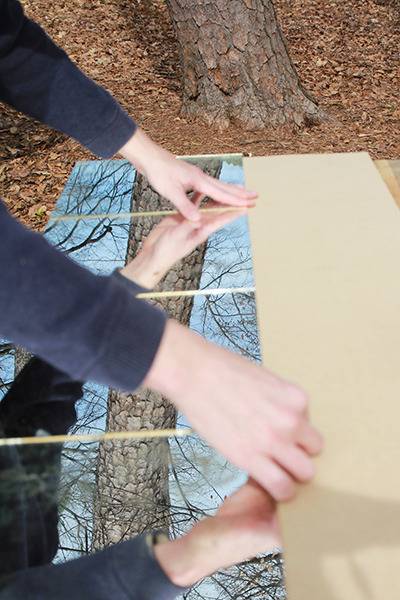
Let the paint dry and then lay out your mirror tiles on top of the backing board.
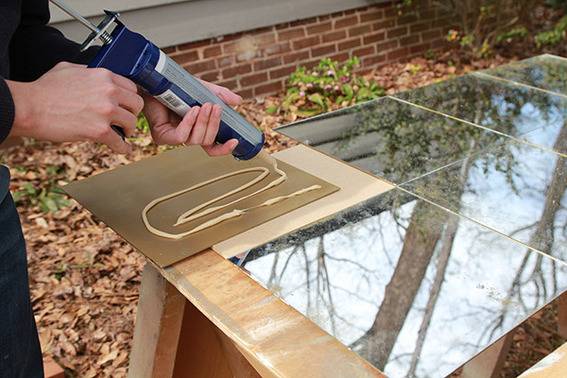
Apply the mirror to wall adhesive to each panel and let it set.
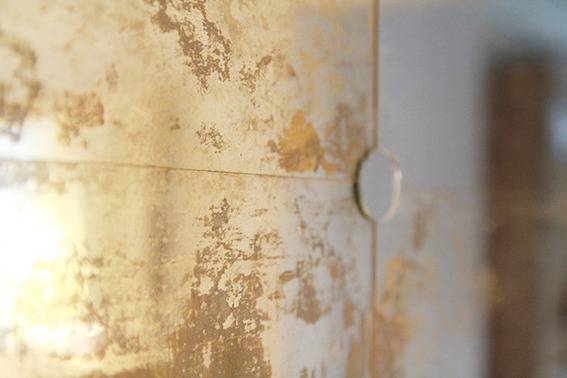
Finally, use the same adhesive to stick the 1-inch round mirrors on each corner.
And, voilà! Your perfectly antiqued wall mirror now has a home of it’s own! Your friends will marvel at your great vintage find, and you will sit back, smile, and pat your wallet on the back. So there you have it! Making new things old and old things new, on a budget and on a timeline.
Do you spray the acid also to the back?