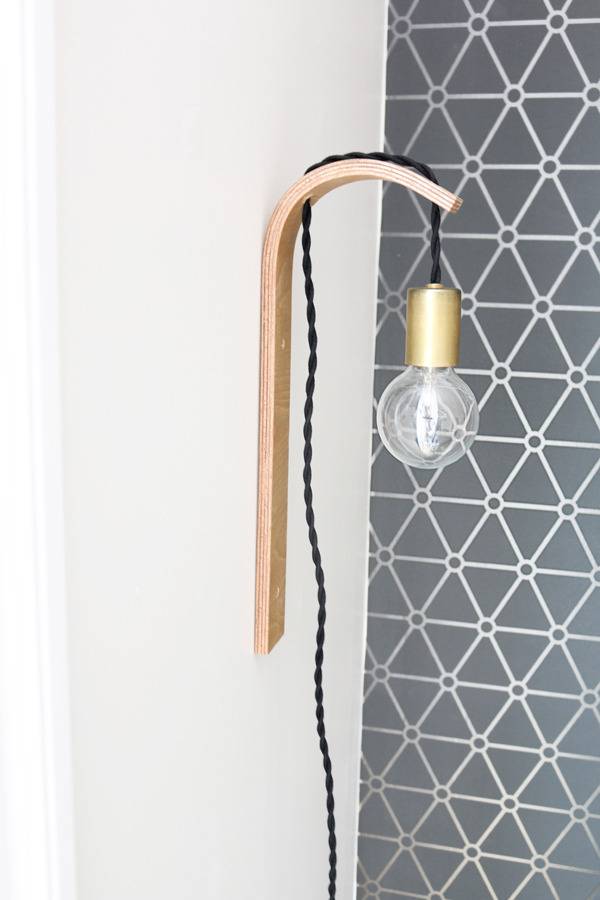
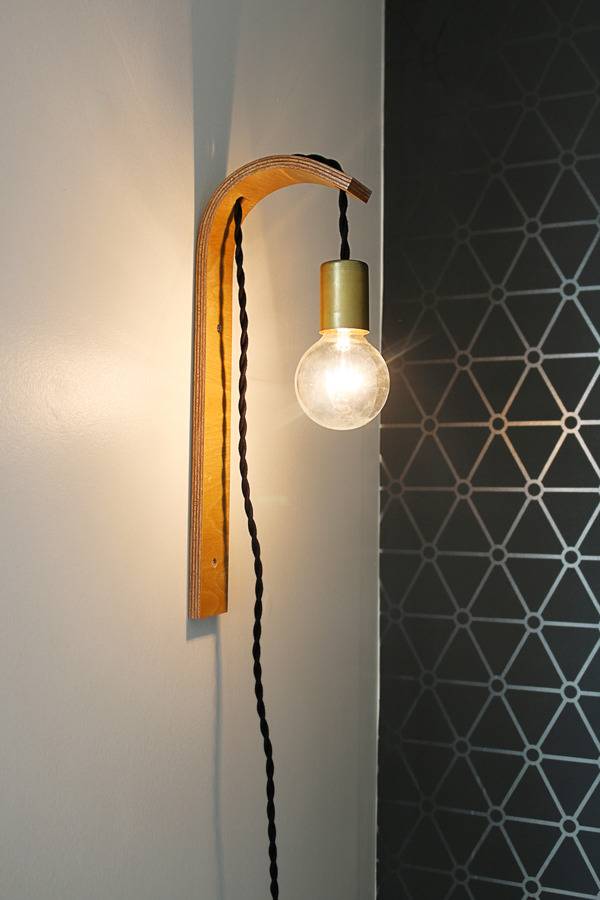
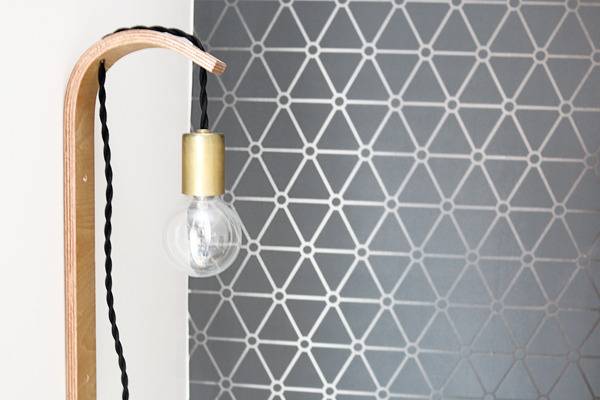
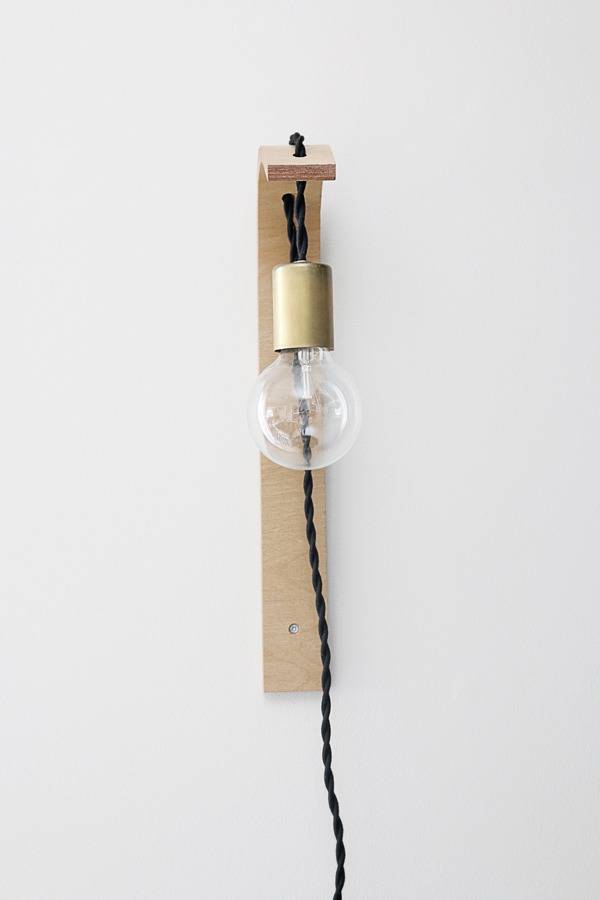
Lighting is one my favorite things to DIY because the possibilities are endless, and experimenting with different materials and techniques never disappoints! Thoughtful lighting really helps elevate any room to the next level, bringing it outside the box and avoid the generic “there’s a lamp” feeling. It’s functional art, which is what I love about this molded plywood light fixture and its sculptural design!
Materials
- Pendant light (can be purchased already assembled or as a kit)
- 1/2″ mdf
- 1/8″ plywood
- wood glue
- woodworking clamps
- jig saw
- fine sanding block
- cordless drill with 3/8″ and 1/8″ bits
- spray lacquer
- large container of water (we used a cooler)
Instructions
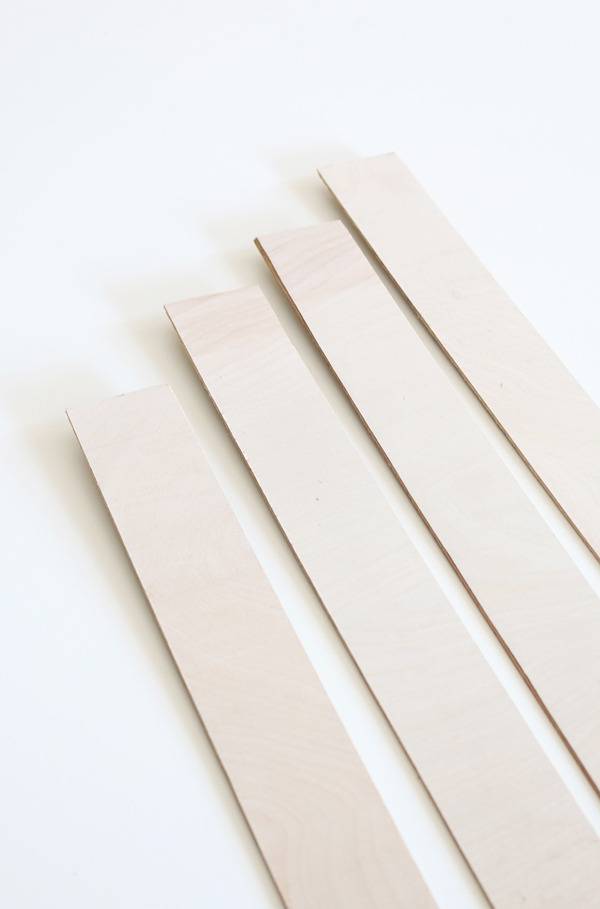
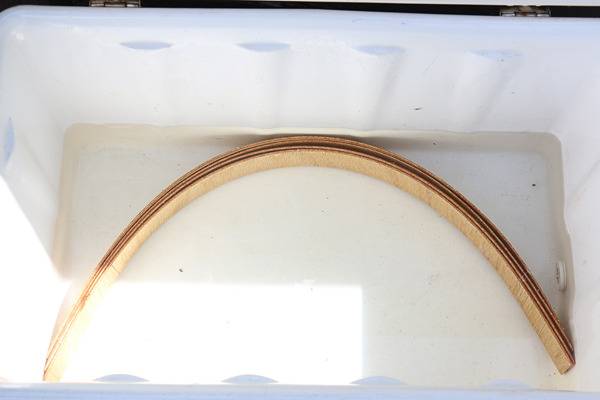
1. Cut 4 strips of 1/8″ plywood 24″X1.75″. Soak all 4 pieces in a container of water for at least one hour. (soaking the plywood prevents it from splitting when bent)
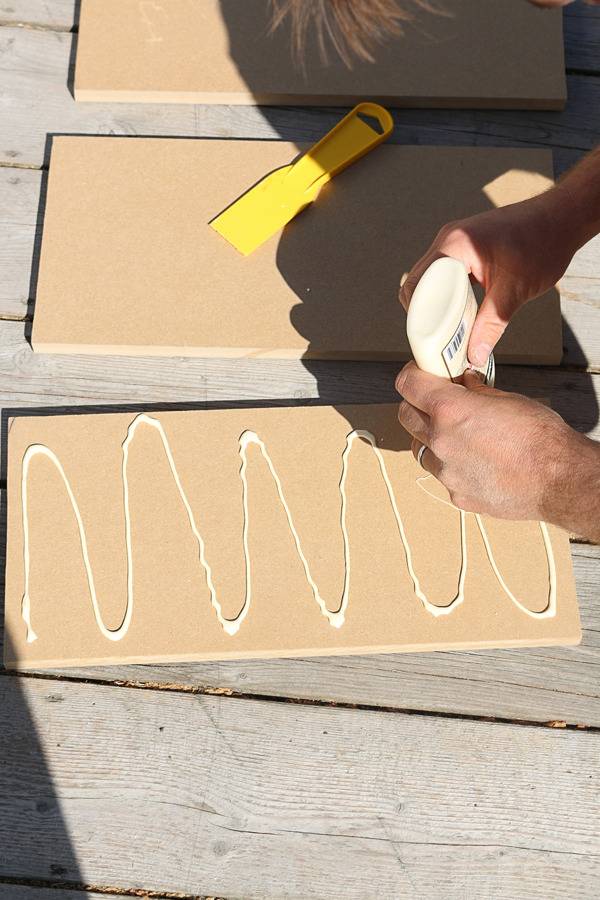
2. Cut 3 pieces of 1/2″ MDF to 16″X10″.

3. Glue and clamp all 3 pieces together and allow to dry for at least one hour. Your MDF blank will now be 1.5″ thick
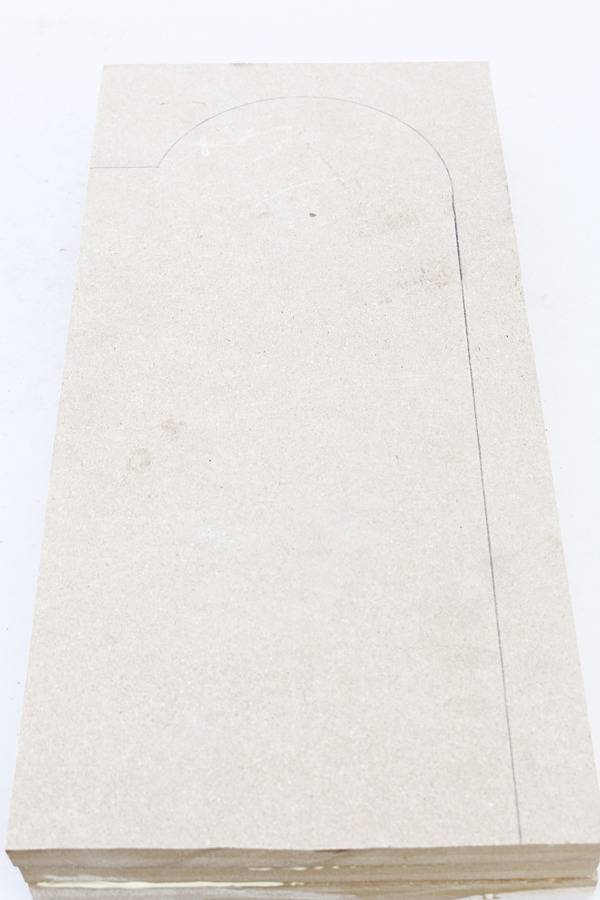
4. Decide on a shape for your molded plywood and trace it out on the mdf. We decided on a ‘J’ shape.
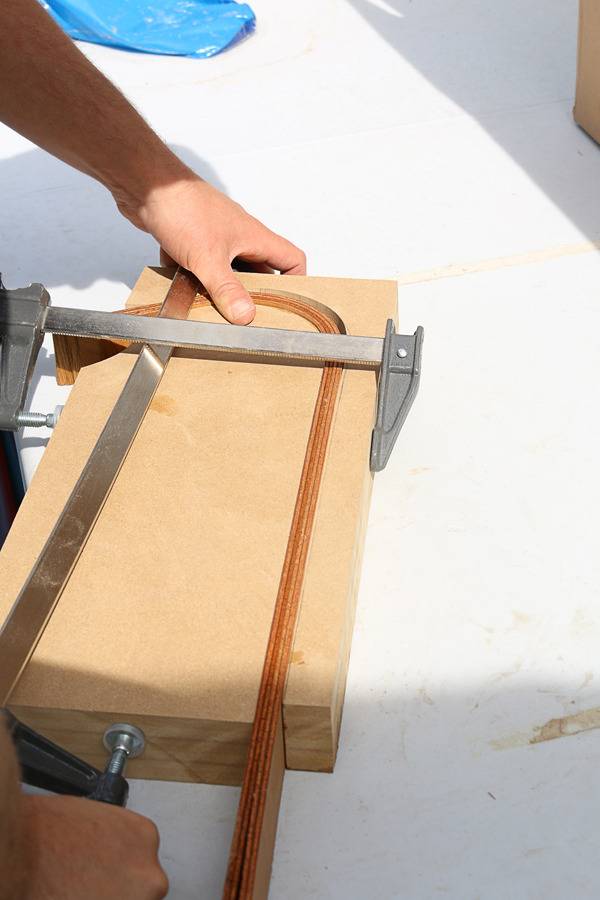
5. Take your now 1.5″ MDF and cut out your mold. Sand all edges smooth with fine paper. Remove plywood strips from the water, stack them, and shape them into the mdf mold. Clamp mold together until the plywood completely takes the shape of the mold. Allow plywood in mold to completely dry.
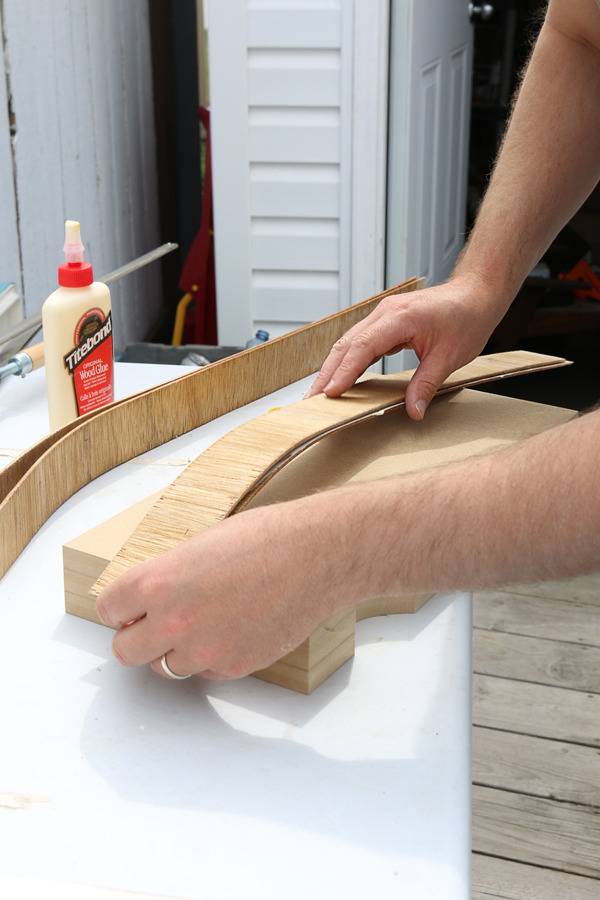
6. Once the molded plywood is completely dry, remove the clamps. Carefully apply a generous amount of glue between each strip of plywood, reclamp the project, and wipe away excess glue that will inevitably squeeze through. Allow glue to completely dry and cure (preferably overnight). Be careful not to allow any glue to contact the mdf mold as it may stick to the plywood.

7. Trim excess ends off of your now 1/2″ plywood shape and sand all edges flush. Lightly sand entire project smooth with a fine sanding block.
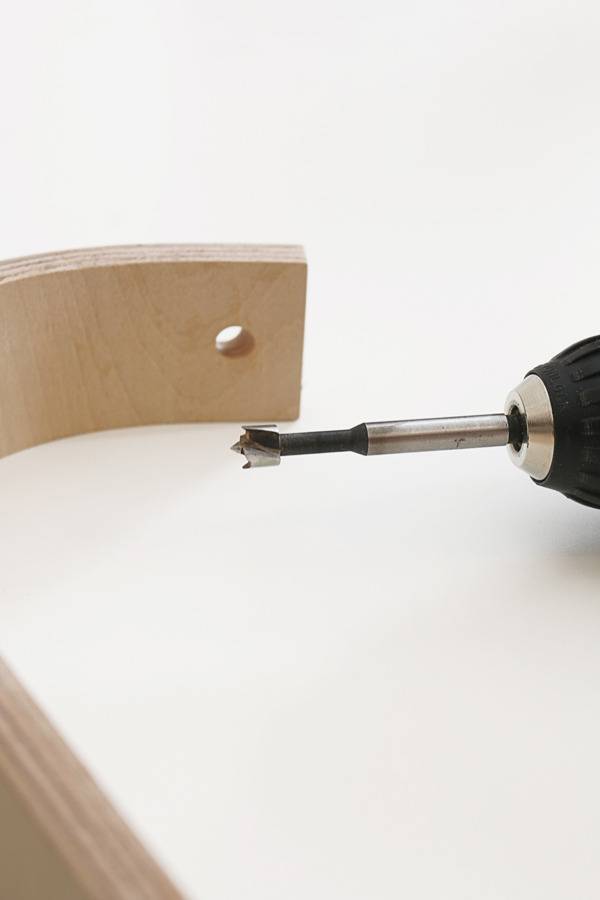
8. Using a 3/8″ bit, drill to holes in the plywood for the pendant cord to pass though. Drill 2 1/8″ holes in the face of the plywood and countersink them for for mounting it to the wall. (Be sure to use a scrap block and pressure behind the workpiece when drilling to prevent tear-out)
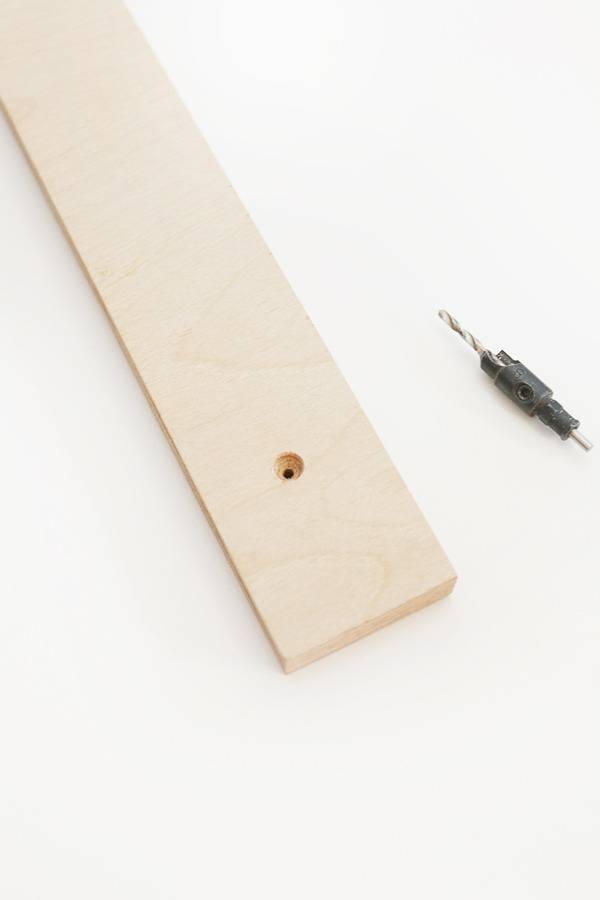
9. Spray 2-3 coats of spray lacquer on the entire project as directed on the can.
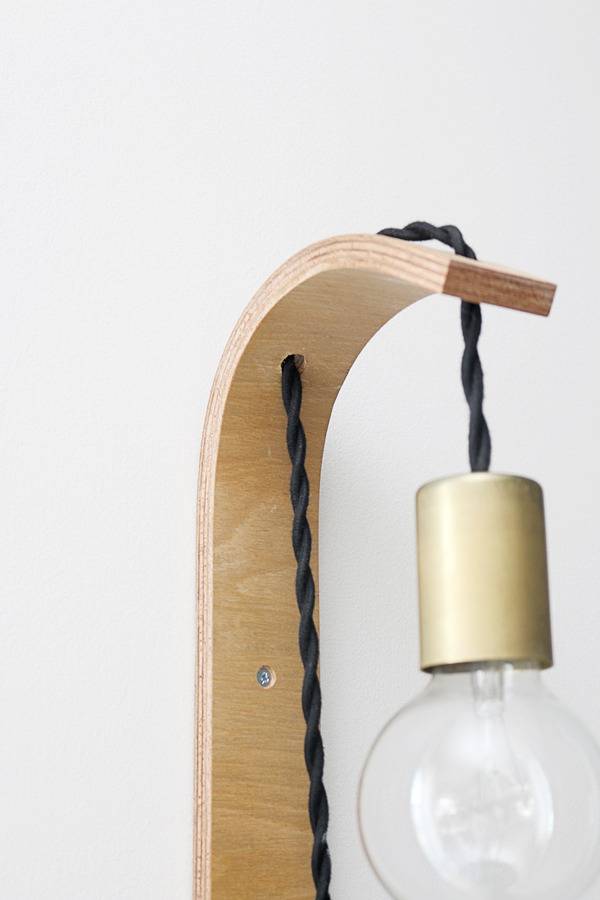
10. Mount pendant cord through the two holes on top and wire the socket and/or plug together. Plug it in and screw in a bulb to ensure that it is working correctly before mounting it.
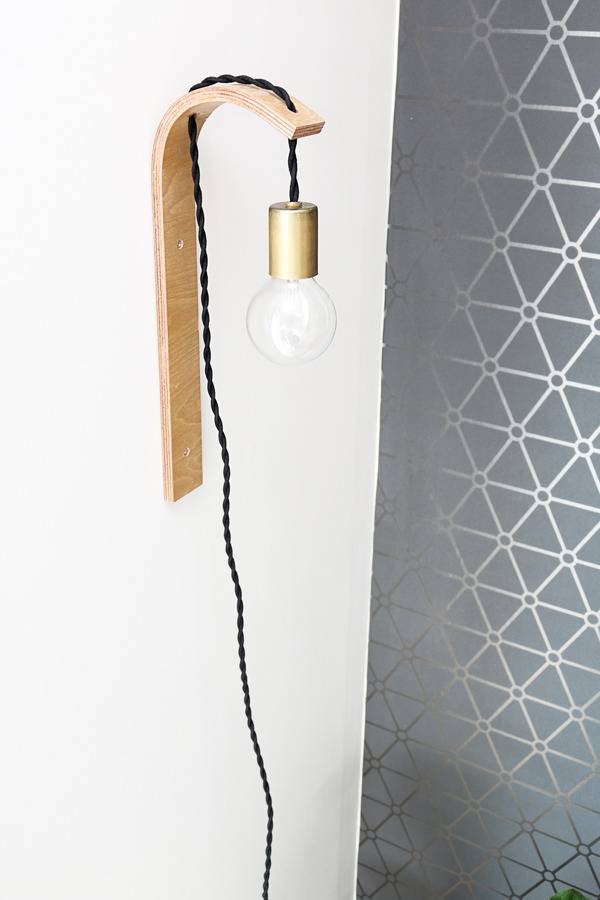
11. Mount to the wall using 1/8″ screws and drywall anchors.
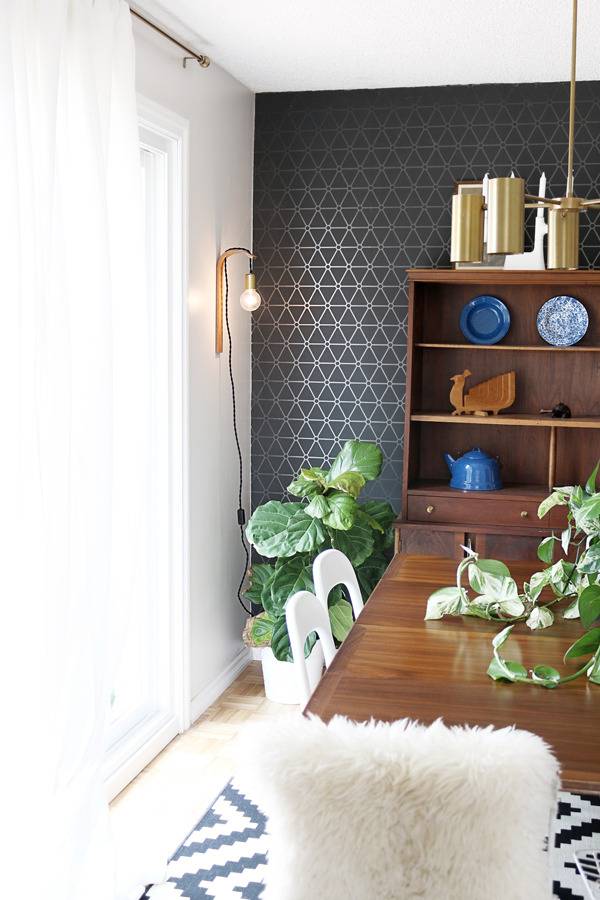
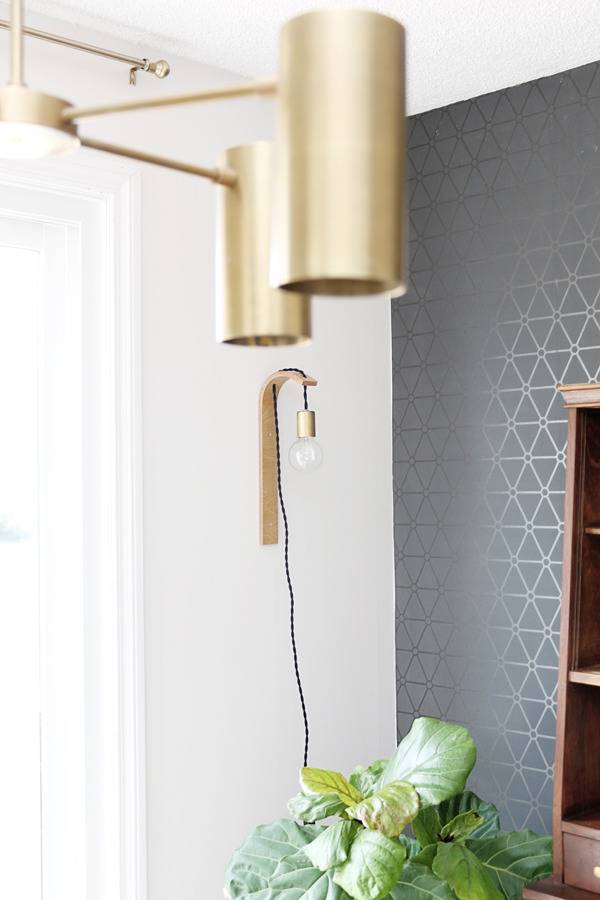
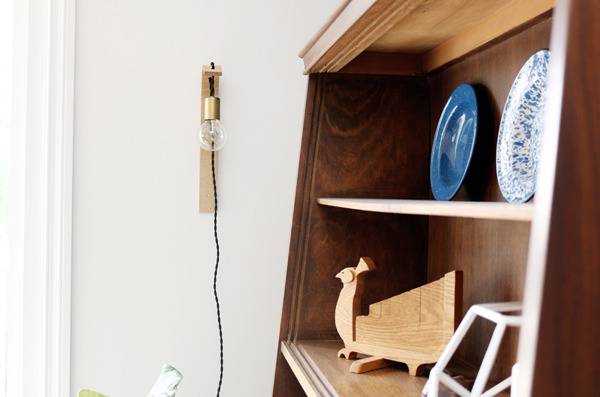
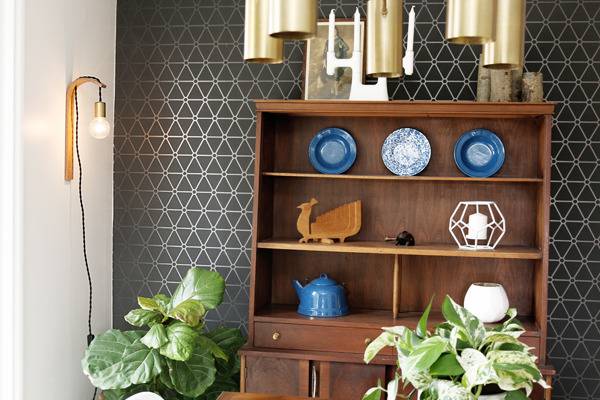
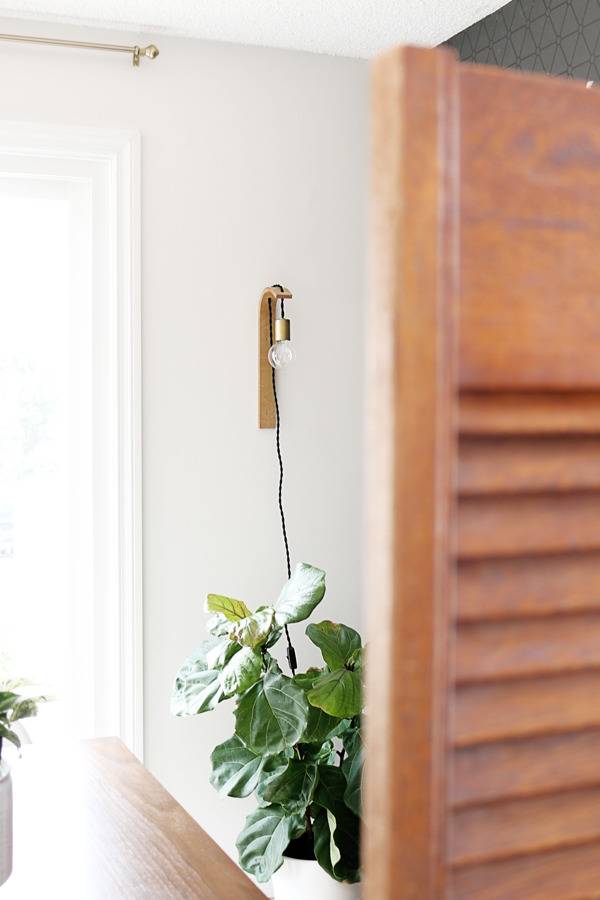
I decided to hang it in a little corner in our dining room. It really changes the overall look and feel of that space, making it feel a bit more intimate and less formal. To me, it feels more like a space where you can share deep conversations with friends, play games as a family, sip your morning coffee and catch up on some reading. It’s not just that room that only gets used once in a blue moon to host fancy meals. Yes, lighting is magic and that’s what a little addition can accomplish! What do you think?!

Honestly, this looks amazing. Looks just like an expensive wall lamp. You could easily be charged plenty for this in a department store. Great work classy looks!