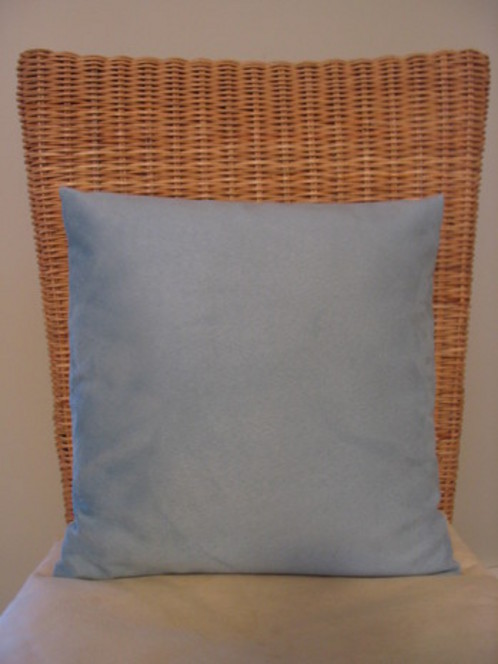
I first saw this quick and easy to make pillow slipcover technique on BBC America’s fabulous DIY make over show “Changing Rooms” three or four years ago. It’s an oldie but a goodie.
What You Need
- A pillow form or old pillow you no longer love
- Fabric one inch wider and 2 ½ times longer than your pillow’s dimensions
- Thread
- Scissors
- A sewing machine, although you could get by with hand stitching in a pinch
(Before we go on, a note about sewing machines. Any Martha-wanna-be really does need a sewing machine. It doesn’t have to be a fancy, expensive machine to start out. Something that sews a straight line and a zig-zag stitch will suffice. Sewing machines are kind of like cars, as far as I’m concerned. If possible, take them for a test drive, and use all their options before you buy.)
What You Need to Do
1.Cut the width of your fabric to the size of your pillow plus one inch to allow for ½ inch seam allowances. Next, cut your length at 2 and ½ times the length of your pillow. (In the example, my pillow is 13 inches square. So I cut my fabric at (13 +1) 14 inches wide by (13 x 2 ½) 32 ½ inches long.
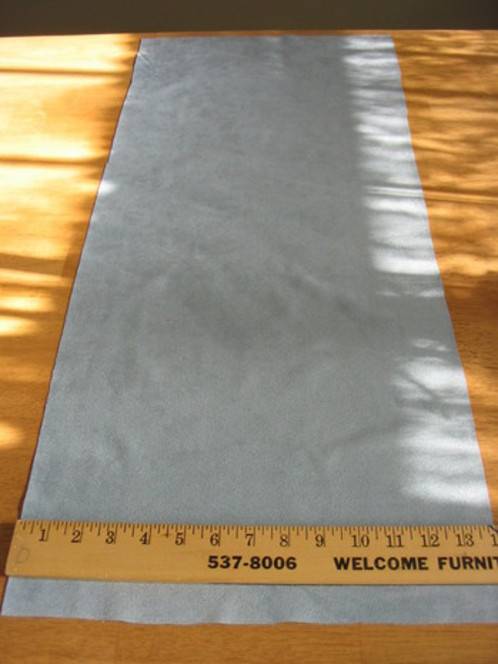
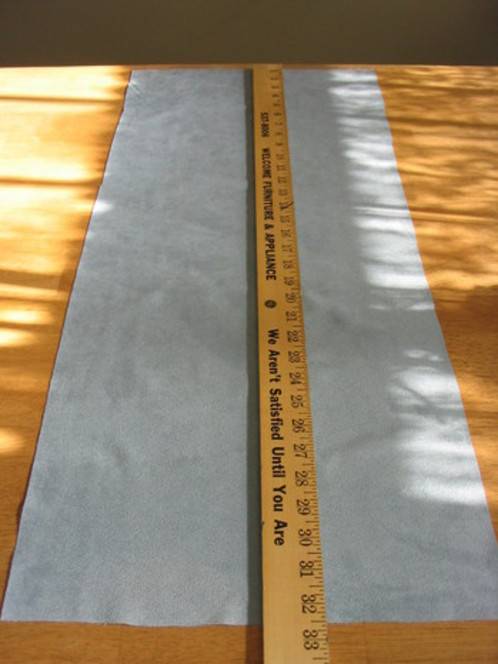
2.With right side of fabric facing you, fold bottom of fabric up about 1/3 as shown. Then fold that raw edge back about 1/3 as shown.
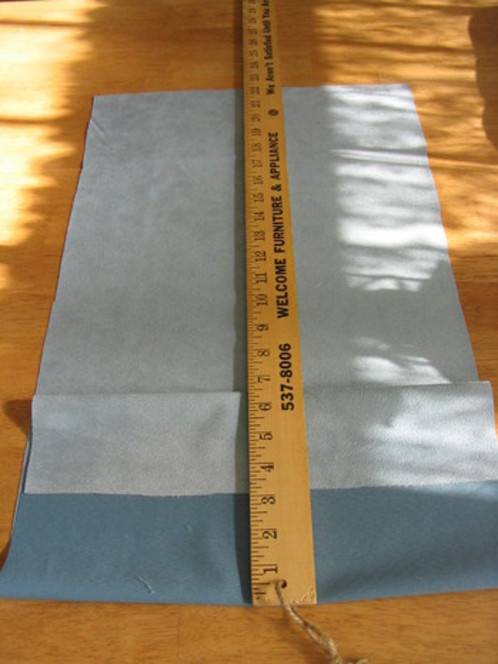
3. Next, fold the top of your fabric down, covering the fold you made in step 2. Pin raw edges.
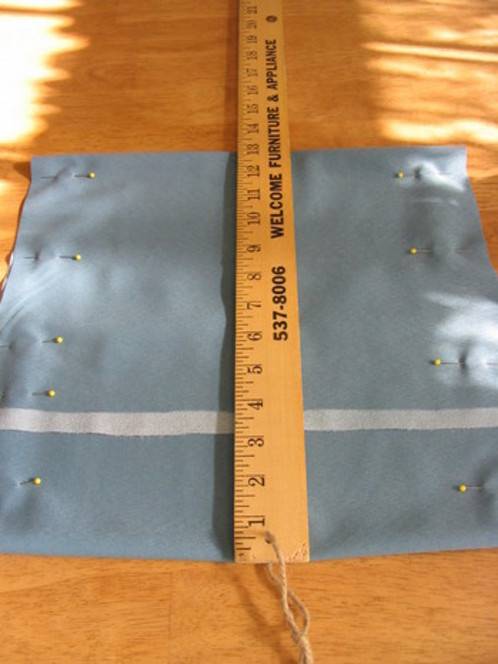
4. Sew raw edges, using ½ seam allowances.
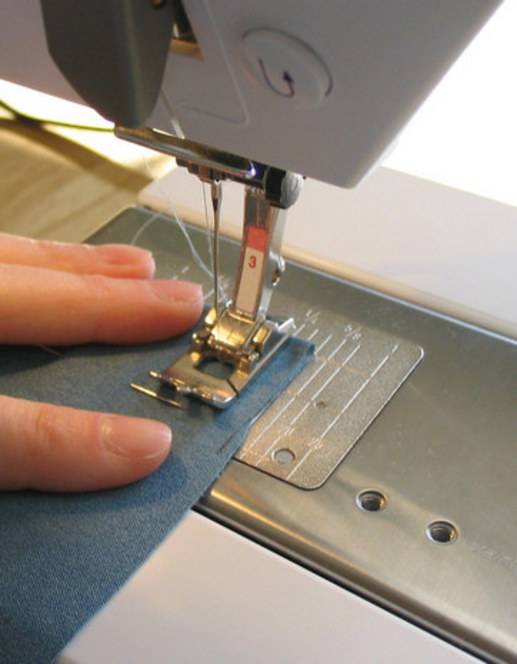
5. Turn pillow slipcover inside out.
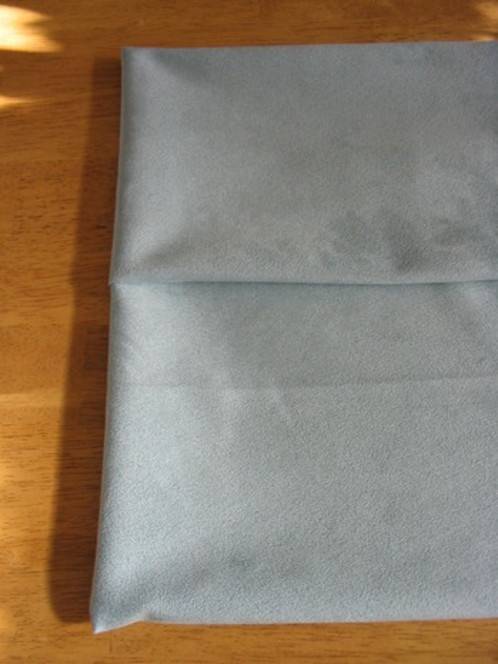
6. Stuff ugly pillow or pillow form into new, pretty slipcover.
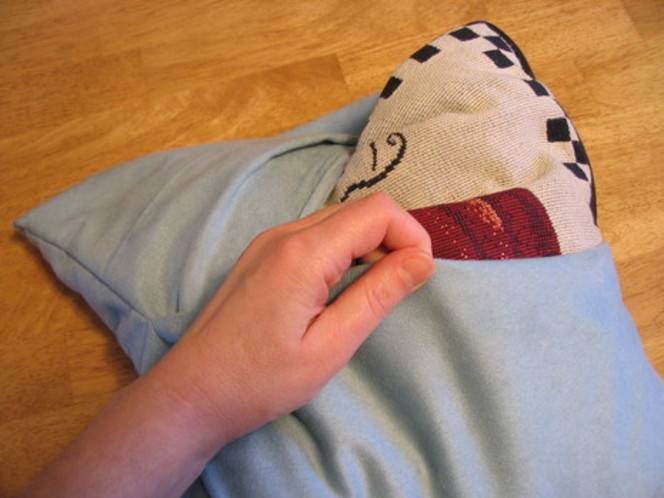
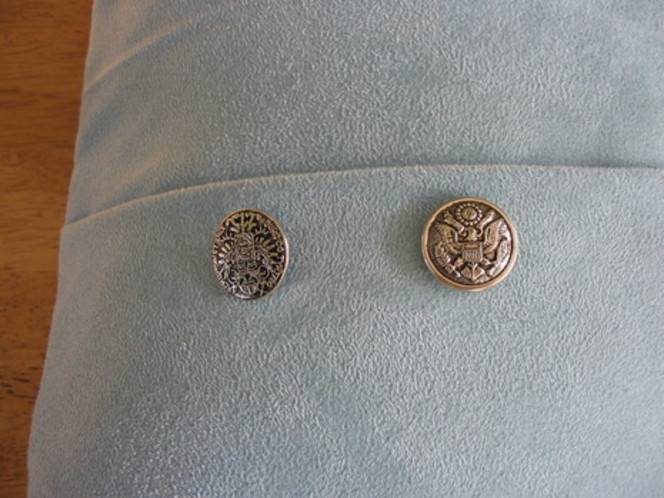
7. You can be done after step 6, or you can add decorative buttons to the opening of the pillow slipcover as shown.
