This weekend I finally decided to try my hand at making a light box. I liked a tutorial I found over at DPS where the maker used a box as his structure. It’s a great, inexpensive way to make your own light box. Its downside, however, is that it’s not collapsible. There was only one thing I could do: Grab a piece of paper and pencil and see if I could come up with a way to adapt the tutorial.
To make one you’ll need:
- cardboard
- a utility knife
- tissue paper,
- tape or glue-stick
- mailing/packaging/or duct tape
- a straight-edge
- matte poster board
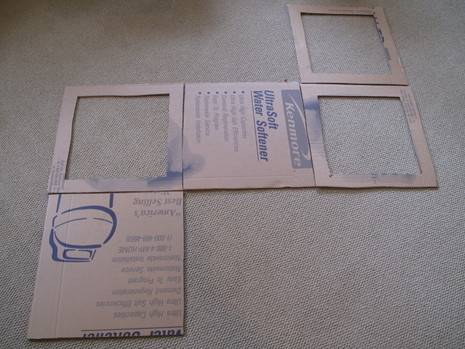
First, I cut five pieces of cardboard into 18″ squares and then cut 14″ squares inside 3 of the squares. Then I laid them out as shown below.
Next I taped tissue paper over the holes of the 3 squares.
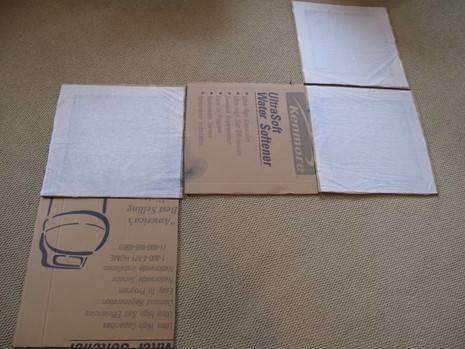
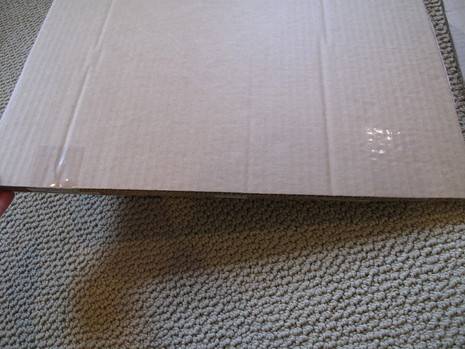
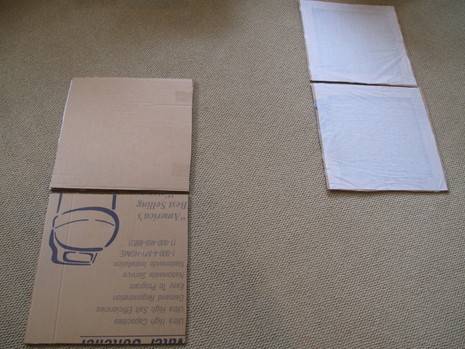
Then I taped the five squares together, making hinges using packing tape. I started with the lower left square, which I folded up, laying it on the square right above. I taped my hinges, and then unfolded the lower left square.
I moved on to the center square, which I folded over on top of the left square. Again, I made two tape hinges.
Next was the far right square. I folded it over on top of the middle square and made my hinges.
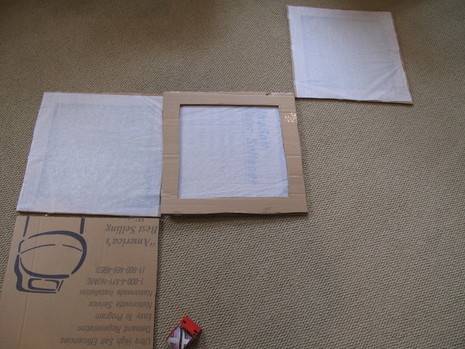
Finally, I folded down the top right square and made my hinges.
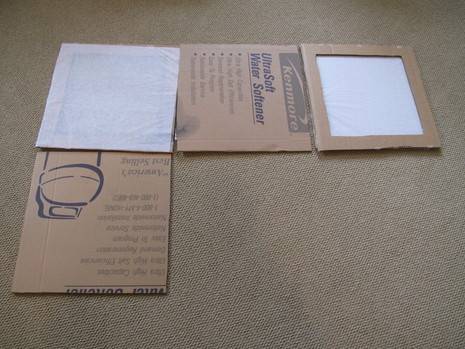
When I was done, I reinforced each hinge by tapping over them on the sticky side/side facing me.
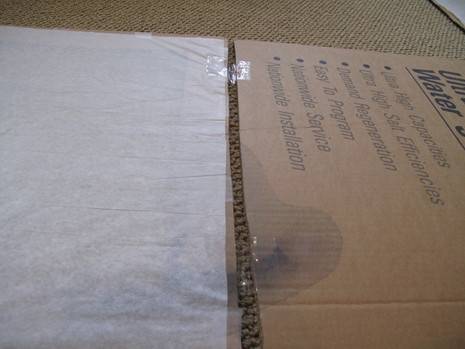
I then added small strips of cardboard as shown below to act as stops for my poster board. As it turned out, I only needed the one on the bottom left square.
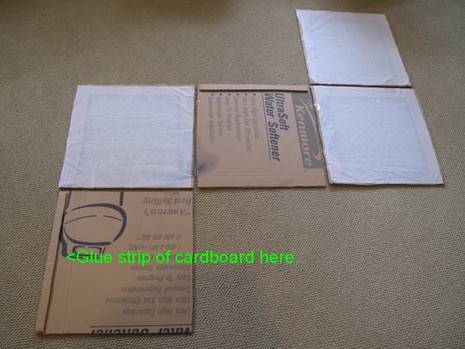
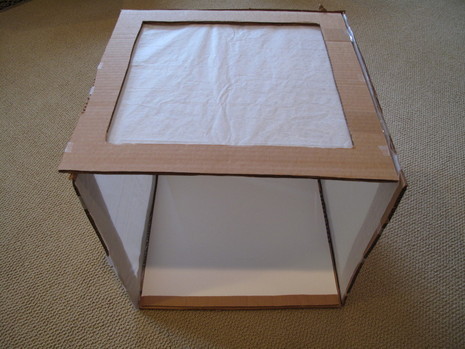
This is how the whole thing folds together into a cube:
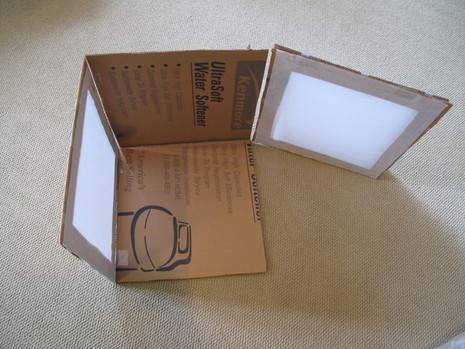
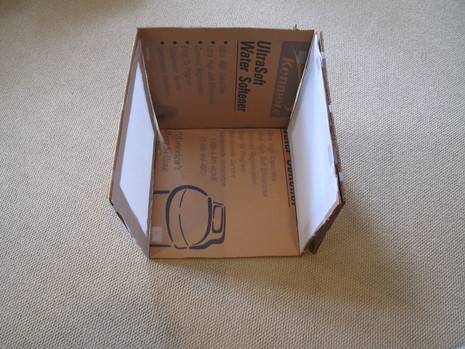
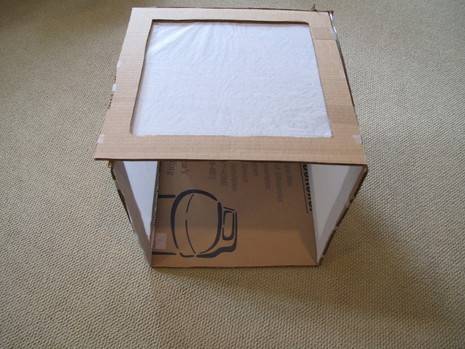
And this how it looks when folded together for storage:
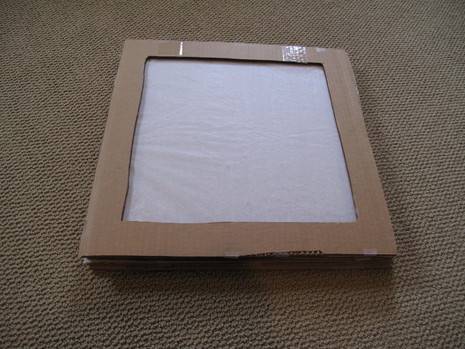
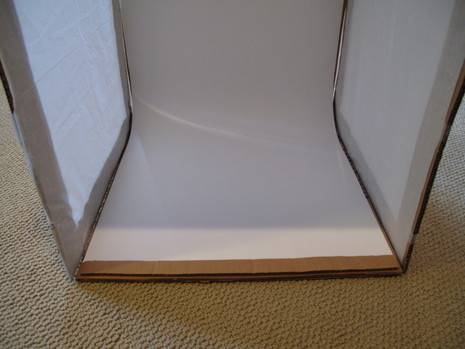
Here’s a pic with the poster board in place:
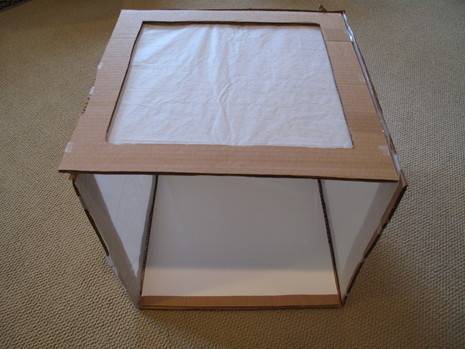
See how the stop stops the poster board from sliding down?
And here’s some pictures taken using my new collapsible light box:

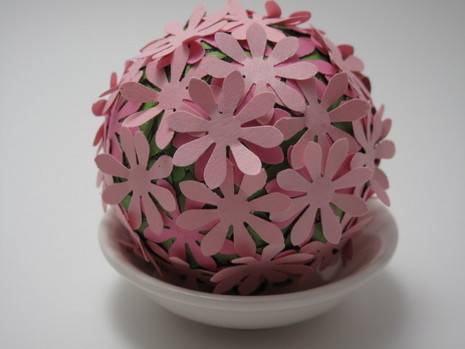
To see how I made the ‘flower ball’ in the picture, check out this post over on diymaven.com!
Thanks so much for this!!