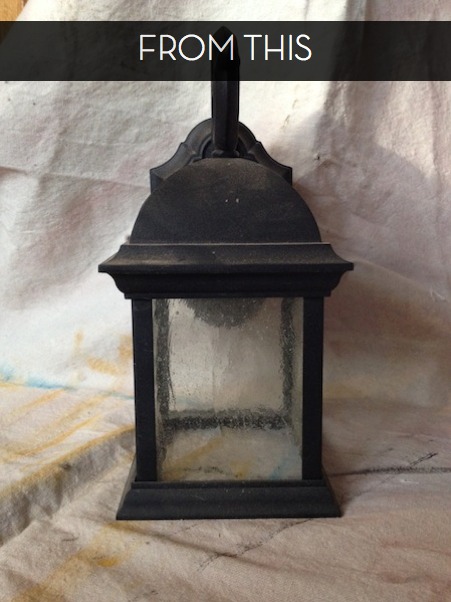
I had this old outdoor light fixture taking up space in the garage just waiting to be converted into an indoor, decorative lantern. So simple, the project took about an hour to finish, not including drying time for the spray paint. To start a conversion like this, a little reverse engineering is in order. Just figure out how the fixture was put together, and disassemble it from finish to start. To actually take the fixture apart, you’ll need a small wrench, Phillips screw driver, and a wire cutters.
I started by taking out the glass panels, which were held in by metal tabs. Then it was a matter of taking off the back bracket that held the fixture to the wall.
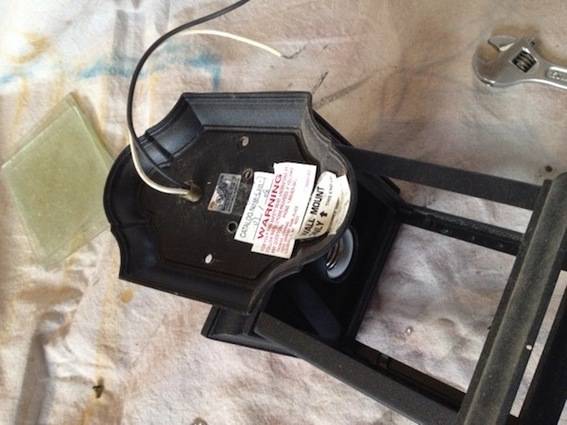 Under that was another bracket to remove.
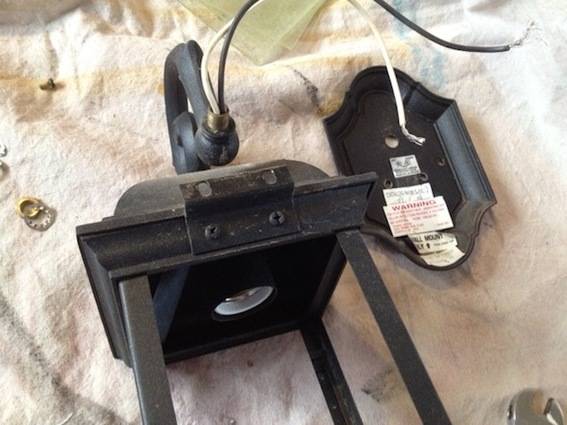 Next it was time for the socket to come out. I had to snip the wires at the top of the socket (on the inside of the fixture) to get the socket and top decorative arm off.
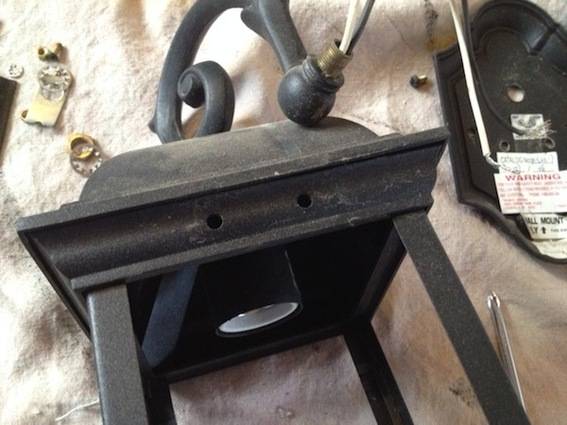
Then the top was removed. (Seriously, it didn’t take long at all to get to this point. Twenty minutes tops.)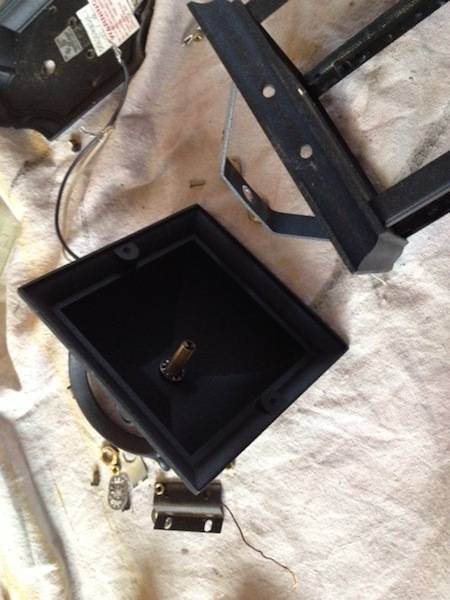
After I had all the pieces I wanted to save disassembled, it was time to give them a good cleaning.
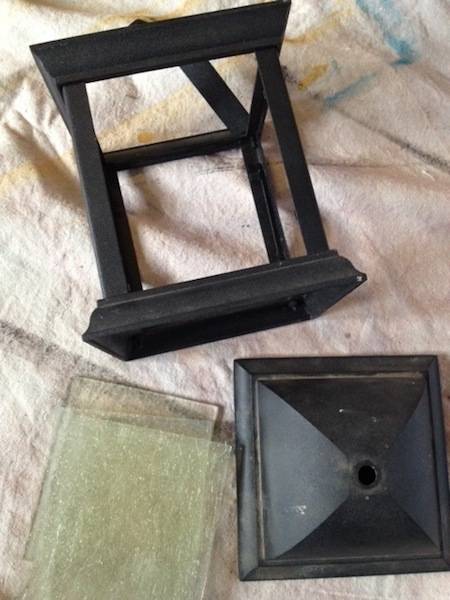
While they were drying, I scrounged around our lamp parts bin (yes, we have one of those) and found a finial from another old outdoor fixture that would work perfectly. I attached the finial to the top of the lantern using a threaded tube and nut that I saved from the disassembly.
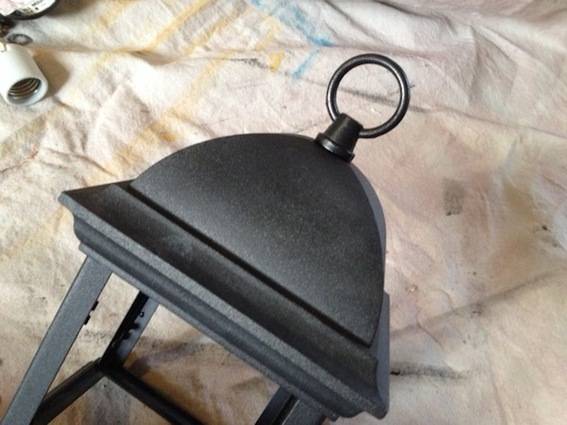 The finish of the fixture was in very good condition, but I wanted to shoot it with some Rust-Oleum ORB, my go-to metallic. Here it is, still wet:
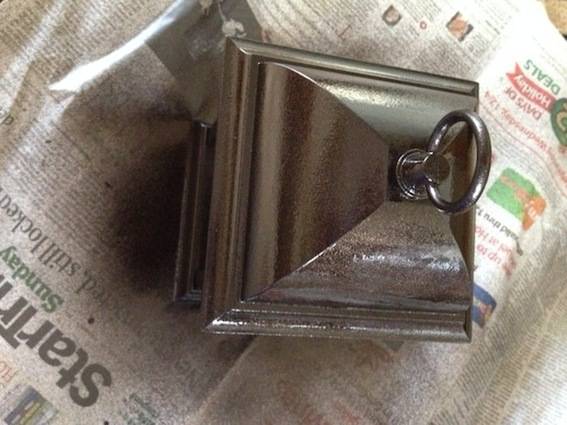
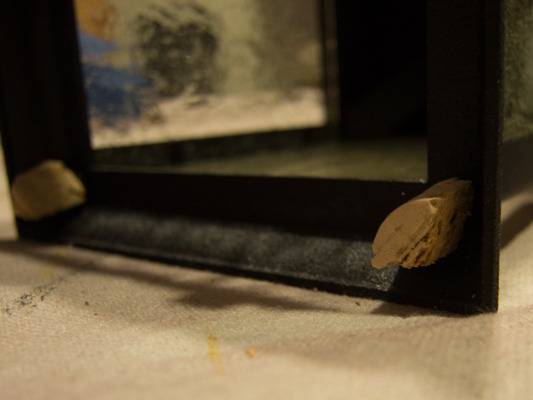
I made protective ‘feet’ for the lantern with a chunk of cork that I hot-glued to the bottom corners.

Like so:
I considered inserting a battery-operated candle inside the lantern but decided to get into the spirit of the season and stuffed a 20-count string of twinkle lights inside. To tart up the outside, I placed a decorative pillar candle ring round the finial. I love how it turned out, and, honestly, this thing is SOLID, unlike those flimsy lanterns retailers offer these days.
