Here it is, as promised! The instructions for how you too can make a scrap-wood bathtub caddy, courtesy of RECYCLED HOME: Transform Your Home Using Salvaged Materials by Rebecca Proctor and published by Laurence King. Rebecca’s tutorial is straight out of the pages of her book, but I’ll add notes in brackets as to how we modified ours (pictured below) to suit our style and standard tub.
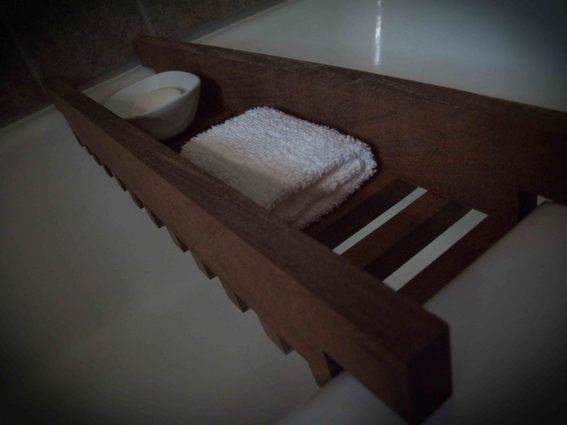
[We used a left-over Ipe decking that measured 6″ x 1″ (5-1/2″ x 3/4″) in real world measurements). Ipe is an incredibly hard wood, so we opted to use a table saw to cut it. It made quick work of the project, which, by the way, took about 30 minutes to crank out. Also, because our tub is the ‘standard’ kind, we didn’t need to make rounded edges, so that meant no coping saw, file or wire.]
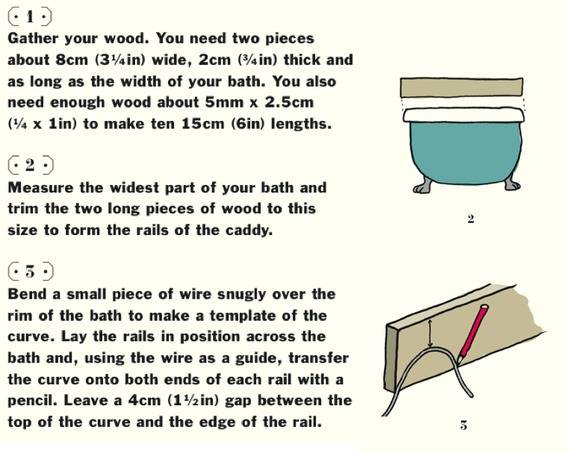
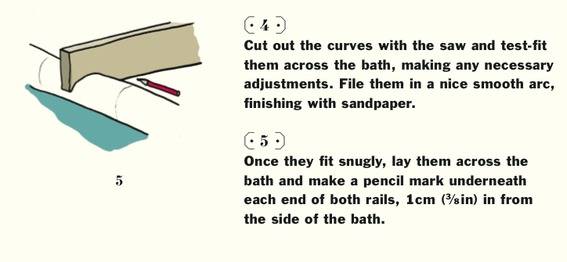
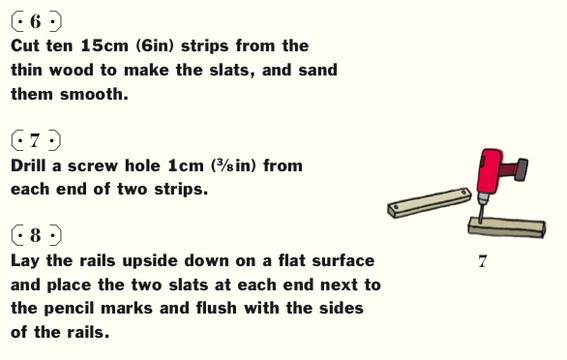
[Again, because we didn’t need to cope that rounded edge, we were able to eliminate step 3 altogether. After cutting a notch to accomodate the edge of our tub, we jumped to step 6. We cut twelve 3/4″ x 3/4″ strips just because we could get 6 (x 2=12) cut across that 5-1/2 width. No need to waist any, right?.
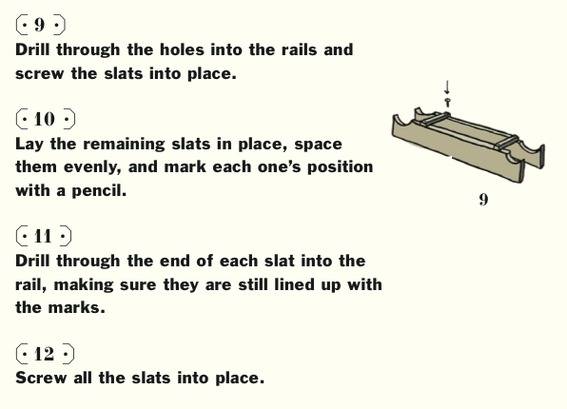
[I decided that I didn’t want to use just any old screws to hold the slates in place, as the caddy will be in an–obviously–wet environment. So I picked up some stainless-steel screws at the store, which cost about 5 bucks.]
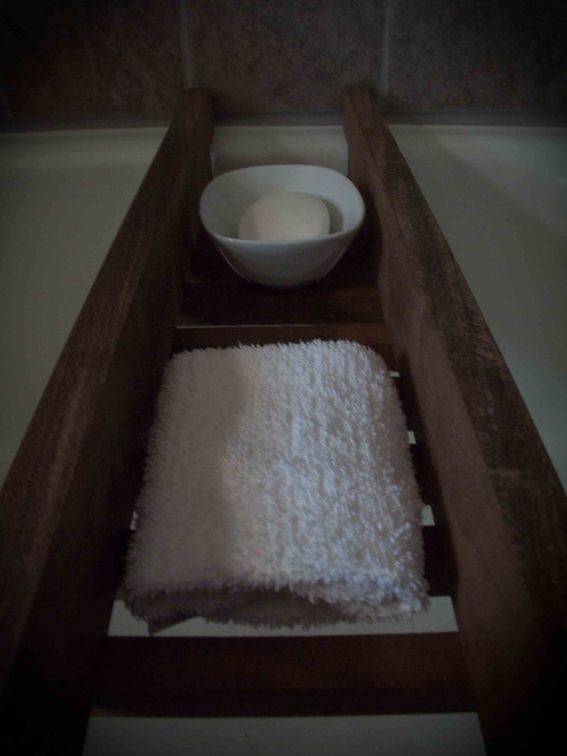
And that’s it! Although the project could have cost us nothing to make, I’m glad we indulged in the stainless-steel screws. They were worth the small expense. Ultimately, I adore this caddy and it suites our aesthetic much more than the costly chrome versions that will eventually corrode/rust. Thank you Rebecca and Laurence King Publishing!!
Again, Ms. Proctor’s book, RECYCLED HOME, Transform Your Home Using Salvaged Materials, will be available in September 2012 and can be pre-ordered atLaurence King for $19.95 or at Amazon for $13.97, where it’s currently available for free super saver shipping.
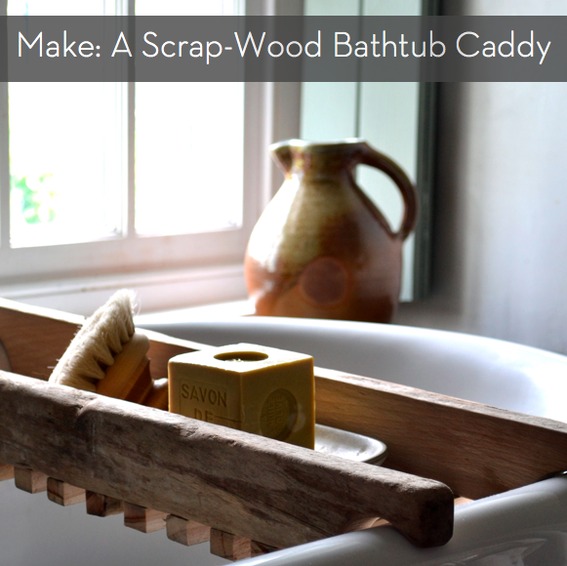
I think this is really nice. I’m planning on making something like it for my tub, which is a 105 gallon green plastic horse trough. I designed my tiny house on wheels around it, (and a swing in the great room,) so it’s very important to me. The side is against the wall, so there is no room for a much of a hook over the side. I think I may have to design a tiny strip at the wall end, joining the two beams, and a barrier of cedar stripping to keep it in place against the wall in case I move in involuntarily. Can’t waste that wine or dry out those electronics! I’m thinking about using hardware cloth instead of slats, with a strip of flashing with drilled drainage on one side. I never dreamt of all the little things that I can make for my tiny home (192 s.f.) to make my life even sweeter. I just moved in 3 months ago, and promptly broke my arm and leg, so I’m spending a lot of time perusing Pinterest and planning. lol
Thanks for the inspiration.
P.S. I like brass screws. I guess it’s the silver/gold thing.