As a photography enthusiast, my display methods are pretty traditional. A perfectly processed photo (from Aspen Creek Photo), a Nielsen Bainbridge frame and I’m good to go. Of course there are many different ways besides the traditional method for displaying your photography. I’ve scoured the internet looking for the best of best. Here they are:
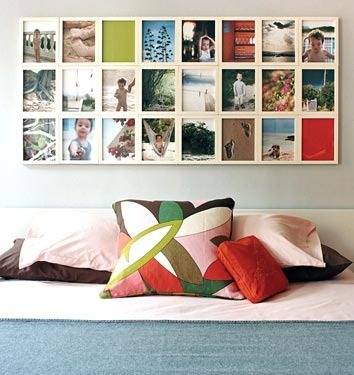
This first idea take traditional, small frames but adheres them together to make one big statement. No DIY instructions from the original source, but I’d think some wood glue and clamps would get the job done.
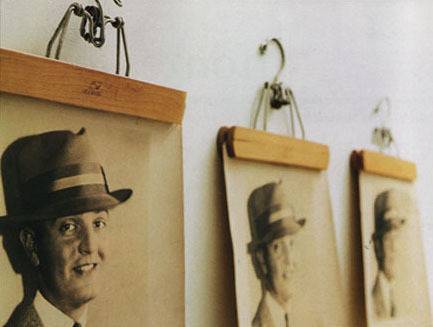
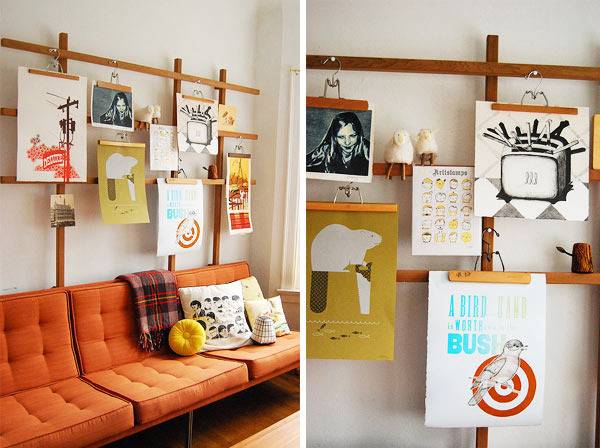
I still adore the idea of using wood pant hangers as picture hangers.
(Speaking of pant hangers.) For this one, we’d only need some 1″ x’s stripped down to make square lengths. Attach them together with some glue and finish nails. The pant hangers wouldn’t be absolutely necessary to hold the images, but they are perfect in this context.
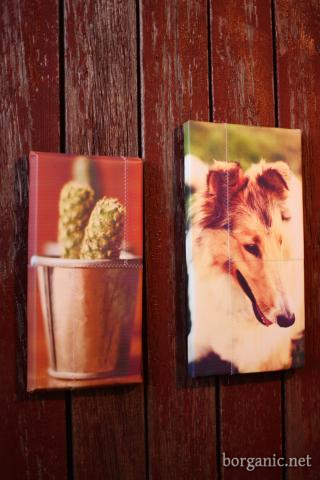
Photos printed on canvas are always an eye-catcher. b. organic tells us how to DIY it. To kick it up a notch, we can embellish the prints with gel mediums, paints or even decorative thread.
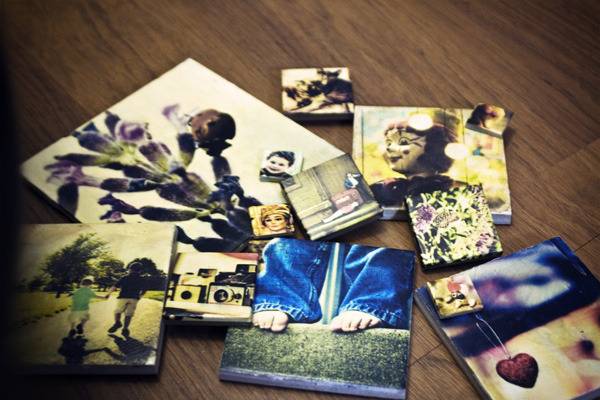
Another no-frame idea, which I’m loving, is this photo tile project from Crunchy Betty. Supplies are minimal, and, even better, we probably have them on hand. To hang them, I’d probably opt for Command Picture Hanging Strips and do a wall mosaic.
Keller Creative shows us how to go big without a large format printer. In this case, 16″ x 20″ big.
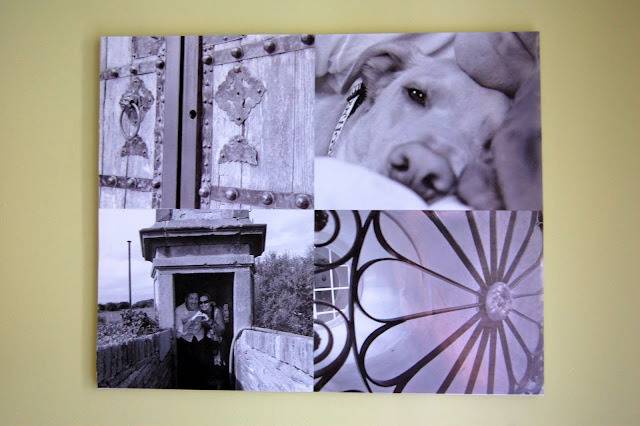
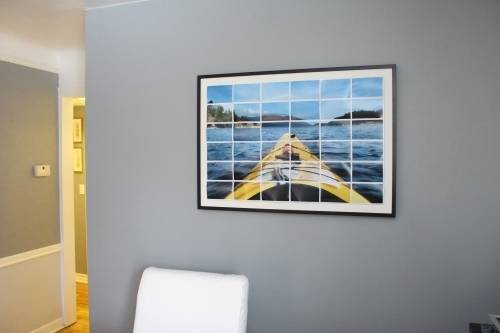
To go really big, Better Remade started with picture, enlarged it to 36″ x 24″ in PS and then divided it into 6″ x 4″ sections which were saved in individual files. In the end, 36 files were printed into 6″ x 4″ pictures and then reassembled into a mosaic. Clever!
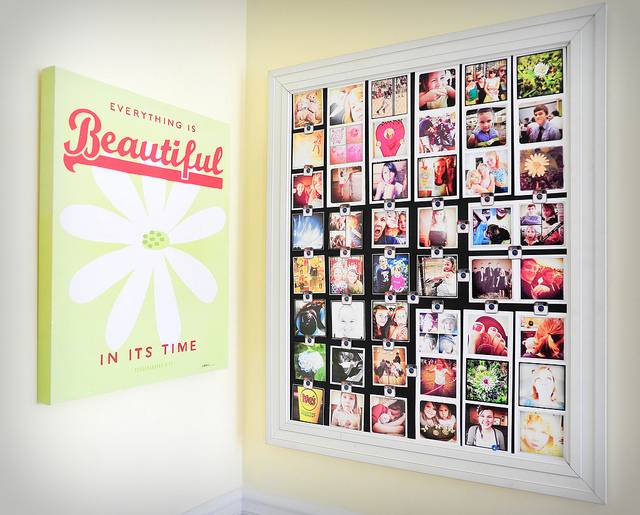
With the explosion of Instagram, it’s no wonder someone has paid homage to the phenomenon via artistic display. In this case, the maker framed big magnetic sheets. To hold the photos, she made Instagram logos which she adhered to magnets. She’s even includes a free template of the logo in the post so we can make our own.
Here’s another big idea using metal wire and earth magnets, which makes switching photos a snap.
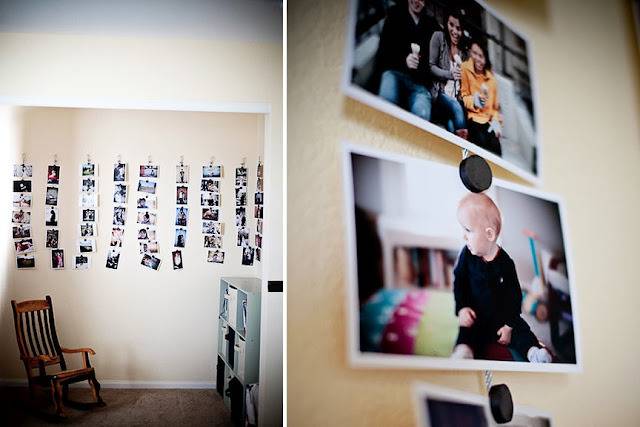
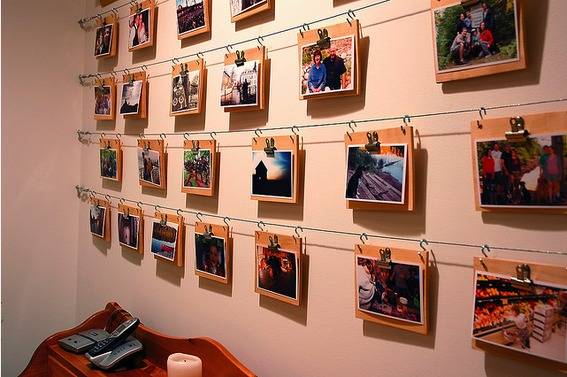
Whereas the wires in the last display are mounted vertically, this one mounts them horizontally. Wood and bulldog clips keep everything in its place. BTW: This is one of Curbly’s first super-popular how-tos. It’s still one of my faves six years later. Yeah, six years.
