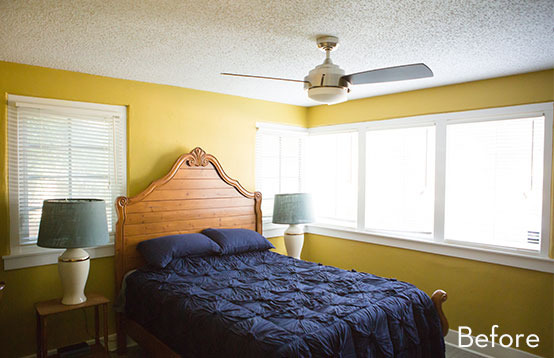
Remember the before photos from this bedroom makeover? Well, it’s time to share how the whole thing turned out. There was a lot of work to do, but after rolling up our sleeves, reconfiguring a few things, and buying some new furniture, the home owners are now able to enjoy a more relaxing space that feels like home. Click through to see how this bedroom makeover turned out.
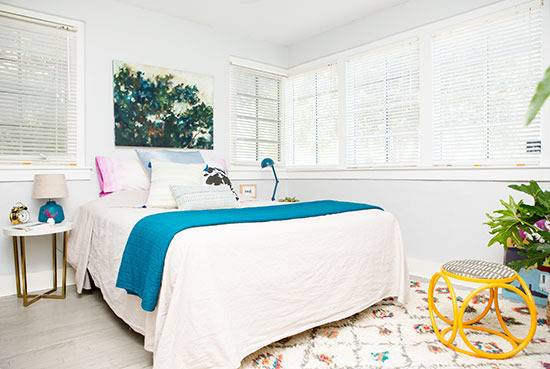
First and foremost, a fresh coat of paint was in order. So, after trying a few different paint samples in various shades of light grey, we settled on Reflection from Sherwin-Williams, in a flat finish.
The oversized furniture and DIY closet system were taking up a lot of living space and not adding much in the way of aesthetics. So Jordan and Chris decided to sell their oversized bed frame and headboard, and used the money to purchase an affordable IKEA frame that fit perfectly under the low windows.
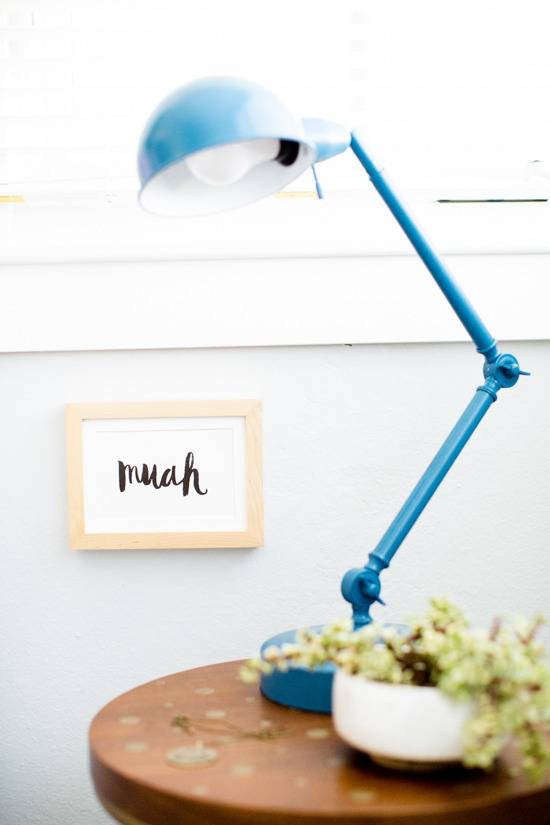
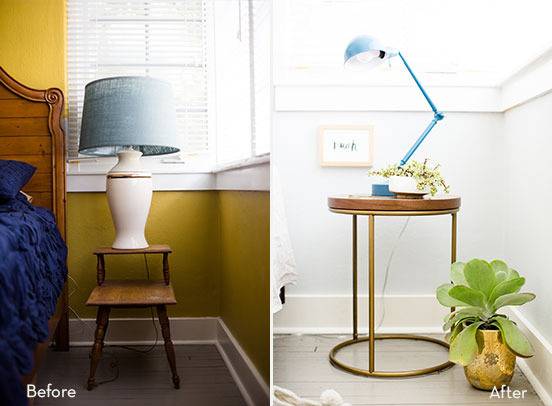
We also found two new side tables (one from Target and one from West Elm) and small tabletop lamps that we spray painted to give a fresher look.
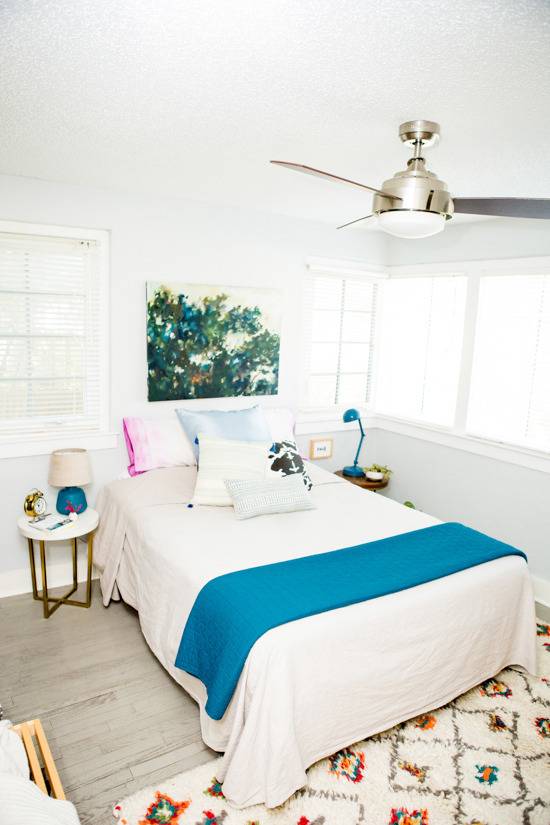
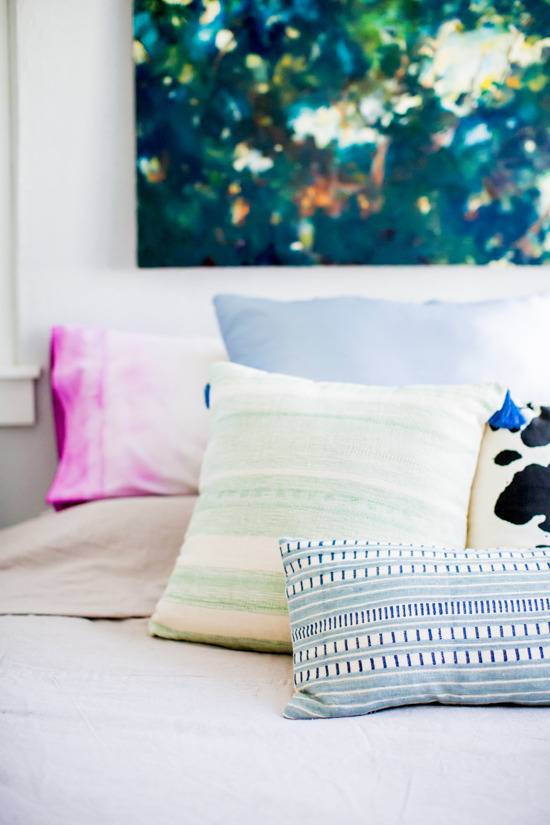
We hung a large piece of artwork, by Rebecca Hoadley, over the bed and used a combination of DIYed and store-bought pillows to round out the bedding accessories.
To open up the room on the wall opposite of the bed, we removed the industrial DIY shelving system and replaced it with a vintage mid-century dresser, that I found for a steal – $85 at a local thrift store. It needed a little touching up, but nothing major.
The dresser now acts not only as extra storage, but also as a vanity for Jordan to get ready, which is something she was hoping for. I added a mirror with a unique shape to give that wall more of a vanity feel and created a gallery wall around the mirror, with some old and new artwork.
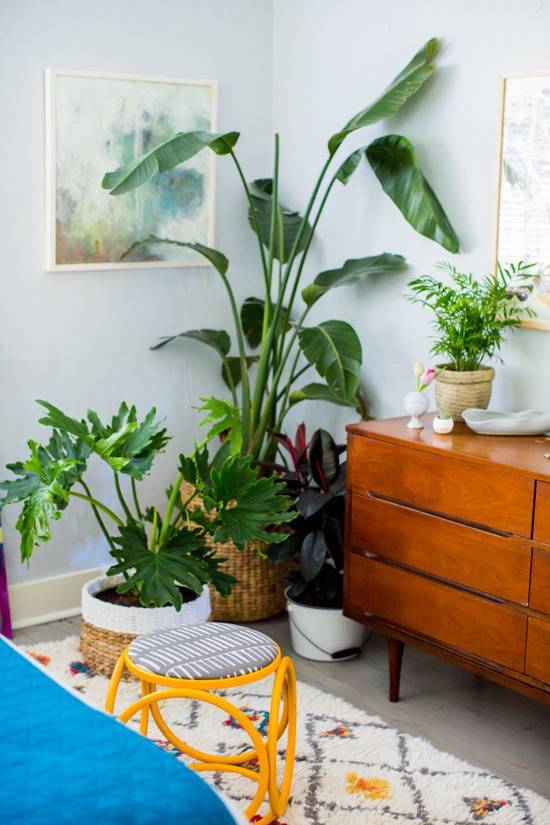
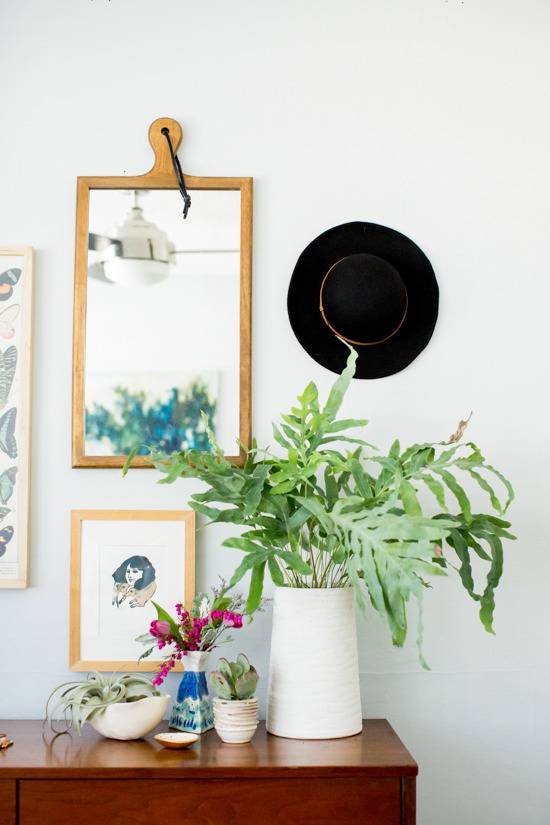
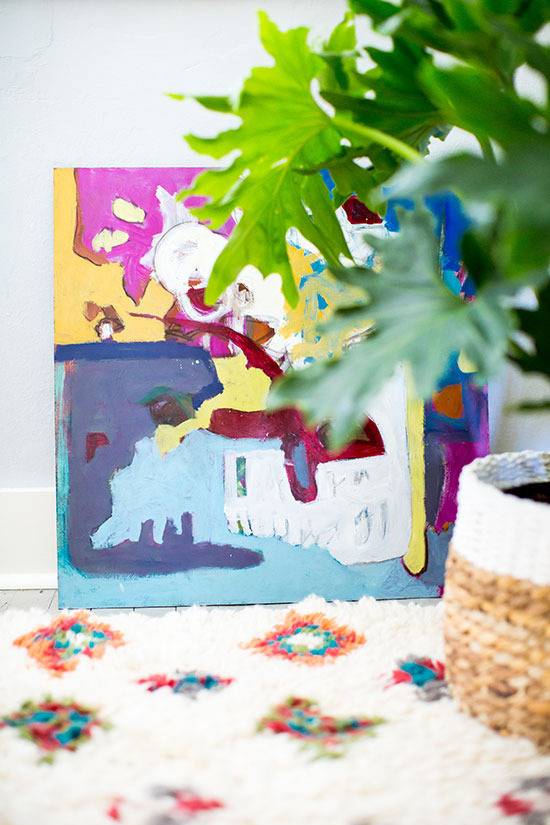
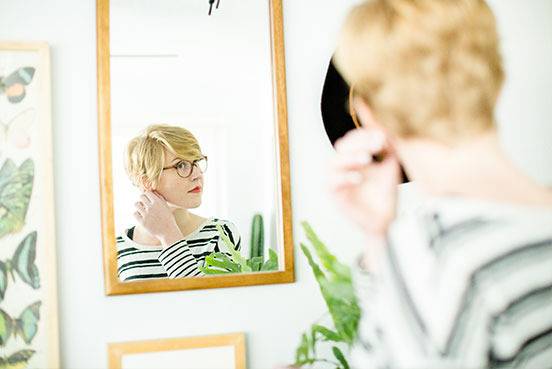
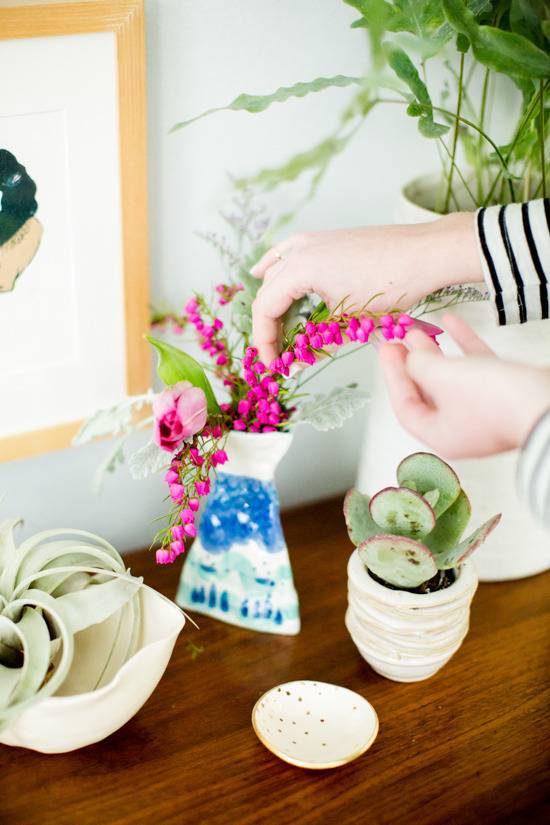
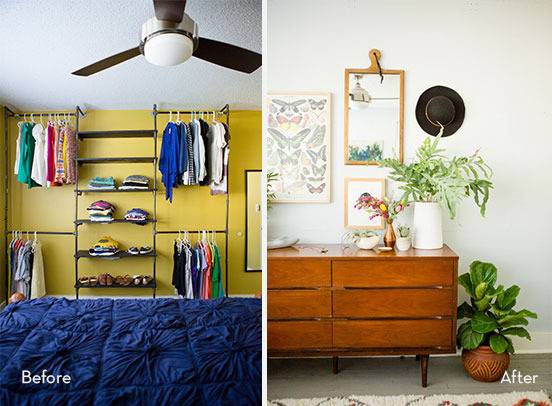
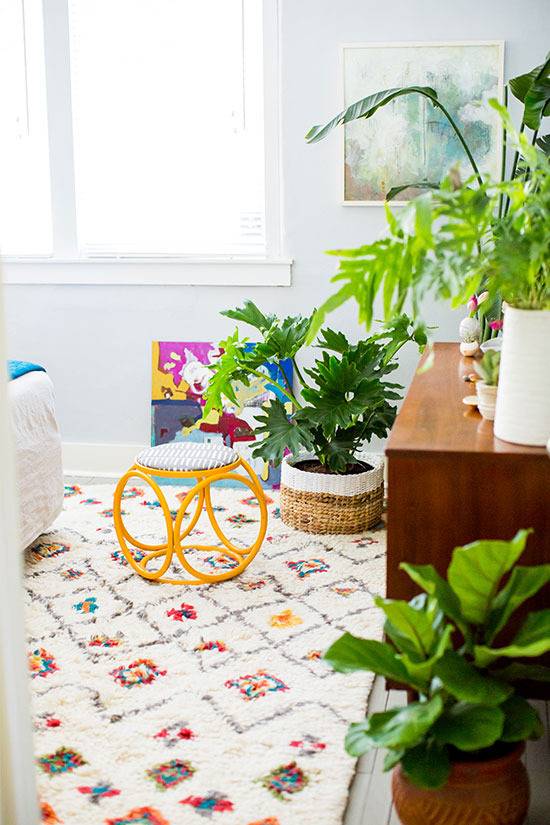
To bring in a softer and natural vibe, I added lots and lots of plants. This may not be everyone’s cup of tea, but in my opinion, the jungalow vibe is perfect for a bedroom. It makes it feel relaxing and spa like. And plants will last way longer than a vase filled with flowers. The planters I used were a mix of baskets the home owner already had and a few new pots were purchased new.
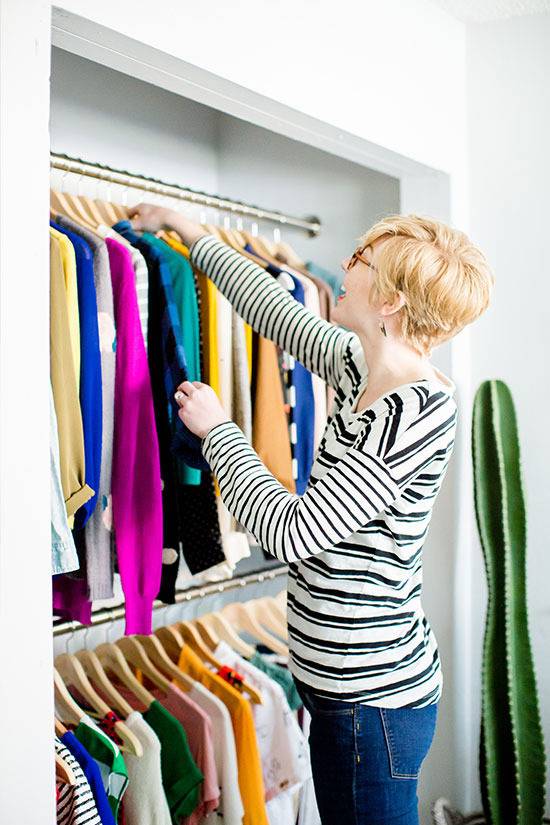
The built in closet had been converted to a home office before they purchased it, so the only option at the time was to also keep the industrial pipe shelving for clothes, shoes, etc. But, once we removed the shelving, we needed to convert the office area back into a closet.
We removed everything from the closet, patched up the holes, and painted the inside the same color as the rest of the room. Then, we installed closet bars and moved all of the hanging clothing items into their new home.

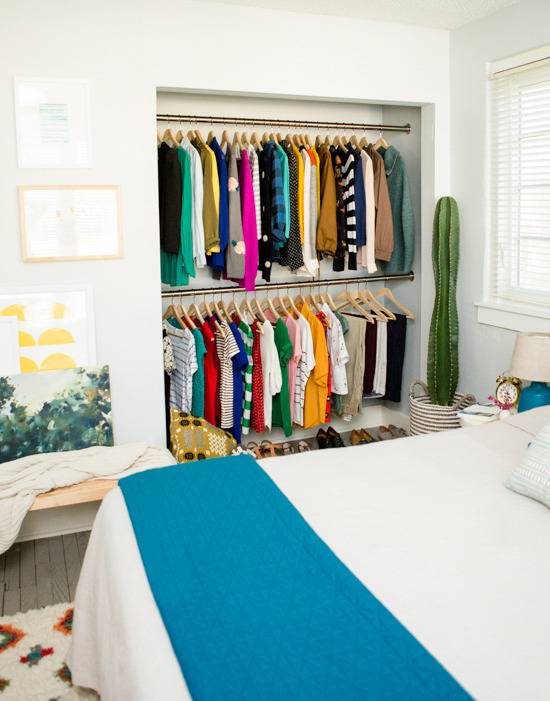
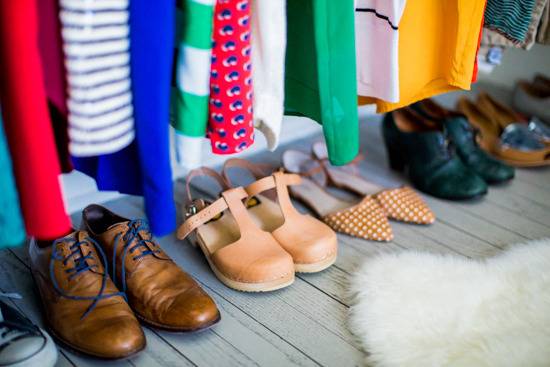
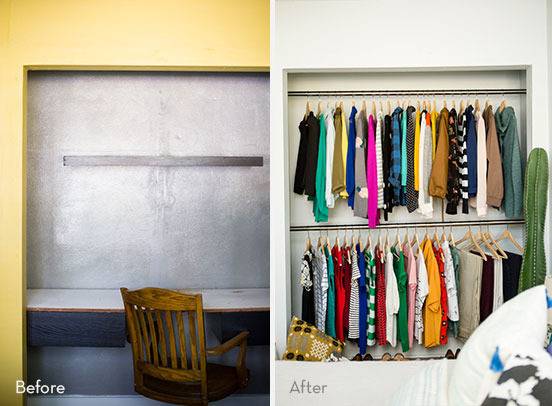
Keeping the closet open – without doors or curtains – helps the space feel larger. And because Jordan’s clothes are so colorful, it adds a nice pop of color to that side of the room.
Buying inexpensive wooden hangers from IKEA that are all the same helps the closet feel organized and put together. While lining up shoes on the floor keep footwear easily accessible.
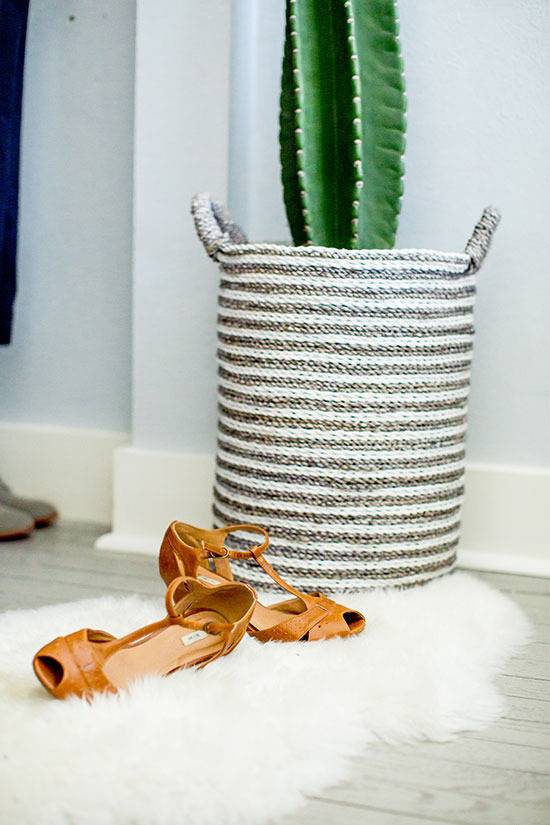
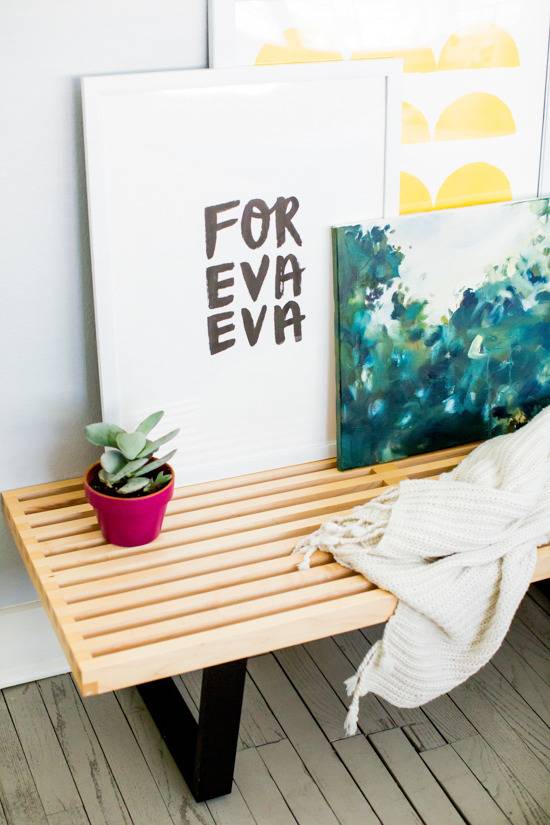
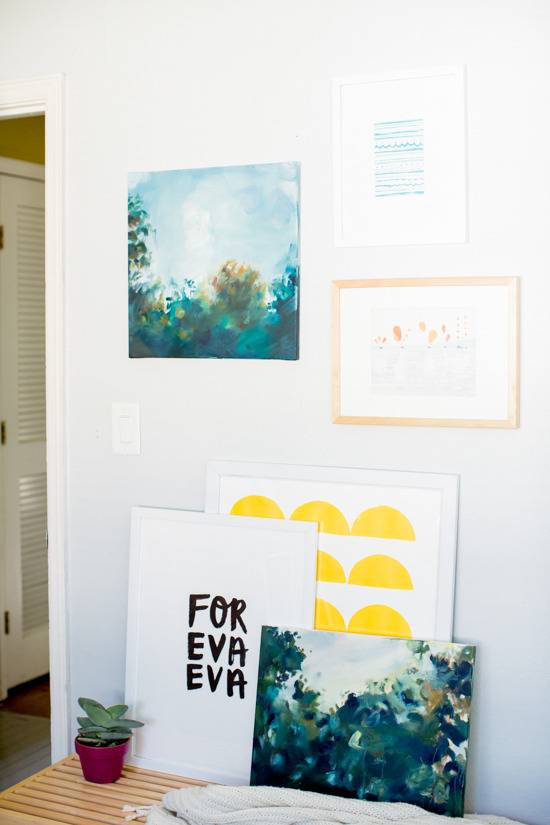
Lastly, the additional seating area by the closet is a perfect place to put on your shoes in the morning and is a great spot for showcasing Jordan’s rotating art collection (some of which was hand lettered by Jordan herself).
So, that’s pretty much it. I had a wonderful time making over my friend’s space and definitely learned a thing or two in the process. Thank you to Jordan and Chris for welcoming me, and all of you Curbly readers, into their home.
Check back this afternoon and throughout the week for learn how to DIY some of the projects I shared in this post!

Photographs by Sarahdipity Photos
Wow, this is definitely the best master makeover I’ve seen to date! Love the rug choice!
Love the rug. Where did you buy this?
Where can I find the “For Eva Eva” print? I love it!
the rug is from west elm!