With Christmas about a month away, it’s not too early to begin planning the decking of your halls.
The undisputed queen of beautiful holiday decor is Martha Stewart, and we’ve partnered with her team to complete some easy, festive DIY projects that anyone can do.
GIVEAWAY!
But, that’s not all! We’re also giving away everything you need to decorate your own tree! Here’s what’s included:
- Martha Stewart Living Snowberry Shatter-Resistant Ornament Wreath
- Martha Stewart Living Snowberry Shatter-Resistant Ornaments (75 pieces)
- Martha Stewart Living Snowberry Shatter-Resistant Ornaments (101 pieces)
-
Martha Stewart Living 50 LED Warm Light Set (5 packs)
Scroll down to find out how to enter to win!
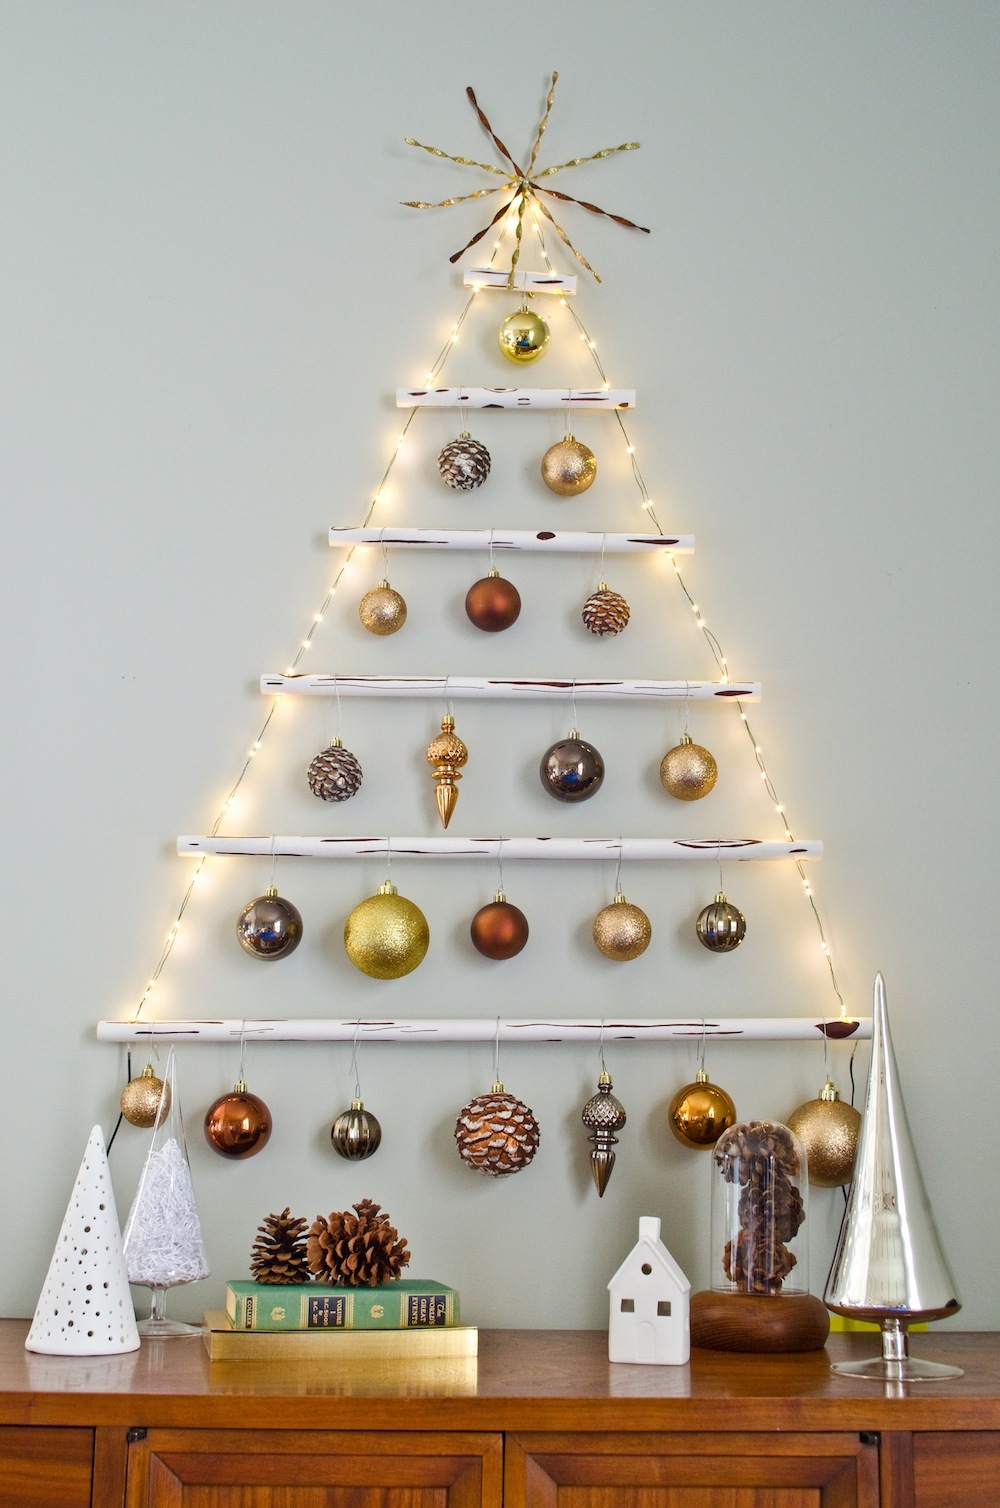
We created two projects using products from the Martha Stewart line at The Home Depot. Yesterday, we shared a lighted sign, and today we’re back with a hanging ornament tree project. There are a host of festive DIY holiday projects (with video tutorials from Martha herself) here!
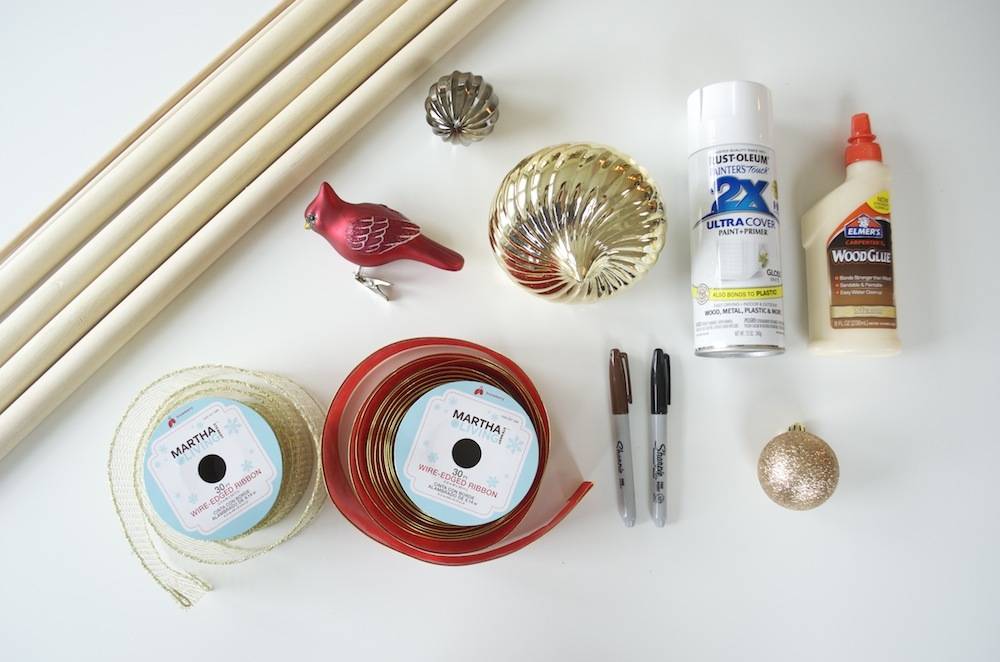
Supplies
- 6 Branches (or wooden dowels*)
- Ribbon or Martha Stewart Battery Operated LED Wire Lights
- Martha Stewart Snowberry Ornament Collection
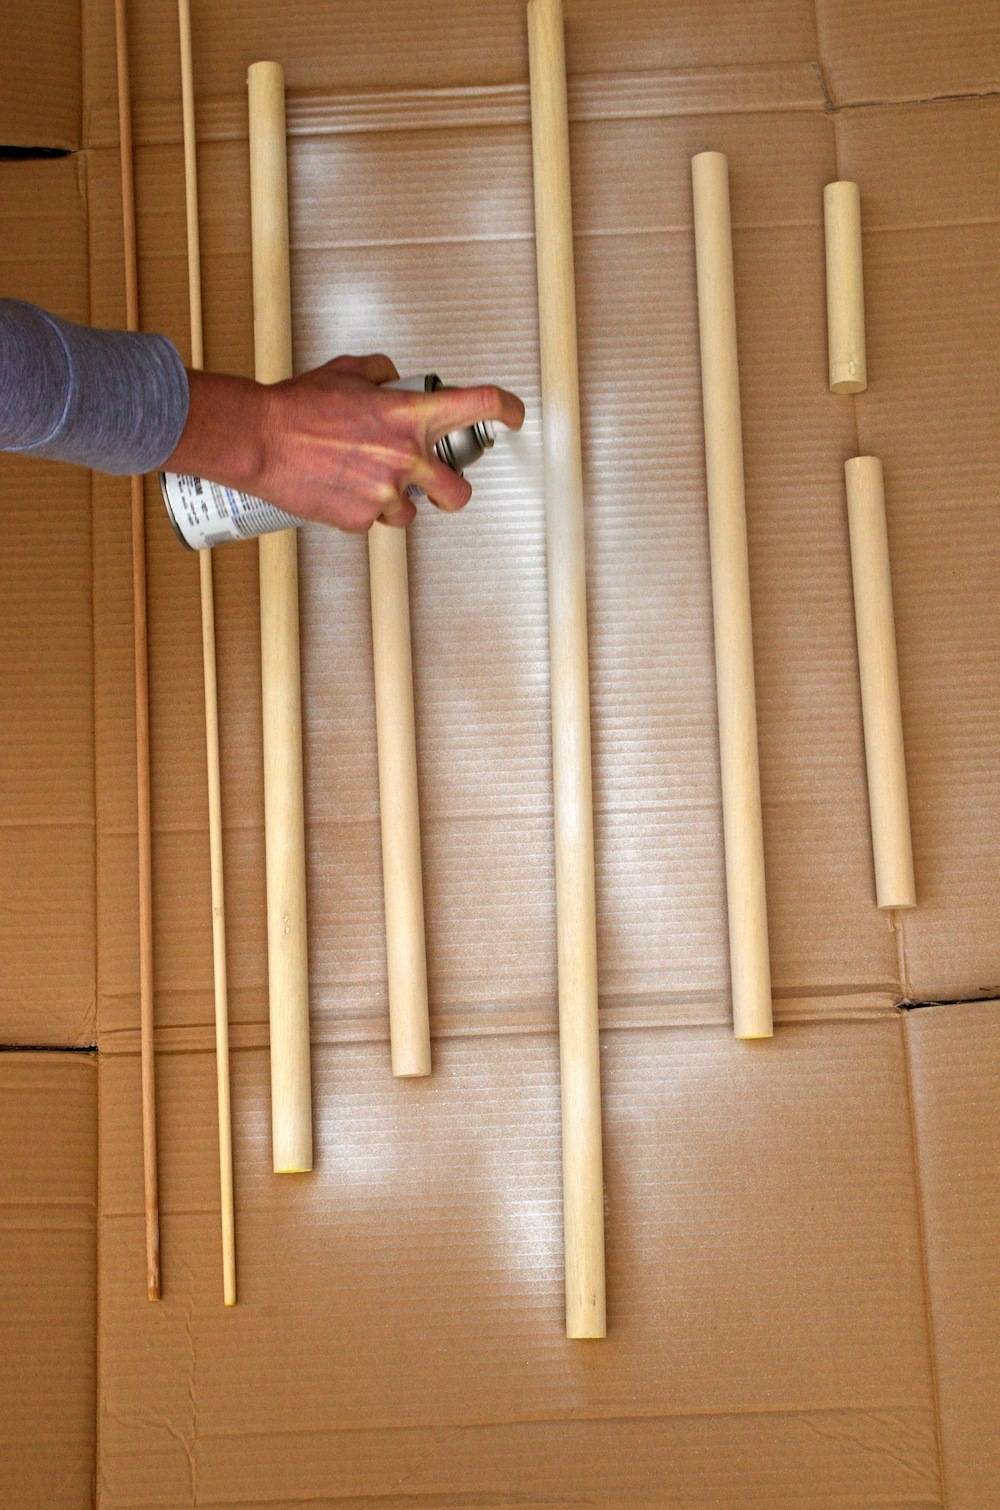
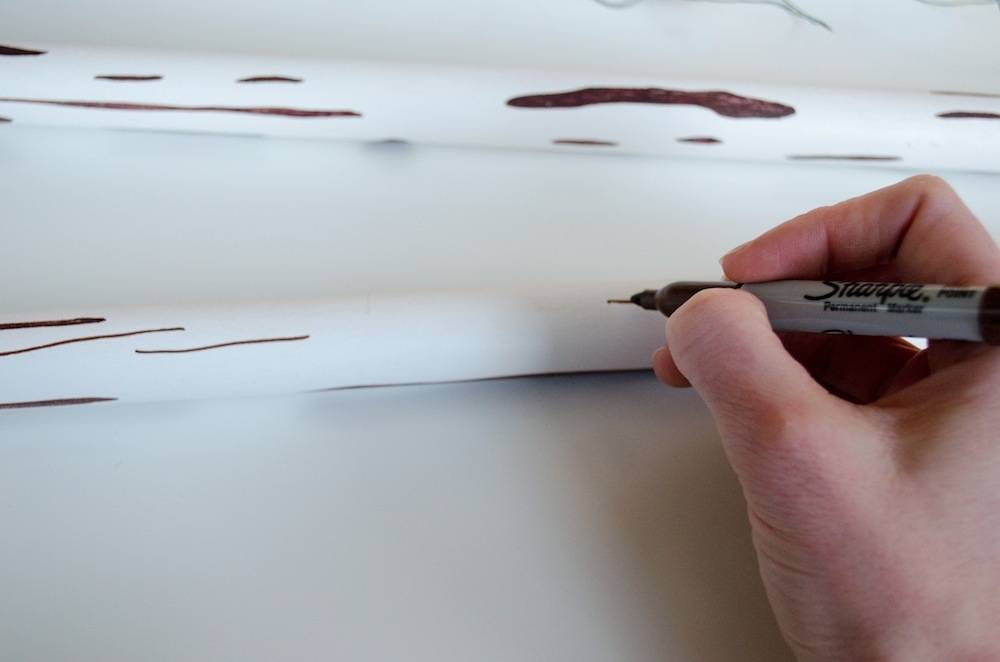
* If you’re going to create your own branches out of dowels like we did, we recommend using 1″ diameter dowels, white spray paint, and a permanent marker to create a pattern on your dowels.
Step-by-Step
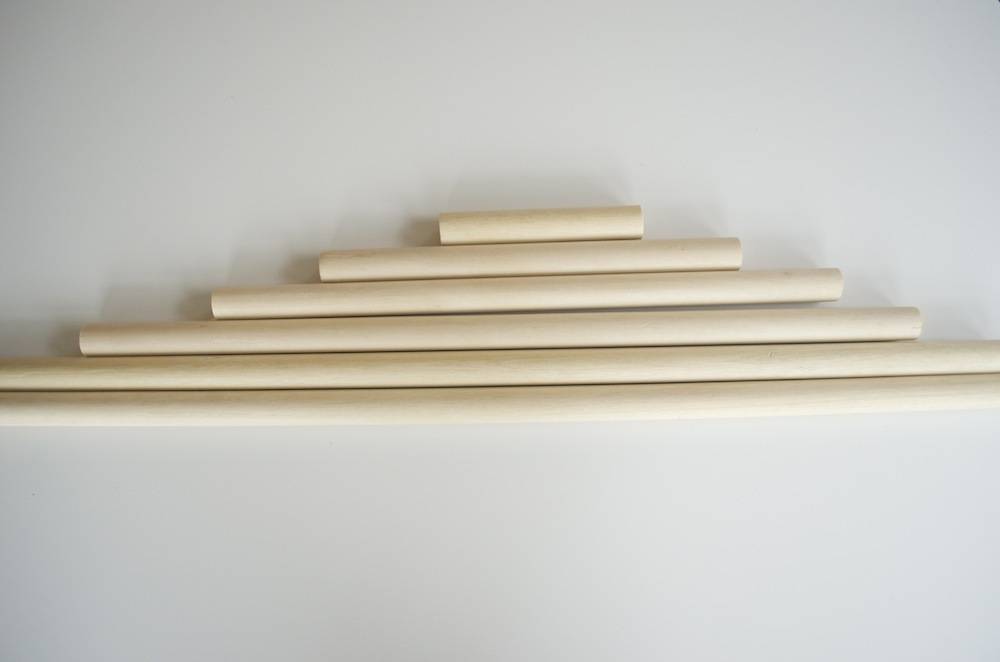
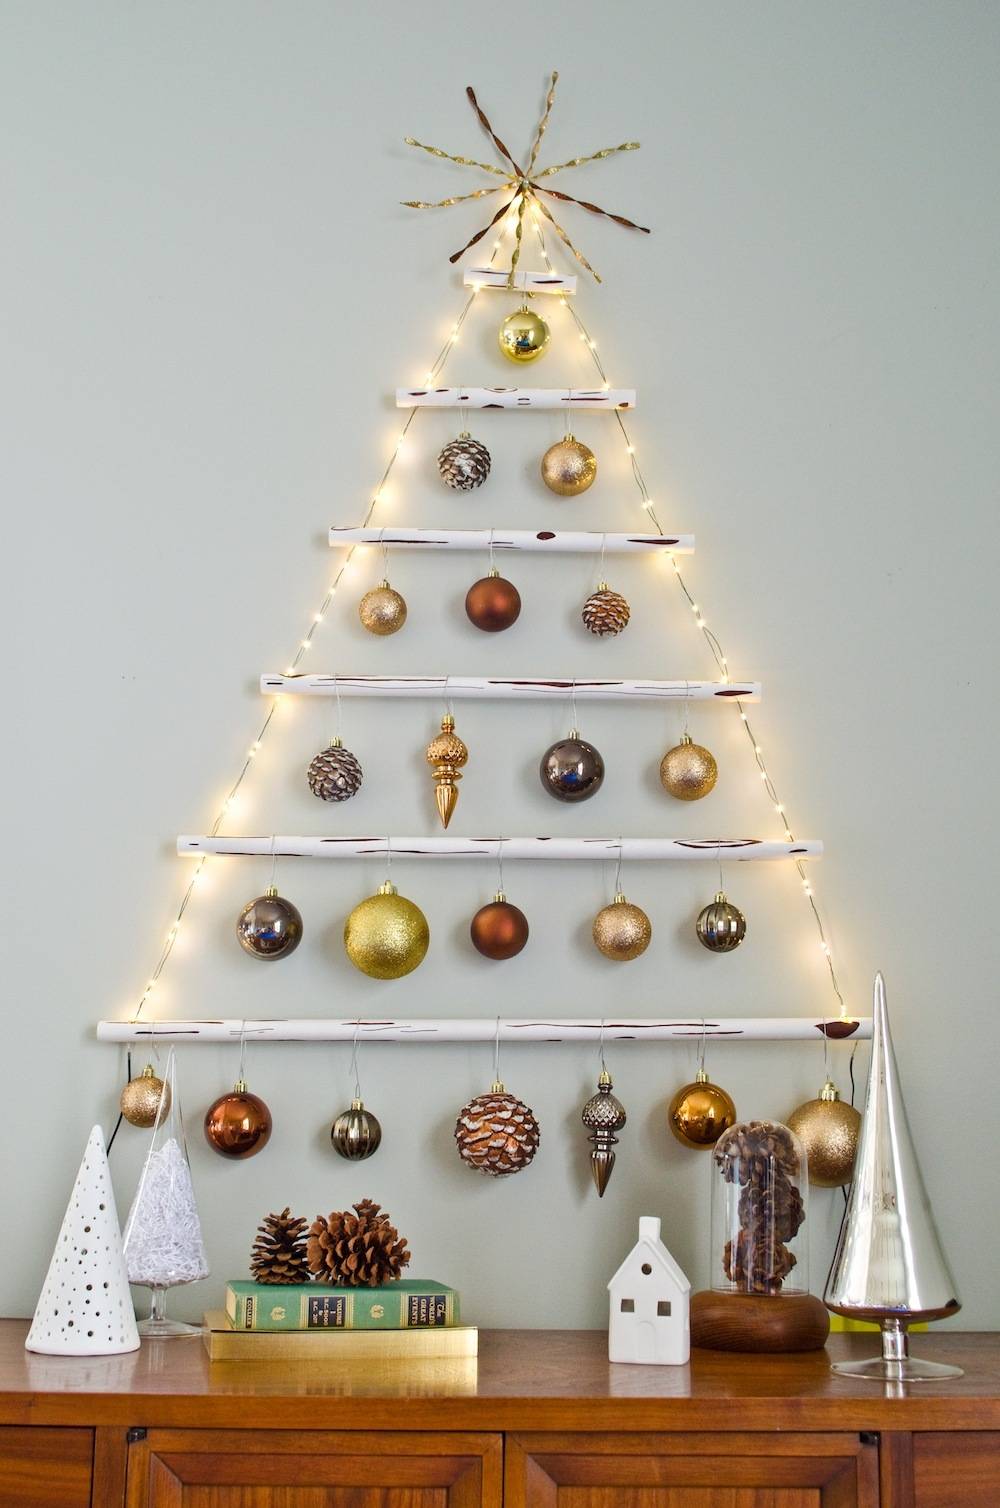
Collect 6 branches from your yard or the woods. We had a hard time finding branches we liked, so we created our own branches using wooden dowels from the craft store, paint, and a marker. Cut your branches to be 6″ inches to 36″ long (6″, 12″, 18″, 24″, 30″ and 36″ long). Drill through the ends of your ‘branches’ at an angle so that the tree takes on a triangular shape.
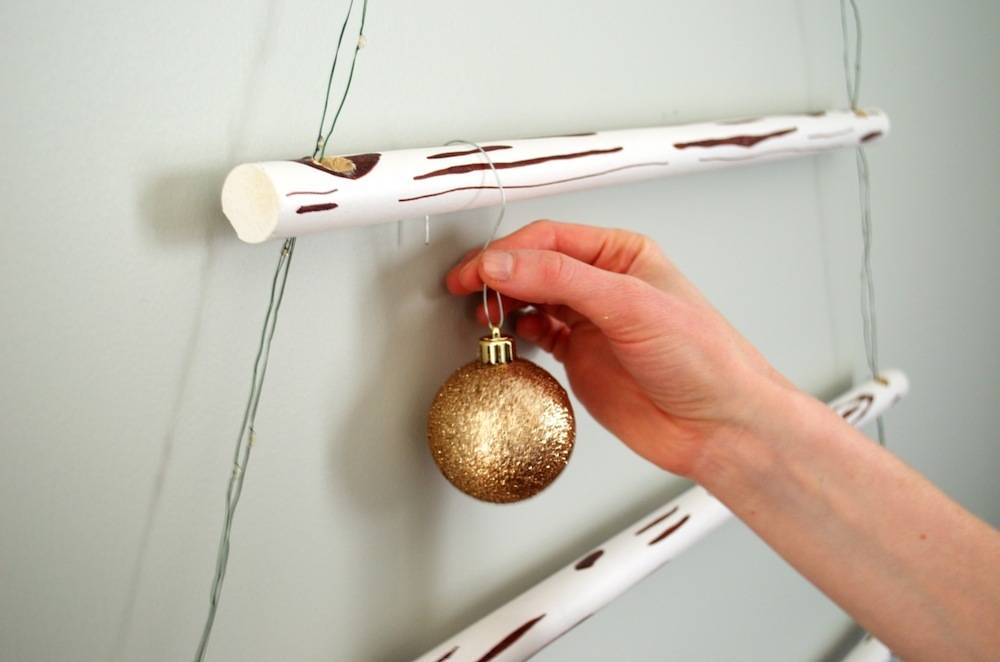
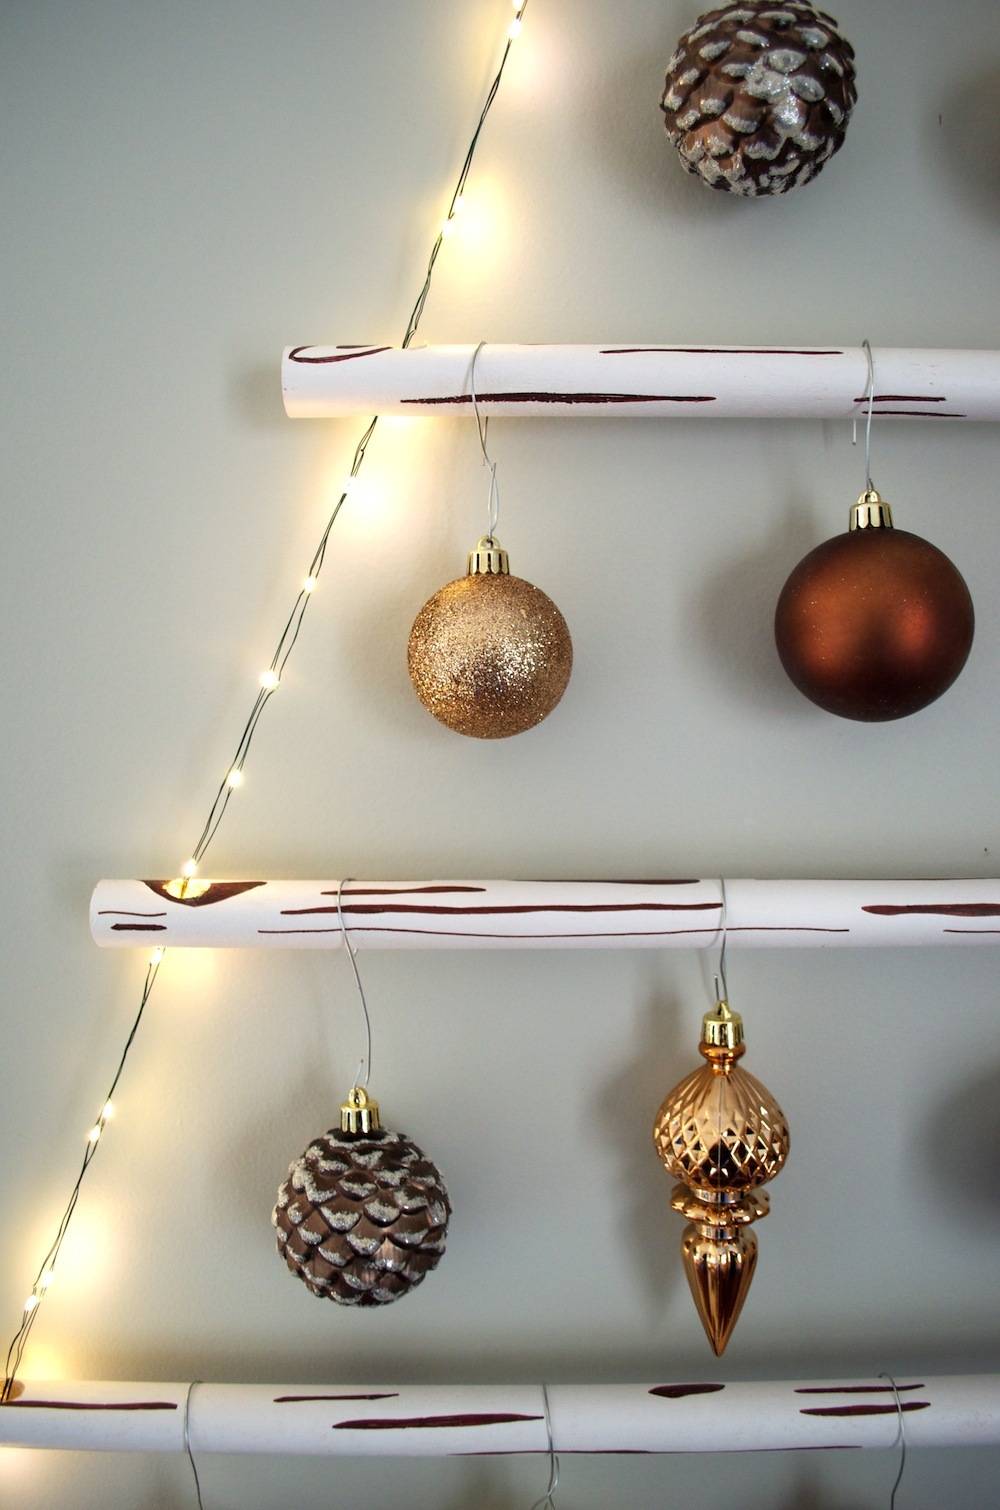
Thread wired lights or ribbon through the branches, beginning at the bottom and going all the way up to the top. We threaded our lights back down to add strength to the tree.
To prevent the wired lights from sliding, we looped the wire around the back side of each dowel to hold it in place. With ribbon, you could just knot the ribbon below each branch.
Hang the tree on the wall with a removable picture hanging strip and decorate. We used the Martha Stewart Snowberry ornament collection and stuck with a mixed metal (gold, copper, brass) theme because it complemented the colors on our tree.
GIVEAWAY!
To enter to win the giveaway prize (and make your own awesome, festive decor using the same materials we used), follow the instructions below:
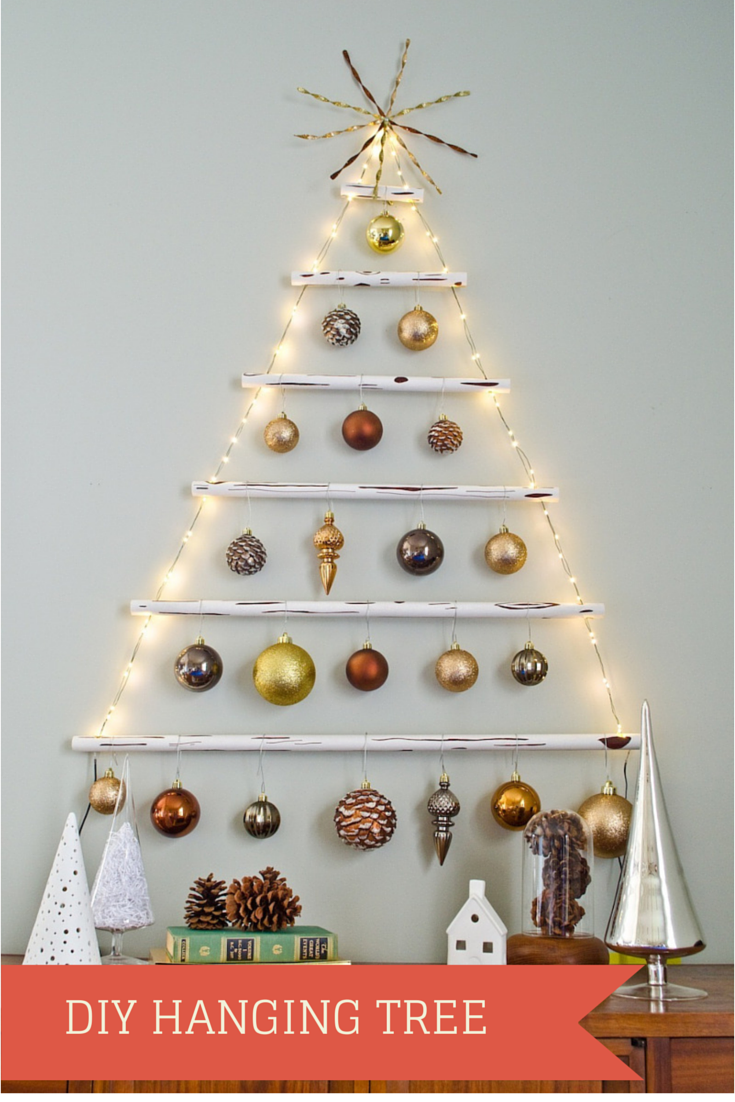
If you liked this project, please help us share it on Pinterest! Here’s an image just for that!
I partnered with Martha Stewart Living Omnimedia, Inc. for this holiday series. All words, opinions, and experiences are my own.
lovr this tree, must make
I love this & even if I don’t win I will made one for the nursing home. Thanks alot & Happy Thanksgiving.
This tree is so beautiful.
love this so much!!!
I could totally do this. Let’s not tell my husband i have another project on my mind. Lol.
My husband and I have been talking about making a similar one of these for the past couple of years. I would LOVE to be able to follow through on it now. Love this so much.
HAPPY HOLIDAYS! MERRY CHRISTMAS!
Makes me want to run out and buy dowels right now.
This is so clever! My husband and I (okay mostly me) have been debating making a tree like this for our little apartment. VERY cute.
i think i prefer this over the traditional tree! 🙂 takes up less space, and the chance of the pup chewing it up is lower.
i would love to use some beautiful diamond oak sticks i have. i am disabled and have tremors so would be difficult, i may find someone to help me.i would love to win that one then my oak could be used for walking sticks and canes.
Thanks to everyone who entered! And congrats to Theresa, our randomly-selected winner!