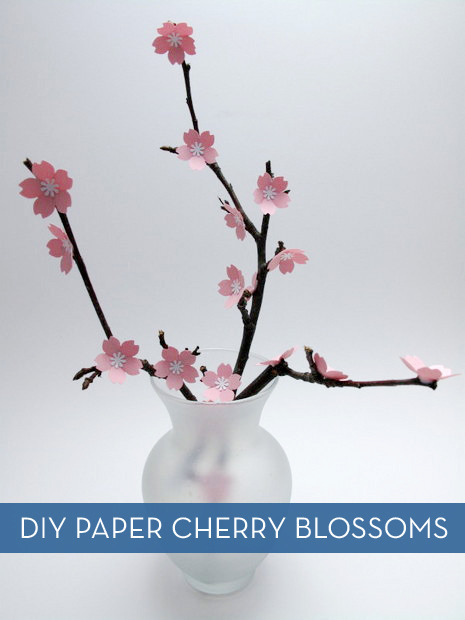
It’s cherry blossom time in D.C., but for those of us who don’t live there, that doesn’t mean we can’t celebrate the flowery fecundity. To do that, we just have to get a little crafty and make our own blossoms.
What you need:
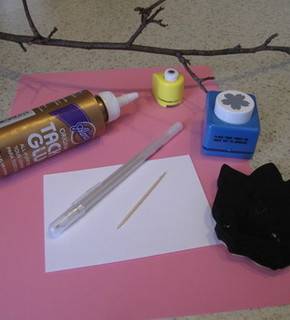
- A 1″ flower punch with five petals (I used a 7/8″ Sakura by Carl Craft)
- A tiny daisy punch
- Tacky craft glue
- Craft foam or a mouse pad
- Something with a rounded end like the gel pen in the picture
- One sheet of pink 8.5 x 11cardstock
- A bit of white cardstock
- A branch courtesy of the park, your yard, or your neighbor’s yard. Look for ones with curvy ends; they look the best.
- Straight pins
- Tweezer or toothpick, optional for placing the white flower centers
What you do:
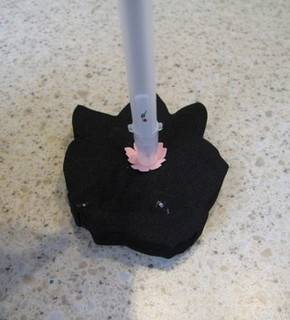
First punch out a dozen or so larger flowers out of the pink cardstock. Place each flower on your craft foam or mouse pad, and, place the rounded capped tip of your gel pen in the center of the flower. Push down and twist the pen slightly. This gives the flower a 3D look and makes them easier to glue onto the branch, which we’ll do next.
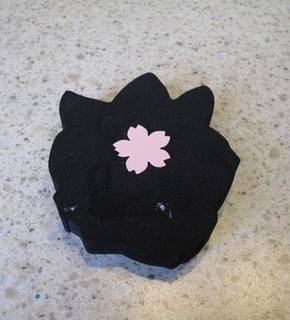
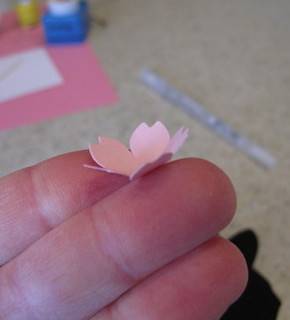
Put a bit of the tacky glue onto the backs of the flowers and glue them onto the branch. If they don’t want to stick immediately, stick a straight pin into their centers to keep them in place until they dry.
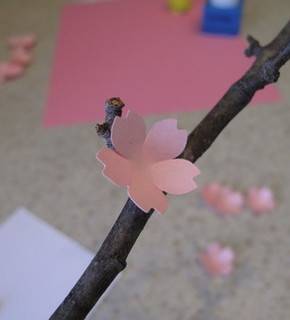
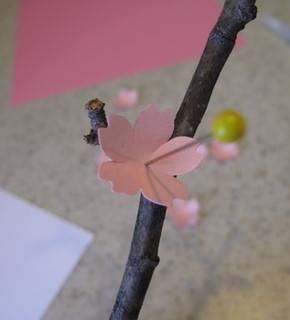
While the pink flowers are drying, punch out a dozen or so little daisies using the white cardstock. After the pink flowers are dry, remove any pins you used and glue the white daisies to the pink flower centers. (You can glue the centers on before you glue the pink flowers onto the branch, but if you hold the pink flowers in place with pins, the daisies will hide the hole, which is good.)
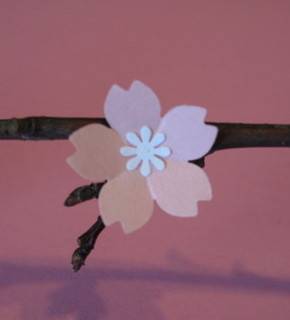
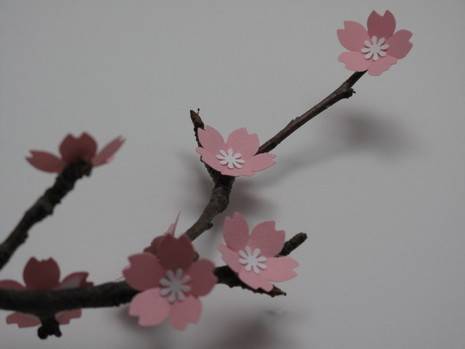
And that’s it! Large cherry blossom branches like these look great resting on shelves or mantels. Smaller branches look lovely in vases, as shown above.
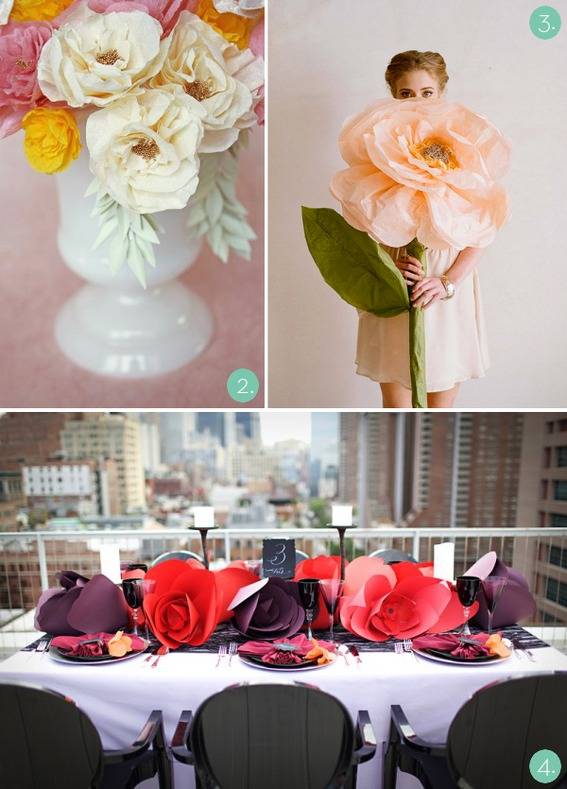
Itching to make more paper flowers? Try a few of these…
